
Making fresh bread without an oven might sound tricky, but this No-Oven Stovetop Bread recipe proves it’s simple and delicious. Using just a heavy pan or skillet on the stove, you can bake soft, fluffy bread with a golden crust.
The dough is basic, made from simple ingredients you likely have at home, and requires no special equipment. The dough rises quickly, and cooking on the stovetop is easy once you maintain a low, steady heat.
After mixing and kneading, the bread cooks gently on the stovetop, developing a lovely texture and flavour just like traditional baked bread. This method is great for anyone without an oven or looking for a quick bread fix.
This bread is perfect for sandwiches, dipping in soups, or enjoying with butter and jam. It’s versatile and can be customised with herbs, garlic, or seeds for extra flavour. Best of all, it’s ready in under an hour, making it a fantastic option.
Whether you’re a beginner or experienced baker, this recipe offers an easy way to enjoy fresh bread anytime. The stove method is surprisingly effective and yields a delightful loaf that rivals oven-baked bread in taste and texture.

WHY YOU WILL LOVE THIS RECIPE
- No Oven Needed: Skip the oven and still get soft, warm, golden bread using just a stovetop and your favorite pan.
- Beginner-Friendly Recipe: With easy steps and minimal ingredients, this bread is perfect for first-time bakers or anyone wanting fuss-free bread.
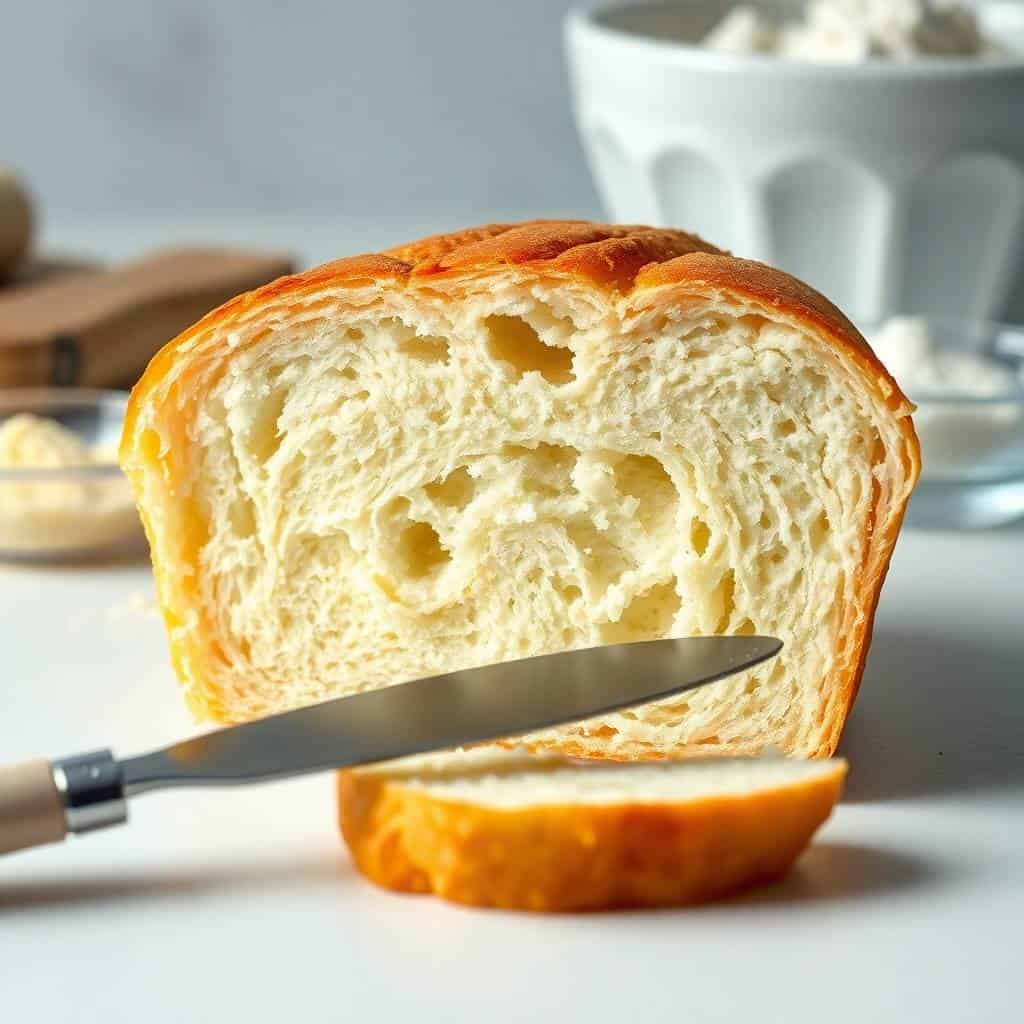
- Soft and Fluffy Texture: The bread turns out wonderfully soft inside with a golden, slightly crisp outer crust from stovetop cooking.
- Versatile and Customizable: Serve with butter, jam, or dips—or stuff with fillings to create wraps, sandwiches, or snack rolls.
- Quick Rise Time: You only need one rise, so it’s faster than traditional oven-baked breads, saving time without sacrificing flavor.
- Ideal for Small Kitchens: Perfect for small apartments, RVs, or dorms where ovens aren't available or practical for baking.
- Perfect Anytime Side: Great alongside curries, soups, or breakfast spreads—this bread fits into any mealtime with ease.
INGREDIENTS
- 2 cups all-purpose flour
- 1 teaspoon instant yeast
- 1 teaspoon sugar
- ½ teaspoon salt
- ¾ cup warm water (about 110°F / 43°C)
- 1 tablespoon benefits of olive oil (plus extra for pan)
DIRECTIONS
- Step No.1: Mix the dough
In a large bowl, combine flour, instant yeast, sugar, and salt. Add warm water and olive oil. Stir until a rough dough forms.
- Step No.2: Knead the dough
Turn dough onto a floured surface. Knead for 8–10 minutes until smooth and elastic. Add flour as needed to prevent sticking.
- Step No.3: First rise
Place dough in a lightly oiled bowl. Cover with a clean cloth or plastic wrap and let rise in a warm spot for 45 minutes or until doubled in size.
- Step No.4: Shape the loaf
Punch down the dough to release air. Shape into a round or oval loaf that fits your pan size.
- Step No.5: Preheat pan and cook
Heat a heavy skillet or pan over low to medium-low heat. Lightly grease with olive oil.
- Step No.6: Cook the bread
Place shaped dough in the pan and cover with a lid. Cook for 15–20 minutes, checking occasionally to avoid burning. Flip carefully and cook the other side for another 10–15 minutes until golden brown.
- Step No.7: Cool before slicing
Remove bread from pan and cool on a wire rack before slicing to finish setting the crumb.
TIPS FOR SUCCESS
- Use warm—not hot—water: Water that’s too hot can kill the yeast. Warm water helps activate it and ensures a good rise.
- Knead until elastic: Proper kneading develops gluten, which creates the chewy, airy structure of your stovetop bread.
- Let it rise fully: Allow the dough to double in size for soft, fluffy results—rushed rising leads to dense bread.
- Cook on low heat: A lower heat helps cook the inside without burning the outside, especially with thicker bread rounds.
- Flip only once: Flipping just once during cooking ensures even heat distribution and helps keep the bread nicely puffed.
- Cover while cooking: Covering the skillet with a lid traps steam, helping the bread cook through and rise nicely.
- Don’t skip resting: Let the bread rest for a few minutes after cooking to finish cooking through and improve texture.
VARIATIONS
- Add herbs or spices: Mix dried oregano, health benefits of garlic powder, or rosemary into the dough for a fragrant and flavorful bread.
- Cheese-filled version: Place shredded cheese in the center of each dough ball before flattening for a gooey surprise inside.
- Whole wheat option: Swap half the all-purpose flour with whole wheat flour for a heartier and slightly nutty version of the bread.
- Add yogurt to dough: Replace part of the water with yogurt for softer bread and a slightly tangy, enriched flavor.
- Sweet cinnamon twist: Add sugar and cinnamon to the dough and serve warm with honey or a dusting of powdered sugar.
- Stuff with fillings: Use seasoned mashed potatoes, cooked chicken, or sautéed veggies to make filled bread pockets for lunch or snacks.
- Garlic butter glaze: Brush freshly cooked bread with melted garlic butter and chopped parsley for a delicious, savoury finish.
SERVING AND STORAGE
Serving
Serve warm with butter, olive oil, or your favourite dips for a fresh bread experience.
Storage
Store bread in a paper bag or bread box at room temperature for up to 2 days to maintain crust.
FAQ
Yes, but proof active dry yeast in warm water for 5–10 minutes before mixing.
Cook longer on low heat and flip carefully to ensure even cooking throughout.
Yes, but cook in batches or use a larger pan to avoid overcrowding.
No, it uses all-purpose flour which contains gluten. Use gluten-free flour blends to adapt.
Yes, freeze cooled bread wrapped in foil or plastic wrap for up to 1 month.
This No-Oven Stovetop Bread is a fantastic way to enjoy fresh homemade bread without the need for an oven.
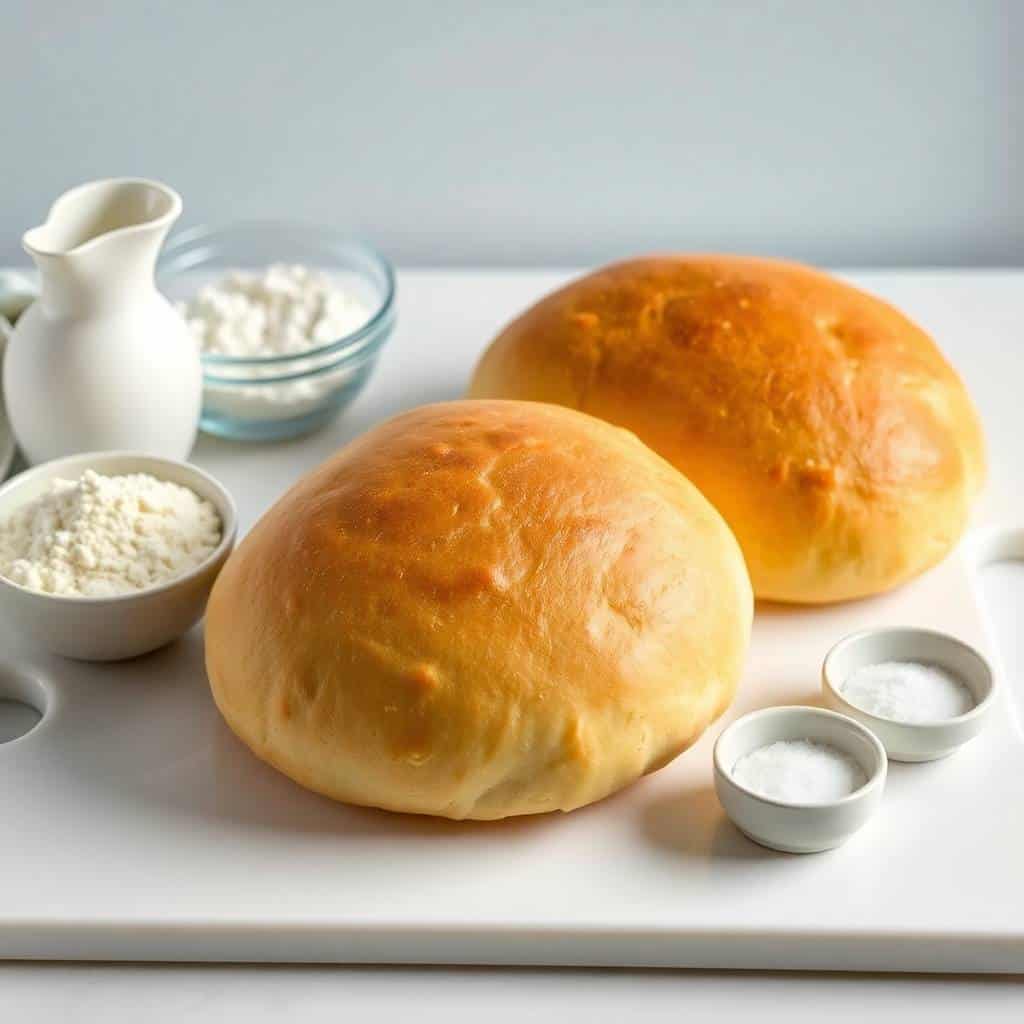
The bread turns out soft inside with a nicely browned crust, ideal for sandwiches or as an accompaniment to meals.
The recipe is straightforward, requiring only basic pantry staples and minimal effort.
It’s perfect for family dinners, picnics, or anytime you crave the comforting taste of homemade bread.


NO-OVEN STOVETOP BREAD
Ingredients
- 2 cups all-purpose flour
- 1 tablespoon sugar
- 1 teaspoon salt
- 1 teaspoon baking powder
- ¾ cup warm water
- 1 tablespoon olive oil plus extra for cooking
Instructions
Mix Dry Ingredients:
- In a large bowl, whisk together flour, sugar, salt, and baking powder.
Add Wet Ingredients:
- Pour in warm water and olive oil. Stir until a sticky dough forms.
Knead the Dough:
- Turn dough onto a floured surface and knead for 5 minutes until smooth and elastic.
Shape the Dough:
- Form dough into a round loaf that will fit your pan.
Cook on Stovetop:
- Heat a large non-stick skillet over medium-low heat and lightly grease with olive oil. Place dough in the pan, cover with a lid, and cook for about 15 minutes.
Flip and Cook:
- Carefully flip the bread and cook covered for another 5 minutes until golden and cooked through.
Cool and Serve:
- Remove bread from pan and cool slightly before slicing.
Notes
Prepare the dough in advance and refrigerate for up to 24 hours before cooking. Custom Flavors:
Add herbs like rosemary or garlic powder for a savoury twist. Serving Suggestions:
Serve warm with butter, jam, or alongside soups and stews. Allergy-Friendly Options:
Use gluten-free flour blends to make this recipe gluten-free. Storage Tips:
Store bread in an airtight container at room temperature for up to 2 days.





Comments
No Comments