
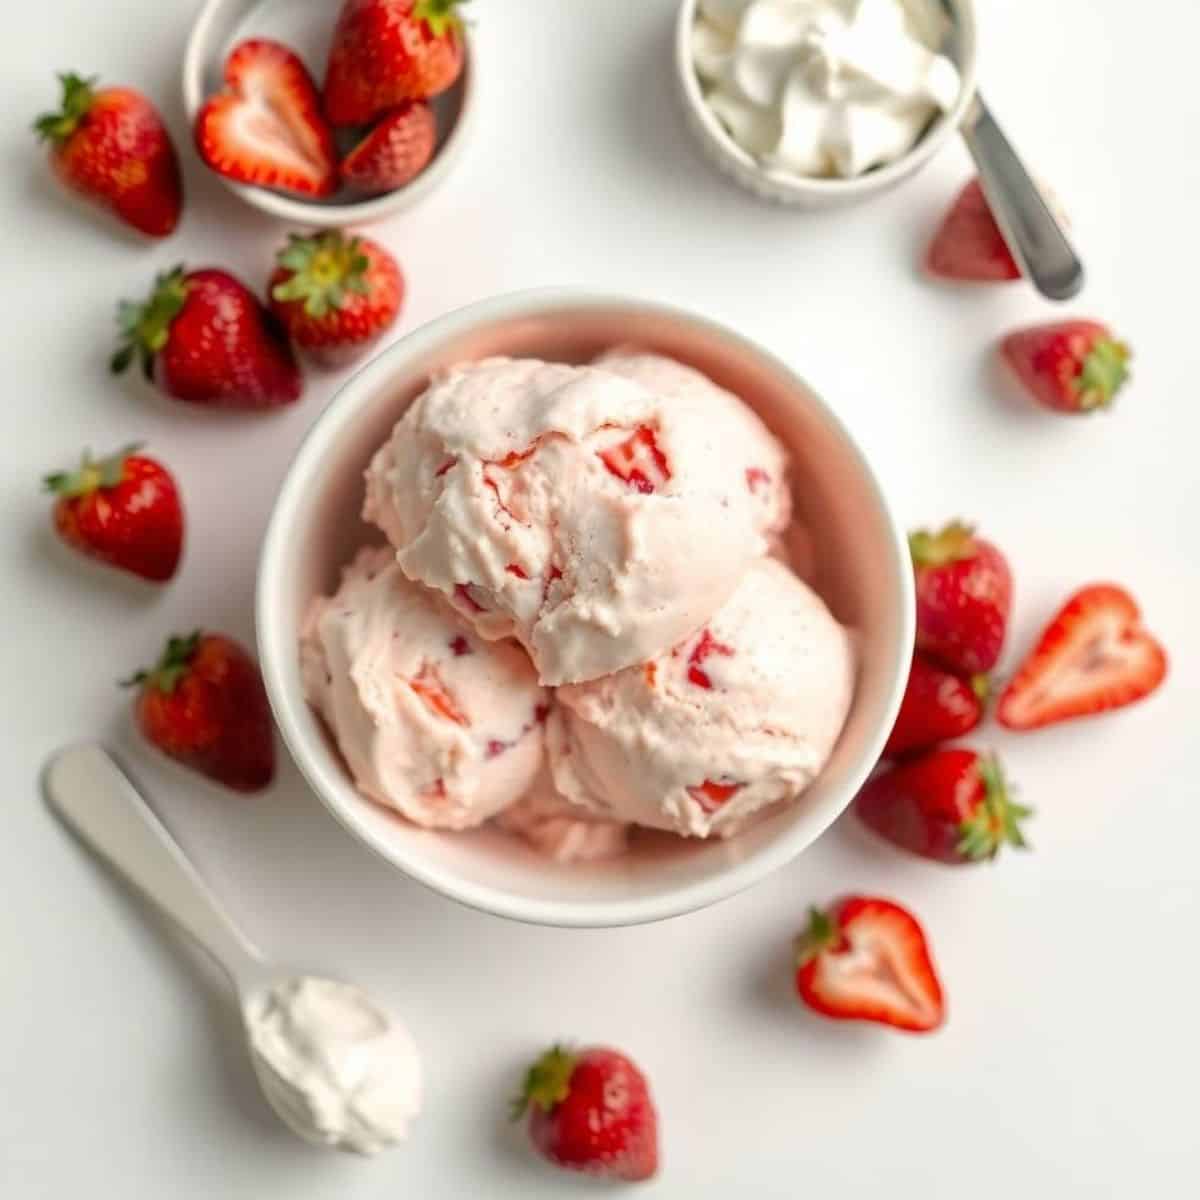
Most homemade ice cream recipes require an ice cream maker, tempered eggs, careful custard cooking, and a 4-hour wait while the machine churns. This no-churn version skips all of that with just three ingredients and 10 minutes of active work. Heavy cream, sweetened condensed milk, and fresh strawberries — whipped, folded, frozen. The result is creamy, soft-scoopable strawberry ice cream with real fruit flavor and a beautiful natural pink color that puts grocery store ice cream to shame.
The science behind no-churn ice cream is simpler than it seems. Whipped heavy cream incorporates enough air to give the mixture ice-cream-like volume. Sweetened condensed milk acts as both sweetener and antifreeze — its high sugar concentration prevents the mixture from freezing rock-solid, so the finished ice cream stays soft and scoopable. The strawberries get cooked down into a thick reduction (same technique as the strawberry lemonade cake) so they add concentrated flavor without watering down the texture. Three ingredients, three roles, perfect ice cream.
This recipe makes about 1.5 quarts of ice cream (the equivalent of a large container of premium grocery store ice cream), which feeds 8-10 people generously. The active prep takes 10 minutes; the freezing takes 6-8 hours (or overnight). Plan ahead — this is a make-the-day-before-the-party recipe. The ice cream keeps in the freezer for up to 3 weeks, getting slightly firmer but still scoopable. It's also the base recipe for endless variations — chocolate, cookies and cream, mint, coffee, peach, raspberry, anything you want.
A practical note. Use real fresh strawberries when they're in season (May-July), or good-quality frozen strawberries the rest of the year. The fresh version has brighter flavor; the frozen version is more consistent year-round. Both work in this recipe because you're cooking the strawberries down into a reduction anyway. Don't use strawberry jam or preserves as a shortcut — the high sugar content throws off the recipe's balance and the flavor tastes artificially sweet rather than fresh.
Why You'll Love This Recipe
- Three ingredients, no special equipment: Heavy cream, sweetened condensed milk, fresh strawberries. That's it. No ice cream maker, no eggs to temper, no custard cooking, no churning. Just a hand mixer (or stand mixer) and a freezer. The simplicity is genuine, not a marketing line — this really is a three-ingredient recipe.
- Real strawberry flavor (and natural pink color): The strawberries get cooked down into a concentrated reduction before mixing into the ice cream base. This means real fruit flavor in every bite and a beautiful natural pink color — no food coloring, no artificial flavoring. The flavor blows away store-bought strawberry ice cream, which often tastes more like artificial strawberry candy than actual strawberries.
- Stays scoopable straight from the freezer: Most homemade ice cream freezes rock-solid and requires 15 minutes of countertop softening before scooping. The sweetened condensed milk in this recipe acts as an antifreeze (sugar prevents complete freezing food safely), so the ice cream stays soft enough to scoop directly from the freezer. Family with impatient kids will appreciate this practical detail.
- Endlessly customizable for variations: The base technique (whipped cream + sweetened condensed milk) works for literally any flavor of ice cream. Chocolate, vanilla, coffee, cookies and cream, peach, raspberry, mint chip, salted caramel — just replace the strawberry reduction with the equivalent volume of your chosen flavor base. Master this one recipe and you've mastered ice cream forever.
- Costs about $8 to make a large container: Premium strawberry ice cream from the grocery store (Häagen-Dazs, Ben & Jerry's) runs $6-8 for a pint. This recipe makes 3 pints of equivalent or better quality for about $8 total. The cost-per-serving is dramatically better than store-bought, and the quality is dramatically better than the cheap store brands.
Ingredients
- 2 cups (1 pint) heavy whipping cream, cold (very cold — fridge-cold)
- 1 can (14 oz) sweetened condensed milk (full-fat, not low-fat)
- 1½ lbs fresh strawberries, hulled (about 4 cups whole) — OR 4 cups frozen strawberries, thawed
- Optional Additions (for variations):
- 1 teaspoon pure vanilla extract (adds depth)
- 1 tablespoon fresh lemon juice (brightens the strawberry flavor)
- Pinch of salt (enhances sweetness)
- ½ cup chopped fresh strawberries (added at end for chunks)
Directions
- Step 1: Reduce the strawberries. Hull strawberries and blend in a food processor or blender until completely smooth (about 3 cups of puree). Pour the puree into a medium saucepan and cook over medium heat for 12-15 minutes, stirring frequently, until reduced to about 1 cup of thick, jammy consistency. The reduction should look like loose strawberry jam and coat the back of a spoon. Cool completely (about 30 minutes at room temperature, or 15 minutes in the fridge).
- Step 2: Whip the cream. Pour cold heavy cream into a large mixing bowl (or stand mixer with whisk attachment). Beat on medium-high speed for 3-4 minutes until stiff peaks form. Stiff peaks means the cream holds its shape when you lift the beaters and the peak stands straight up rather than flopping over. Don't over-whip — past stiff peaks, cream starts to turn into butter.
- Step 3: Fold in the condensed milk. Pour the sweetened condensed milk over the whipped cream. Using a rubber spatula, GENTLY fold the condensed milk into the whipped cream using a folding motion (down through the middle, around the side, up). Do not stir or beat — folding preserves the air you whipped into the cream. The mixture should look uniform and pale yellow after about 1 minute of folding.
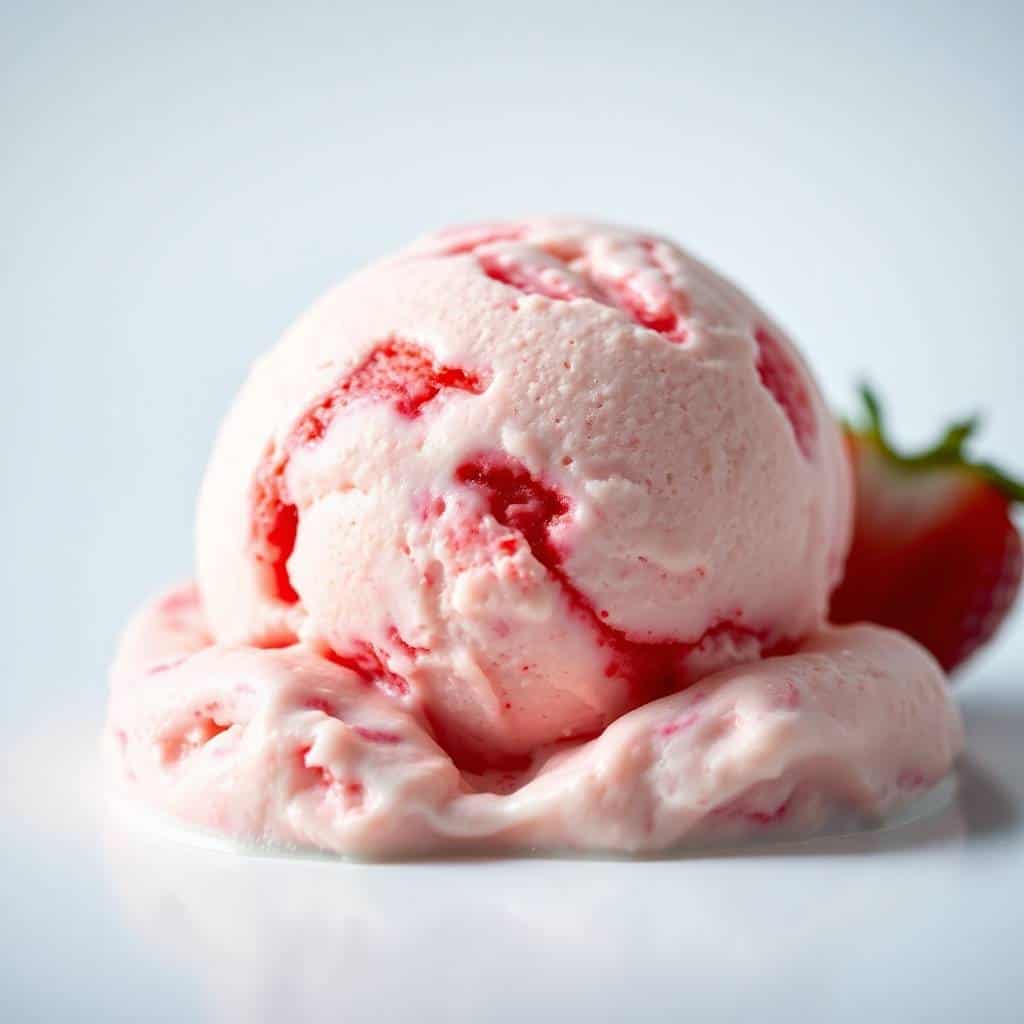
- Step 4: Fold in the strawberry reduction. Add the cooled strawberry reduction to the cream-and-condensed-milk mixture. Add vanilla, lemon juice, and salt if using. Fold gently until almost combined but leave some streaks of strawberry visible — this creates a swirled, marbled effect rather than uniform pink. If using chopped fresh strawberries, fold them in at the end.
- Step 5: Transfer to a freezer container. Pour the mixture into a 9×5 loaf pan, large freezer container, or two 1-pint containers. Smooth the top with a spatula. Cover with plastic wrap pressed directly onto the surface (this prevents ice crystals from forming on top) plus aluminum foil or a lid.
- Step 6: Freeze for 6-8 hours. Place the container in the back of the freezer (the coldest spot) for at least 6 hours, preferably overnight. The ice cream needs time to fully set. Don't open the freezer to check — every time you do, you let warm air in and slow down the freezing.
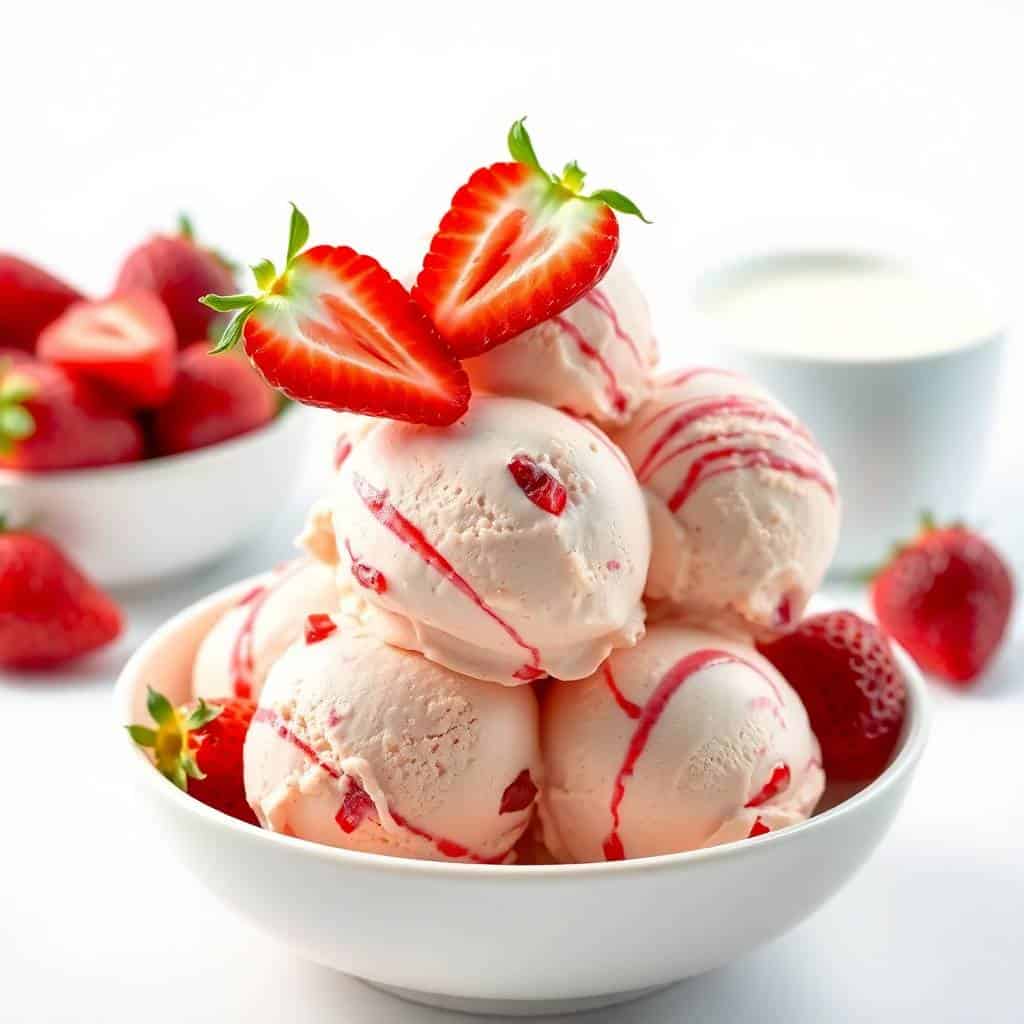
- Step 7: Scoop and serve. Pull the ice cream from the freezer. Let sit at room temperature for 2-3 minutes if it feels too hard (this should be a quick step — no-churn ice cream stays softer than traditional). Scoop with a warm ice cream scoop (dip the scoop in hot water and wipe before each scoop for clean rounds). Serve in bowls or cones, topped with fresh strawberries, mint leaves, or a drizzle of chocolate sauce if desired.
Tips for Success
- Start with COLD heavy cream and a cold bowl. Cold cream whips faster and to higher peaks than room-temperature cream. For best results, chill the mixing bowl and beaters in the freezer for 15 minutes before whipping. Cream that's even slightly warm won't whip properly — you'll get soft sloppy peaks instead of the firm peaks needed for ice cream structure.
- Reduce the strawberries to a jammy consistency — don't shortcut. Raw strawberry puree is too watery and turns the ice cream icy instead of creamy. The 12-15 minute cook-down step concentrates the flavor and removes excess water, which is essential for proper ice cream texture. The reduction should look thick like jam, not like juice.
- FOLD, don't stir or beat. Once the cream is whipped, every subsequent addition must be FOLDED, not stirred. Folding preserves the air bubbles that give ice cream its volume; stirring deflates them. Use a rubber spatula and a gentle down-and-around motion. The mixture should stay light and fluffy throughout the entire process.
- Use full-fat sweetened condensed milk. Low-fat or fat-free versions don't have enough fat to keep the ice cream creamy — they freeze icy and hard. Full-fat sweetened condensed milk (Eagle Brand and Borden are reliable) is what makes the magic work. Sweetened condensed milk is also different from evaporated milk; don't substitute. Look for "sweetened condensed milk" specifically.
- Cover the surface directly with plastic wrap before freezing. Air contact with the surface of the ice cream causes ice crystals and freezer burn over time. Pressing plastic wrap directly onto the surface (not just covering the container) creates a moisture barrier that keeps the texture creamy for longer storage. Add a lid or foil on top of the plastic wrap for double protection.
Variations
- strawberry cheesecake version: Add 4 oz of softened cream cheese (whipped smooth) to the base before adding the strawberry reduction. Crumble in ½ cup of graham cracker pieces during the final folding. The result tastes like strawberry cheesecake in frozen form — rich, tangy, with crunchy bits of graham throughout.
- Roasted strawberry version (more intense flavor): Instead of cooking strawberries in a saucepan, roast them at 400°F on a sheet pan with 2 tablespoon sugar and 1 tablespoon balsamic vinegar for 25 minutes until concentrated and slightly caramelized. The roasted strawberries have deeper, more complex flavor than stovetop-reduced. Use as you would the regular reduction.
- Strawberry basil version (sophisticated): Add 8-10 fresh basil leaves to the strawberry reduction in the last 2 minutes of cooking (they wilt into the puree). Strain out the basil before cooling. The herbal note adds a sophisticated, adult-friendly flavor — perfect for dinner party desserts.
- Mixed berry version: Use 1 lb strawberries plus ½ lb mixed raspberries and blueberries. Strain the raspberry seeds out of the reduction through a fine-mesh sieve. The result is a "berry medley" ice cream with more complex flavor than single-berry versions.
- strawberry shortcake version: Make the recipe as written. Once the ice cream is in the freezer container, layer crumbled vanilla shortbread cookies (or pound cake pieces) between layers of ice cream as you pour it in. Run a knife through the layers for a swirl effect. Cake pieces stay slightly chewy in the frozen ice cream — strawberry shortcake in scoopable form.
How to Serve
Scoop into chilled bowls or sugar cones immediately from the freezer. The no-churn texture means you can serve directly without softening time. For an elegant dessert presentation, place a scoop in a chilled coupe glass with fresh strawberry slices, a drizzle of chocolate sauce, a sprig of fresh mint, and a small shortbread cookie on the side. For kid-friendly serving, use waffle cones with rainbow sprinkles. The ice cream is also excellent as the base of strawberry milkshakes (blend with milk and add a splash of vanilla), strawberry ice cream sandwiches (between cookies), or as the topping for warm berry crisps and pies. Pair with cold rosé wine for a sophisticated adult dessert — the strawberry-and-rosé combination is a classic summer flavor match.
How to Store
Store in the freezer in an airtight container (with plastic wrap pressed directly onto the surface) for up to 3 weeks. After 2 weeks, the texture gets slightly icier and the flavor slightly muted, but still scoopable and good. For best quality, use within 10 days. Don't store ice cream in the door of the freezer — temperature fluctuations from opening and closing cause ice crystals. The back of the freezer (the coldest, most stable spot) is the right location. If the ice cream becomes too hard from extended storage, let it sit at room temperature for 5-10 minutes before scooping, or microwave a serving for 10-15 seconds for instant soft-scoop texture.
Related Recipes You Might Like
If you loved this no-churn ice cream, here are a few more summer dessert and party recipes from the site that pair beautifully with hot-weather entertaining:
- Blueberry Lemon Bars Recipe — the tangy-sweet bar to pair with this ice cream
- Strawberry Lemonade Layer Cake — the big birthday cake using the same strawberry technique
- Easy Graduation Sheet Cake Recipe — for the crowd-feeding party format
- Watermelon Feta Skewers — the 10-minute summer appetizer
- Best Memorial Day Pasta Salad — the BBQ side for a summer cookout
Frequently Asked Questions
Do I really not need an ice cream maker?
Genuinely no — and the result is excellent. The whipped heavy cream provides the air structure that an ice cream maker would normally create through churning. The sweetened condensed milk's high sugar content prevents the mixture from freezing solid (it acts as antifreeze). The combination gives you creamy, scoopable ice cream without machinery. The texture is slightly different from churned ice cream — slightly denser, slightly more creamy — but most people prefer it. No ice cream maker needed.
Why does my no-churn ice cream taste icy?
Three possible causes. First, the strawberry reduction wasn't cooked down enough — raw puree adds water that creates ice crystals. Cook the puree down to about 1 cup of thick, jammy consistency. Second, the heavy cream wasn't whipped to stiff peaks before folding — under-whipped cream doesn't have enough air structure. Third, low-fat condensed milk was used instead of full-fat — the fat content matters for texture. Fix any of these three issues and the ice cream comes out creamy.
Can I use frozen strawberries instead of fresh?
Yes, with a small adjustment. Thaw 4 cups of frozen strawberries completely, then proceed exactly as with fresh — blend into puree, reduce in a saucepan, cool. Frozen strawberries release slightly more water than fresh, so cook the reduction 2-3 minutes longer to reach the same thick, jammy consistency. The flavor is nearly identical to fresh strawberry ice cream. Don't use freeze-dried strawberries; they don't have enough moisture for the recipe to work.
How long does no-churn ice cream last in the freezer?
Up to 3 weeks in an airtight container with plastic wrap pressed directly onto the surface. The first 10 days are peak quality. After 2 weeks, the texture gets slightly icier but the ice cream is still scoopable and tastes good. Don't store in the freezer door (temperature fluctuations cause ice crystals); the back of the freezer is the most stable cold spot. For maximum life, double-wrap with plastic and foil.
Can I make this ice cream dairy-free?
Yes, with substitutions. Replace heavy cream with full-fat coconut cream (chilled overnight, then whipped). Replace sweetened condensed milk with coconut sweetened condensed milk (Nature's Charm makes a good one). The flavor will have a slight coconut note but is still excellent — the strawberry flavor remains the star. Don't substitute almond milk or oat milk; they don't have enough fat to make creamy ice cream. Coconut-based dairy-free versions are by far the best vegan diet substitute.
How much ice cream does this recipe make?
About 1.5 quarts (6 cups), which is equivalent to a large container of premium grocery store ice cream. This feeds 8-10 people generously as a dessert (½ cup per serving) or 12-15 people as a topping for pie or another dessert. For larger crowds, double the recipe and use two loaf pans. The recipe doubles cleanly with no proportions to adjust.
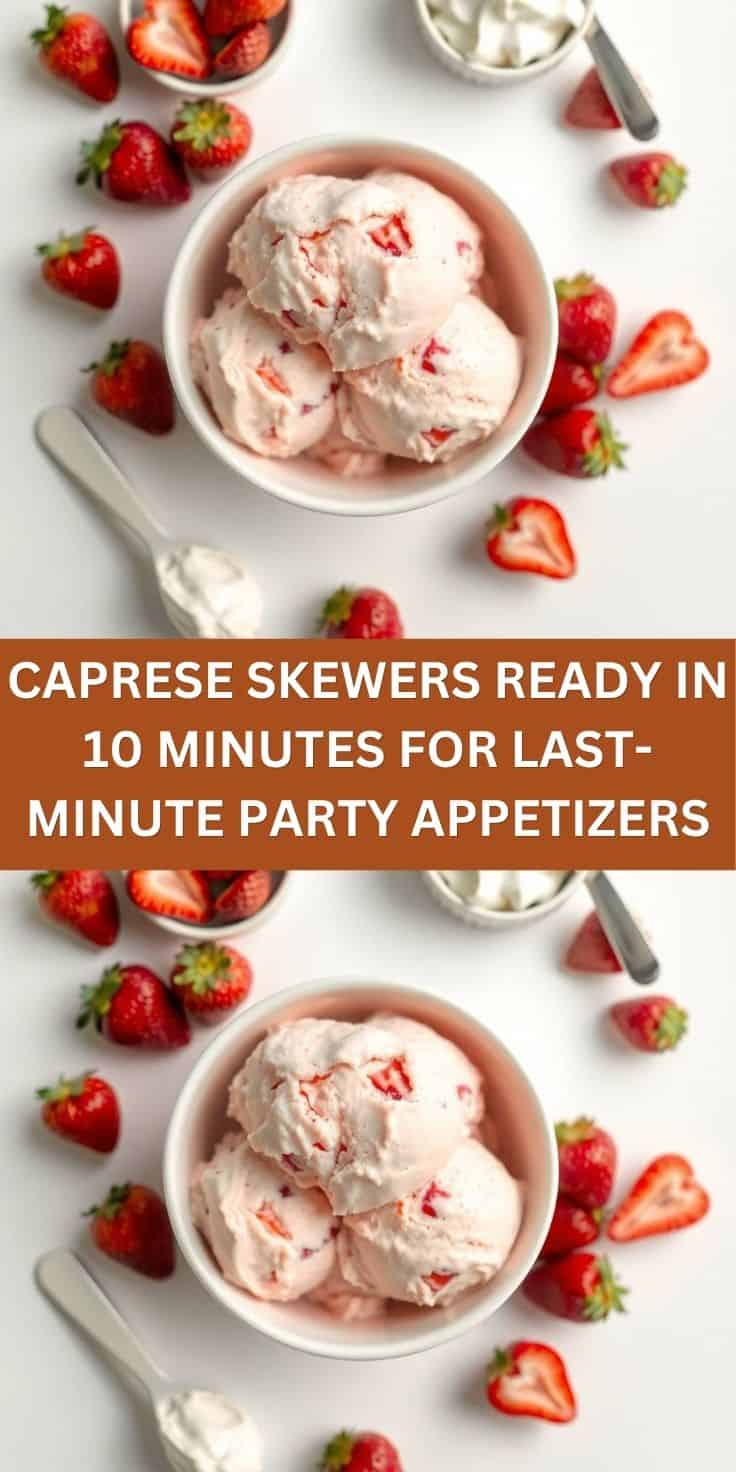
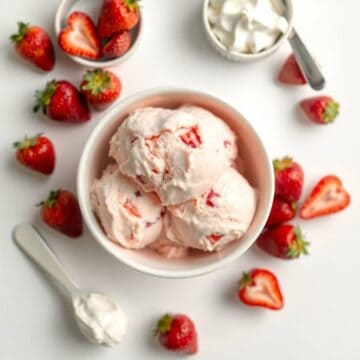
NO-CHURN STRAWBERRY ICE CREAM MADE WITH ONLY 3 INGREDIENTS
Equipment
- Mixing Bowl
- Electric hand mixer
- Loaf pan or freezer-safe container
- Spatula
Ingredients
For the Ice Cream Base:
- 1 can (14 oz) sweetened condensed milk
- 2 cups heavy whipping cream, cold
- 1 ½ cups strawberries, fresh or frozen (blended)
Instructions
Whip Cream
- Whip cold heavy cream with an electric mixer until stiff peaks form.
Mix Base
- In a separate bowl, combine sweetened condensed milk with blended strawberries until smooth.
Combine
- Gently fold whipped cream into the strawberry mixture until fully combined and fluffy.
Freeze
- Pour mixture into a loaf pan or container, smooth the top, and freeze for at least 6 hours or overnight.
Serve
- Let sit for a few minutes before scooping and serving.
Notes
- Fruit Swap: Replace strawberries with mango, blueberries, or raspberries.
- Texture Tip: Do not overmix after folding to keep it light and creamy.
- Storage: Store frozen for up to 2 weeks in an airtight container.
- Extra Flavor: Add vanilla extract if you want a richer taste (optional extra ingredient).
- Serving Idea: Top with fresh berries or chocolate drizzle.





Comments
No Comments