
Peanut butter lovers, this one's for you! These No-Bake Peanut Butter Balls are a dream dessert—rich, creamy, and coated in chocolate. They come together with simple pantry staples and chill quickly, making them the ultimate make-ahead treat for busy days or festive occasions.
The recipe starts with a smooth peanut butter mixture that’s sweetened and thickened with powdered sugar and graham cracker crumbs. This combination creates the perfect soft-yet-firm bite.
Once you roll the mixture into balls, each one is dipped in melted chocolate for a glossy, irresistible shell. The contrast of the crunchy coating and soft peanut butter centre makes every bite feel indulgent.
Perfect for holidays like Christmas or Valentine’s Day, these peanut butter balls also store well, making them great for gifting. You can decorate them with sprinkles, a chocolate drizzle, or a touch of sea salt to make them extra special.
Whether you’re a beginner baker or just short on time, this recipe delivers consistent, crowd-pleasing results. Keep them chilled and enjoy a few whenever your sweet tooth calls. You don’t even need an oven to make them!
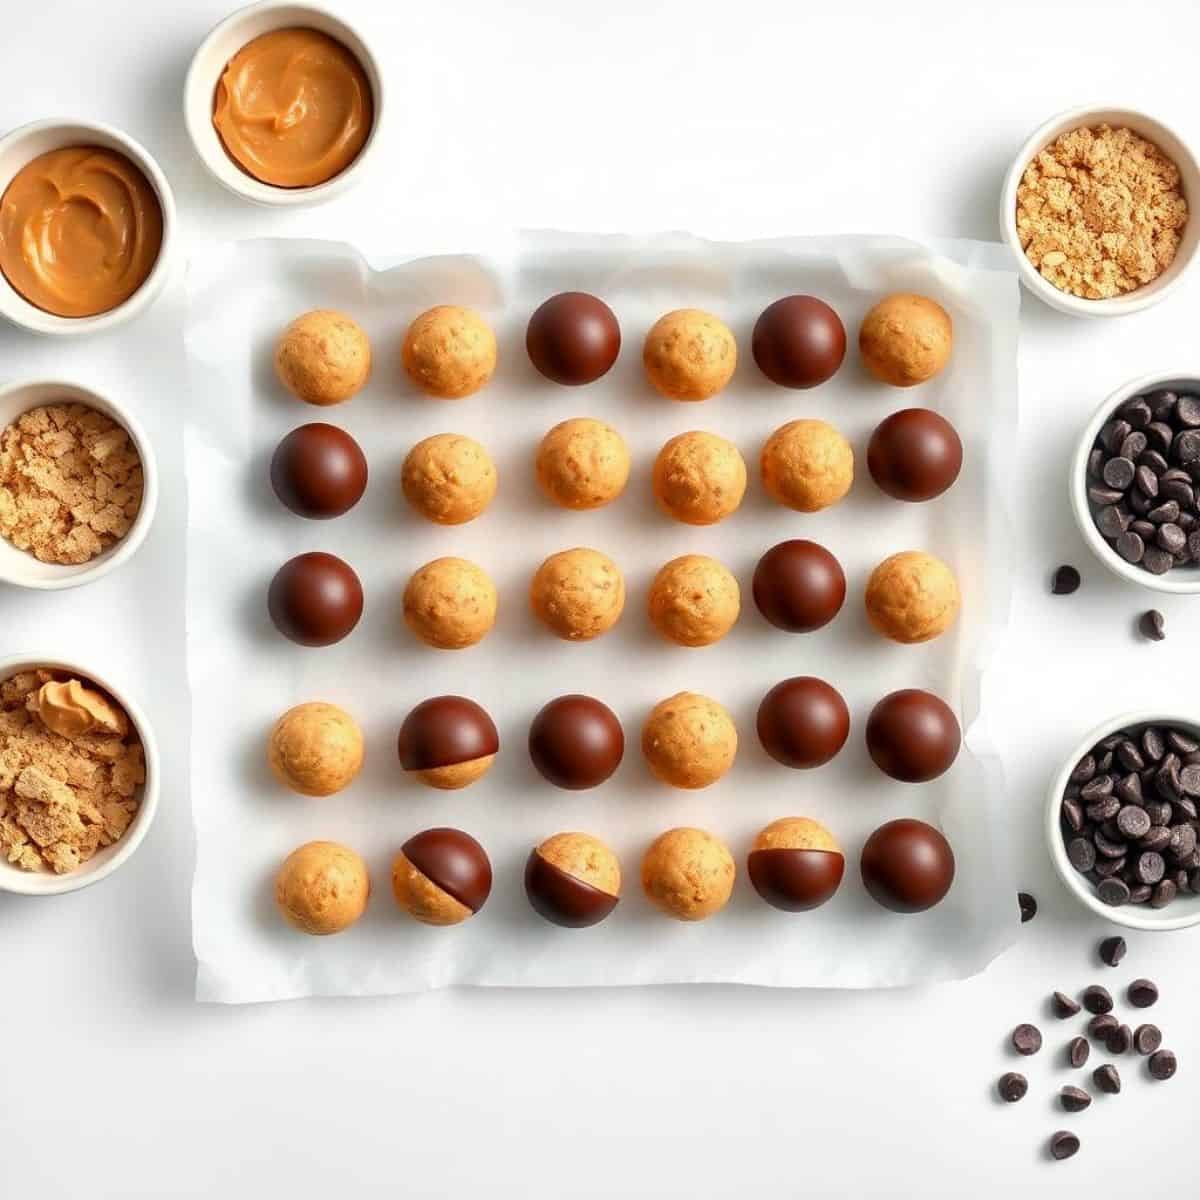
WHY YOU WILL LOVE THIS RECIPE
- Quick to Make: No baking means you can whip these up in 15 minutes for instant peanut butter satisfaction.
- Only a Few Ingredients: You probably already have everything you need in your pantry—no need for a grocery run.
- Kid-Friendly: Safe for children to help with since there’s no heat involved, making it a fun family activity.
- Great for Gifting: Wrapped in a tin or box, they make sweet homemade gifts for holidays or special occasions.
- Perfect Texture: Creamy peanut butter and crispy rice cereal make the perfect soft but chewy texture.
- Customisable Flavour: Easily change things up with add-ins like mini chocolate chips, coconut, or sprinkles.
- Freezer-Friendly: Make ahead and freeze for a quick sweet bite whenever the craving strikes.
INGREDIENTS
- 1 cup creamy peanut butter
- ¼ cup unsalted butter, softened
- 1 teaspoon vanilla extract
- 2 cups powdered sugar
- 1½ cups crisped rice cereal
- 1½ cups semi-sweet chocolate chips (optional, for dipping)
- 1 tablespoon coconut oil (optional, for melting chocolate)
DIRECTIONS
- Step No.1: Mix peanut butter and butter
In a large mixing bowl, combine the creamy peanut butter and softened butter. Stir until the mixture is smooth and well blended.
- Step No.2: Add vanilla and sugar
Stir in vanilla extract. Gradually add powdered sugar, mixing until a thick dough forms. The mixture should be stiff but pliable.
- Step No.3: Fold in crisped rice cereal
Gently fold the cereal into the peanut butter mixture until evenly distributed. Be careful not to crush the cereal. - Step No.4: Roll into balls
Scoop out about 1 tablespoon of mixture and roll into smooth balls using your hands. Place on a lined tray or plate.
- Step No.5: Chill the peanut butter balls
Refrigerate the balls for at least 30 minutes to firm up before serving or dipping in chocolate.
- Step No.6: (Optional) Dip in melted chocolate
Melt chocolate chips with coconut oil. Dip each ball, let excess drip off, and place on parchment paper to set.
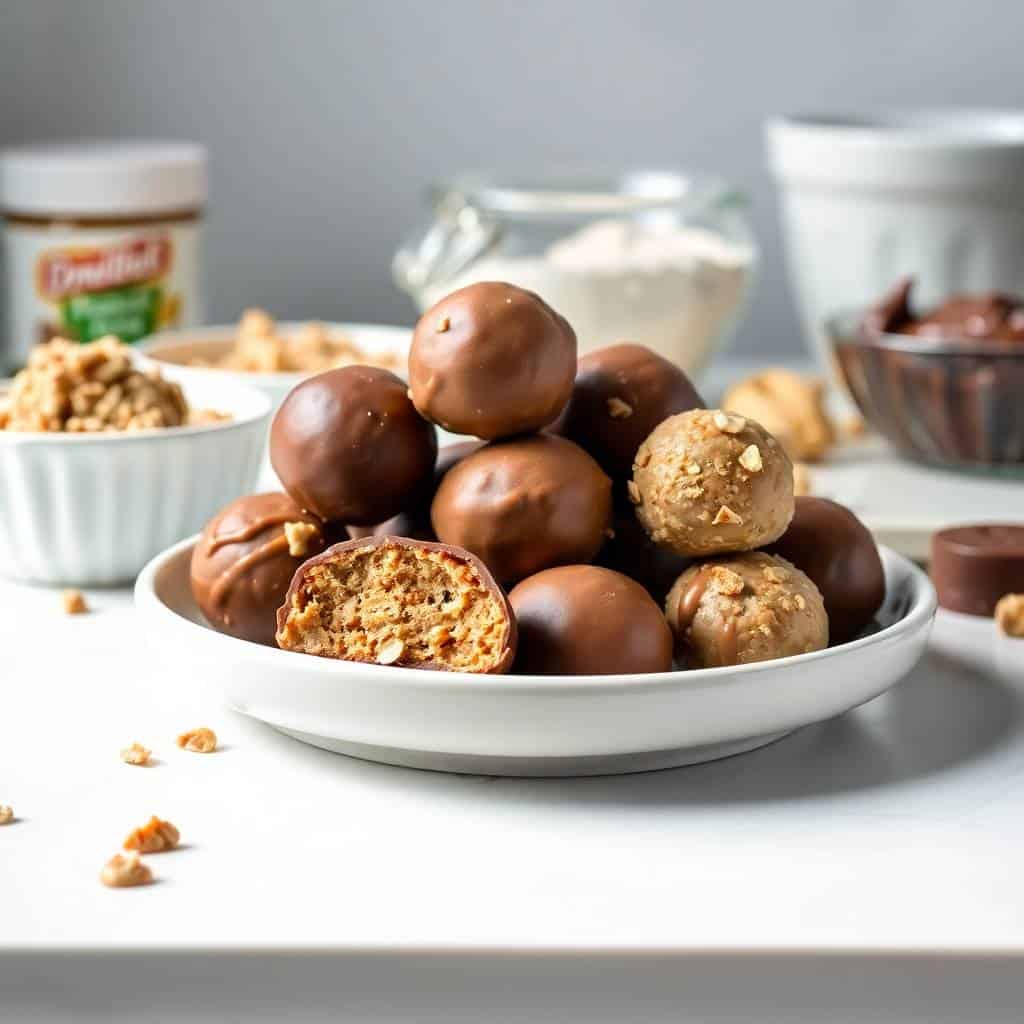
TIPS FOR SUCCESS
- Use Creamy Peanut Butter: Natural or chunky peanut butter can make the texture too crumbly or oily.
- Don’t Skip Chilling Time: Chilling helps the balls hold their shape and gives the best texture.
- Sift the Powdered Sugar: It prevents lumps and makes the dough smoother and easier to roll.
- Use Damp Hands for Rolling: Lightly moisten your hands to keep the mixture from sticking while shaping.
- Add Crunch with Toppings: Sprinkle with chopped nuts or coconut before the chocolate sets for added texture.
- Use a Cookie Scoop: It keeps the size uniform and helps you shape balls faster and neater.
- Store in Layers: Use parchment between layers to prevent sticking when storing in containers.
VARIATIONS
- Add Mini Chocolate Chips: Mix mini chips into the dough for extra chocolate in every bite.
- Swap the Butter: Use coconut oil instead of butter for a dairy-free or subtly tropical version.
- Try Almond or Sunflower Butter: Great for those with peanut allergies or different taste preferences.
- Use White Chocolate Coating: Dip the balls in white chocolate for a sweet twist and contrast in flavour.
- Add Coconut Flakes: Mix into the dough or roll the finished balls in coconut for a nutty, tropical vibe.
- Make It vegan diet: Use plant-based butter and ensure your chocolate is dairy-free for a vegan-friendly treat.
- Add a Pretzel Crunch: Crush pretzels into the mix for a salty-sweet flavour and extra crunch.
SERVING AND STORAGE
Serving
Serve chilled or at room temperature with coffee, tea, or as part of a dessert platter for guests or parties.
Storage
Store in an airtight container in the fridge for up to 10 days or freeze for up to 2 months.

FAQ
They can stay out for a few hours at a party, but for longer freshness, keep them refrigerated.
Yes! Freeze in layers with parchment in between, then thaw in the fridge before serving.
Semisweet chocolate chips are ideal, but dark or milk chocolate also work based on your preference.
Yes, substitute with crushed vanilla wafers or omit and increase powdered sugar slightly for binding.
These No-Bake Peanut Butter Balls are the perfect mix of simplicity and indulgence.
Whether you're craving something sweet on a weeknight or preparing treats for the holidays, this recipe is a quick, foolproof favourite.
The creamy peanut butter centre pairs beautifully with the smooth chocolate coating, making every bite a delightful balance of sweet, rich flavours and irresistible textures.
With no need for baking and minimal cleanup, this recipe suits even the busiest kitchens and the most beginner-level cooks.
They’re also incredibly versatile—you can customise them with your choice of toppings or switch up the nut butter for something new.
From birthday parties to festive platters, they always earn compliments and disappear quickly from the dessert table.
Plus, since they’re freezer-friendly, you can easily make a big batch and save some for later.

NO-BAKE PEANUT BUTTER BALLS
Ingredients
- 1 cup creamy peanut butter
- ¼ cup unsalted butter softened
- 2 cups powdered sugar
- 1 teaspoon vanilla extract
- 2 cups semisweet or milk chocolate chips
- 1 tablespoon coconut oil or shortening optional, for smoother chocolate
Instructions
Step 1 – Make the Peanut Butter Mixture:
- In a large bowl, mix peanut butter, butter, powdered sugar, and vanilla until smooth and thick. Roll into 1-inch balls and place on a lined baking sheet.
Step 2 – Chill:
- Refrigerate the balls for at least 30 minutes, or until firm.
Step 3 – Melt the Chocolate:
- In a microwave-safe bowl, melt chocolate chips (and coconut oil if using) in 30-second intervals, stirring until smooth.
Step 4 – Dip and Set:
- Using a fork or toothpick, dip each ball into the melted chocolate. Let excess drip off and return to the lined tray. Chill until the chocolate is set.
Notes
- Storage: Store in an airtight container in the fridge for up to 1 week, or freeze for up to 1 month.
- Variations: Use crunchy peanut butter for texture, or add crushed graham crackers for a twist.
- Decorating Tip: Sprinkle with sea salt or crushed nuts before the chocolate sets.




Comments
No Comments