
I started making these bars on a summer afternoon when the temperature outside was pushing 100°F and I refused to turn on the oven. I had oats, butter, chocolate chips, and peanut butter sitting in my pantry, and within about an hour I had something that genuinely tasted like I'd put effort in. That felt like a win.
What I like about this recipe is how honest it is. There's no tricky technique, no special equipment, nothing you need to order online. You cook a simple oat mixture on the stovetop, melt chocolate and peanut butter together, layer it all in a pan, and stick it in the fridge. The butter and brown sugar give the oat base a slightly caramel-y depth, and the chocolate-peanut butter middle sets into something fudgy and rich. I've made these at least a dozen times now and they come together the same way every single time.
Saad discovered these bars exist and now requests them constantly. My husband takes a few to work wrapped in parchment and comes back saying his colleagues asked for the recipe. I usually make a double batch because a single 8×8 pan disappears in less than two days in this house. If you want something low-effort that actually satisfies, these are it. If you like no-bake desserts, you might also want to check out my Funfetti Cookie Dough Bites — another pantry-staple recipe my kids never say no to.
One thing to know going in: the recipe says to chill for 2 hours, and I'd really stick to that. The first time I made these I got impatient and tried to slice them after 45 minutes. They were soft, messy, and completely fell apart. Let them firm up properly and they'll cut into clean bars. Worth the wait.
Why You'll Love This Recipe
- No oven required: On hot days or busy weeknights, not turning on the oven is genuinely a relief. The only heat you need is a saucepan on the stovetop for a few minutes and a microwave to melt the chocolate. Everything else happens in the fridge. I've made these in the middle of summer and mid-December with equal enthusiasm.
- Pantry ingredients only: Butter, brown sugar, oats, chocolate chips, peanut butter, vanilla — I almost always have all of these on hand. There's no specialty shopping involved. If you grab a bag of quick oats from Walmart or Aldi, you're already most of the way there.
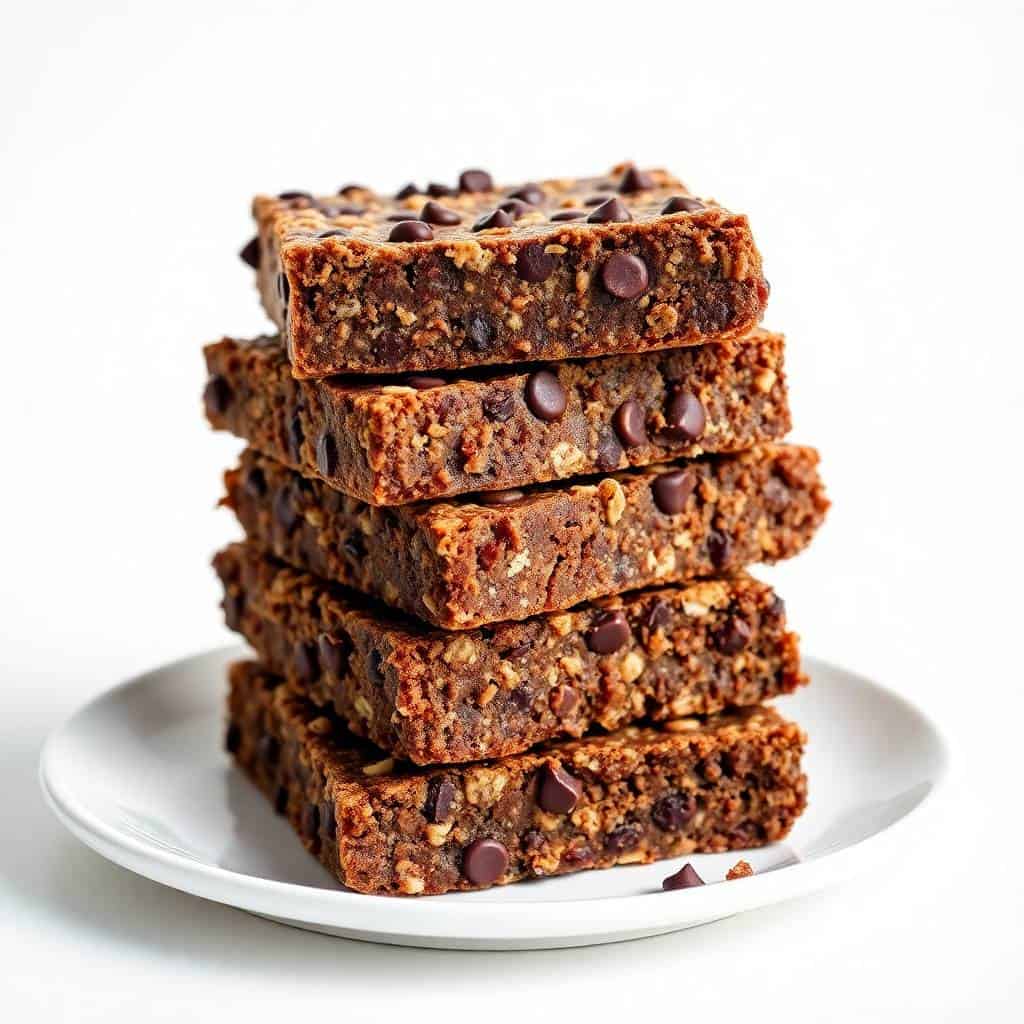
- Genuinely fudgy texture: The chocolate-peanut butter layer sets into something that's firm enough to slice but still soft when you bite into it. It's not candy-hard and it's not falling apart — it hits a really nice middle ground. The oat layers on either side give it chew, and the chocolate layer in the middle gives it richness.
- Works as a snack or a dessert: I've packed these into lunchboxes, served them after dinner, and put them out at a gathering. They work in all three contexts. Cut them small for a snack, cut them bigger for dessert. They hold together well at room temperature for a few hours, so you're not stuck keeping them ice-cold if you're serving guests.
- Easy to adapt: The base recipe is flexible. I've swapped peanut butter for almond butter, added a handful of coconut, drizzled extra chocolate on top. It handles changes without falling apart — in flavor or texture. Once you've made the original a couple of times, you'll start seeing all the directions you can take it.
Ingredients
- 1 cup unsalted butter
- ½ cup packed brown sugar
- 1 teaspoon vanilla extract
- 3 cups quick-cooking oats
- 1 cup semi-sweet chocolate chips
- ½ cup peanut butter (creamy works best; see variations for nut-free swaps)
Directions
- Prepare the pan: Line an 8×8 inch baking dish with parchment paper, leaving some overhang on the sides. That overhang matters — it lets you lift the whole slab out cleanly once it's set instead of trying to dig bars out of the corners.
- Cook the oat mixture: Melt the butter in a medium saucepan over medium heat. Add the brown sugar and vanilla and stir until combined. Add the oats and cook for 2–3 minutes, stirring constantly. You want the oats coated and the mixture slightly fragrant — not browned, just toasty.
- Press the base layer: Scoop out roughly half the oat mixture and press it firmly into the bottom of your prepared pan. Use the back of a spoon or the bottom of a measuring cup to pack it as flat and even as you can. This layer is what holds the whole bar together, so don't be gentle about it.
- Make the chocolate layer: Combine the chocolate chips and peanut butter in a microwave-safe bowl. Microwave in 30-second intervals, stirring between each one, until fully melted and smooth. Usually takes 60–90 seconds total. Don't rush this — if you microwave it all at once the chocolate can seize up.
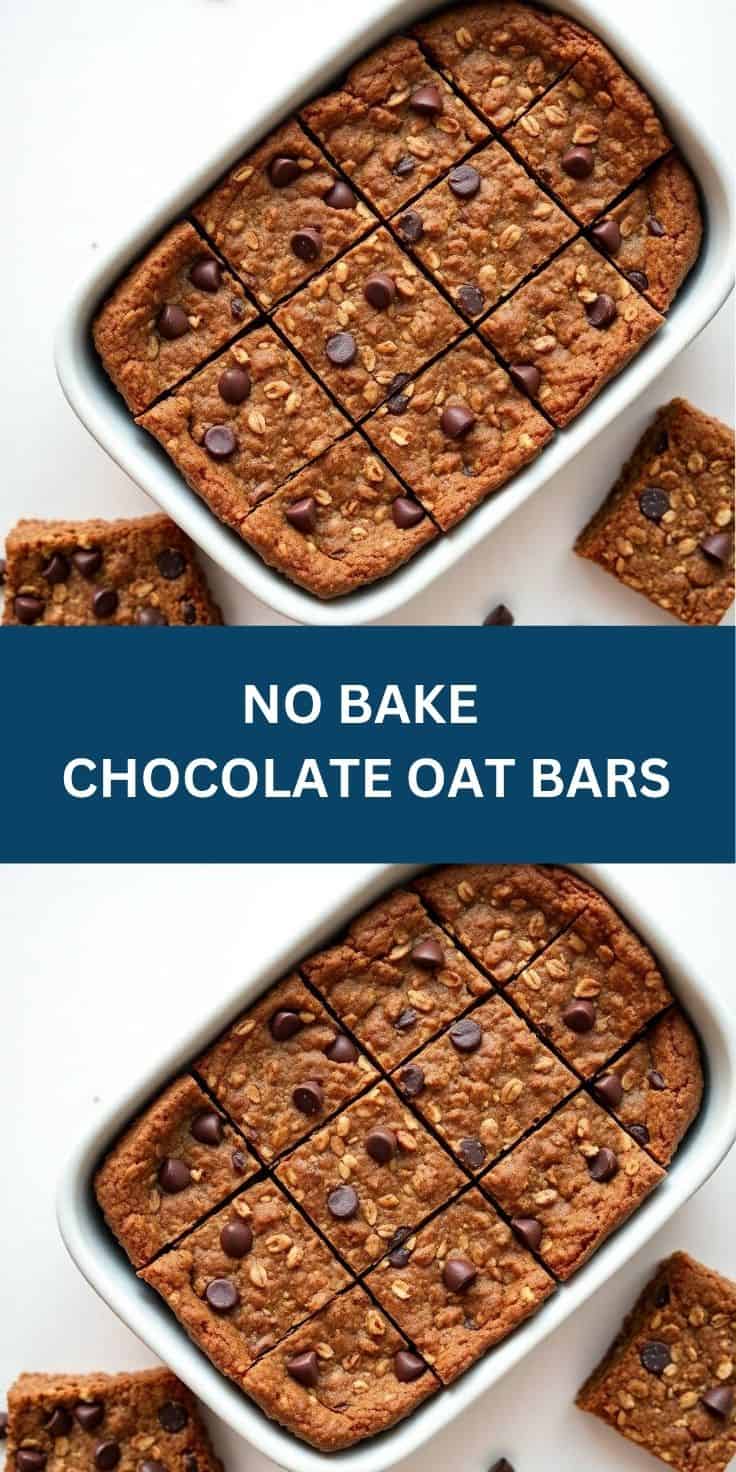
- Layer and chill: Pour the chocolate mixture evenly over the pressed oat base. Then crumble the remaining oat mixture over the top and press it down gently — you want it to stick without pushing the chocolate layer around. Refrigerate for at least 2 hours until fully set before slicing.
Tips for Success
- Don't skip the parchment paper: I skipped it once — just greased the pan and figured it would be fine. The bars stuck, I had to dig them out in chunks, and the whole thing was frustrating. Parchment with overhang means you can lift the slab out in one piece and slice it on a cutting board. That's the move.
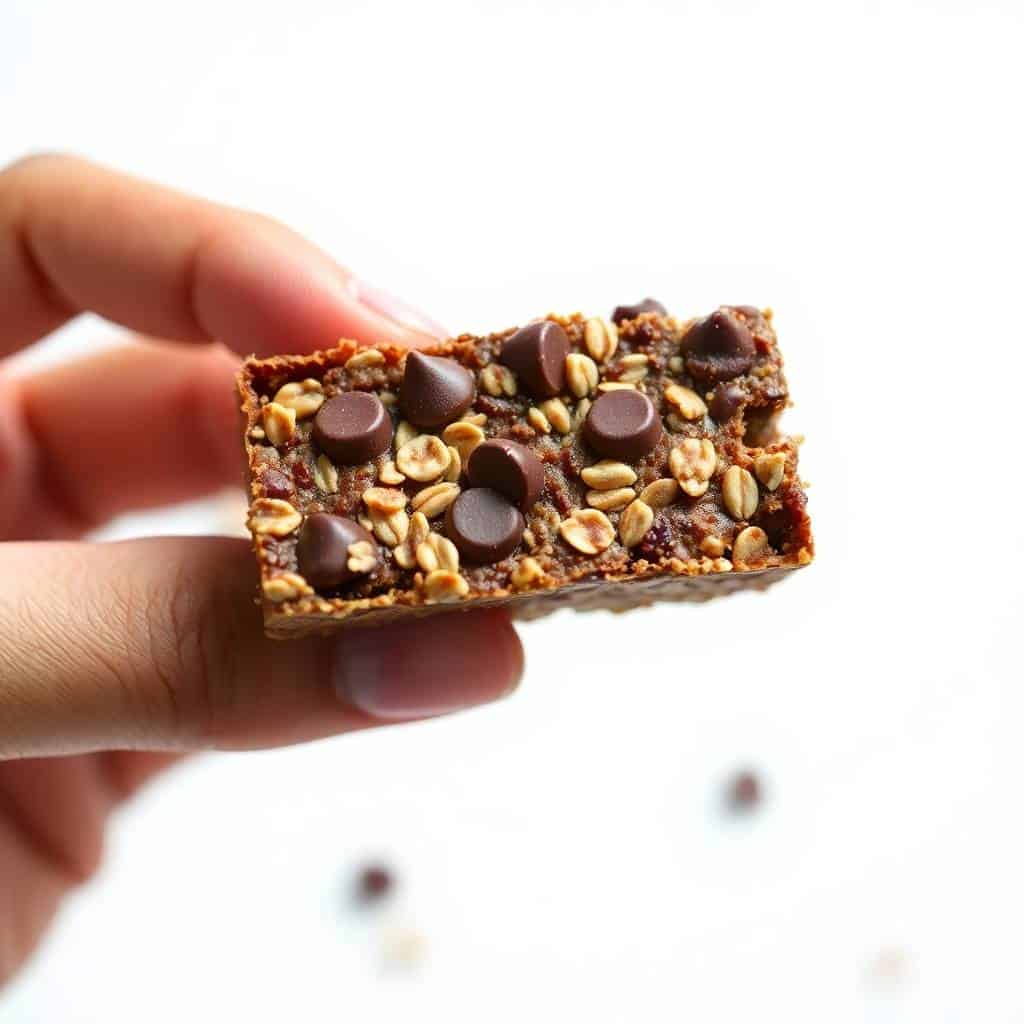
- Press the oat layers firmly: The first time I made these I was too light-handed with pressing the base and the bars crumbled when I tried to cut them. Use real pressure — the back of a flat-bottomed measuring cup works well. The more compacted the oat layers are, the cleaner your bars will slice.
- Let the oat mixture cool slightly before the chocolate layer: If your oat base is still steaming hot when you pour the chocolate over it, the chocolate can get a bit greasy as it melts further. I give the base about 5 minutes after pressing it in before I add the chocolate. Not long — just enough for it to not be actively hot.
- Wait the full 2 hours to slice: I know I already mentioned this, but I'm saying it again because I have learned this lesson twice. Cutting these bars early results in a gooey mess. If you can leave them in the fridge overnight, they're even cleaner to cut and the flavors have time to settle.
- Use a sharp knife to slice: Run a sharp knife under hot water, dry it quickly, and then slice through the bars. The warm blade cuts through the chocolate layer cleanly without cracking it. I do this between every cut and it makes a real difference in how the bars look.
Variations
- Nut-free version: Swap the peanut butter for sunflower seed butter — it melts and behaves the same way in the chocolate layer. The flavor is slightly different, a little milder, but it still works really well. This is the version I make when Saad's school has a nut-free policy for events.
- Add-ins in the oat layers: Mix a handful of shredded coconut, dried cranberries, or chopped walnuts into the oat mixture before pressing. I've done the coconut version and it adds a slightly chewy sweetness that works really nicely against the chocolate. Keep add-ins to about ¼ cup so they don't make the layers fall apart.
- Milk chocolate swap: If you're making these for kids who find semi-sweet too intense, use milk chocolate chips instead. The bars come out noticeably sweeter and a little softer, but they still set properly after chilling. My husband actually prefers this version.
- Vegan-friendly: Use vegan butter (like Earth Balance, available at most grocery stores) and dairy-free chocolate chips. The rest of the recipe is already plant-based. I've tested this version and it sets just as firmly — you genuinely can't tell the difference once they're chilled.
- Extra chocolate drizzle on top: Once the bars are fully set and sliced, melt a small handful of chocolate chips and drizzle it over the top with a spoon. It sets in the fridge in about 15 minutes and makes them look like you put in a lot more effort than you actually did. Great if you're bringing them somewhere.
Serving and Storage
Serving
Serve these cold or at room temperature — both work. Straight from the fridge they're firmer and easier to pick up cleanly. At room temperature they soften slightly and the chocolate layer gets a little fudgier. For a dessert spread, I cut them into 16 small squares. For a snack or lunchbox, I cut them into 8 larger rectangles. They pair really nicely alongside something like my No Bake Chocolate Eclair Dessert if you're doing a no-bake dessert table.
Storage
Store in an airtight container in the refrigerator for up to 1 week. Layer them with a sheet of parchment between layers if you're stacking them so they don't stick together. For longer storage, freeze them individually wrapped in plastic wrap and then transferred to a zip-lock bag — they keep well for up to 2 months. Pull them out and let them thaw in the fridge overnight rather than at room temperature, which can make them sweat and get a little soggy on the outside.
Frequently Asked Questions
Can I use rolled oats instead of quick-cooking oats?
You can, but the texture will be noticeably different. Quick oats absorb the butter mixture more evenly and compact into a firmer layer. Rolled oats stay a bit coarser and the bars can crumble when you try to slice them. If rolled oats are all you have, pulse them a few times in a blender first to break them down slightly — that helps a lot.
Do these bars need to be kept in the fridge?
Yes, refrigeration is really important for these. The chocolate-peanut butter layer softens significantly at room temperature, especially in a warm kitchen. They're fine sitting out for an hour or two if you're serving them at a party, but for storage they need to go back in the fridge. Otherwise they'll get too soft to hold their shape.
Can I make these bars ahead of time?
These are actually better made ahead. I often make them the night before I need them — they're fully set, easier to slice, and the flavors have had time to settle. They'll keep in the fridge for up to a week, so you have a lot of flexibility on timing. They're one of the few things I can confidently make two days early without worrying about quality.
What can I use instead of peanut butter?
Almond butter, cashew butter, or sunflower seed butter all work well. I've used almond butter and the flavor is a little more subtle but still really good. Sunflower seed butter is your best bet for a nut-free version — it melts smoothly and behaves almost identically to peanut butter in this recipe. Just make sure whatever you use is the runny, natural style rather than a stiff one.
Can I double the recipe?
Yes, and honestly I'd recommend it. Double the recipe and use a 9×13 inch pan — the layer thickness ends up about the same. I almost always make a double batch because a single 8×8 doesn't last long in my house. The chill time stays the same at 2 hours minimum.
NO BAKE CHOCOLATE OAT BARS
Ingredients
- 1 cup unsalted butter
- ½ cup packed brown sugar
- 1 teaspoon vanilla extract
- 3 cups quick-cooking oats
- 1 cup semi-sweet chocolate chips
- ½ cup peanut butter
Instructions
Make the Oat Base:
- In a saucepan over medium heat, melt butter. Stir in brown sugar and vanilla. Mix in oats and cook for 2–3 minutes.
Press Half into Pan:
- Line an 8x8-inch pan with parchment paper. Press half the oat mixture into the bottom and flatten evenly.
Make the Chocolate Layer:
- In a microwave-safe bowl, melt chocolate chips and peanut butter together in 30-second bursts, stirring until smooth.
Layer and Finish:
- Spread the chocolate mixture over the oat layer. Top with remaining oat mixture, pressing gently. Chill for at least 2 hours.
Slice & Serve:
- Once firm, cut into bars and enjoy!
Notes
Nut-Free Option: Use sunflower seed butter in place of peanut butter.
Add-Ins: Try adding chopped nuts, shredded coconut, or dried cranberries.
Sweeter Taste: Use milk chocolate chips for a milder, sweeter flavour.
Gift-Worthy: Wrap individually for lunchbox treats or homemade gifts.
These bars have become one of those recipes I come back to over and over because they never fail me. Six ingredients, one saucepan, one bowl, no oven, and an hour of patience while the fridge does the work. That's a good deal. I make them when I want something sweet but don't have the energy for an actual baking project, and they always deliver.
What I appreciate most is how adaptable they are once you know the base recipe. I've brought the coconut variation to a gathering, made the milk chocolate version for my kids' lunchboxes, and done the vegan version for a friend who doesn't eat dairy. Every time they disappear fast. If you're in a no-bake mood and want to try something on the richer end, my No Bake Chocolate Eclair Dessert is another one worth having in your back pocket — different technique, same general spirit.
If you make these, leave them in the fridge until they're properly set. Slice them cold with a warm knife. Then watch how quickly they go. 🍫🥄
If you liked this recipe, you might also enjoy these:
- Funfetti Cookie Dough Bites (No-Bake, Kid-Approved Snack)
- No Bake Chocolate Eclair Dessert (Easy Make-Ahead)
- Pumpkin Bars with Cream Cheese Frosting (Moist Fall Dessert)
- Christmas Oreos





Comments
No Comments