
I first made this no-bake banana split cake for a birthday gathering in the middle of July, and I genuinely did not want to turn my oven on. It was 104°F outside and my kitchen was already warm enough just from standing in it. So I pulled together what I had — graham crackers, cream cheese, bananas, a can of pineapple — and built this thing layer by layer without touching a single burner.
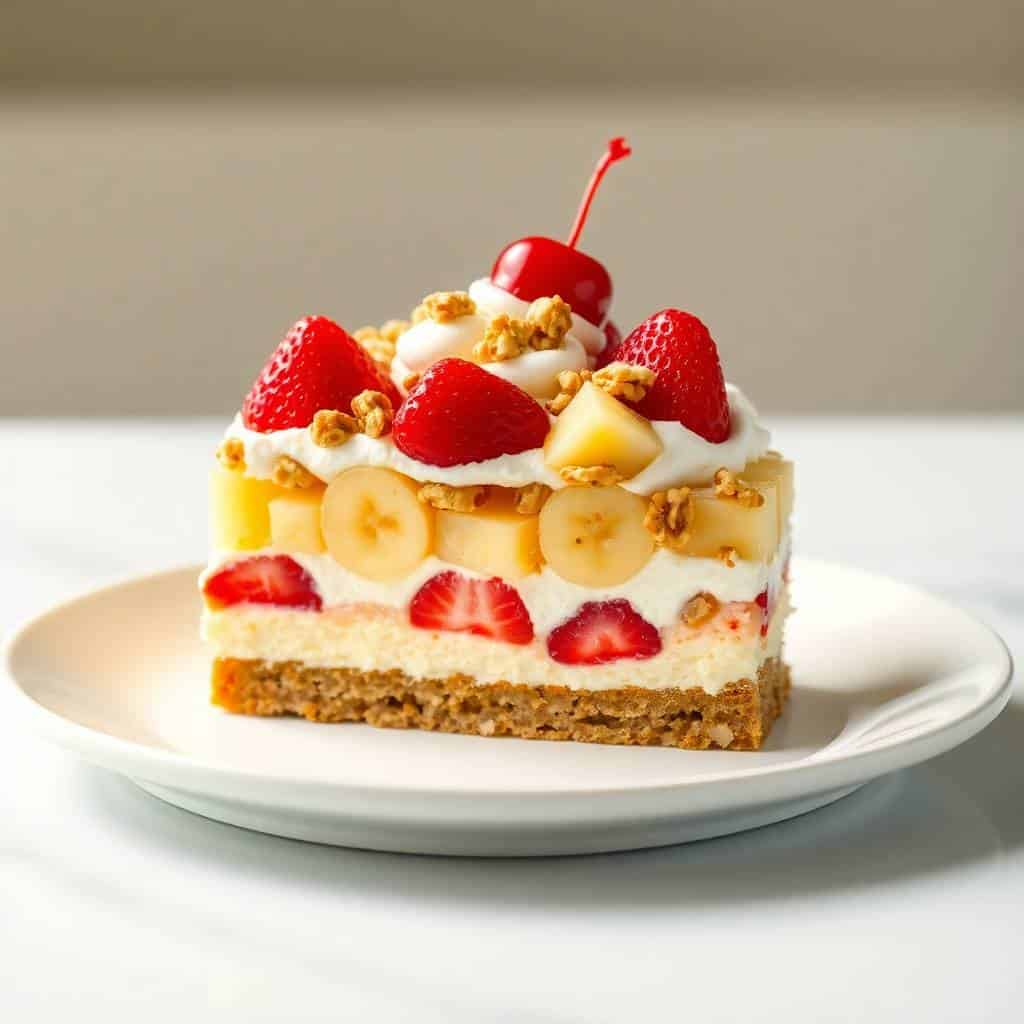
What I like about this recipe is that it actually delivers on the banana split idea. You get the crunch from the crust, the creamy tang from the cream cheese layer, the sweetness from ripe bananas and pineapple, and the whipped topping on top with cherries and a chocolate drizzle. It doesn't feel like a compromise — it tastes intentional. I've made layered no-bake desserts before, like this Blueberry Yum Yum Cake, and this one follows the same principle: simple ingredients stacked well taste like you tried harder than you did.
My kids love this one — Zainab goes for the cherry-topped pieces and Saad always asks for an extra drizzle of chocolate syrup. My husband thinks it's too sweet, but he still comes back for a second square, which says more than he'd admit. I make it the night before when I can, because an overnight chill makes it slice so much cleaner.
One thing to know before you start: drain the pineapple really thoroughly. I mean press it with the back of a spoon against the can strainer and let it sit a minute. The first time I made this, I was casual about draining it and the middle layer got soggy by the next day. It still tasted fine, but the layers didn't hold the way I wanted. That extra step genuinely matters here.
Why You'll Love This Recipe
- No oven, no problem: On hot days, I don't want to heat up my kitchen for dessert. This one goes straight into the fridge and stays there until you're ready to serve. It also means you can make it hours ahead and forget about it — no last-minute timing stress.
- Feeds a crowd from a 9x13 dish: I make a double batch when I'm taking it to a gathering because a single pan disappears faster than I expect. It slices into clean squares, travels well covered in foil, and looks like you put in real effort even though you didn't.
- Kids can help build it: This is genuinely a recipe where kids can do most of the work. Pressing the crust, spreading the cream layer, laying out banana slices — Zainab does all of that. The only part I handle myself is the initial cream cheese beating, because lumps ruin the texture.
- Layered but forgiving: Unlike a cake batter you can ruin by overmixing or underbaking, this one is very hard to mess up. Each layer is independent. If one goes slightly wrong, the others cover for it. I've made this six or seven times now and it's come out good every single time.
- Tastes better the next day: Most desserts peak right after assembly. This one peaks after an overnight rest in the fridge. The crust softens just slightly, the layers meld together, and every bite has that chilled, set quality that makes it feel like something from a diner dessert case.
Ingredients
- 2 cups graham cracker crumbs
- ½ cup unsalted butter, melted
- ¼ cup granulated sugar
- 1 package (8 oz) cream cheese, softened to room temperature
- ½ cup powdered sugar
- 1 container (8 oz) whipped topping, like Cool Whip — for the filling layer
- 3–4 ripe bananas, sliced
- 1 can (20 oz) crushed pineapple, drained very well
- 1 container (8 oz) whipped topping — for the top layer
- 1 jar maraschino cherries, drained
- ½ cup chopped walnuts or pecans (optional)
- Chocolate syrup for drizzling (optional)
Directions
- Make the crust: Mix the graham cracker crumbs, melted butter, and granulated sugar together until it looks like wet sand. Press it firmly into the bottom of a 9x13-inch dish — I use the flat bottom of a measuring cup to really pack it in. Slide it into the fridge while you work on the filling so it firms up.
- Beat the cream layer: Let your cream cheese sit out at least 15 minutes before starting — cold cream cheese will leave lumps no matter how long you beat it. Mix it with the powdered sugar until completely smooth, then fold in one container of Cool Whip gently. Spread this over the chilled crust in an even layer.
- Add the fruit: Arrange your banana slices in a single layer over the cream cheese mixture. Then spoon the drained pineapple evenly over the bananas. Press the pineapple slightly so it sits flat — this helps the next layer spread smoothly.
- Top with whipped topping: Spoon the second container of Cool Whip over the pineapple layer and spread it gently with a spatula. Work from the center out so you don't drag the fruit underneath.
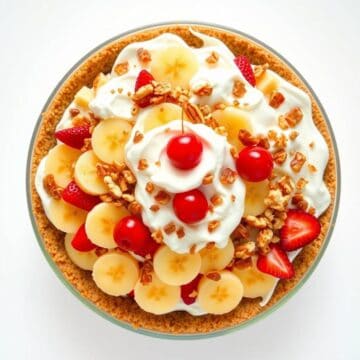
- Garnish and chill: Scatter the maraschino cherries across the top, sprinkle with nuts if you're using them, and drizzle with chocolate syrup. Cover loosely with plastic wrap and refrigerate for at least 4 hours — overnight is better.
Tips for Success
- Drain the pineapple like you mean it: This is the tip I wish someone had given me the first time. I dumped the can into a strainer, waited about ten seconds, and called it good. The middle layer turned watery by day two. Now I press the pineapple against the strainer with a spoon and let it sit for a full minute. The difference in texture is real.
- Soften the cream cheese fully: I learned the hard way that pulling it straight from the fridge and trying to beat it fast results in tiny white lumps throughout the filling. They don't disappear no matter how long you mix. Let it sit at room temperature for 15–20 minutes — it makes the layer silky and smooth the way it should be.
- Use bananas that are actually ripe: Green-tipped bananas taste starchy here, not sweet. You want bananas that are fully yellow with a few brown spots starting — those are soft, fragrant, and sweet enough to hold their own against the cream cheese layer.
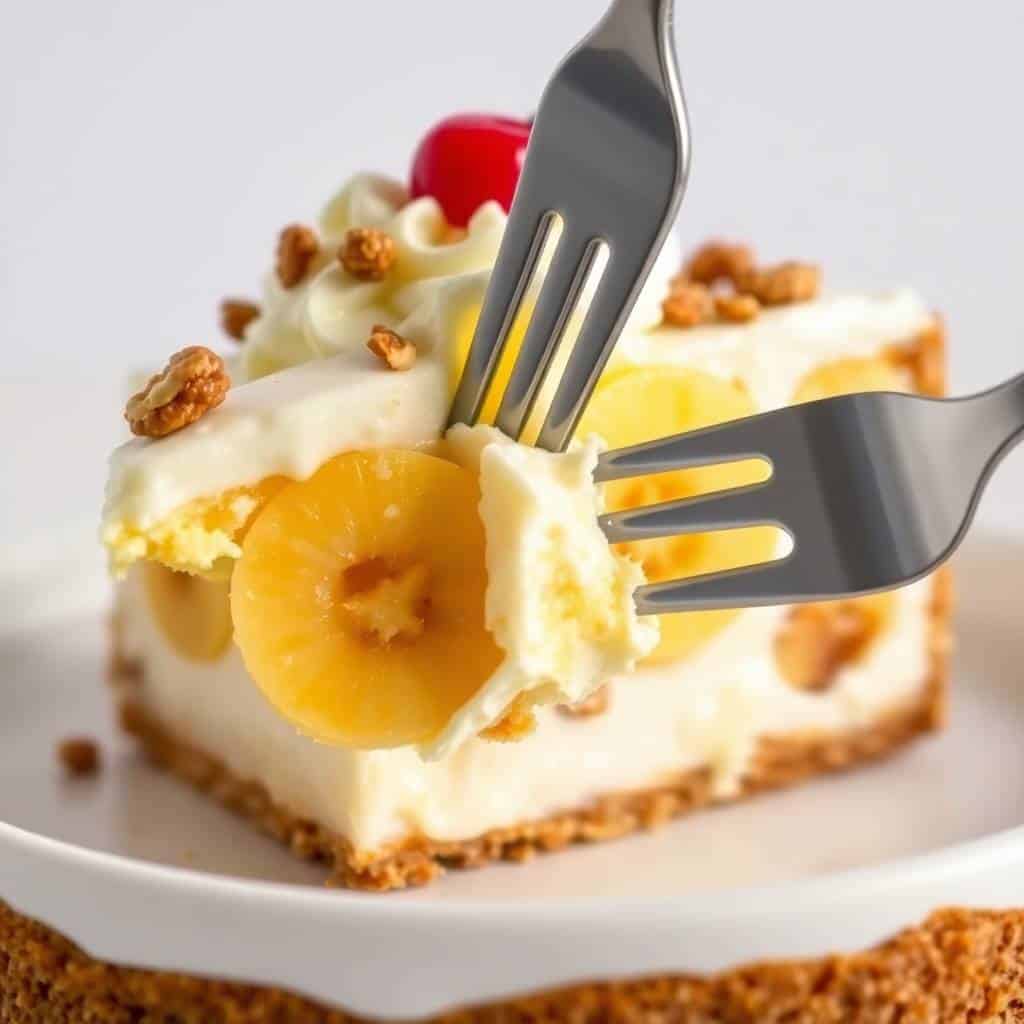
- Chill overnight if you can: Four hours is the minimum — the layers need time to firm up and set together. But overnight in the fridge is where it really comes together. The crust softens slightly and the whole thing slices into clean, neat squares instead of sliding apart.
- Add bananas closer to serving if you're worried about browning: If you're making this way ahead and the idea of brown bananas bothers you, you can hold the banana layer and add it a couple of hours before serving rather than when you first assemble. I usually don't bother — the browning is minimal when the bananas are covered — but the option is there if you want it.
Variations
- Chocolate cookie crust: Swap the graham crackers for crushed Oreos or chocolate wafer cookies. Skip the granulated sugar since the cookies are already sweet. This makes the whole thing taste more like a proper ice cream parlor dessert, and honestly it's my favorite version — the chocolate base against the fruit layers is really good.
- Add strawberries: Layer sliced fresh strawberries alongside or instead of the bananas. Strawberries, bananas, and pineapple together basically cover the whole banana split fruit lineup. If I have them on hand, I always add a few.
- Mini individual cups: Instead of one large dish, spoon the layers into individual mason jars or small cups. These are great for parties because everyone gets their own and there's no cutting or serving mess. I've done this for kids' birthdays and it always goes over well.
- Mini chocolate chips between layers: Sprinkle a small handful of mini chocolate chips over the banana layer before adding the pineapple. They stay soft from the chilling and give little bursts of chocolate through the middle — Saad specifically requests this every time now. If you like that combination, my Chocolate Peanut Butter Pretzel Candies use a similar sweet-salty-chocolate thing and are worth making alongside this for a dessert spread.
- Caramel drizzle instead of chocolate: If you prefer something warmer and buttery, swap the chocolate syrup for caramel sauce on top. It pairs particularly well with the banana layer and gives a slightly different flavor profile that feels more fall-appropriate if you're making this outside of summer.
Serving and Storage
Serving
Serve straight from the fridge, sliced into squares with a sharp knife or a bench scraper. A spatula works better than a serving spoon for getting clean pieces out of the dish. If you want to make it look extra nice at the table, add a fresh cherry and an extra drizzle of chocolate syrup to each square right before serving — takes thirty seconds and makes a difference.
Storage
Cover the dish tightly with plastic wrap or foil and keep it in the refrigerator. It holds well for up to 3 days, though the banana layer will darken slightly after day one — it still tastes fine. I don't recommend freezing this one. The whipped topping separates when thawed and the bananas go mushy. Just keep it cold and eat it within three days.
Frequently Asked Questions
Can I make this the night before?
Yes, and I actually recommend it. Making it the day before gives all the layers time to set properly, and it slices much cleaner after an overnight chill. Just cover it tightly and leave it in the fridge until you're ready to serve.
How do I keep the bananas from turning brown?
You can lightly brush the banana slices with a little lemon juice before laying them down — it slows the oxidation. Alternatively, if you're making this well ahead and it bothers you, hold the banana layer and add it a few hours before serving instead of at assembly time. Honestly though, covered bananas brown slowly, and once the dessert is sliced and on a plate, it's not very noticeable.
Can I freeze this dessert?
I wouldn't. The whipped topping can separate and turn watery after freezing and thawing, and the bananas become mushy. This is really a refrigerator dessert — keep it cold, eat it within three days, and it'll be fine.
Can I make this dairy-free?
You can try it with dairy-free cream cheese and a non-dairy whipped topping like CocoWhip. I haven't tested this version myself, so I can't promise the texture will be identical — vegan cream cheese tends to be a little softer — but the structure of the recipe should still work. Just make sure whatever you use is well chilled before assembly.
Do I have to use nuts?
Not at all — nuts are completely optional here. I usually skip them when I'm making this for a gathering where I'm not sure about allergies. If you want some texture on top, crushed graham crackers or even granola work as a substitute.
NO-BAKE BANANA SPLIT CAKE
Ingredients
For the Crust:
- 2 cups graham cracker crumbs
- ½ cup melted butter
- ¼ cup granulated sugar
For the Filling and Toppings:
- 1 8 oz package cream cheese, softened
- ½ cup powdered sugar
- 1 8 oz container whipped topping (like Cool Whip)
- 3 –4 ripe bananas sliced
- 1 20 oz can crushed pineapple, drained
- 1 8 oz container whipped topping (extra for top layer)
- 1 jar maraschino cherries drained
- ½ cup chopped walnuts or pecans optional
- Chocolate syrup optional
Instructions
Make the Crust:
- Mix graham cracker crumbs, melted butter, and granulated sugar. Press firmly into a 9×13-inch dish to form a crust. Chill while preparing the filling.
Prepare the Cream Layer:
- Beat cream cheese and powdered sugar until smooth. Fold in whipped topping. Spread evenly over the crust.
Add Fruit Layers:
- Layer sliced bananas over the cream layer. Spread drained crushed pineapple on top.
Top It Off:
- Spread another layer of whipped topping. Garnish with cherries, chopped nuts, and a drizzle of chocolate syrup if desired.
Chill:
- Refrigerate for at least 4 hours or until set. Serve cold.
Notes
Prepare the night before for best results. Chill overnight for easy slicing. Customizing the Flavor:
Try adding a layer of sliced strawberries or mini chocolate chips for a twist. Serving Suggestions:
Perfect for birthdays, summer BBQs, or potlucks. Allergy-Friendly Options:
Use dairy-free cream cheese and whipped topping for a vegan version. Storage Tips:
Store in the fridge, tightly covered, for up to 3 days. Not recommended for freezing.
This is one of those desserts I keep coming back to specifically because it asks almost nothing of me. No watching the oven, no worrying about whether it's baked through, no cooling rack situation. I assemble it, cover it, and walk away. When we're ready for dessert, it's already done and waiting. That's a rare thing with recipes that taste this good.
If you're the kind of person who likes having a reliable no-bake dessert in your rotation — especially heading into warmer months — this one earns its spot. I also love it alongside something like these Fried Strawberry Cheesecake Sandwiches when I'm putting together a full dessert spread, because together they cover every kind of sweet craving. Or if you want something you can bake when the mood strikes, my Vanilla Bean Mini Bundt Cakes are the kind of thing this family requests for birthdays.
The banana split cake is one I've brought to four or five different gatherings now, and it comes back as an empty dish every time. I'm not claiming it's fancy — it's absolutely not — but it does what it's supposed to do, and it does it without making a mess of your kitchen or your afternoon. That's enough for me. 🍌🍒✨
If you liked this, you might also enjoy these:
- Blueberry Yum Yum Cake — another layered no-bake dessert that's worth having in your back pocket
- Fried Strawberry Cheesecake Sandwiches — a fun, indulgent dessert for when you want something a little more over the top
- Vanilla Bean Mini Bundt Cakes — pretty individual cakes that are easier than they look
- Chocolate Peanut Butter Pretzel Candies — great for a dessert tray alongside the banana split cake
- Magic in the Middles — a cookie recipe my kids beg for almost as often as this one





Comments
No Comments