
I first made these for Zainab's school bake sale three years ago, mostly because I had a bag of mini pretzels sitting in the pantry and needed something that didn't require turning the oven on in July. I threw them together in about 25 minutes, packed them into a tin, and sent them off — and apparently they were the first thing to sell out. The teacher texted me asking for the recipe. I've been making them ever since.
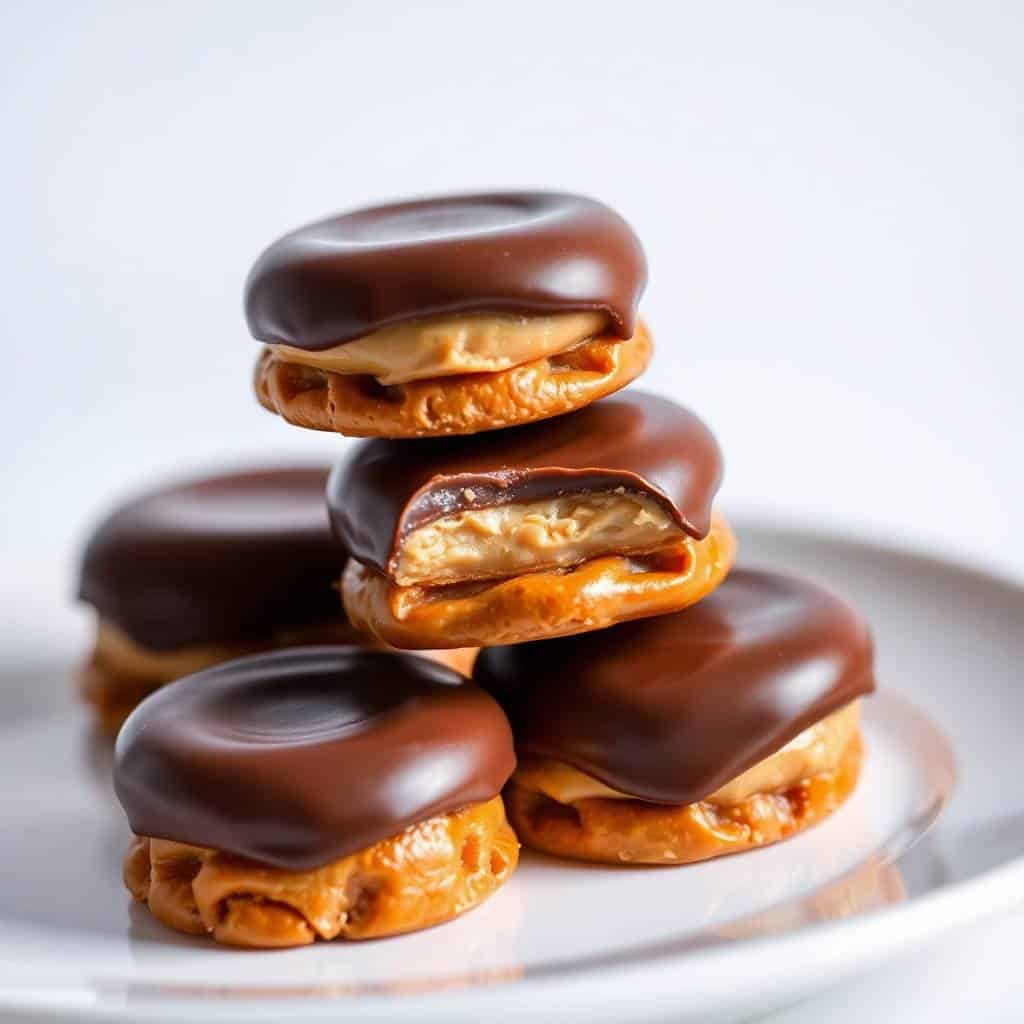
What makes these work is the filling. A lot of versions I've seen online just use straight peanut butter, which is fine, but mixing it with a little softened butter and powdered sugar turns it into something that holds together properly and tastes more like a peanut butter cup than a dollop of spread on a cracker. That small difference is the reason these taste like actual candy and not just a snack.
My husband keeps a stash of these in the fridge at all times when I make a batch. Zainab likes them straight from the freezer — she says the chocolate gets extra snappy when it's cold. I usually make a double batch because a single batch disappears in one afternoon in this house. If you're putting together a dessert tray for the holidays, these pair really well alongside my Pecan Pie Cookies — people tend to grab one of each.
One thing to know going in: chill the peanut butter sandwiches before you dip them. I skipped this step the first time and the pretzels started sliding apart in the warm chocolate. Ten minutes in the freezer makes all the difference — they hold together cleanly and you get a much neater coat of chocolate.
Why You'll Love This Recipe
- No oven, no stress: I make these in the middle of summer when I refuse to turn on the oven and in December when the oven is already running all day with other things. You just need a microwave and about 30 minutes. There's no batter to mix, no temperature to monitor, no cake to test with a toothpick.
- The filling is what sets these apart: Adding butter and powdered sugar to the peanut butter gives you a filling that actually sets firm — like the inside of a Reese's. Plain peanut butter works in a pinch, but the filling version is genuinely better and takes about two extra minutes.
- They look like you bought them: Dipped in chocolate with a pinch of flaky salt or some sprinkles on top, these look like proper confectionery. I've packaged them in small boxes for gifts and people always assume I ordered them from somewhere. I never correct them.
- Make-ahead friendly: These actually get better after a day in the fridge — the filling firms up and the flavors settle. I'll often make them the night before I need them and they're in perfect shape by the next morning. They keep well for a full week refrigerated, longer in the freezer.
- Kids can actually help: The assembly step — sandwiching the pretzels together — is genuinely easy for small hands. Zainab used to help with this when she was six. She'd press the pretzels together very seriously, like she was building something important. The dipping part is better left to adults (hot chocolate, slippery pretzels), but the assembly and decorating are great for kids.
Ingredients
- 80 mini pretzels (40 pairs — about half a standard bag)
- ¾ cup creamy peanut butter (standard, not natural — the natural kind is too oily for the filling)
- 2 tablespoons softened butter
- ½ cup powdered sugar
- 1 cup semisweet or milk chocolate chips
- 1 tablespoon coconut oil or vegetable shortening (optional, but helps the chocolate coat smoother)
- Flaky sea salt, sprinkles, or crushed nuts for topping (optional)
Directions
- Step 1: Make the peanut butter filling. In a bowl, mix the peanut butter, softened butter, and powdered sugar together until smooth and combined. If it feels soft or sticky, pop it in the fridge for 10 minutes — it should hold its shape when you press it between the pretzels.
- Step 2: Assemble the sandwiches. Lay 40 pretzels flat on a parchment-lined tray. Spoon or pipe about ½ teaspoon of filling onto the center of each one, then press a second pretzel on top. Don't overfill — if the filling squeezes out the sides, you'll lose it in the chocolate dip.
- Step 3: Freeze to firm up. Put the tray in the freezer for 15 minutes. This step is not optional. When I skipped it, the sandwiches fell apart in the warm chocolate. Cold filling holds everything together during dipping.
- Step 4: Melt the chocolate. Combine the chocolate chips and coconut oil (if using) in a microwave-safe bowl. Microwave in 30-second bursts, stirring between each one, until fully melted and smooth. Usually takes about 2–3 bursts total. Don't overheat or the chocolate will seize.
- Step 5: Dip each sandwich. Using a fork or dipping tool, lower each pretzel sandwich halfway into the chocolate. Let the excess drip off, then set it back on the parchment. Work in batches and keep the undipped ones in the freezer while you go.
- Step 6: Add toppings immediately. Before the chocolate sets, sprinkle with flaky sea salt, sprinkles, or crushed nuts. The chocolate firms up fast, so have your toppings ready before you start dipping.
- Step 7: Chill to set. Refrigerate the tray for 15 minutes until the chocolate is fully firm. Then they're ready to serve or pack up.
Tips for Success
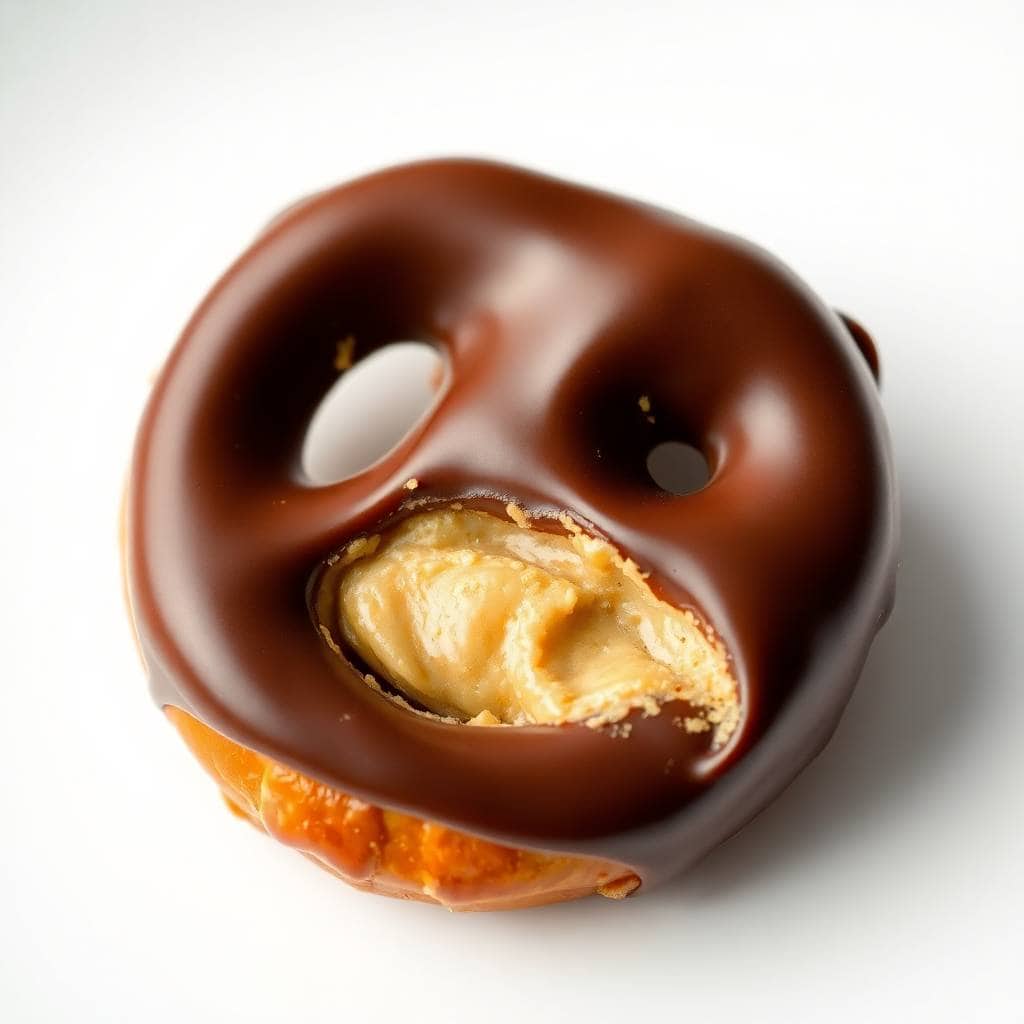
- Don't skip the freeze before dipping: I learned this the hard way on my first batch. When the filling is at room temperature and you lower the sandwich into warm melted chocolate, the two pretzels slide apart and you're left fishing a loose pretzel out of your chocolate bowl. Fifteen minutes in the freezer firms everything up and makes dipping clean and easy.
- Use standard creamy peanut butter, not natural: Natural peanut butter (the kind where the oil separates) is too loose for this filling. It won't firm up properly even with the butter and powdered sugar added, and your sandwiches will be greasy. Jif or Skippy from any grocery store works perfectly.
- Add coconut oil to your chocolate: It's optional, technically, but I always add it. It thins the chocolate just enough to get a smooth, even coat without needing to fully submerge each pretzel. Without it, the chocolate can go on thick and uneven, especially as it starts to cool.
- Have your toppings ready before you start dipping: The chocolate sets faster than you think, especially since the pretzels are cold from the freezer. I set out my sea salt, sprinkles, or whatever I'm using in small bowls right next to the tray before I dip a single pretzel. If you have to stop and find the sprinkles, you'll miss the window.
- Layer with wax paper when storing: If you stack these without anything between the layers, the chocolate sticks together and you end up pulling them apart in chunks. A sheet of wax paper between layers keeps them neat. I use whatever wax paper I have from the baking drawer — nothing fancy needed.
Variations
- Dark chocolate coating: Swap the semisweet chips for dark chocolate chips (60% or higher). The bitterness of dark chocolate balances the sweet filling and salty pretzel really well — I actually prefer this version for myself, though my kids vote for milk chocolate every time.
- Nut-free version: Replace the peanut butter with sunflower seed butter (SunButter is a common brand at most US grocery stores and Walmart). Use the same amounts. The flavor is slightly different but the texture works the same way, and it's safe for nut-free classrooms and parties.
- White chocolate dip: Coat with melted white chocolate instead of dark or milk. Add a drizzle of pink or red candy melts on top for Valentine's Day, or green and red sprinkles for Christmas. These look especially good on a holiday dessert tray — I put them out alongside my 4-Ingredient Christmas Shortbread Cookies at Christmas and they disappear fast.
- Crunchy peanut butter filling: Use crunchy peanut butter instead of creamy for little bits of peanut in every bite. The filling is slightly harder to spread neatly, but the texture is really good — more like a candy bar than a smooth cup.
- Caramel layer: Press a small piece of soft caramel (cut from a caramel square, the kind you find at any grocery store) between the pretzel and the filling before sandwiching. It adds a stretchy, buttery layer that makes these feel genuinely indulgent. I make these for adults — the kids actually prefer the plain version, which surprises me every time.
Serving and Storage
Serving
Serve these at room temperature or straight from the fridge — both work. I usually pull them from the fridge about 10 minutes before serving so the chocolate isn't rock-hard cold, but honestly they're fine either way. For a party tray, arrange them in small paper candy cups so people can grab one without touching the whole batch. They also travel well in a tin lined with parchment — I've taken them to school events, potlucks, and neighbor drop-offs without any issues. If you're building a bigger dessert spread, check out my 34 Best Appetizer Ideas for more crowd-friendly options to round out a table.
Storage
Store in an airtight container in the fridge for up to 1 week. Layer with wax paper between rows so they don't stick together. For longer storage, freeze them in a sealed container for up to 2 months — place parchment or wax paper between layers. To serve from frozen, just leave them at room temperature for 10–15 minutes. They don't need to fully thaw to taste good; Zainab eats them half-frozen and insists that's the best way.

Frequently Asked Questions
Can I make these ahead of time?
Yes, and I'd actually recommend it. These are better the next day once the filling has fully firmed up and everything has had time to settle. I usually make them the night before I need them and store them in the fridge overnight. They're ready to go straight from the container.
Can I freeze chocolate peanut butter pretzel candies?
Absolutely. Freeze them in a single layer first until the chocolate is solid, then transfer to an airtight container with wax paper between layers. They keep well for up to 2 months. To serve, just leave them out for 10–15 minutes — they don't need to fully thaw.
Can I use natural peanut butter for the filling?
I'd skip it for this recipe. Natural peanut butter — the kind where the oil sits on top — is too loose and oily to set properly in the filling. Even with the butter and powdered sugar mixed in, it stays soft and your sandwiches won't hold together well. Standard creamy peanut butter like Jif or Skippy gives you a filling that actually firms up.
Do I need coconut oil in the chocolate?
No, it's optional. The chocolate will melt and coat the pretzels without it. But adding a tablespoon of coconut oil (or vegetable shortening) thins the chocolate slightly and gives you a smoother, glossier coat that's easier to dip into. If you don't have either, just melt the chocolate chips straight and work quickly before it thickens.
What if I don't have a microwave?
Use a double boiler — fill a small saucepan with an inch of water, bring it to a simmer, then set a heatproof bowl on top (make sure it doesn't touch the water). Add the chocolate chips to the bowl and stir slowly as they melt. It takes a bit longer than the microwave but gives you very gentle, even heat that's actually great for chocolate.

CHOCOLATE PEANUT BUTTER PRETZEL CANDIES
Ingredients
- 80 mini pretzels 40 pairs
- ¾ cup creamy peanut butter
- 2 tablespoons softened butter
- ½ cup powdered sugar
- 1 cup semisweet or milk chocolate chips
- 1 tablespoon coconut oil or shortening optional, for smoother coating
Instructions
Make the Peanut Butter Filling:
- In a bowl, mix peanut butter, butter, and powdered sugar until smooth. Chill for 10 minutes if too soft.
Assemble the Candies:
- Spoon or pipe a small amount of filling onto a pretzel. Top with a second pretzel to make a sandwich. Repeat until all are assembled. Freeze for 15 minutes to firm.
Coat with Chocolate:
- Melt chocolate chips and coconut oil in the microwave in 30-second bursts, stirring until smooth. Dip each pretzel sandwich halfway into the chocolate and place on parchment paper.
Chill:
- Refrigerate for about 15 minutes, or until chocolate is set.
Serve:
- Serve chilled or at room temperature.
Notes
- Make Ahead: Store in an airtight container in the fridge for up to 1 week or freeze for longer storage.
- Customizing the Flavor: Try using almond butter, cookie butter, or crunchy peanut butter for different textures and flavors. You can also drizzle with white chocolate for decoration.
- Serving Suggestions: Great for holiday trays, gift boxes, or party snacks. Add festive sprinkles before the chocolate sets for a colorful touch.
- Allergy-Friendly Options: Use sunflower seed butter and allergy-friendly chocolate chips for a nut-free version.
- Storage Tips: Keep refrigerated in a sealed container to maintain freshness. Separate layers with wax paper if stacking.
These are genuinely one of my most-made no-bake recipes, and I don't say that lightly — I have a long list of things I rotate through. But this one keeps coming back because it's fast, it works every time (as long as you freeze the sandwiches first — I cannot stress this enough), and it makes a lot for very little effort. I make them in December for gift boxes, in summer when I won't touch the oven, and randomly when I have a bag of pretzels and chocolate chips in the pantry that need using up.
If you're putting together a holiday baking spread, these go really well with my 4-Ingredient Christmas Shortbread Cookies — the shortbread is buttery and delicate, and the pretzel candies give you that salty crunch on the same tray. Two very different textures that work together well.
My one honest note: this is not some ancient family candy recipe or a carefully developed confectionery technique. It's a simple no-bake treat that I've tweaked until it works reliably in my kitchen. The butter and powdered sugar in the filling is the thing that makes it better than most versions I've tried — and that part genuinely came from burning through a few batches where the plain peanut butter filling was just too soft. Sometimes the best lessons come from slightly disappointing first attempts. 🍫🥜✨
If you liked this recipe, you'll probably like these too:
- Pecan Pie Cookies — another no-fuss dessert that looks more impressive than it is to make
- 4-Ingredient Christmas Shortbread Cookies — melt-in-your-mouth and dead simple
- 34 Best Appetizer Ideas — for when you need to fill out a party spread fast
- Marry Me Chicken Soup — for when you need something warm and savory after all these sweets





Comments
No Comments