
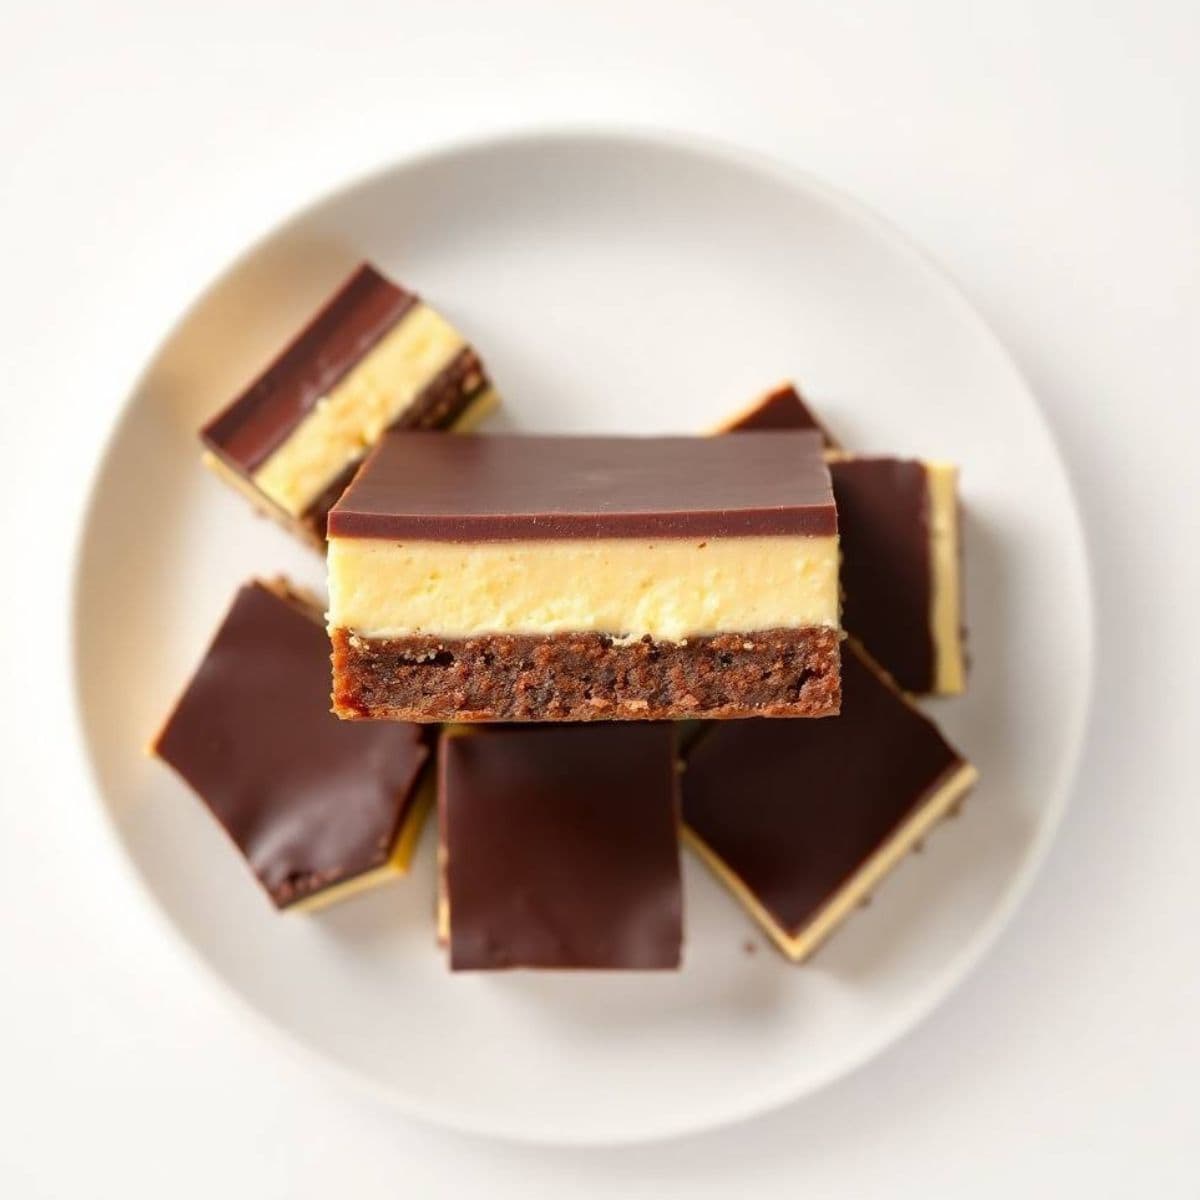
Nanaimo Bars are a beloved Canadian dessert known for their rich, layered flavors and no-bake convenience. Originating from Nanaimo, British Columbia, these bars combine a crunchy base, creamy custard middle, and smooth chocolate topping.
These bars are perfect for celebrations, potlucks, or anytime you crave a sweet treat without the hassle of baking. The no-bake recipe means you can quickly prepare them ahead of time and chill them until ready to serve.
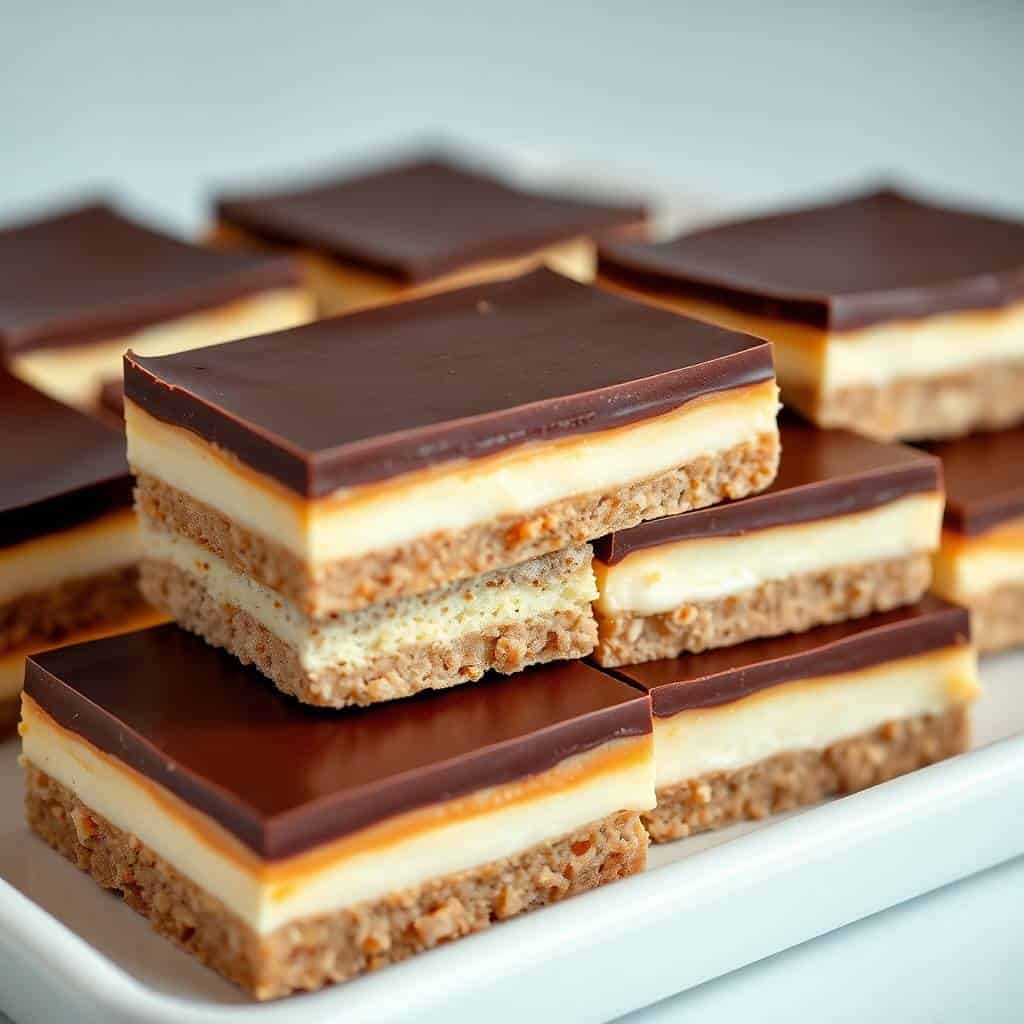
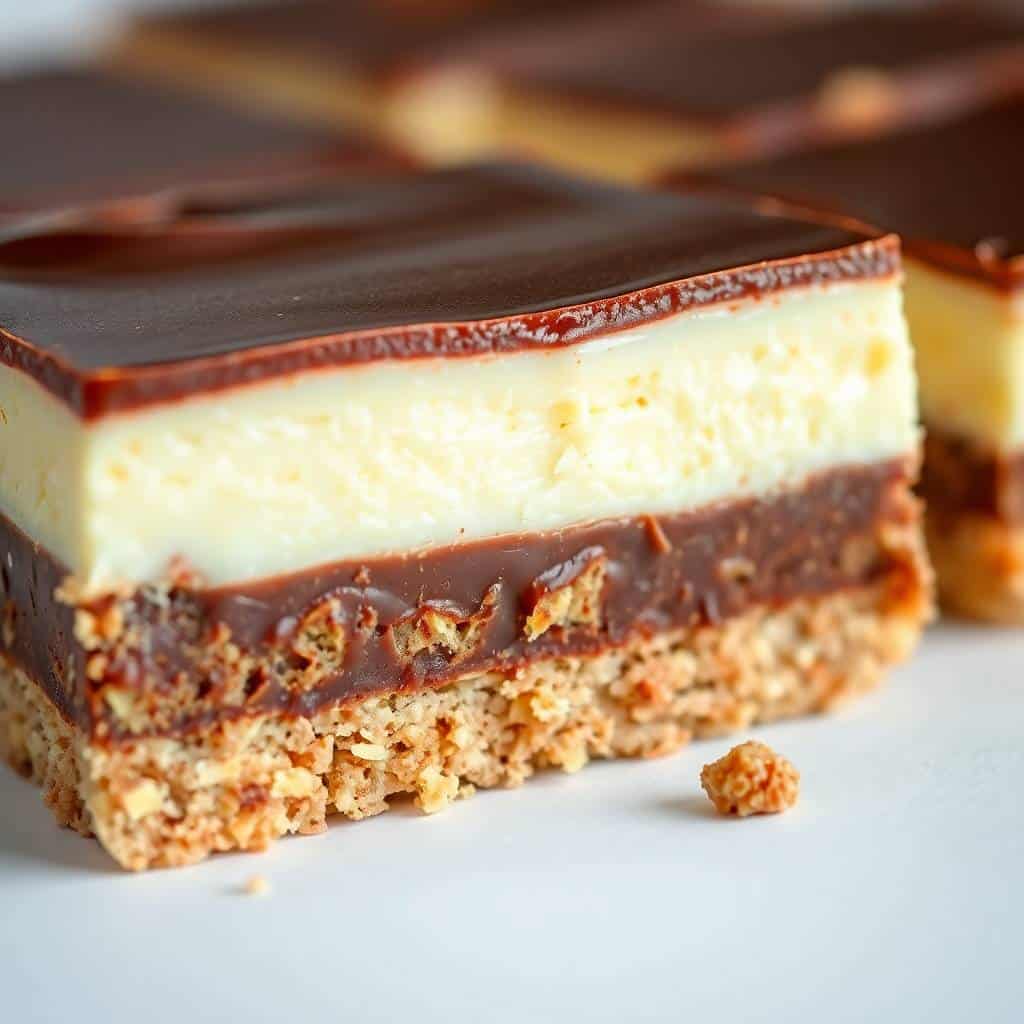
The base layer is made from crushed graham crackers, cocoa, and coconut, providing a slightly crunchy and nutty foundation. The middle custard layer is creamy and sweet, balancing the rich chocolate layer on top.
Nanaimo Bars are loved for their balanced flavors—sweet, chocolatey, and slightly nutty. They are perfect for those who enjoy decadent desserts. The combination of textures makes every bite irresistible and satisfying.
Whether you’re a fan of traditional recipes or want to try your own twists, Nanaimo Bars are sure to impress with their delicious and easy-to-make qualities. They are sure to become a festive favourite that you will bake year after year.
WHY YOU WILL LOVE THIS RECIPE
- Classic Canadian dessert: Nanaimo Bars offer a perfect balance of crunchy, creamy, and chocolatey layers for rich flavour and texture.
- No-bake convenience: Easy to prepare without heating the oven, saving time and effort for a delicious homemade treat.
- Layered texture delight: Each bite has a crispy base, smooth custard filling, and firm chocolate top for great mouthfeel.
- Customizable ingredients: Add nuts or use different chocolates to personalize this classic recipe to your taste preference.
- Perfect make-ahead dessert: These bars chill well overnight and hold their shape for easy slicing and serving.
- Great for all occasions: Ideal for holiday parties, potlucks, or casual family desserts everyone will love.
- Rich and indulgent: Satisfies chocolate cravings with balanced sweetness and texture for an unforgettable dessert experience.
INGREDIENTS
- ½ cup unsalted butter, melted
- ¼ cup granulated sugar
- 5 tablespoons cocoa powder
- 1 large egg, beaten
- 1 ¾ cups graham cracker crumbs
- 1 cup shredded coconut
- ½ cup chopped walnuts (optional)
- 2 cups powdered sugar
- 2 tablespoons vanilla custard powder
- 5 tablespoons unsalted butter, softened
- 3 tablespoons milk
- 4 ounces semisweet chocolate, chopped
- 2 tablespoons unsalted butter
DIRECTIONS
- Step No.1: Prepare the base
In a bowl, mix melted butter, sugar, cocoa powder, and beaten egg until smooth. Stir in graham cracker crumbs, coconut, and walnuts. Press firmly into a lined 9x9 inch pan.
- Step No.2: Make custard filling
In a separate bowl, beat powdered sugar, custard powder, softened butter, and milk until creamy. Spread evenly over the base layer.
- Step No.3: Melt chocolate topping
In a microwave or double boiler, melt chopped chocolate and butter until smooth. Stir to combine.
- Step No.4: Add chocolate layer
Pour melted chocolate over the custard layer and spread evenly. Refrigerate for at least 2 hours until set.
TIPS FOR SUCCESS
- Use high-quality cocoa and chocolate: This ensures a rich, deep chocolate flavor in both the base and topping layers.
- Beat custard filling well: Whipping until smooth prevents lumps and creates a creamy texture that contrasts perfectly with the crunchy base.
- Press the base firmly: This helps keep the bottom layer intact when slicing bars after chilling.
- Chill layers thoroughly: Allow each layer to set fully before adding the next for clean, distinct layers.
- Use a hot knife for slicing: Warm the knife under hot water before cutting to create smooth, neat edges.
- Store refrigerated: Keep bars chilled to maintain firm layers and prevent melting or sogginess.
- Customize with nuts: Adding chopped walnuts or pecans to the base adds pleasant crunch and flavor.
VARIATIONS
- Add espresso powder: Mix a teaspoon into the custard filling for a subtle coffee flavor that enhances the chocolate.
- Use white chocolate topping: Substitute white chocolate for a sweeter, creamier top layer that contrasts with the cocoa base.
- Make mini bars: Use a mini muffin tin to make bite-sized Nanaimo Bars perfect for parties or gifts.
- Add fruit layer: Spread a thin layer of raspberry or strawberry jam between the custard and chocolate layers for fruity sweetness.
- vegan diet option: Use dairy-free butter, coconut milk, and vegan chocolate to make this recipe plant-based.
- gluten-free diet base: Replace graham cracker crumbs with gluten-free cookie crumbs for a gluten-free treat.
- Add sea salt: Sprinkle a pinch of flaky sea salt on the chocolate topping for a sophisticated salty-sweet flavor.
SERVING AND STORAGE
Serving
Serve chilled Nanaimo Bars cut into squares for a refreshing, rich dessert.
Storage
Store bars in an airtight container in the refrigerator for up to 5 days.
FAQ
Yes, wrap tightly and freeze up to 2 months; thaw before serving.
A thickening agent used to create the creamy filling with a unique flavor.
Yes, nuts are optional and can be left out for nut allergies.
At least 2 hours or until firm enough to cut cleanly.
Traditional recipe uses graham crackers, which contain gluten; substitute gluten-free crumbs to adapt.
Nanaimo Bars are a delicious, classic Canadian dessert perfect for chocolate lovers.
With their crunchy base, creamy custard middle, and rich chocolate topping, these no-bake bars are easy to prepare and ideal for any occasion.
Their layers offer a perfect balance of textures and flavors, pleasing every sweet tooth.
This recipe is convenient for busy cooks and great for parties, holidays, or everyday treats.
By following simple steps, you can create a crowd-pleasing dessert that’s both impressive and satisfying.
Variations let you customize the bars to suit your taste, making Nanaimo Bars a versatile and delightful addition to your dessert repertoire.
Enjoy these bars chilled for the best experience and share with friends and family for a true Canadian sweet treat.
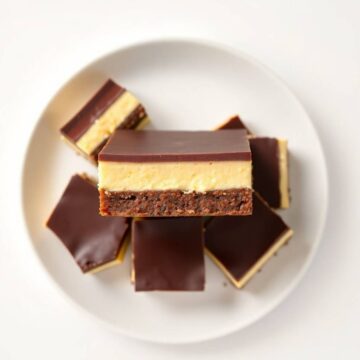
NANAIMO BARS
Ingredients
For the Base:
- ½ cup unsalted butter melted
- ¼ cup granulated sugar
- 5 tablespoons unsweetened cocoa powder
- 1 large egg beaten
- 1 ¾ cups graham cracker crumbs
- 1 cup shredded coconut
- ½ cup chopped walnuts optional
For the Custard Filling:
- ½ cup unsalted butter softened
- 2 tablespoons vanilla custard powder or instant vanilla pudding mix
- 2 cups powdered sugar
- 3 tablespoons milk
For the Chocolate Topping:
- 4 ounces semi-sweet chocolate chopped
- 2 tablespoons unsalted butter
Instructions
Prepare the Base:
- In a medium bowl, combine melted butter, sugar, and cocoa powder. Quickly whisk in beaten egg until thickened. Stir in graham cracker crumbs, coconut, and walnuts. Press mixture evenly into a lined 8×8-inch pan. Chill while preparing filling.
Make the Custard Filling:
- Beat butter and custard powder until smooth. Gradually add powdered sugar and milk, beating until creamy and fluffy. Spread evenly over the chilled base.
Prepare the Chocolate Topping:
- Melt chocolate and butter together until smooth. Pour over custard layer and spread evenly.
Chill:
- Refrigerate for at least 2 hours until set. Cut into squares before serving.
Notes
- Make Ahead: Bars keep well refrigerated for up to 4 days.
- Customizing the Flavor: Add a teaspoon of instant coffee granules to the custard for mocha flavor or swap walnuts for pecans.
- Serving Suggestions: Serve chilled with coffee or tea, or gift in holiday boxes.
- Allergy-Friendly Options: Use dairy-free butter and chocolate for a vegan-friendly version.
- Storage Tips: Store bars in an airtight container in the fridge. Let sit at room temperature 10 minutes before serving for best texture.





Comments
No Comments