
Lunchbox Cakes are genuinely one of the most charming, most joyful, and most personally meaningful baking projects I have ever fallen in love with — small, perfectly portioned, beautifully frosted individual cakes that pack all the flavour and celebration of a full-sized layer cake into a single-serve treat that fits snugly into a small container and makes the most thoughtful, most heartfelt edible gift imaginable. I first made these for a friend's birthday when I wanted to give her something genuinely personal rather than a generic store-bought cake, and the response was so enthusiastic that I have been making them ever since for birthdays, school lunches, celebrations, bake sales, and simply for the pure joy of having something beautiful and delicious to share with the people I care about most.
What makes Lunchbox Cake so specifically wonderful compared to a standard cake is the combination of its intimate scale and its completely customisable nature. The vanilla sponge base is the most reliable, most universally loved canvas available — moist, tender, and gently flavoured so that whatever frosting, filling, or decoration you choose takes centre stage. The whipped cream frosting is light and silky with a subtle vanilla character that pairs beautifully with every variation from fresh berries to chocolate ganache to jam. And because each cake is individual, every single one can be decorated differently — a different colour, a different piped design, a different sprinkle — making a batch of lunchbox cakes the most genuinely personal, most visually varied baking project available for any occasion.
These Lunchbox Cakes are genuinely perfect for birthdays, Valentine's Day, Mother's Day, school bake sales, gifts for friends, and any occasion where a small but genuinely extraordinary, genuinely personal sweet treat is called for. The small scale makes the decorating process genuinely fun and manageable rather than overwhelming — even beginner bakers achieve results that look professional and bakery-worthy with minimal equipment. Find more cake and celebration baking inspiration in our easy homemade cake recipes and our easy cookie recipes.
Grab your ingredients, pick your favourite colours and toppings, and let the most genuinely charming and most joyful mini baking project of your week begin!
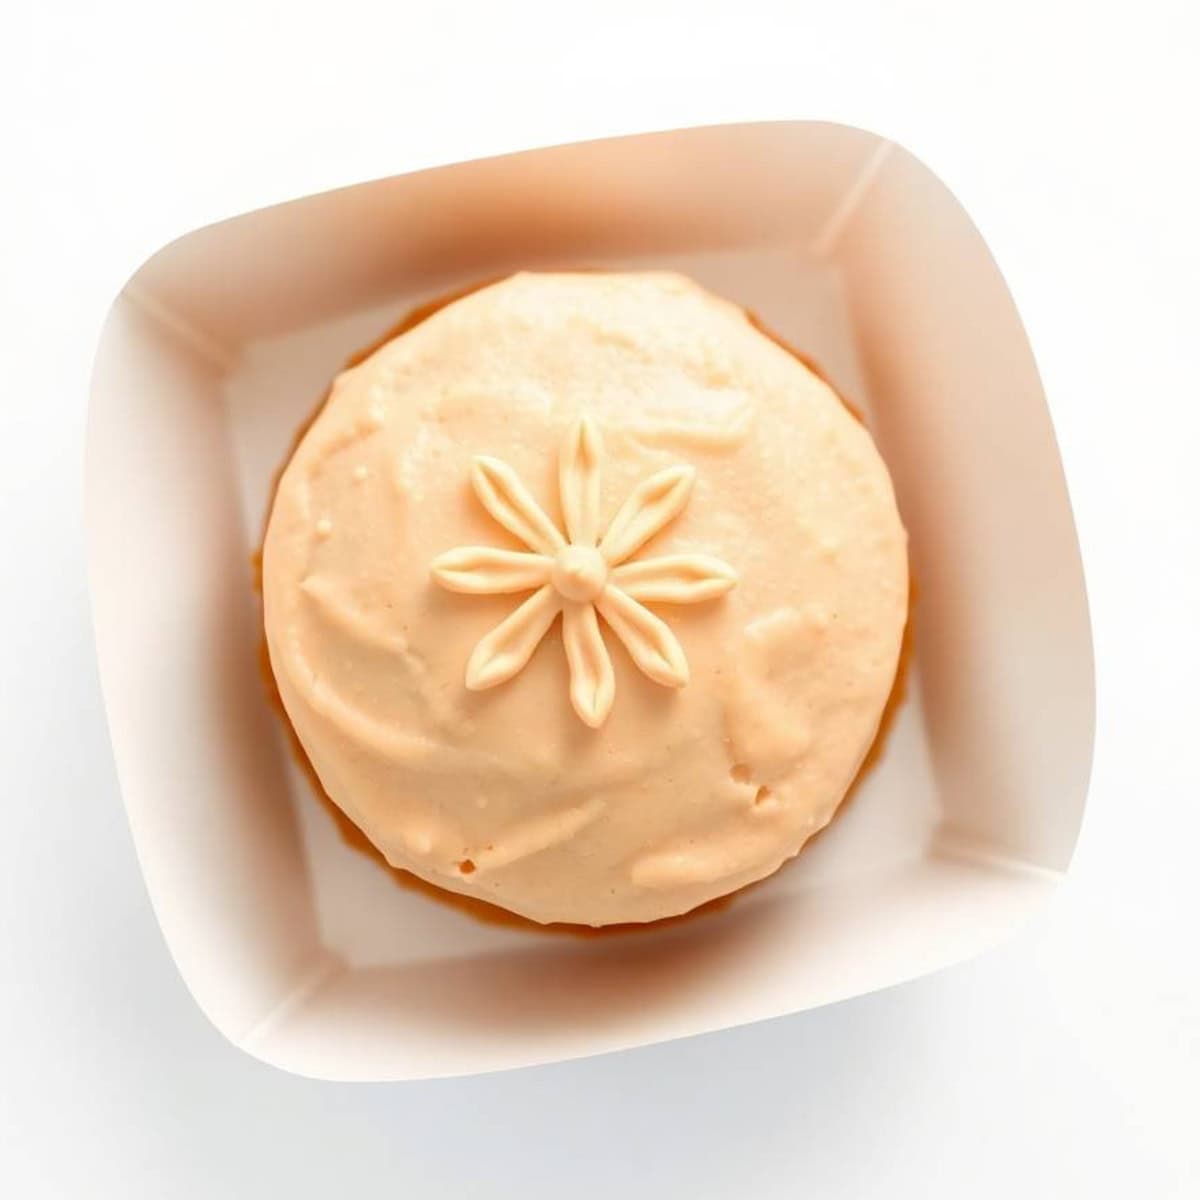
WHY YOU WILL LOVE THIS RECIPE
- Perfectly Portable: Designed specifically for easy transport — fits snugly in a small container, travels beautifully to school, work, or any celebration without mess, damage, or any of the logistical difficulties that come with transporting a full-sized cake.
- Endlessly Customisable: Choose any cake flavour, frosting colour, and decoration style to match any mood, celebration theme, or dietary preference — every single batch can be genuinely unique and genuinely personal to whoever is receiving it.
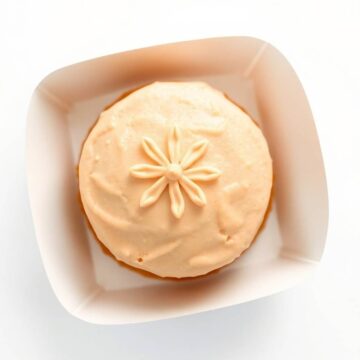
- Adorably Miniature: Their charming small size is genuinely delightful — perfectly portioned for one to two servings and beautifully presented in individual containers, they communicate a level of care and thoughtfulness that a large cake simply cannot.
- Easy to Decorate: The small canvas makes decorating significantly more manageable than a full-sized cake — even simple piped rosettes and a scatter of sprinkles produce genuinely professional-looking, genuinely bakery-worthy results that impress everyone who sees them.
- Genuinely Perfect for Gifting: Packaged in a small clear container with a ribbon or sticker, these mini cakes are the most heartfelt, most genuinely personal homemade gift available for any occasion throughout the year — from birthdays to Valentine's Day to a simple Tuesday kindness.
- Quick Baking Time: The thin sheet pan layer bakes in under 25 minutes — significantly less time than a full-sized layer cake while delivering the same genuinely extraordinary flavour and most of the same visual impact when assembled and frosted.
- Fun for All Ages: Lunchbox cakes are an excellent baking project to enjoy with children, friends, or as a solo creative activity — the individual scale means each person can decorate their own with complete creative freedom and no pressure for perfection.
INGREDIENTS
For the Cake:
- 1 cup all-purpose flour
- 1 teaspoon baking powder
- ¼ teaspoon salt
- ½ cup unsalted butter, softened to room temperature
- ¾ cup granulated sugar
- 2 large eggs
- 1 teaspoon vanilla extract
- ½ cup whole milk
For the Frosting:
- 1 cup heavy whipping cream
- 3 tablespoons powdered sugar
- 1 teaspoon vanilla extract
- Gel food colouring (optional)
- Sprinkles or toppings of your choice for decoration
DIRECTIONS
- Step No.1: Preheat the oven
Preheat your oven to 350°F (175°C). Line an 8-inch square baking pan or a rimmed sheet pan with parchment paper, leaving a slight overhang on the sides for easy lifting later — the parchment is essential for clean removal of the thin cake layer without any tearing. - Step No.2: Mix the dry ingredients
In a medium bowl, whisk together the flour, baking powder, and salt until evenly combined. Set aside. - Step No.3: Cream butter and sugar
In a large bowl, beat the softened butter and granulated sugar together on medium speed for 3 full minutes until genuinely light, pale, and fluffy. This creaming step is essential for building the aerated, tender crumb that makes lunchbox cakes so soft — do not rush it. - Step No.4: Add eggs and vanilla
Add the eggs one at a time, beating well after each addition. Add the vanilla extract and mix until fully incorporated and the batter is smooth. - Step No.5: Combine wet and dry
Add the dry ingredients and milk to the butter mixture alternately — begin with a third of the flour, then half the milk, another third of the flour, the remaining milk, then the final flour addition. Mix on low speed after each addition until just combined. Do not overmix — a few small lumps are perfectly fine and overmixing develops gluten that produces a tough, dense cake rather than a tender one. - Step No.6: Bake the cake
Pour the batter into the prepared pan and spread into a completely even, thin layer using an offset spatula. Bake for 20–25 minutes until a toothpick inserted in the centre comes out clean and the surface is set and lightly golden at the edges. Allow to cool completely in the pan before cutting — this is absolutely non-negotiable. A warm sponge will crumble when cut and cause the frosting to melt on contact. - Step No.7: Cut the rounds
Once the cake is completely cool, use a round cookie cutter or the rim of a glass approximately 3 inches in diameter to cut as many rounds as possible from the sponge. For the cleanest, most even cuts, refrigerate the cake for 20 minutes before cutting — cold sponge cuts significantly more cleanly and produces much less crumbling at the edges. - Step No.8: Make the frosting
Whip the heavy cream, powdered sugar, and vanilla extract together in a chilled bowl starting on medium speed then increasing to high until stiff peaks form — the frosting should be thick enough to pipe and hold its shape between layers and on the outside of the cake without slumping. If using gel food colouring, add a small amount at this stage and fold gently until the colour is evenly distributed throughout. - Step No.9: Assemble and decorate
Stack 2–3 cake rounds with a generous layer of frosting piped or spread between each layer. Apply a thin crumb coat of frosting to the outside of the assembled cake, then refrigerate for 15 minutes until the crumb coat is set and firm. Apply the final smooth or textured frosting layer. Decorate immediately with a piping bag for rosettes or swirls, and scatter sprinkles while the frosting is still soft so they adhere. Refrigerate for 30 minutes before packaging or serving.
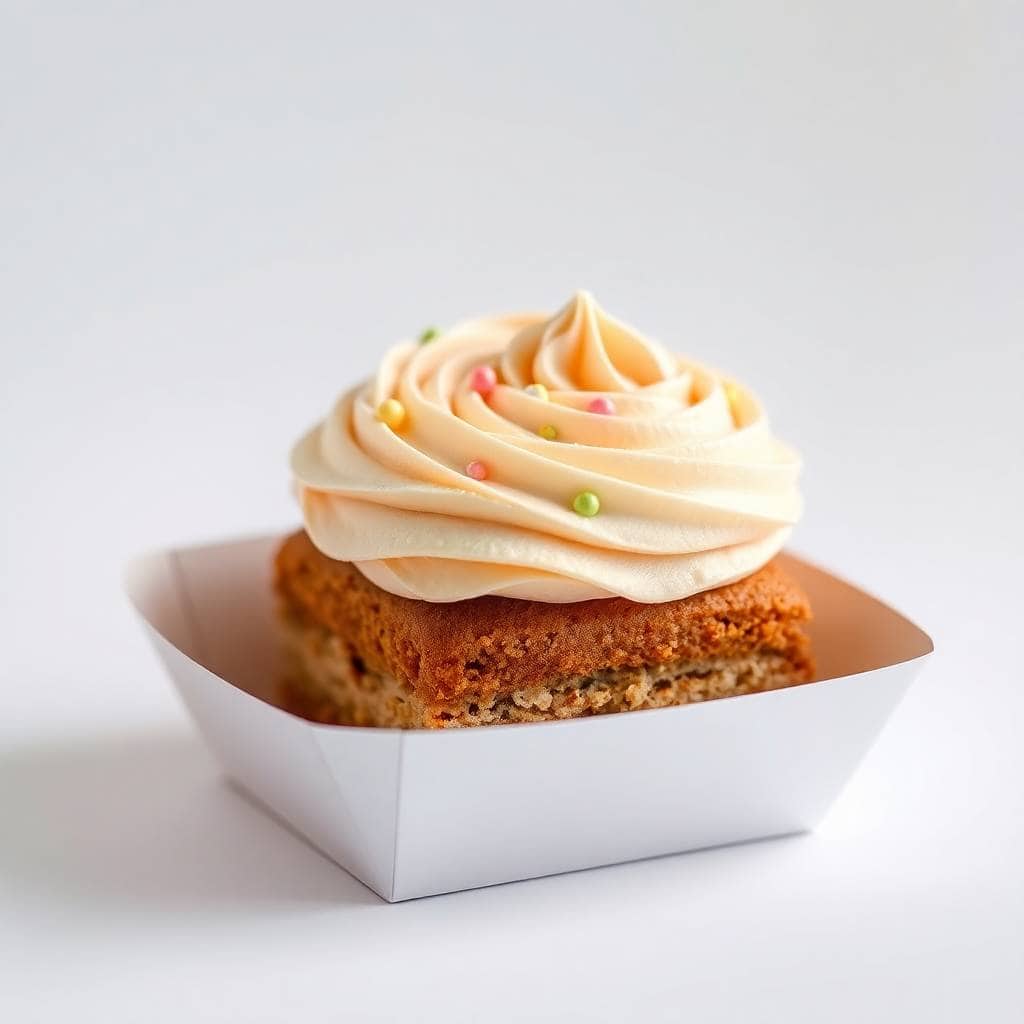
TIPS FOR SUCCESS
- Cool Completely Before Frosting: This is genuinely non-negotiable — even slightly warm sponge causes the whipped cream frosting to melt, slide, and collapse entirely rather than staying firm and holding its piped shape. Always cool completely at room temperature before cutting or assembling.
- Chill the Cake Before Cutting: Briefly refrigerating the baked cake layer for 20–30 minutes before cutting produces significantly cleaner, more uniform rounds with much less crumbling at the edges — the cold firms the crumb and makes the cutter work cleanly.
- Always Apply a Crumb Coat: A thin initial layer of frosting traps loose crumbs against the surface of the cake — after chilling for 15 minutes, the final frosting coat goes on smoothly with no visible crumbs, producing a significantly more professional, more polished result with minimal effort.
- Use Gel Food Colouring Only: Gel colours produce vibrant, vivid shades without adding liquid that would thin the frosting and compromise its ability to hold piped shapes and stiff peaks. Standard liquid food colouring thins the whipped cream and prevents it from holding its shape.
- Chill Your Bowl Before Whipping Cream: A cold bowl and cold beaters produce whipped cream that reaches stiff peaks faster and holds them longer — place your bowl and beaters in the freezer for 10 minutes before whipping for the most stable, most pipeable frosting.
- Pre-make the Frosting a Day Ahead: Making the whipped cream frosting the day before and refrigerating it covered allows it to firm further and produces a more stable, more easily workable consistency — particularly useful when decorating multiple cakes at once.
VARIATIONS
- Chocolate Delight: Substitute 3 tablespoons of flour with unsweetened cocoa powder and pair with a chocolate buttercream or whipped ganache frosting for the most deeply indulgent, most intensely chocolatey lunchbox cake version.
- Berry Blast: Spread a thin layer of raspberry, strawberry, or apricot jam between the cake layers along with the frosting for a fruity, vibrant contrast that brightens every bite with natural sweetness and a slight tartness.
- Funfetti Party: Fold rainbow sprinkles into the cake batter before baking for a colourful, festive confetti sponge that is genuinely irresistible for birthday celebrations and children's parties — the sprinkles are visible when the cake is sliced.
- Lemon Zest: Add 1 teaspoon of lemon zest and 1 tablespoon of fresh lemon juice to both the batter and frosting for a bright, tangy, refreshing spring and summer version that is genuinely beautiful topped with a thin lemon slice.
- Matcha Moment: Add 1 teaspoon of high-quality matcha powder to the batter for a lightly earthy, subtly sweet green tea sponge, and pair with white chocolate frosting for a genuinely beautiful, genuinely unique combination.
- Mocha Style: Add 1 teaspoon of instant espresso powder dissolved in 1 tablespoon of hot water to the batter and pair with a mocha whipped cream frosting (add 1 teaspoon instant espresso to the cream before whipping) for a sophisticated, coffee-forward version.
- Holiday Edition: Use seasonal flavours like pumpkin spice (add 1 teaspoon pumpkin pie spice to the dry ingredients), peppermint (add ½ teaspoon peppermint extract to the frosting), or cinnamon brown sugar for the most specifically seasonal, most festive lunchbox cake version available for any time of year.
SERVING AND STORAGE
Serving
Serve chilled or at room temperature in individual containers with a small fork — perfect for gifting, birthday parties, school lunches, and any personal celebration. For the most impressive gift presentation, place each lunchbox cake in a small clear plastic container, secure with a ribbon or decorative tape, and add a small handwritten tag with the flavour and a personal message.
Storage
Store in an airtight container in the refrigerator for up to 3 days — allow to come to room temperature for 15 minutes before serving for the most genuinely soft, most flavourful result. Freeze unfrosted cake rounds tightly wrapped in cling film for up to 2 months — thaw overnight in the refrigerator and frost on the day of gifting or serving for the freshest possible result.
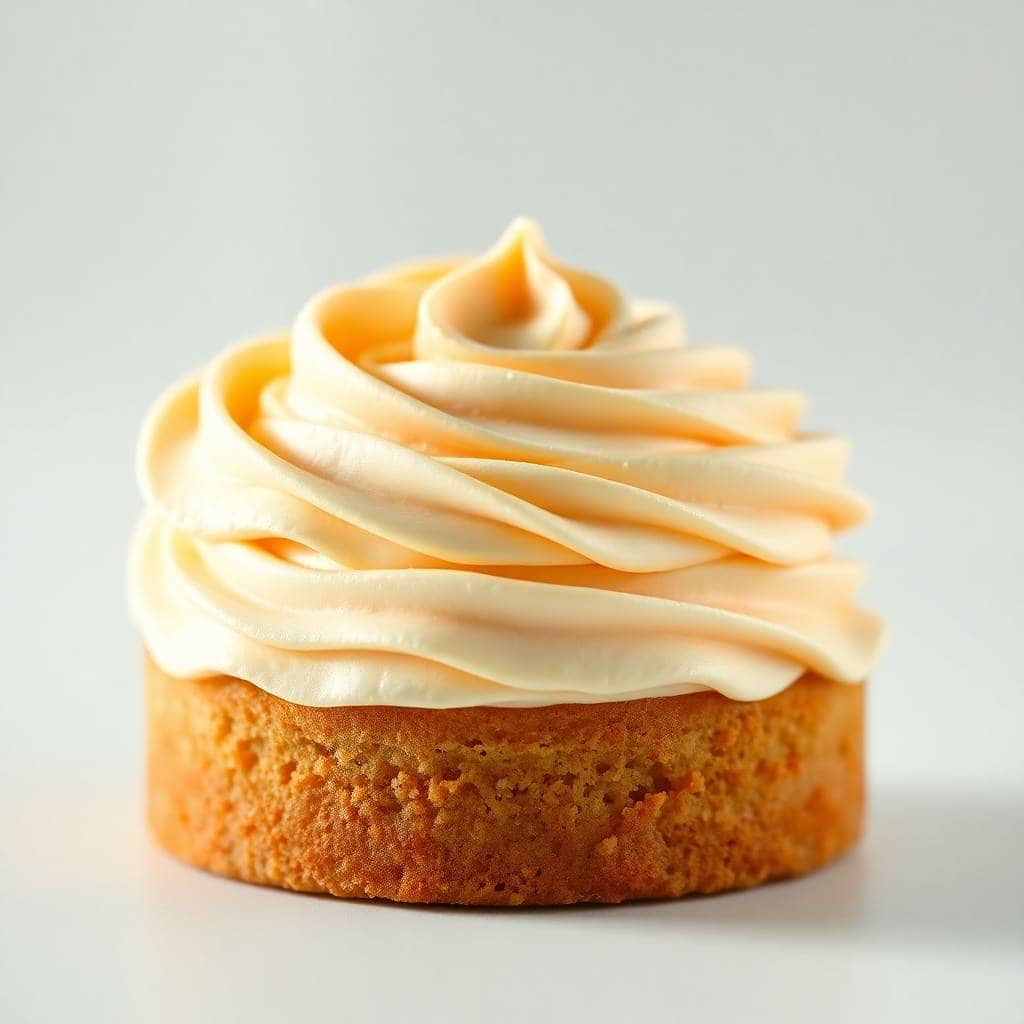
FAQ
Yes — boxed cake mix is a completely acceptable and genuinely practical shortcut that saves time without significantly compromising the result. Prepare the mix according to package directions, bake in a thin layer in your sheet pan or square pan, and proceed with cutting and frosting exactly as the recipe directs. The homemade sponge in this recipe is noticeably more flavourful and more tender, but boxed mix works beautifully for occasions when time is limited.
The most popular and most practical size is approximately 3 inches in diameter and 2–3 layers high — enough for one generous serving or two smaller portions. This size fits perfectly in standard small food containers or disposable clear cups available at most kitchen stores. You can go slightly larger (3.5 inches) for a more substantial gift cake or slightly smaller (2.5 inches) for a more bite-sized treat — the technique is identical regardless of the cutter size.
Place each completed lunchbox cake in a small clear plastic container, a small paper box with a fitted lid, or a wide-mouth disposable cup. Add a ribbon, a small sticker with the flavour written on it, and a small handwritten card for the most genuinely personal, most beautifully presented edible gift. Clear containers are the most impressive choice because the frosting decoration and layers are visible from the outside before the recipient even opens it.
Yes — bake and cut the cake rounds up to 2 days ahead and store covered in the refrigerator. Frost and decorate the day before gifting or the day of serving. The frosted cakes can be refrigerated for up to 24 hours after decorating with beautiful results — the whipped cream frosting holds its shape well when refrigerated and the sponge stays moist and fresh throughout.
Yes — freeze unfrosted cake rounds individually wrapped in plastic wrap for up to 2 months. Thaw overnight in the refrigerator before frosting and decorating. Fully frosted lunchbox cakes can also be frozen but the whipped cream frosting may change texture slightly after thawing — always add fresh sprinkles or decorations after thawing for the most vibrant, most beautiful presentation.
Lunchbox Cakes bring together everything most genuinely magical about baking and gifting — the joy of creating something beautiful with your own hands, the pleasure of watching someone receive something made specifically for them, and the deeply satisfying combination of a perfectly tender sponge and silky frosting in the most adorable, most portable format available. Find more cake and baking inspiration in our easy homemade cake recipes and our easy cookie recipes. 🎂🎀✨
LUNCHBOX CAKE
Ingredients
For the Cake:
- 1 cup all-purpose flour
- 1 teaspoon baking powder
- ¼ teaspoon salt
- ½ cup unsalted butter softened
- ¾ cup granulated sugar
- 2 large eggs
- 1 teaspoon vanilla extract
- ½ cup milk
For the Frosting:
- 1 cup heavy cream
- 3 tablespoons powdered sugar
- 1 teaspoon vanilla extract
- Food colouring optional
Instructions
Prepare the Batter:
- Preheat oven to 350°F (175°C). In a bowl, whisk together flour, baking powder, and salt. In another bowl, beat butter and sugar until fluffy. Add eggs and vanilla, then mix in dry ingredients and milk alternately.
Bake:
- Pour batter into a lined 8-inch pan and bake for 20–25 minutes or until a toothpick comes out clean. Let cool completely.
Frost:
- Whip heavy cream, powdered sugar, and vanilla until stiff peaks form. Add food colouring if desired. Cut the cooled cake into small rounds and frost each one neatly.
Decorate:
- Use a piping bag or spatula to create simple designs. Chill for 30 minutes before serving or packing.
Notes





Comments
No Comments