
My husband doesn't really love sweets — except when these are sitting on the counter. He ate three in one sitting the first time I made them, then came into the kitchen and asked me when I was making them again. That was all the feedback I needed to write this one down properly.
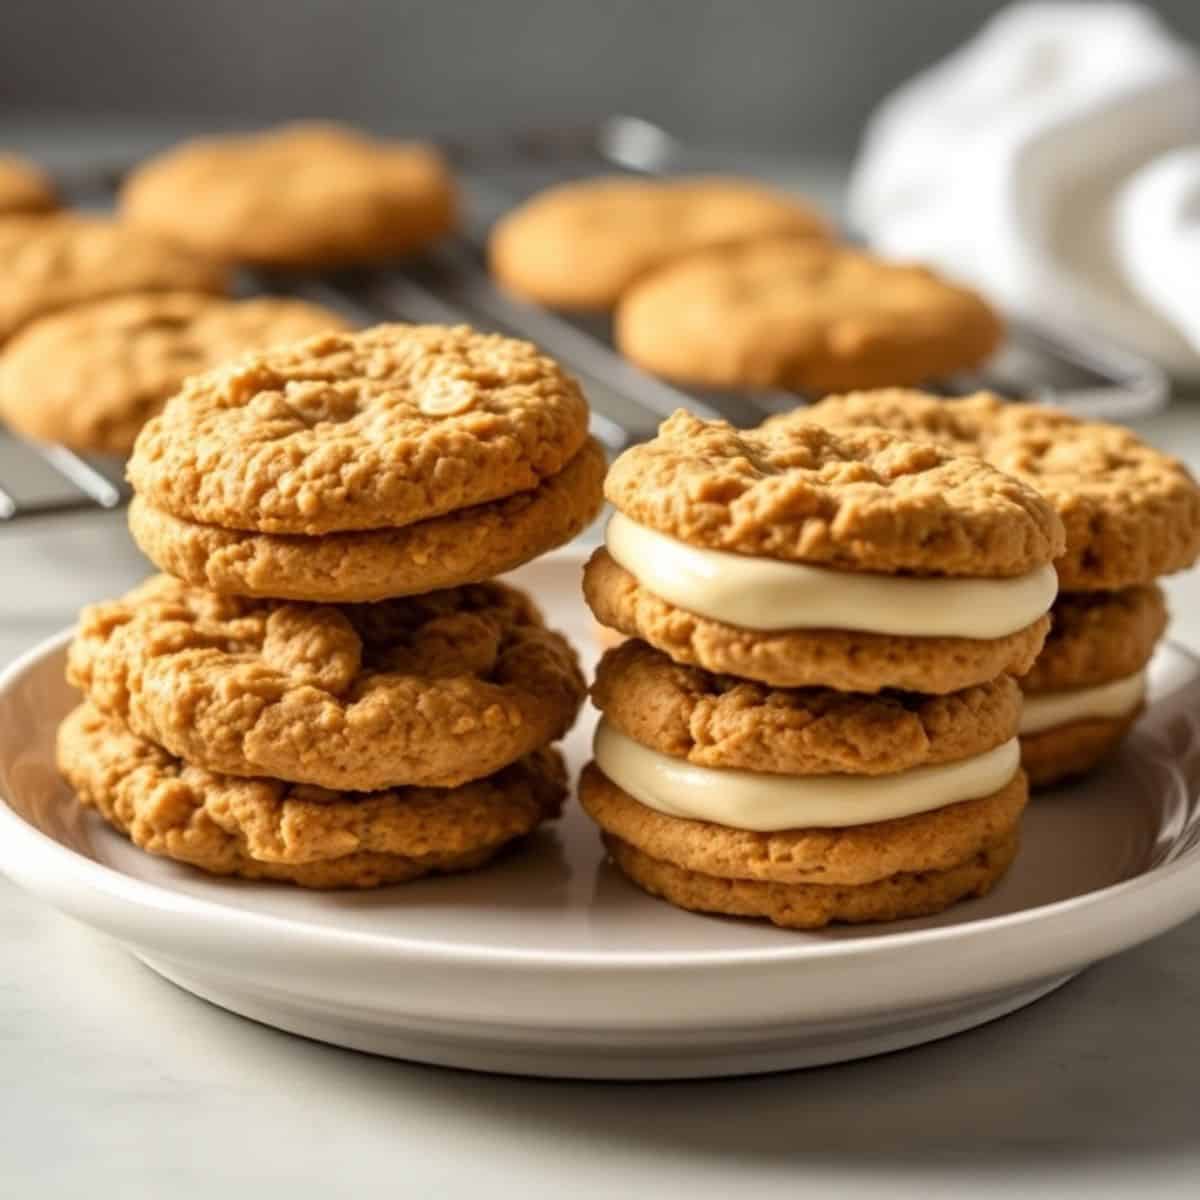
These oatmeal cream pies are my from-scratch version of the Little Debbie snacks I kept seeing in American lunchbox photos online. I'm not trying to copy the original exactly — this is my version, and I honestly think it's better. The cookies are thick and chewy from the rolled oats, warm with cinnamon, and the cream filling is just butter and powdered sugar beaten until it's impossibly fluffy. If you've ever made my Strawberry Cream Cheese Crumble Cookies, you'll recognize the same kind of straightforward dough — nothing complicated, nothing fussy, just good ingredients treated right.
I make a double batch almost every time because a single batch disappears before the day is out. Zainab packs them in her lunchbox and my husband takes them to work. By evening there are maybe two left, and those are mine. I've started hiding one in the back of the container so I'm guaranteed at least a single cookie for myself.
One thing to know before you start: don't rush the cooling step. I've assembled these while the cookies were still slightly warm and the filling just slides right out the sides. Completely cool cookies only — I usually bake them in the afternoon and assemble after dinner. Also pull your butter out at least 30 minutes before you begin. Cold butter doesn't cream properly for the dough, and it won't beat up light and fluffy for the filling either.
Why You'll Love This Recipe
- The cookies stay soft for days: A lot of homemade cookies go hard by day two. These don't — the oats and brown sugar keep them soft and a little chewy even on day four or five. I think they actually get better overnight once the filling has time to settle into the cookie. My husband would argue they never last long enough to test that theory, but I've hidden a few to confirm it myself.
- No stand mixer needed: I don't own a stand mixer. I use a hand mixer for the filling and a wooden spoon for the cookie dough once the oats go in. The dough is thick, so it's a bit of a workout at that last stage, but it absolutely works. If you have a hand mixer, use it for the butter-and-sugar creaming step — it saves your arm and gets the butter fluffier faster.
- The filling is genuinely good: A lot of cream pie fillings taste like sweetened shortening. This one is just real butter and powdered sugar beaten long enough to get light and airy. The vanilla makes a real difference — don't skip it. Beat the filling for the full 3 to 5 minutes and you'll see it go from a thick paste to something almost whipped. That time is doing actual work.
- Lunchbox-ready and they hold up: These travel well. They don't crumble, the filling doesn't ooze once it sets, and they hold their shape in a container without getting crushed. Zainab has been bringing one to school at least twice a week whenever there's a batch in the house, and they arrive intact every time.
- The base is easy to riff on: The cookie dough is simple enough that it's easy to play with. Add chocolate chips, swap in maple syrup for the filling, fold in shredded coconut — it handles variations without complaining. I've made at least four versions of these and every single one came out well.
Ingredients
- For the Oatmeal Cookies:
- 1 cup unsalted butter, softened
- 1 cup brown sugar, packed
- ½ cup granulated sugar
- 2 large eggs
- 1 teaspoon vanilla extract
- 1 ½ cups all-purpose flour
- 1 teaspoon baking soda
- ½ teaspoon salt
- 1 teaspoon ground cinnamon
- 3 cups old-fashioned rolled oats (not instant — they'll go mushy)
- ½ cup raisins (optional)
- For the Cream Filling:
- 1 cup unsalted butter, softened
- 1 ½ cups powdered sugar
- 1 teaspoon vanilla extract
- 1–2 tablespoon heavy cream or milk (add more a teaspoon at a time if the filling is too thick to spread)
Directions
- Preheat the oven: Set your oven to 350°F (175°C). Line two baking sheets with parchment paper. I keep a roll from Costco on hand for baking days exactly like this — it saves cleanup and keeps the bottoms from over-browning.
- Cream the butter and sugars: In a large bowl, beat the softened butter with both sugars until light and fluffy, about 3 to 4 minutes. This step matters more than it sounds — properly creamed butter makes the cookies spread evenly and stay tender. Add the eggs one at a time, mixing well after each, then stir in the vanilla.
- Add the dry ingredients: In a separate bowl, whisk together the flour, baking soda, salt, and cinnamon. Gradually add the dry mix to the butter mixture and stir until just combined. Stop mixing the moment you can't see dry flour anymore — overdoing it makes tough cookies.
- Fold in the oats: Stir in the rolled oats (and raisins if you're using them) until evenly mixed. The dough will be thick and a little sticky. That's exactly right — don't add more flour.
- Scoop and flatten: Use a tablespoon or small cookie scoop to drop balls of dough onto the baking sheets, spacing them about 2 inches apart. Flatten each ball slightly with the back of your spoon. These cookies don't spread much on their own, so that little press helps them bake out round and even.
- Bake: Bake for 12 to 15 minutes, until the edges are golden brown and the centers look just barely set. Pull them when they still look slightly underdone in the middle — they firm up as they cool, and if you wait until they look fully done in the oven, they'll be hard by the next day. Let them cool on the pan for 5 minutes, then transfer to a wire rack to cool completely before touching the filling.
- Make the cream filling: Beat the softened butter until smooth. Add the powdered sugar, vanilla, and 1 tablespoon of cream or milk. Beat on medium-high for 3 to 5 minutes until the filling goes pale and light. If it's too thick to spread, add more cream one teaspoon at a time. When it holds soft peaks, it's ready.
- Assemble: Flip half the cooled cookies flat-side up. Spread a generous amount of filling on each — I use about 2 tablespoons per sandwich. Press a second cookie on top, flat-side down, and gently press together. Let them sit for 30 minutes before serving so the filling firms up slightly and doesn't squish out when you bite in.
Tips for Success
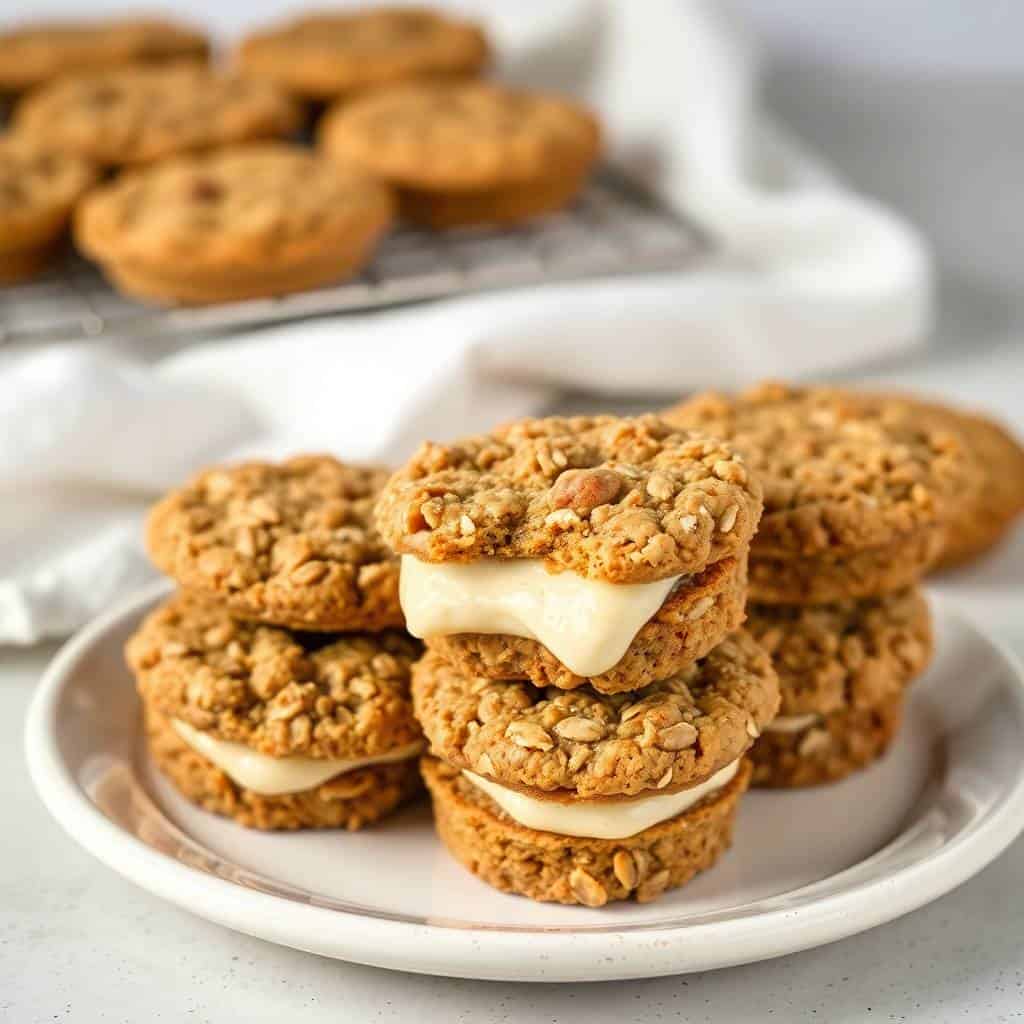
- Use old-fashioned oats, not instant: I tried instant oats once and the texture was completely different — almost gummy, and the cookies lost their chew entirely. Old-fashioned rolled oats, the kind in the round Quaker container at any grocery store, give you that satisfying bite that makes these cookies worth making. It's the one thing in this recipe I wouldn't swap out.
- Pull the cookies early: The centers should still look soft when you take them out. They keep baking on the hot pan for a few minutes after you pull them. The first time I made these I waited until they looked fully done and ended up with crispy cookies — fine on their own, but completely wrong for a cream pie. Golden edges and a soft center is your cue to pull.
- Room temperature butter for both the cookies and the filling: Cold butter won't cream properly for the dough, and it won't beat up light for the filling either. I pull mine out 30 to 45 minutes before I start. Press your finger into it — if it leaves a dent easily without the butter looking greasy or melted, it's at the right temperature.
- Don't assemble until the cookies are fully cooled: Warm cookies melt the filling and it slides right out the sides. I know from experience — I've done this twice in a hurry and both times I regretted it. Give them a full 30 minutes on a wire rack, or just bake them in the afternoon and assemble after dinner when you'd naturally have time.
- Beat the filling for the full time: Three to five minutes feels excessive, but it genuinely transforms the filling from a thick, dense paste to something light and almost whipped. I use a hand mixer and just let it run while I wash up the cookie bowls. When it goes pale and holds soft peaks, it's done. Don't skip this step and wonder why the filling tastes flat.
Variations
- Chocolate chip oatmeal cream pies: Fold 1 cup of mini chocolate chips into the cookie dough along with the oats. Mini chips work better than regular here because they distribute more evenly through the thick dough. Saad actually prefers this version — he picks the raisins out of the original but he'll eat every last crumb of these without complaint.
- Maple cream filling: Add 1 to 2 tablespoons of pure maple syrup to the filling along with the vanilla. It adds a warmth to the sweetness that works really well against the cinnamon in the cookies. Reduce the heavy cream by about half if you go this route, since the maple syrup already adds liquid to the mix.
- Peanut butter filling: Beat ½ cup of creamy peanut butter into the butter before adding the powdered sugar. The filling ends up denser but incredibly good — more like a peanut butter sandwich cookie than the classic cream pie. If you're a peanut butter person, this is the version to try first. It also pairs well alongside something like my Butterfinger Caramel Crunch Bars if you're putting out a full dessert spread.
- Coconut oatmeal cream pies: Stir ½ cup of sweetened shredded coconut into the cookie dough. It adds extra chew and a faint sweetness that plays nicely with the cinnamon. Toast the coconut first if you want more flavor — just 5 minutes in a dry skillet over medium heat until it's golden. Watch it closely; it goes from golden to burnt fast.
- No-raisin classic: If your household is anti-raisin (mine is divided on this), just leave them out entirely. The oats and cinnamon carry all the flavor you need. This is the version I make most often because it keeps everyone at my table from picking through their cookie before they eat it.
Serving and Storage
Serving
These are best at room temperature, when the filling is at its softest. I serve them with a glass of cold milk — classic pairing and it still works. They also hold up well on a dessert table if you're putting out a spread; they sit nicely next to something like my Slutty Brownies for variety. Let assembled pies sit for at least 30 minutes before serving so the filling has time to firm up slightly — that resting time is what stops them squishing when you bite in.
Storage
Store assembled oatmeal cream pies in an airtight container at room temperature for up to 5 days. They don't need to go in the fridge — the butter filling is stable at room temperature and the cookies actually stay softer when not refrigerated. If you want to get ahead, bake the cookies and freeze them unfilled in a zip-lock bag for up to 1 month. Thaw at room temperature for about 30 minutes, then make the filling fresh and assemble. I wouldn't freeze them once assembled — the filling gets a bit grainy when it thaws and loses that light texture you worked for.
Frequently Asked Questions
Can I make these without raisins?
Yes, just leave them out entirely. The cookies are complete without them — the oats and cinnamon carry all the flavor on their own. If you want to fill that space with something, mini chocolate chips or dried cranberries both work well. I skip the raisins about half the time depending on who's eating them.
Can I make these ahead of time?
Yes — bake the cookies and store them unfilled in an airtight container for up to 2 days. Make the filling fresh the day you want to assemble, then put them together an hour before serving. I actually prefer doing it this way because the cookies don't get soft from the filling sitting on them too long before you eat them.
Why is my filling too runny?
Most likely your butter was too warm. If the butter has melted even slightly, the filling won't firm up properly no matter how long you beat it. Add more powdered sugar a tablespoon at a time and refrigerate the filling for 15 minutes before using. Next time, make sure your butter is soft enough to dent with your finger but still cool to the touch — not greasy, not melted.
Why did my cookies spread too much?
This usually happens when the butter was too warm or the dough was too soft going into the oven. If your kitchen is hot, chill the dough for 20 to 30 minutes before scooping. Also double-check that you're using old-fashioned rolled oats — instant oats absorb less moisture and can cause more spreading than you want.
Can I freeze assembled oatmeal cream pies?
I don't recommend it. The filling tends to get grainy and weep a little when it thaws, and you lose that light texture entirely. Freeze the plain baked cookies instead (up to 1 month), then whip up fresh filling and assemble when you need them. The filling only takes about 10 minutes to make, so it's worth doing fresh.

These oatmeal cream pies are one of those recipes I keep coming back to because nothing about them is stressful. The ingredients are basics I always have on hand — butter, brown sugar, oats, flour. The method is straightforward. And the result is something that genuinely makes people happy in a way that fancy desserts sometimes don't manage. There's something about a thick, cinnamon-spiced oat cookie with a cloud of butter filling sandwiched inside that just lands right with everyone.
I've made these for school events, for weekend baking afternoons, and for evenings when I just want to bake something without a lot of thinking. They're reliable in the best way. If you want something to bake alongside them, my Brownie Mix Cookies are another one we always have on rotation — completely different texture, same low-effort energy, and they disappear just as fast.
If you make a batch, let the assembled pies sit for at least 30 minutes before you eat them. I know that's hard to do when they're sitting right there on the counter smelling like cinnamon and butter. But that resting time is genuinely what takes them from good to something you'll want to make again the following weekend. 🍪✨
If you liked this recipe, here are a few more worth trying:
- Brownie Mix Cookies (Fudgy, Gooey Centers in 15 Minutes)
- Slutty Brownies
- Butterfinger Caramel Crunch Bars
- Strawberry Cream Cheese Crumble Cookies (Soft, Fruity & Buttery)
- Christmas Tree Cookies





Comments
No Comments