
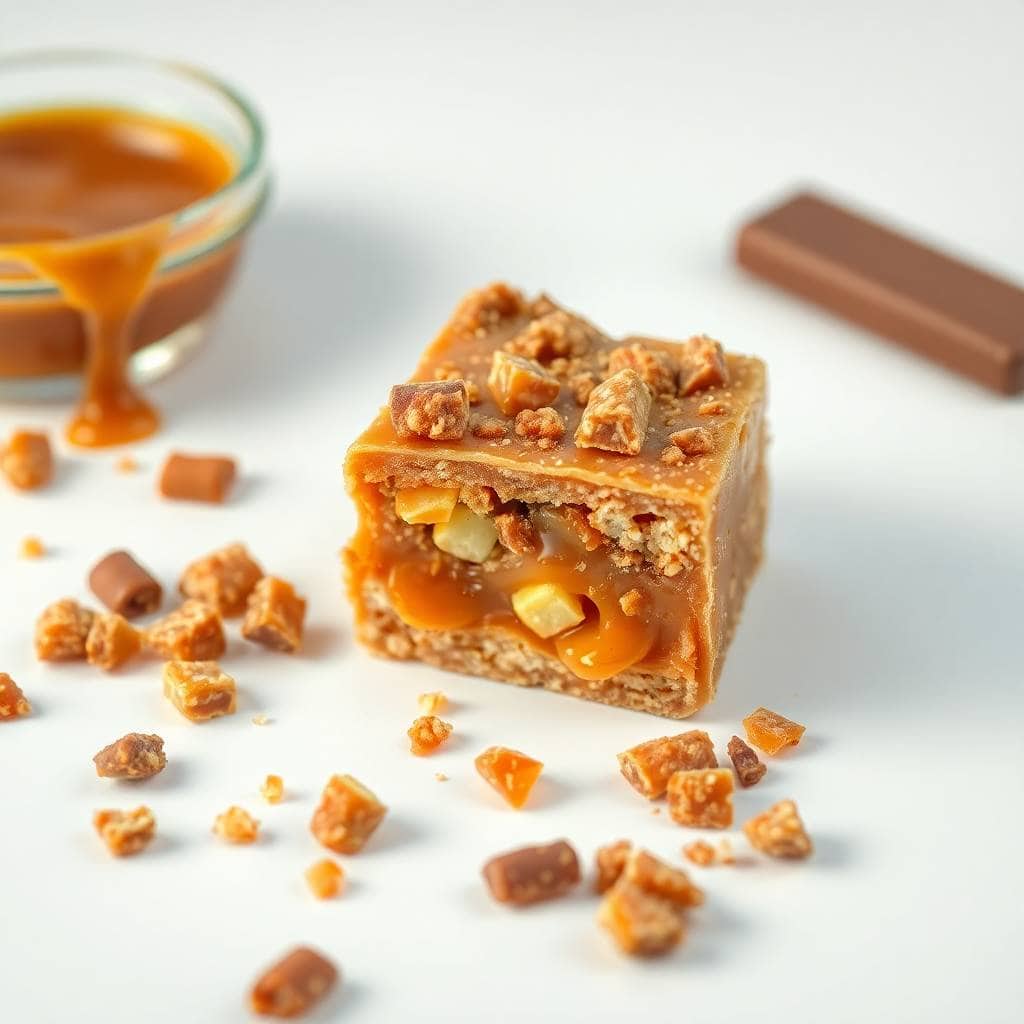
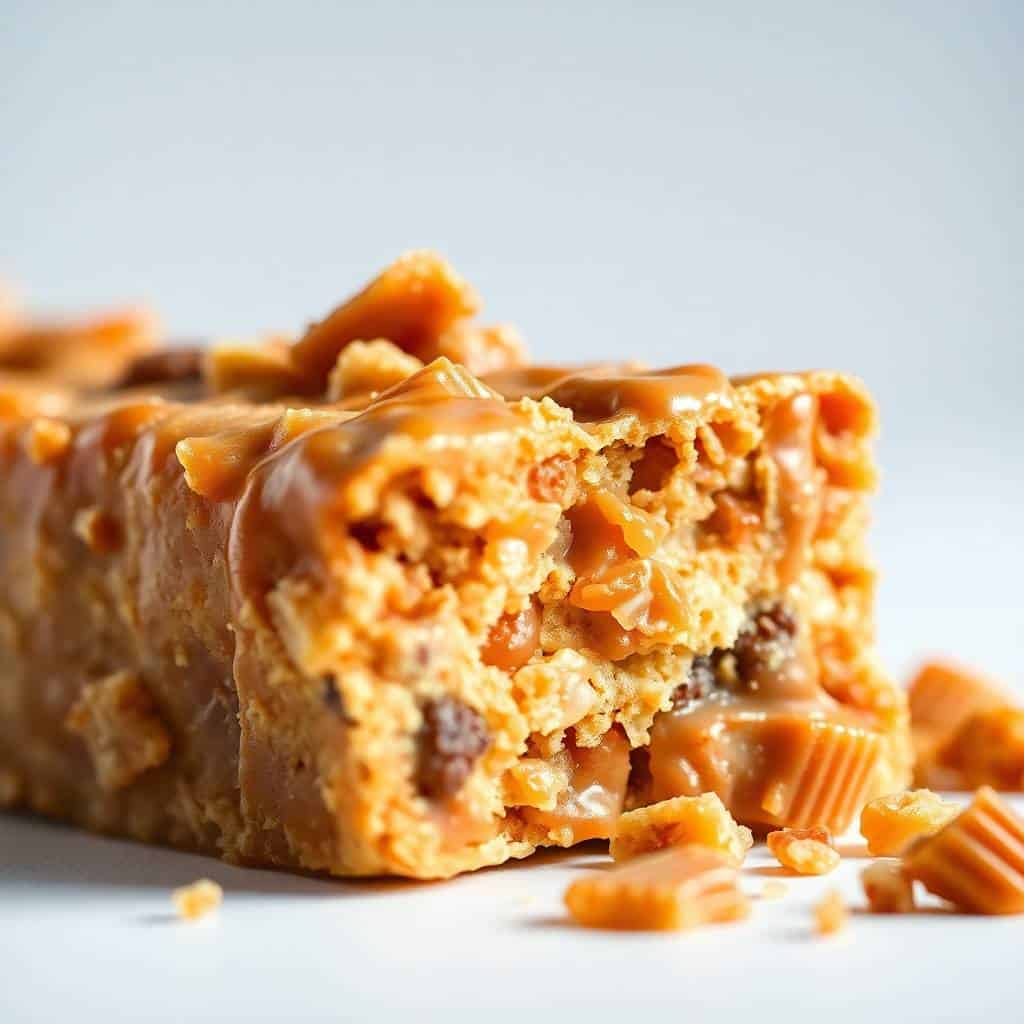
Butterfinger Caramel Crunch Bars are a perfect blend of crunchy, chewy, and sweet textures in every bite. Whether you’re making treats for a party, gift, or simply a special snack, these bars are sure to satisfy any sweet tooth.
This recipe is straightforward and requires no baking, making it quick and easy to prepare. These bars combine the classic crunch of Butterfinger candy with rich caramel and a crispy base, making them a dessert that’s both fun and indulgent.
Layers of crushed Butterfinger pieces, chewy caramel, and a buttery crunchy base come together to form a luscious treat that’s both delightful and nostalgic. It’s a great way to enjoy your favourite candy bar in a homemade form.
The bars keep well and make an excellent dessert or snack for any occasion. You can customize the recipe by adding nuts or chocolate drizzle to enhance the flavour and texture. Make a batch today and watch them disappear quickly!
If you want a sweet snack that feels like a decadent candy bar but is made fresh at home, butterfinger caramel crunch bars are a delicious choice. Kids and adults alike will love the mix of crunchy and gooey that defines these bars.

WHY YOU WILL LOVE THIS RECIPE
- No-bake convenience: You can prepare this dessert quickly without using an oven, saving time while still enjoying a delicious treat.
- Perfect crunch: Butterfinger candy pieces add an irresistible crunchy texture that contrasts beautifully with the smooth caramel and buttery crust.
- Sweet and salty: The combination of sweet caramel and salty buttery crust creates a perfectly balanced and satisfying flavour profile.
- Simple ingredients: This recipe uses easy-to-find ingredients that are common in most kitchens, making it accessible for anyone.
- Make-ahead friendly: These bars can be made in advance and stored in the fridge or freezer for convenient snacking anytime.
INGREDIENTS
- 2 cups crushed Butterfinger candy bars
- 1 cup crushed crispy rice cereal
- 1 ½ cups caramel sauce or soft caramel candies, melted
- 1 cup unsalted butter, melted
- 2 cups powdered sugar
- 1 teaspoon vanilla extract
- ½ teaspoon salt
- 1 ½ cups graham cracker crumbs
DIRECTIONS
- Step No.1: Prepare the base mixture
In a large bowl, combine melted butter, powdered sugar, vanilla extract, salt, graham cracker crumbs, and crushed crispy rice cereal. Mix well until combined.
- Step No.2: Press base into pan
Line an 8x8-inch baking pan with parchment paper. Press the base mixture firmly into the bottom in an even layer.
- Step No.3: Add caramel layer
Pour the melted caramel evenly over the base layer, spreading carefully with a spatula to cover completely.
- Step No.4: Sprinkle Butterfinger pieces
Evenly sprinkle the crushed Butterfinger candy over the caramel layer, pressing lightly to adhere.
- Step No.5: Chill to set
Place the pan in the refrigerator for at least 2 hours or until the bars are firm and set.
- Step No.6: Slice and serve
Remove from the refrigerator, lift bars out using parchment paper, and slice into squares for serving.
TIPS FOR SUCCESS
- Use soft caramel: Choose soft caramel bits or squares for quick melting and a smooth, luscious caramel layer in the bars.
- Press crust firmly: Firmly pressing the crust mixture ensures a sturdy base that will hold together well when slicing.
- Chop candy finely: Smaller Butterfinger pieces distribute evenly throughout the bars for consistent crunch in every bite.
- Cool crust before caramel: Allow the crust to cool slightly to prevent caramel from soaking in and keeping distinct layers.
- Chill well: Refrigerate the bars for at least two hours to allow chocolate to set and bars to firm for easy slicing.
VARIATIONS
- Add nuts: Mixing in chopped walnuts or pecans adds extra crunch and a pleasant nutty flavour to the bars.
- Use different candy: Substitute Butterfinger with Heath bars, Twix, or your favourite crunchy candy for a different twist.
- Peanut butter swirl: Add peanut butter swirls to the caramel layer for a delicious nutty contrast that complements the sweetness.
- Chocolate layer: Spread melted chocolate over the caramel before adding candy pieces for a richer, more decadent flavour.
- Salted caramel: Sprinkle sea salt on top of the chocolate drizzle to enhance the sweet and salty contrast beautifully.
SERVING AND STORAGE
Serving
Serve chilled bars in bite-sized squares as a sweet treat or party snack.
Storage
Store bars in an airtight container in the fridge for up to 5 days to maintain freshness.
FAQ
Yes, prepare them up to 3 days in advance and keep refrigerated until serving.
Yes, wrap tightly and freeze for up to 2 months. Thaw in the fridge before serving.
Absolutely! Homemade caramel works well and adds a rich flavour to these bars.
Not as is. Use gluten-free crispy rice cereal and graham cracker substitutes to make gluten-free.
Yes, use similar crunchy caramel candy bars like Heath or Twix for different flavour variations.
These Butterfinger Caramel Crunch Bars deliver the perfect combination of crunchy candy, gooey caramel, and a buttery crisp base.
The mix of textures and flavours keeps every bite interesting and satisfying.
The recipe allows fun customizations to suit your taste, whether you want nuts, chocolate, or salty contrasts.
Keeping them chilled ensures they hold together well, making slicing and serving a breeze.

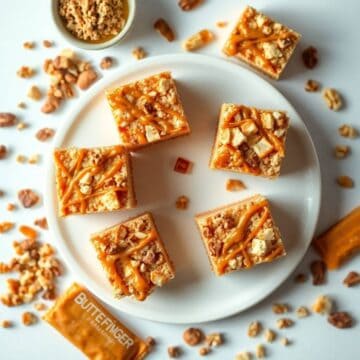
BUTTERFINGER CARAMEL CRUNCH BARS
Ingredients
- 2 cups crushed Butterfinger candy bars about 6 bars
- 1 cup caramel sauce or soft caramel bits
- 1½ cups crushed crispy rice cereal
- 1 cup unsalted butter melted
- 3 cups mini marshmallows
- 1 teaspoon vanilla extract
- 2 cups powdered sugar
Instructions
Prepare Pan:
- Line a 9x13-inch baking pan with parchment paper, leaving overhang for easy removal.
Make the Mixture:
- In a large bowl, combine melted butter, caramel sauce, and vanilla. Stir in crushed Butterfinger pieces and crispy rice cereal.
Add Marshmallows & Sugar:
- Mix in mini marshmallows and powdered sugar until well combined.
Press Into Pan:
- Press mixture firmly into the prepared pan, smoothing the top evenly.
Chill & Set:
- Refrigerate for at least 2 hours until firm. Cut into bars and serve.
Notes
Variations: Add chopped nuts or drizzle melted chocolate on top for extra texture and flavour.
Serving Suggestions: Serve with coffee or milk for a delightful treat.
Allergy-Friendly Tips: Use dairy-free butter and caramel for a lactose-free version.
Storage Tips: Store bars in an airtight container for up to 5 days.





Comments
No Comments