
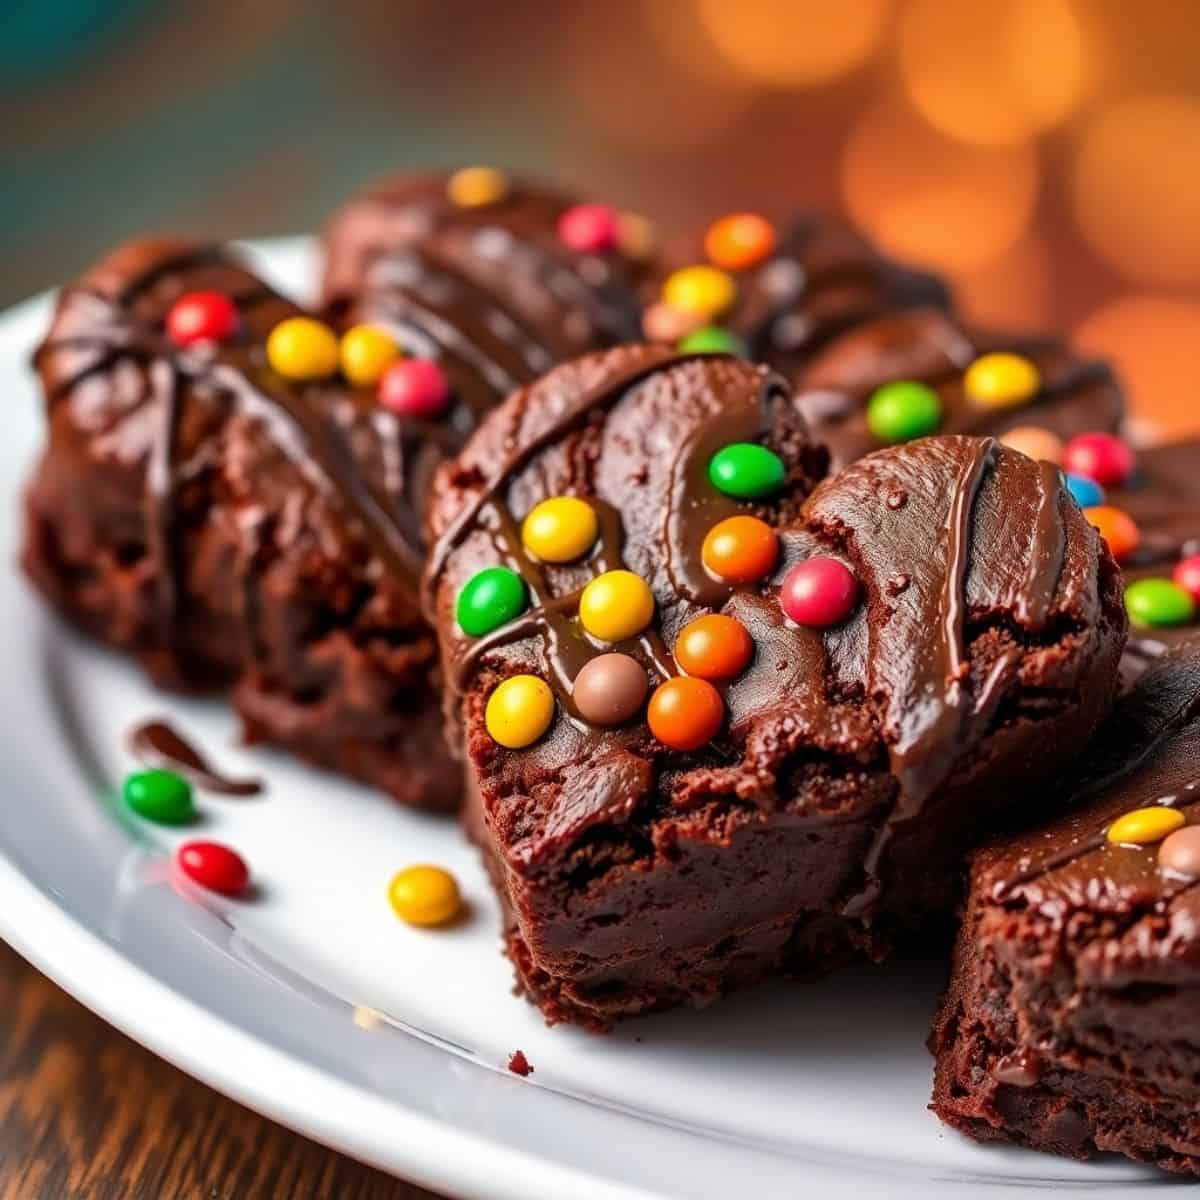
These Heart-Shaped Brownies are a delightful and festive twist on the classic brownie, perfect for celebrating Valentine's Day, anniversaries, or any occasion where you want to share a little love.
Imagine biting into a rich, fudgy, chocolatey brownie shaped like a heart and perhaps even adorned with a sweet frosting and colorful sprinkles.
These brownies are not only delicious but also visually appealing, making them a thoughtful and impressive homemade gift or a delightful addition to any Valentine's Day dessert spread.
They're surprisingly easy to make, even for beginner bakers, and the heart shape adds a special touch that makes them extra memorable.
Whether you prefer a simple, unadorned brownie or a beautifully decorated one, this recipe provides the perfect base for creating a sweet treat that comes straight from the heart.
Why You'll Love This Recipe
- Perfect for Valentine's Day: The heart shape makes these brownies a perfect romantic gesture or a sweet treat for friends and family.
- Fudgy and Chewy: This recipe is designed to create perfectly fudgy and chewy brownies.
- Versatile: Decorate them with frosting and sprinkles, or leave them plain – the choice is yours!
- Easy to Make: This recipe is simple, even for beginner bakers.
- Homemade with Love: These brownies are a thoughtful and heartfelt gift.
Ingredients
For the Brownies
- ½ cup (1 stick) unsalted butter, melted
- 1 cup granulated sugar
- ¾ cup unsweetened cocoa powder (high-quality)
- ¼ teaspoon salt
- 2 large eggs
- 1 teaspoon vanilla extract
- ½ cup all-purpose flour
For the Decoration (Optional):
- Your favorite frosting (store-bought or homemade)
- Sprinkles
- Melted chocolate
Directions
- Step 1: Prepare the Pan
Preheat oven to 350°F (175°C). Grease and line an 8x8-inch baking pan with parchment paper, leaving an overhang for easy removal.
- You can also use a 9x9-inch pan, but the brownies will be slightly thinner.
- Step 2: Combine Wet Ingredients
In a large bowl, whisk together the melted butter, granulated sugar, cocoa powder, and salt until well combined.
- Step 3: Add Eggs and Vanilla
Beat in the eggs one at a time, then stir in the vanilla extract.
- Step 4: Add Flour
Gradually add the flour to the wet ingredients, mixing until just combined. Do not overmix.
- Step 5: Bake
Pour the batter into the prepared baking pan and spread evenly.
- Bake for 25-30 minutes, or until a toothpick inserted into the center comes out with a few moist crumbs attached. Be careful not to overbake, as this will result in dry brownies.
- Step 6: Cool
Let the brownies cool completely in the pan before cutting.
- Step 7: Cut into Hearts
Once the brownies are completely cooled, use a heart-shaped cookie cutter to cut out heart shapes.
- You may need to gently press the cookie cutter through the brownie. You can also use a knife to cut heart shapes freehand if you are feeling artistic.
- Step 8: Decorate (Optional)
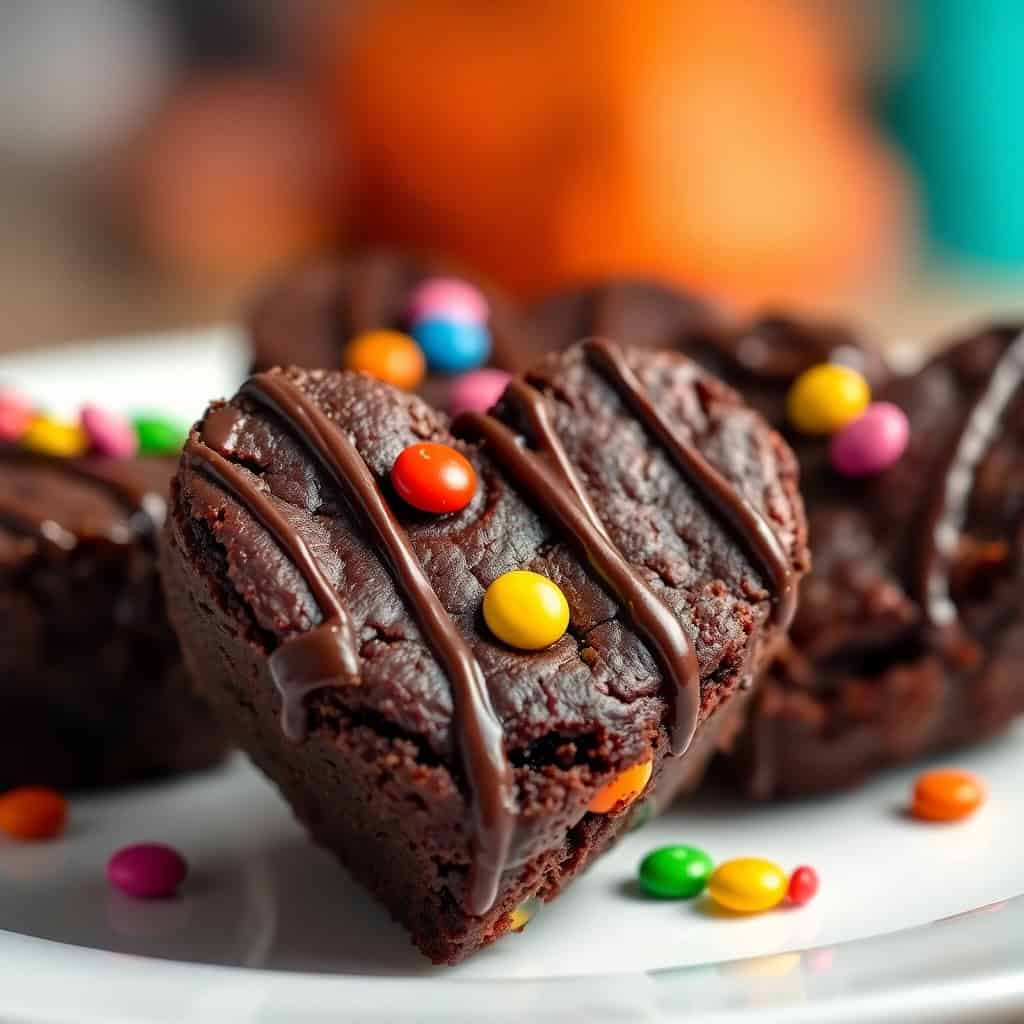
Decorate the heart-shaped brownies with frosting, sprinkles, melted chocolate, or any other decorations you desire.
Serving and Storage
Serving Suggestions
These Heart-Shaped Brownies are delicious and served warm or at room temperature. They are perfect for sharing with loved ones on Valentine's Day or any other special occasion.
Storage
- Storing at Room Temperature: Store cooled brownies in an airtight container at room temperature for up to 3 days.
- Refrigerating: For longer storage, store the brownies in an airtight container in the refrigerator for up to 1 week. Bring to room temperature before serving.
Tips for Success
- Use Quality Cocoa Powder: High-quality cocoa powder will enhance the chocolate flavor of the brownies.
- Don't Overmix: Overmixing the batter can result in tough brownies. Mix until just combined.
- Don't Overbake: Overbaking will result in dry brownies. The brownies should be slightly fudgy in the center.
- Cool Completely: Allow the brownies to cool completely before cutting to prevent them from crumbling.
- Use a Sharp Cookie Cutter: A sharp heart-shaped cookie cutter will make it easier to cut clean shapes.
Variations
- Chocolate-Covered Strawberry Brownies: Drizzle melted chocolate over the cooled heart-shaped brownies and top with sliced strawberries.
- Cream Cheese Swirl Heart Brownies: Swirl a cream cheese mixture into the brownie batter before baking.
- Nutty Heart Brownies: Add chopped nuts, such as walnuts or pecans, to the batter.
- Salted Caramel Heart Brownies: Drizzle the baked and cooled heart brownies with caramel sauce and sprinkle with sea salt.
- Different Frosting Flavors: Use different frosting flavors, such as vanilla, cream cheese, or strawberry.
FAQs
Yes, you can use a different size pan, but you will need to adjust the baking time accordingly.
Frozen strawberries are not recommended for this recipe.
Yes, these brownies are best made ahead of time to allow the flavors to meld together.
This can be caused by overbaking or using too much flour.
Yes, you can add other decorations, such as sprinkles, chocolate chips, or edible glitter.
These Heart-Shaped Brownies are a delightful and easy treat that's perfect for expressing your love on Valentine's Day or any other special occasion.
The combination of fudgy chocolate and a sweetheart shape is simply irresistible.
Whether you're baking them for a romantic gesture, a gift for friends, or just a sweet treat for yourself, these brownies are sure to be a hit.
Enjoy the rich chocolate flavor, the festive heart shape, and the satisfyingly chewy texture of these delicious brownies.
They're a perfect blend of classic brownie goodness and a touch of love.

HEART-SHAPED BROWNIES
Ingredients
Brownies:
- ½ cup (1 stick) unsalted butter,
- 1 cup granulated sugar
- 2 large eggs
- 1 teaspoon vanilla extract
- ¾ cup all-purpose flour
- ¼ cup unsweetened cocoa powder
- ¼ teaspoon salt
- Optional: ½ cup chocolate chips or chunks
Frosting (optional)
- 1 cup (2 sticks) unsalted butter, softened
- 3 cups powdered sugar
- ¼ cup milk or cream
- 1 teaspoon vanilla extract
- Food coloring (red, pink, or your choice)
Decorations (optional)
- Sprinkles
- Chocolate shavings
- Fresh berries
Instructions
- Prepare the pan: Grease and line a 9x13 inch baking pan (or a pan of similar size) with parchment paper, leaving an overhang for easy removal. Note: For individual heart brownies, you can bake the brownies in a regular pan and then use a heart-shaped cookie cutter after they've cooled.
- Combine wet ingredients: In a large bowl, whisk together the melted butter, granulated sugar, eggs, and vanilla extract until well combined.
- Combine dry ingredients: In a separate bowl, whisk together the flour, cocoa powder, and salt.
- Combine wet and dry ingredients: Gradually add the dry ingredients to the wet ingredients, mixing on low speed until just combined. Do not overmix.
- Add chocolate chips (optional): If using chocolate chips or chunks, gently fold them into the batter.
- Bake: Pour the batter into the prepared baking pan and spread evenly. Bake for 25-30 minutes, or until a toothpick inserted into the center comes out with just a few moist crumbs attached. Be careful not to overbake.
- Cool: Let the brownies cool completely in the pan.
- Cut out hearts (if using a large pan): Once the brownies are completely cooled, use a heart-shaped cookie cutter to cut out individual brownies. If you baked in individual molds, skip this step.
- Make the frosting (optional): While the brownies are cooling, prepare the frosting. In a large bowl, cream together the softened butter and powdered sugar until light and fluffy. Gradually add the milk or cream and vanilla extract, beating on medium speed until light and fluffy. Add food coloring to achieve your desired shade.
- Frost and decorate (optional): Frost the heart-shaped brownies and decorate with sprinkles, chocolate shavings, fresh berries, or other toppings of your choice.
Notes
- Pan Size: The baking time may vary slightly depending on the size of your pan.
- Cookie Cutter: Using a cookie cutter to create heart shapes works best with thicker brownies.
- Frosting Consistency: Adjust the amount of milk or cream in the frosting to achieve your desired consistency.
- Decorations: Get creative with your decorations! Use different colored frostings, sprinkles, or even write messages on the brownies.
- Make-Ahead: The brownies can be baked ahead of time and stored in an airtight container at room temperature for up to 3 days. The frosting can also be made ahead of time and stored in the refrigerator for up to 3 days. Let it come to room temperature and re-whip before using.





Comments
No Comments