
My husband doesn't really love finger food — except for these sliders. He walked past the kitchen while I was assembling them the first time, grabbed one before they even went in the oven, and then stood there waiting by the oven door for the rest. That told me everything I needed to know.
What makes these work is the butter topping. It sounds like a small thing — melted butter, a bit of Dijon, Worcestershire sauce, garlic powder — but it soaks into the top of those Hawaiian rolls while they bake and turns the whole thing into something that smells like it came from a proper sandwich shop. The rolls go slightly crispy on top, soft and pillowy inside, and the cheese melts into the ham in a way that makes every pull satisfying.
I make these whenever we have people over and I don't want to spend three hours in the kitchen. They come together in about ten minutes of actual work, sit in the oven for twenty, and disappear faster than anything else on the table — faster than my BBQ chicken wings, which is saying something. Saad specifically requests these for movie nights now.
One thing worth knowing: let the assembled sliders sit for five to ten minutes after brushing them with the butter before they go in the oven. It sounds fussy but it genuinely makes a difference — the rolls soak up the butter instead of it just sitting on top. Also, don't skip the foil for the first fifteen minutes or you'll end up with rolls that are golden on top but still cold in the middle.
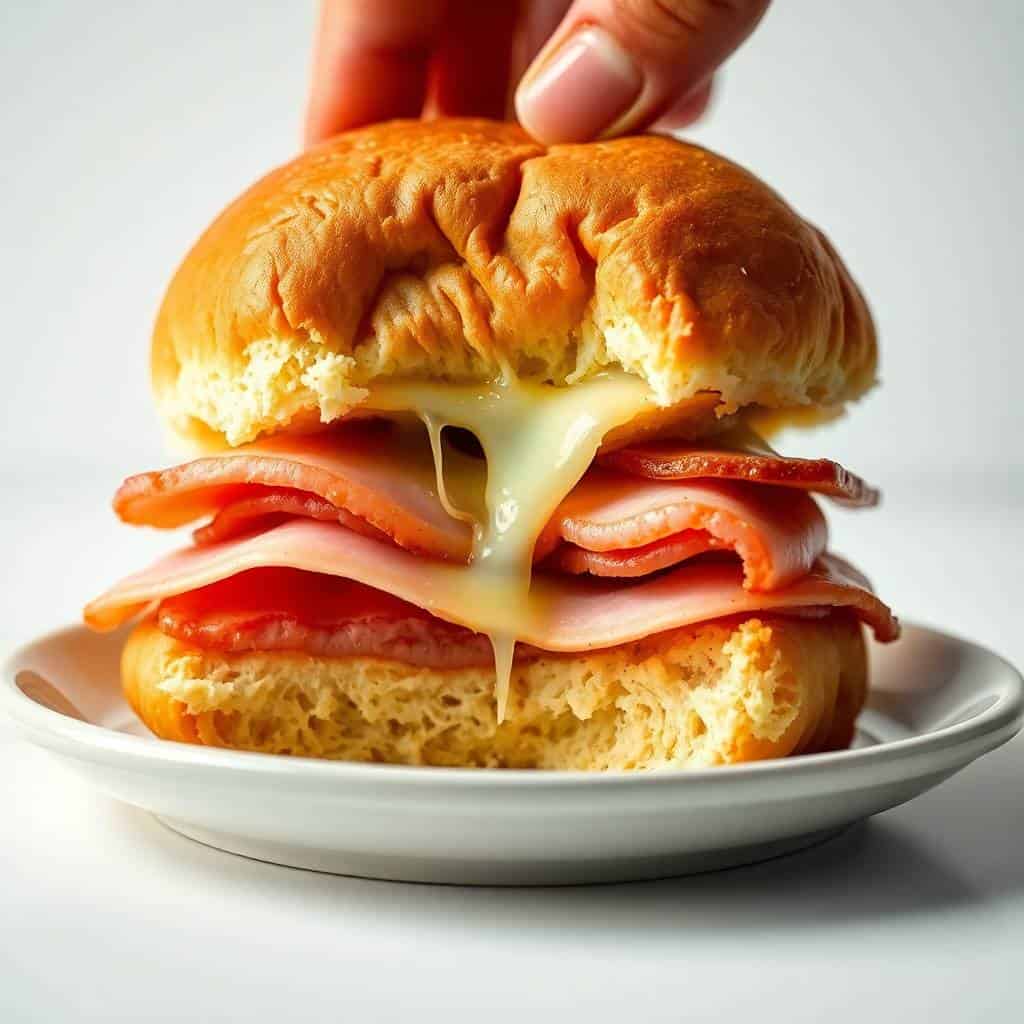
Why You'll Love This Recipe
- It's genuinely fast: From fridge to table in under 30 minutes, including the time it takes to preheat the oven. I've made these on a Wednesday night when I had no dinner plan and everyone still thought I'd put in effort. The assembly is so simple — slice the rolls, layer the ham and cheese, brush the top, bake. That's it.
- The butter topping does all the work: I was skeptical the first time I saw this technique — brushing butter over the top of rolls before baking. But it caramelizes slightly in the oven and gives the tops this golden, slightly crisp finish that makes the whole thing taste intentional. It's not just bread and ham. It's something people actually comment on.
- You can assemble them hours ahead: I usually put them together in the afternoon when I'm making them for a party, cover the dish with foil, and leave them in the fridge. Then thirty minutes before guests arrive I brush on the butter and pop them in the oven. No last-minute scrambling, no cold food, no stress.
- Kids and adults both eat them: This is rarer than you'd think. My kids want something cheesy and soft. My husband wants something with actual flavor. These land in the middle — not too intense, not plain, just properly good. They're also the right size for kids to hold and eat without needing to cut anything up.
- The recipe is flexible: I've made these with Swiss, with cheddar, with provolone. I've used regular deli ham, I've used honey ham, I've used leftover roast beef. The butter topping stays the same and it works every time. It's the kind of recipe you can adapt to whatever's in your fridge.
Ingredients
- 12 Hawaiian sweet rolls (King's Hawaiian from Walmart or Costco work great)
- 1 pound thinly sliced deli ham
- 12 slices Swiss cheese (or cheddar, provolone, or whatever you like)
- ½ cup unsalted butter, melted
- 1 tablespoon Dijon mustard
- 1 tablespoon poppy seeds (optional — skip them if you don't have them)
- 1 teaspoon Worcestershire sauce
- 1 teaspoon garlic powder
- 1 teaspoon onion powder
- Non-stick cooking spray or a little butter for greasing the dish
Directions
- Step 1: Preheat the oven — Set your oven to 350°F (175°C). Grease a 9x13-inch baking dish with cooking spray or a little butter. This stops the bottom rolls from sticking, especially once the cheese starts melting down the sides.
- Step 2: Slice the rolls — Slice the whole pack of rolls in half horizontally, keeping them together as a single sheet — don't separate them into individual rolls. Place the bottom sheet in the prepared baking dish. Keeping them attached makes assembly faster and helps them bake evenly.
- Step 3: Layer the ham and cheese — Lay the deli ham evenly across the bottom rolls, then lay the cheese slices over the ham. Try to get coverage across the whole surface so every slider gets a fair share. I usually overlap the cheese a little so there are no bare spots.
- Step 4: Put the tops on — Press the top sheet of rolls back over the ham and cheese layer. Don't worry if it shifts a little — it'll all settle once it bakes.
- Step 5: Make the butter topping — In a small bowl, whisk together the melted butter, Dijon mustard, Worcestershire sauce, garlic powder, onion powder, and poppy seeds if using. Taste a tiny bit — it should be savory and slightly tangy. If you want more mustard flavor, add another half teaspoon.
- Step 6: Brush and rest — Brush the butter mixture generously over the tops of all the rolls. Be thorough here — get into the crevices between the rolls too. Let the whole dish sit for 5 to 10 minutes so the rolls can absorb the butter before baking. I always do this step before I set the table so I'm not just standing there waiting.
- Step 7: Bake — Cover the dish loosely with foil and bake for 15 minutes. Then remove the foil and bake for another 5 minutes until the tops are golden and the cheese is fully melted. Don't skip the foil step — without it, the tops brown before the inside heats through.
- Step 8: Slice and serve — Let them cool for about 3 minutes before slicing into individual sliders. They'll be very hot straight out of the oven and the cheese needs just a moment to set. Serve warm.
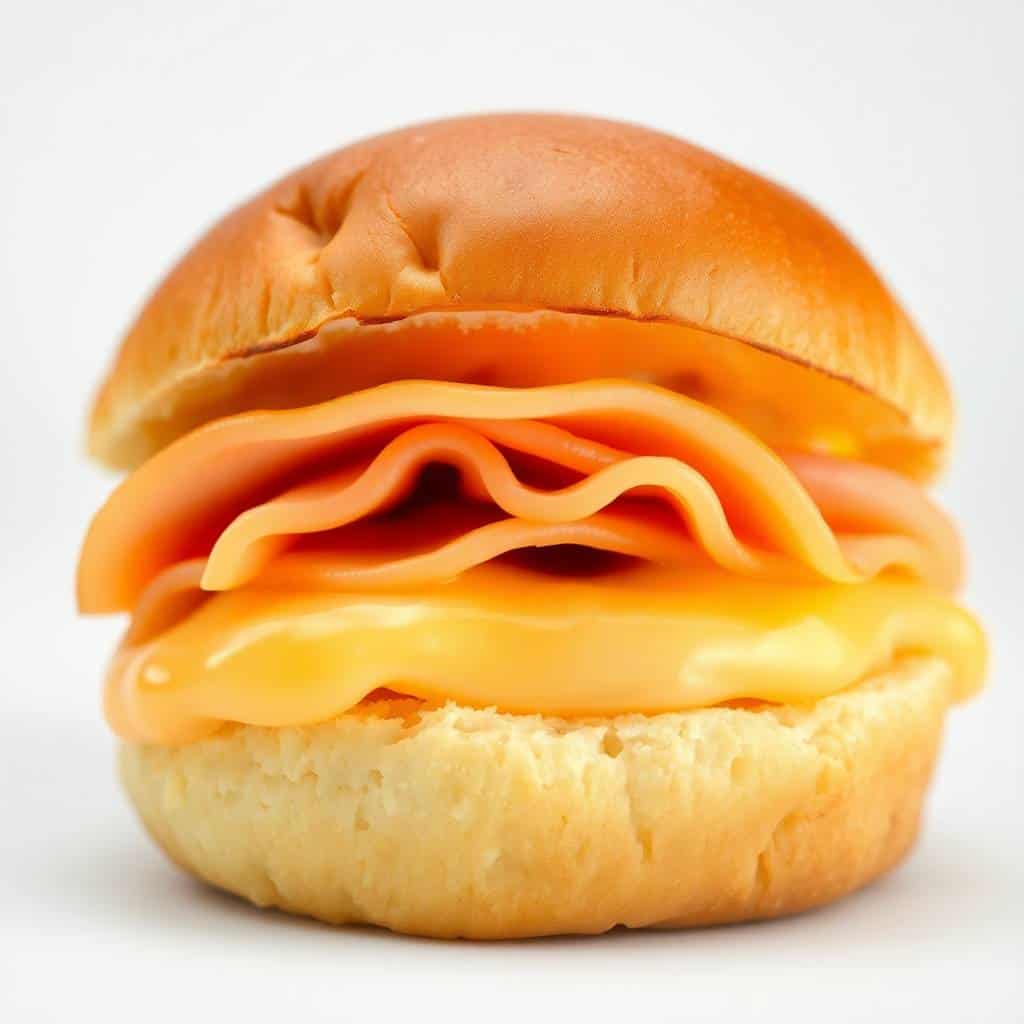
Tips for Success
- Don't skip the resting time after brushing: This is the step I skipped the first time I made these, and the butter just ran off the top instead of soaking in. Give the rolls 5 to 10 minutes after brushing before they go in the oven. The difference in flavor is noticeable — the tops come out properly flavored all the way through rather than just greasy on the surface.
- Keep the rolls attached when you slice them: I know it's tempting to just separate them out and do them individually — I tried it once and it was a mess. Keeping the whole pack together as a sheet means the assembly takes two minutes instead of fifteen, and everything bakes more evenly because the rolls are sitting right against each other.
- Use thinly sliced ham: Thick-cut deli ham doesn't layer as nicely and can make the sliders hard to eat without everything falling out. Ask the deli counter to slice it thin, or buy pre-sliced. I usually buy whatever's on sale — honey ham, black forest, regular — and it always works.
- Cover with foil for the first 15 minutes: The foil keeps the moisture in and lets the cheese melt slowly and evenly instead of going rubbery. Then removing it for the last 5 minutes is what gives you that golden top. I've tried baking uncovered the whole way and the rolls got dry before the cheese even finished melting.
- Let them cool slightly before cutting: I know everyone wants to dive in immediately — and believe me, I understand — but cutting them while they're straight out of the oven means the cheese is liquid and everything slides apart. Three minutes is all it takes. Set a timer if you need to.
Variations
- Swap the cheese: Swiss is classic and melts beautifully, but provolone gives you a milder, creamier pull. Pepper jack adds heat. Sharp cheddar is a bit more assertive but works really well with honey ham. I keep Swiss in my standard rotation but I've made the cheddar version probably just as often.
- Try a different meat: Turkey and provolone is a lighter combination that works well for lunches. Roast beef with Swiss and a little horseradish in the butter topping is something my husband requests when we have leftover roast. Pastrami also works — just expect a stronger flavor.
- Add something inside the layers: Thin pickle slices tucked between the ham and cheese add a sharp contrast that cuts through the richness. Caramelized onions are also good — they add sweetness and depth. I don't add both at the same time because it starts getting crowded, but either one on its own is worth trying.
- Sweet-savory butter topping: Add a teaspoon of brown sugar to the butter mixture. It sounds strange but it works really well with salty ham — the sugar caramelizes slightly on top and you get this slightly sticky, golden crust. My kids prefer this version over the original, which tells you something.
- Spicy version: Add a few thin jalapeño slices on top of the cheese before closing the rolls. Or stir a teaspoon of hot sauce into the butter mixture. I made this version for a party once alongside the regular version and the spicy ones went first. Worth noting.
Serving and Storage
Serving
Serve warm, right after slicing. They're best in the first 20 minutes out of the oven when the cheese is still melty and the tops are still slightly crisp. I usually put them out with a simple green salad or a bag of chips — nothing complicated because the sliders are the main event. If I'm serving these at a party alongside something like crispy black bean tacos, I set both out at the same time so people can mix and match. For a game day setup, a double batch is the right call — twelve sliders disappear faster than you'd expect when there are more than four people in the room.
Storage
Leftovers keep in an airtight container in the fridge for up to 3 days. Reheat in the oven at 300°F (150°C) for about 8 minutes rather than the microwave — the microwave makes the rolls rubbery. If you're making them ahead, assemble the whole thing, cover the dish tightly with foil, and refrigerate for up to 12 hours before baking. Brush on the butter mixture right before they go in the oven, not before refrigerating — the rolls will absorb it unevenly if it sits overnight. To freeze: assemble without the butter topping, wrap tightly, and freeze for up to one month. Thaw overnight in the fridge, brush with the butter mixture, and bake as directed.
Frequently Asked Questions
Can I make these sliders ahead of time?
Yes, and I actually recommend it. Assemble the sliders in the baking dish, cover with foil, and refrigerate for up to 12 hours. Wait to brush on the butter mixture until right before baking — this keeps the tops from getting soggy. Then bake as directed straight from the fridge, adding about 3 extra minutes to the covered baking time since the dish will be cold.
What cheese works best for these sliders?
Swiss is the classic choice and melts really well. Provolone is a good mild alternative. Cheddar works great with honey ham. Pepper jack is the move if you want some heat. I've used all of these and they all work — pick whichever you already have in the fridge.
Do I need poppy seeds?
Not at all. I skip them half the time depending on what I have. Sesame seeds are a fine substitute, or you can use everything bagel seasoning for a slightly different flavor. Or just leave the topping plain — the butter, mustard, and Worcestershire are the parts that really matter.
Can I freeze ham and cheese sliders?
You can freeze them before baking. Assemble without the butter topping, wrap the whole dish tightly in foil and plastic wrap, and freeze for up to one month. Thaw in the fridge overnight. Then brush on the butter mixture and bake as directed. I wouldn't freeze them after baking — the rolls lose their texture when they reheat from frozen.
Can I add sauce inside the sliders?
Definitely. Honey mustard spread on the bottom roll is probably the most common addition and it works really well. Spicy mayo is good if you like heat. Barbecue sauce is a bit sweet but pairs nicely with smoky ham. I'd keep it light — a thin layer is enough. Too much sauce and the rolls get soggy before they're finished baking.
These sliders have become one of those recipes I don't even have to think about anymore. I know exactly how long they take, I usually have everything I need already in the fridge, and they reliably come out right. That's a short list of recipes in my house — the ones that don't require checking notes or second-guessing.
What I like most about them is how little they ask of you. Ten minutes of actual assembly, twenty minutes in the oven, and you have something warm and genuinely good to put in front of people. I've served these at casual parties, made them for lunch on a slow weekend, and put them out at school events. They work in all of those contexts without any adjustments.
If you're planning a party spread and want something sweet to finish it off, my Cool Whip candy truffles are just as low-effort and always disappear fast. Good combination for a table where you want variety without spending the whole day cooking.
Make a double batch if you're feeding more than four or five people. I say this from experience — twelve sliders sounds like plenty until they're gone in eight minutes. 🥪✨

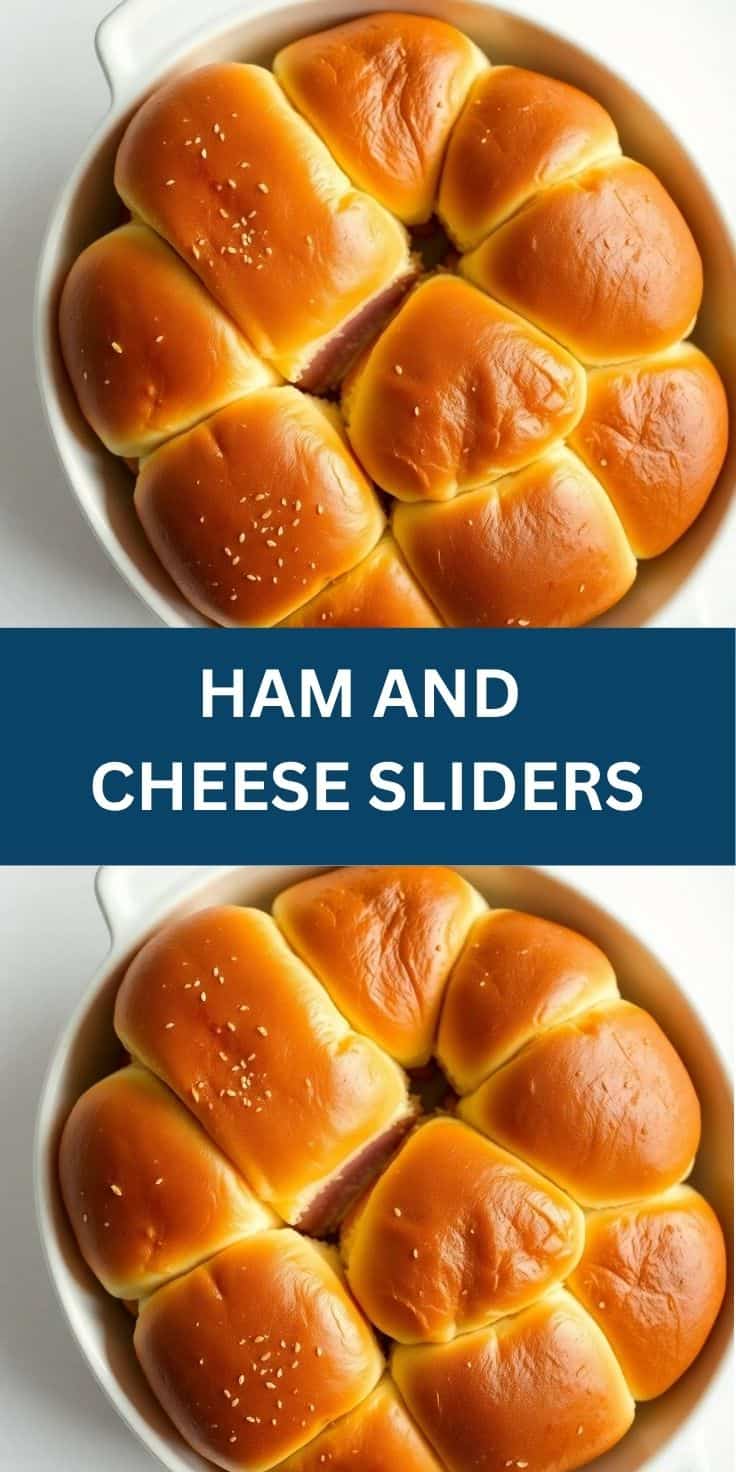
HAM AND CHEESE SLIDERS
Ingredients
- 12 slider buns or Hawaiian rolls
- 1 pound thinly sliced deli ham
- 12 slices Swiss cheese
- ½ cup unsalted butter melted
- 1 tablespoon Dijon mustard
- 1 tablespoon poppy seeds
- 1 teaspoon Worcestershire sauce
- 1 teaspoon garlic powder
- 1 teaspoon onion powder
Instructions
Preheat Oven:
- Preheat oven to 350°F (175°C). Grease a 9x13-inch baking dish.
Assemble Sliders:
- Slice slider buns in half horizontally, keeping tops and bottoms together. Place the bottom halves in the baking dish. Layer ham and Swiss cheese evenly over the buns. Place the top halves over the cheese.
Make Topping:
- In a small bowl, whisk together melted butter, Dijon mustard, poppy seeds, Worcestershire sauce, garlic powder, and onion powder.
Brush Sliders:
- Pour the butter mixture evenly over the top buns, making sure to cover well.
Bake:
- Cover the baking dish with foil and bake for 15 minutes. Remove foil and bake for an additional 5 minutes or until tops are golden and cheese is melted.
Serve:
- Let cool slightly before serving.
Notes
- Make Ahead: Assemble the sliders a few hours ahead and refrigerate before baking.
- Cheese Options: Swap Swiss for cheddar, provolone, or mozzarella.
- Add-ons: Add pickles, mustard, or caramelized onions inside for extra flavor.
- Storage: Store leftovers in the fridge and reheat gently.
- Serving Tip: Perfect for game days, parties, or quick lunches.
If you liked this recipe, here are a few more that tend to land well at the same kind of gatherings:
- BBQ Chicken Wings — sticky, saucy, always the first thing to go
- Crispy Black Bean Tacos — a good vegetarian option for the same kind of casual spread
- Cool Whip Candy Truffles — no-bake chocolate bites that take about an hour start to finish
- Chocolate Pecan Turtle Clusters — if you want something sweet and a little fancy-looking with zero effort
- Turtle Bars — caramel, chocolate, and pecans in a bar you can cut and pass around




Comments
No Comments