
Grandma’s Rum Balls are a classic no-bake treat that combines rich chocolate, crunchy nuts, and a splash of rum for a deliciously boozy bite. These festive snacks have been a family favourite for generations, perfect for holidays, or parties.
The recipe is simple and quick, making it great for last-minute desserts or homemade gifts. The mixture is rolled into bite-sized balls and coated with cocoa powder, powdered sugar, or crushed nuts, adding a lovely texture contrast.
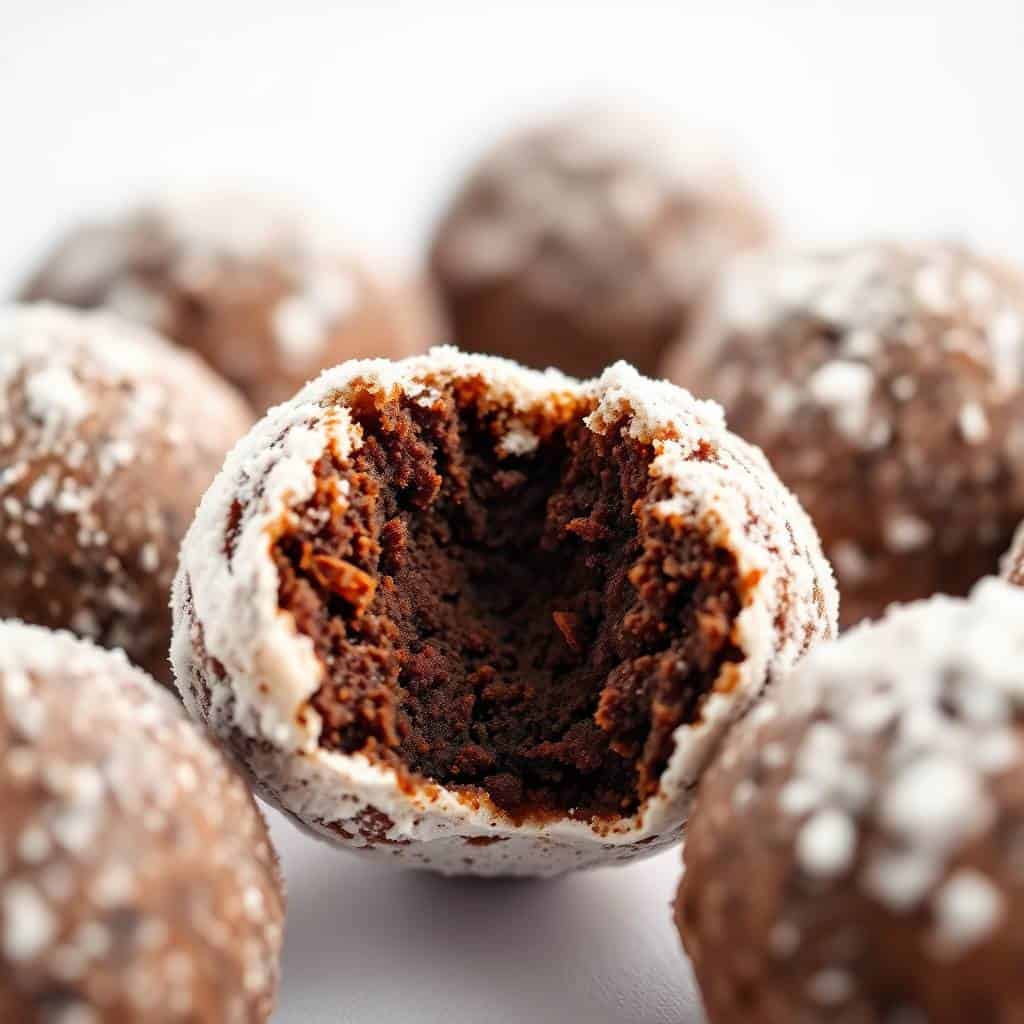
The combination of chocolate and rum creates a deep, comforting flavour, balanced by the crunchy nuts inside. Each rum ball melts in your mouth, offering a perfect blend of sweetness and warmth.
Whether you serve them on a holiday platter or package them as gifts, Grandma’s Rum Balls are sure to impress with their nostalgic charm and rich taste. You can customise the flavour and coating to suit your tastes or dietary needs.
Their nostalgic flavour and easy preparation make them a favourite for gatherings, ensuring smiles and satisfied sweet cravings. These rum balls keep well chilled, making them an excellent make-ahead dessert or gift.
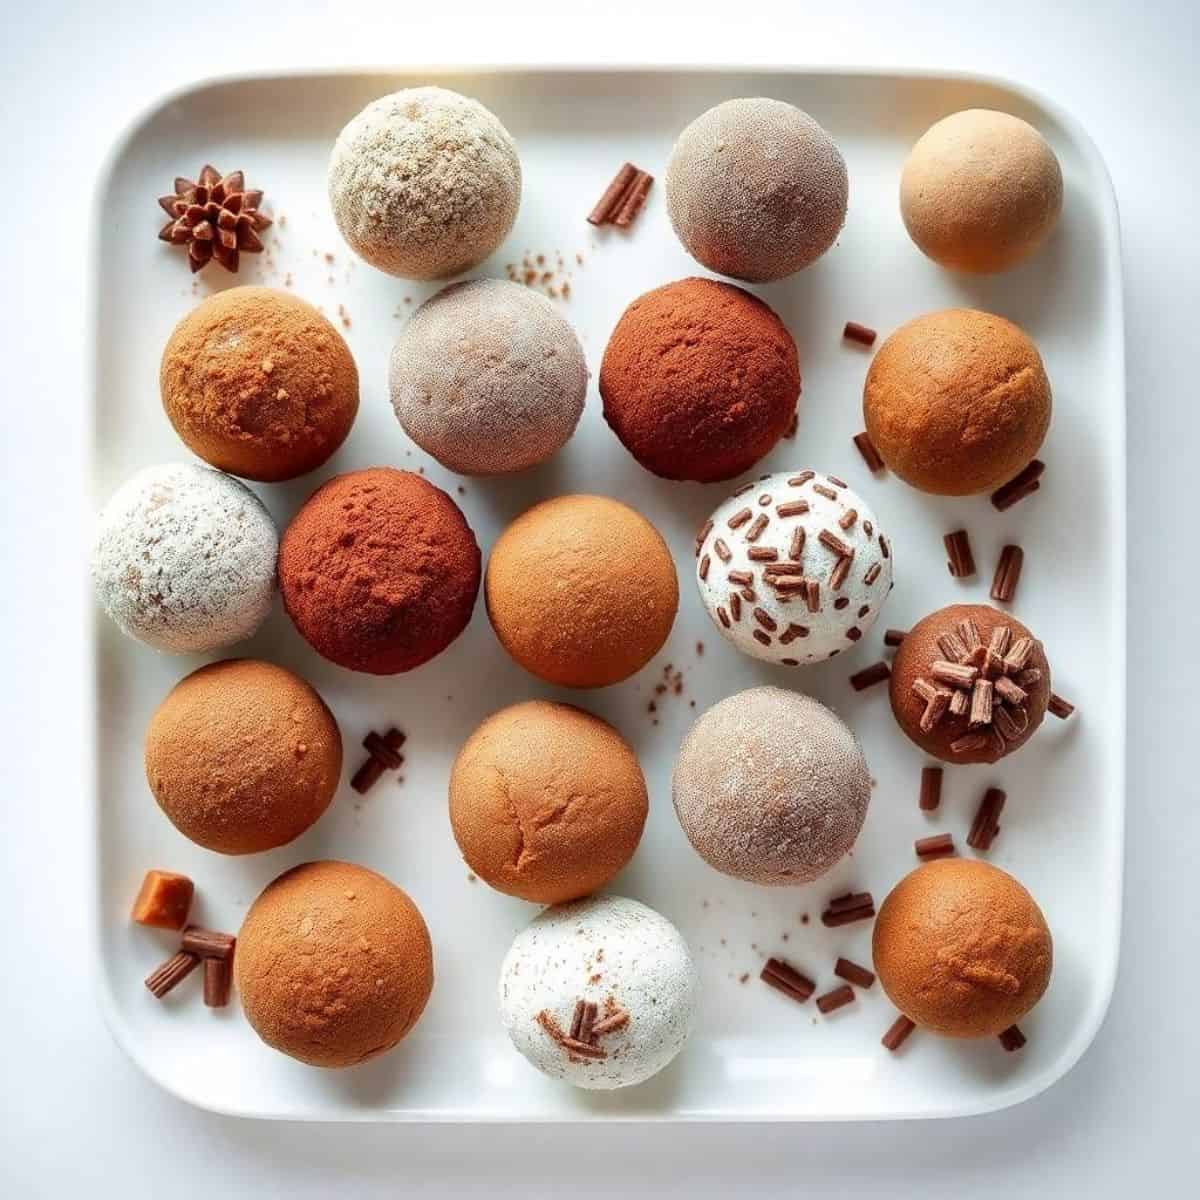
WHY YOU WILL LOVE THIS RECIPE
- No baking required: These treats are completely no-bake, making them fast and easy to prepare without turning on your oven.
- Deep chocolate flavour: The cocoa powder and crushed wafers give these balls a rich, satisfying chocolate base that’s incredibly addictive.
- Perfect holiday treat: Rum balls are a festive favourite and great for cookie trays, edible gifts, and seasonal celebrations with family.
- Make ahead friendly: Their flavour improves after a day or two, making them ideal for prepping ahead of time for events and gifting.
- Customisable coating: Roll in powdered sugar, cocoa, or sprinkles to match any party theme, holiday event, or personal preference.
- Easy to double: This recipe scales up easily for large gatherings or holiday trays without extra hassle—great for busy schedules.
- Great texture combo: The crushed nuts and wafers provide a perfect chewy-crunchy texture that pairs wonderfully with the smooth rum flavour.
INGREDIENTS
- 2 cups crushed vanilla wafers
- 1 cup finely chopped walnuts or pecans
- ¾ cup powdered sugar, plus extra for coating
- ¼ cup unsweetened cocoa powder, plus extra for coating
- ½ cup dark rum
- 1 teaspoon vanilla extract
- 1 can (14 oz) sweetened condensed milk
DIRECTIONS
- Step No.1: Combine dry ingredients
In a large bowl, mix crushed vanilla wafers, chopped nuts, powdered sugar, and cocoa powder until evenly combined.
- Step No.2: Add wet ingredients
Stir in sweetened condensed milk, dark rum, and vanilla extract. Mix well until the mixture is sticky and holds together.
- Step No.3: Chill the mixture
Cover the bowl and refrigerate for at least 1 hour to firm up the mixture for easier rolling.
- Step No.4: Shape rum balls
Scoop tablespoon-sized portions and roll into smooth balls with your hands.
- Step No.5: Coat the rum balls
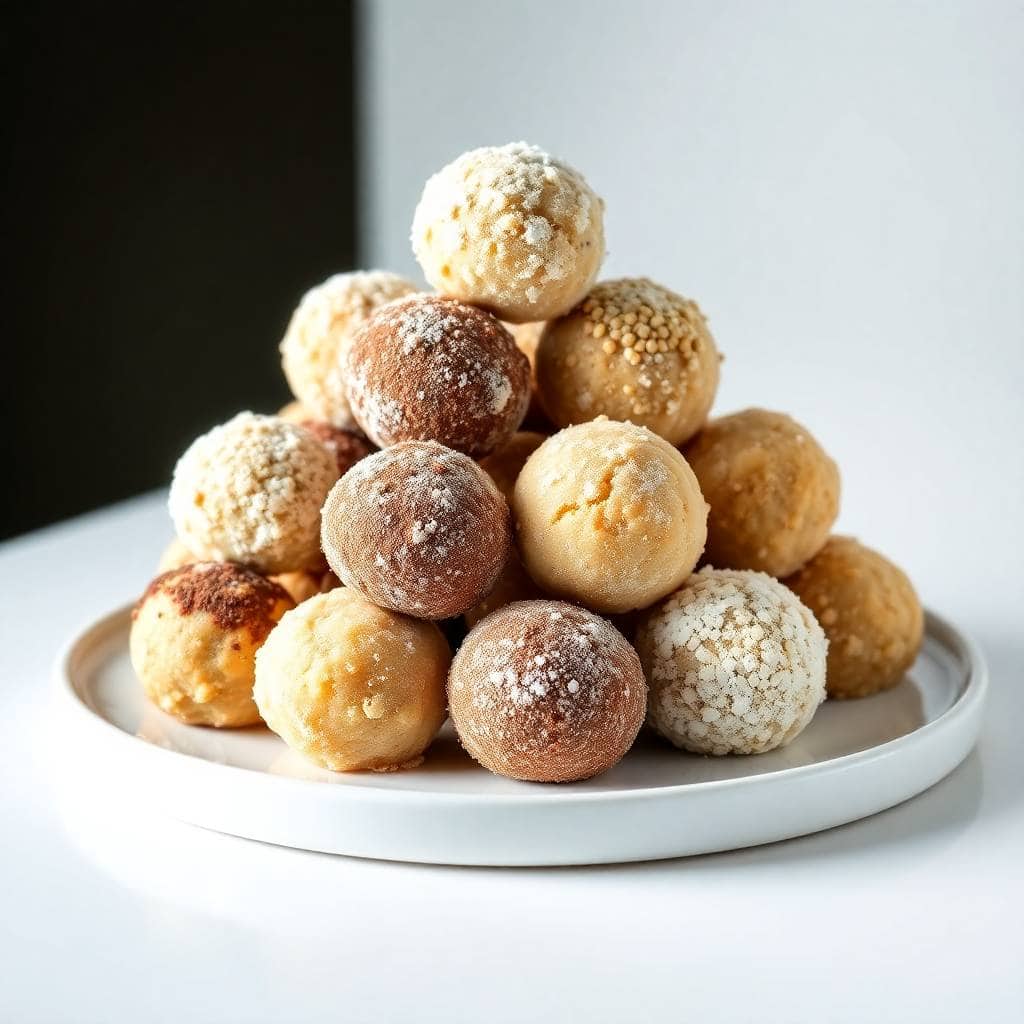
Roll each ball in extra powdered sugar, cocoa powder, or chopped nuts to coat evenly.
- Step No.6: Chill before serving
Place the coated rum balls on a tray and refrigerate for another hour before serving.
TIPS FOR SUCCESS
- Use quality rum: A rich, dark rum adds the best flavour and depth—avoid using cheap or overly sweet options.
- Crush wafers finely: Use a food processor or rolling pin to get even crumbs for smooth mixing and uniform dough texture.
- Don’t skip chilling: Chilling helps set the texture and blend the flavours—this step improves the taste significantly.
- Wear gloves to roll: The mixture can be sticky, so wearing gloves makes rolling easier and cleaner with less mess.
- Add nuts for crunch: Walnuts or pecans add flavour and crunch—just be sure they’re finely chopped for easier mixing.
- Try different coatings: Mix and match coatings like cocoa, sanding sugar, or shredded coconut for varied texture and colour.
- Make ahead advantage: These get better as they sit, so make them 1–2 days ahead for enhanced flavour and perfect texture.
VARIATIONS
- Bourbon balls: Substitute bourbon for rum to create a Southern twist with a stronger kick and deeper warm flavour.
- Kid-friendly version: Replace rum with orange juice or apple cider for a non-alcoholic version that still tastes rich and festive.
- chocolate dipped: Dip the rolled balls in melted chocolate for a glossy finish and an extra layer of sweetness.
- Coconut coating: Roll the rum balls in finely shredded coconut for a snowy, tropical look that adds texture and flavour.
- Holiday spice version: Add a pinch of cinnamon or nutmeg for a warm, seasonal spice that complements the chocolate and rum beautifully.
- Nut-free option: Use oat or graham cracker crumbs instead of nuts for those with allergies—still keeps the same chewy texture.
- Coffee rum twist: Use coffee-flavoured liqueur in place of part of the rum for a mocha-inspired variation that’s perfect for grown-ups.
SERVING AND STORAGE
Serving
Serve rum balls chilled on a festive platter, perfect as bite-sized party treats or dessert snacks.
Storage
Store rum balls in an airtight container in the refrigerator for up to 3 weeks to maintain freshness.
FAQ
Yes, whiskey, bourbon, or brandy can be used for different flavour profiles.
They contain alcohol, so they are not recommended for children.
Yes, freeze in airtight containers for up to 2 months; thaw in the fridge before serving.
Stored in the fridge, they remain fresh for about 3 weeks.
Yes, substitute rum with rum extract or omit alcohol for a non-alcoholic version.
Grandma’s Rum Balls are a cherished classic that brings together rich chocolate, crunchy nuts, and a warming splash of rum in every bite.
Their simple no-bake preparation makes them accessible for cooks of all levels, perfect for holidays and celebrations.
The balanced sweetness and boozy undertone offer a grown-up treat that melts in your mouth.
Rolling the mixture in cocoa or powdered sugar adds an appealing finish and prevents stickiness.
Enjoy sharing this traditional recipe that carries family warmth and festive cheer in every bite.

GRANDMA’S RUM BALLS
Ingredients
- 3 cups vanilla wafer crumbs about 2 sleeves
- 1 ½ cups powdered sugar divided
- 1 ½ cups finely chopped walnuts or pecans
- ¾ cup unsweetened cocoa powder
- ¾ cup dark rum
- 1 teaspoon vanilla extract
- Extra powdered sugar or cocoa powder for rolling
Instructions
Mix Dry Ingredients:
- In a large bowl, combine vanilla wafer crumbs, 1 cup powdered sugar, chopped nuts, and cocoa powder. Mix well.
Add Wet Ingredients:
- Stir in rum and vanilla extract until the mixture is moist and holds together when pressed. If too dry, add a little more rum.
Shape the Rum Balls:
- Roll the mixture into 1-inch balls using your hands.
Coat the Balls:
- Roll each ball in the remaining powdered sugar or cocoa powder to coat evenly.
Chill:
- Place rum balls on a tray and refrigerate for at least 1 hour before serving to let flavors meld.
Notes
- Make Ahead: Rum balls can be made up to a week ahead and stored in the refrigerator in an airtight container.
- Alcohol-Free Option: Substitute rum with rum extract or omit alcohol altogether for a kid-friendly version.
- Nuts: Feel free to swap walnuts with pecans or almonds according to preference.
- Serving: These are perfect party bites and also make great homemade gifts during holidays.
- Storage: Keep refrigerated to maintain freshness and prevent them from becoming sticky.





Comments
No Comments