
Last July, during a week where the temperature in Karachi hit record highs and the kids were bouncing off the walls from being stuck indoors, I threw together these frozen yogurt berry pops mostly out of desperation. I had Greek yogurt sitting in the fridge, a bag of mixed frozen berries in the freezer, and two children who were asking me for ice cream every twenty minutes. That first batch came out so well that Zainab asked me if I had bought them from somewhere.
What makes these work is the Greek yogurt. I tried regular yogurt the second time around — out of curiosity — and the pops came out icier and thinner in flavor. Full-fat Greek yogurt gives you that creamy, almost gelato-adjacent texture that makes these feel like a real treat rather than a compromise. A little honey, a little vanilla, and the berries do the rest of the work.
I make these in batches now whenever summer gets serious. Saad likes his with just blueberries — he picks them out of the mixed bag before I blend anything — and Zainab prefers the marbled ones where the berry swirl runs through the yogurt in streaks. I've started making two versions at the same time just to keep the peace. If you want a no-bake summer dessert that's actually fun to make with kids, this is it. (And if you're more in the mood for something chocolate and indulgent, my hot fudge pudding cake is waiting for you.)
One honest note before you start: these need real freezer time. At least 6 hours, and overnight is better. I've tried pulling them out at the 4-hour mark and they were still soft in the center. Just make them the night before you need them and you'll be fine.
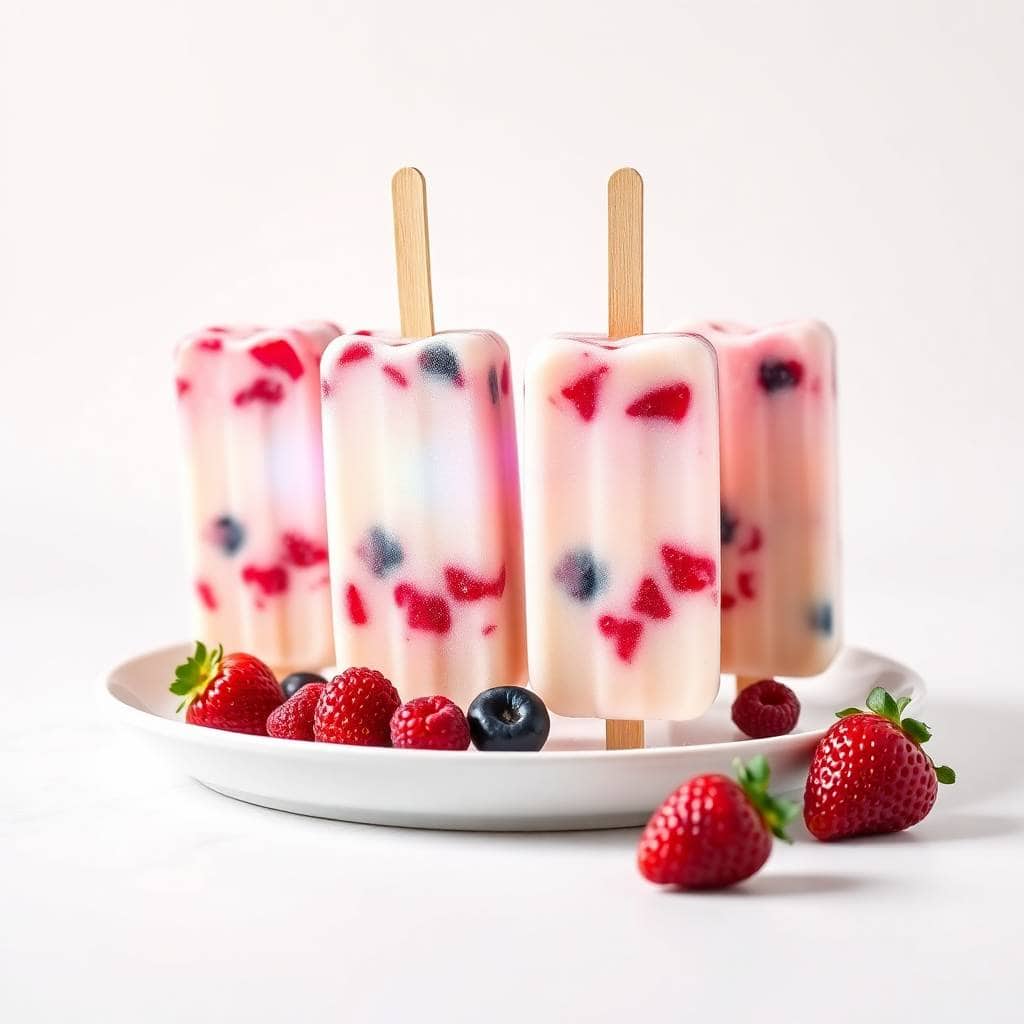
Why You'll Love This Recipe
- Three ingredients do most of the work: Greek yogurt, berries, and honey — that's genuinely all you need for the base. I usually have all three already at home, which means I can make these on a whim without a grocery run. The vanilla is optional but I almost always add it because it rounds out the yogurt flavor nicely.
- No special equipment required: You need a blender and popsicle molds — that's it. I've seen popsicle mold sets at Walmart and Aldi for around $8-10, and they work perfectly fine. If you're in a pinch, paper cups with wooden craft sticks do the job just as well. I actually tested this both ways.
- You control exactly what goes in: Store-bought popsicles are full of corn syrup, artificial coloring, and stabilizers I can't pronounce. With these, I know it's real fruit, real yogurt, and a drizzle of honey. That matters to me, especially when the kids are asking for them daily in July and August.
- Fresh or frozen berries both work: I've made these with fresh strawberries from the market and with frozen mixed berries straight from the Costco bag. The frozen ones actually blend a little smoother once they've thawed for 10 minutes. So don't feel like you need to wait for berry season to make these.
- Make-ahead by design: You literally can't rush these — they need overnight in the freezer. That means all the work is done the night before and the next day you just pull them out. On busy summer days, I love having something ready to go without any thought.
Ingredients
- 1½ cups plain or vanilla Greek yogurt (full-fat for the creamiest result)
- 2–3 tablespoons honey or maple syrup, to taste
- ½ teaspoon vanilla extract (skip if using vanilla yogurt)
- 1 cup chopped strawberries
- ½ cup blueberries
- ½ cup raspberries
- Popsicle molds and sticks
Directions
- Step 1: Mix the yogurt base — In a bowl, stir together the Greek yogurt, honey or maple syrup, and vanilla extract. Taste it — it should be a little sweeter than you think you want, because the sweetness mutes slightly once frozen.
- Step 2: Blend the berries — Add your strawberries, blueberries, and raspberries to a blender and pulse until smooth. If you want some berry texture in the pops, leave it a little chunky. If you're going for clean layers, blend it fully smooth.
- Step 3: Layer into the molds — Spoon alternating layers of the yogurt mixture and the berry puree into your popsicle molds. For a marbled look, drag a skewer or toothpick gently through the layers once filled. Don't overmix or you'll lose the pattern.
- Step 4: Tap and insert sticks — Tap each mold gently on the counter a few times to settle the mixture and push out air bubbles. Then insert your popsicle sticks. The sticks should go in straight — if they tilt, the pop looks off-center when it comes out.
- Step 5: Freeze completely — Place the molds in the freezer for at least 6 hours, but overnight is what I always do now. The first time I pulled them out at 4 hours and the centers were still soft — trust the overnight freeze.
- Step 6: Unmold and serve — Run warm water over the outside of the molds for 10–15 seconds, then gently pull the pops out by the stick. Serve immediately or wrap individually in small pieces of parchment paper and keep them in a zip-top freezer bag.
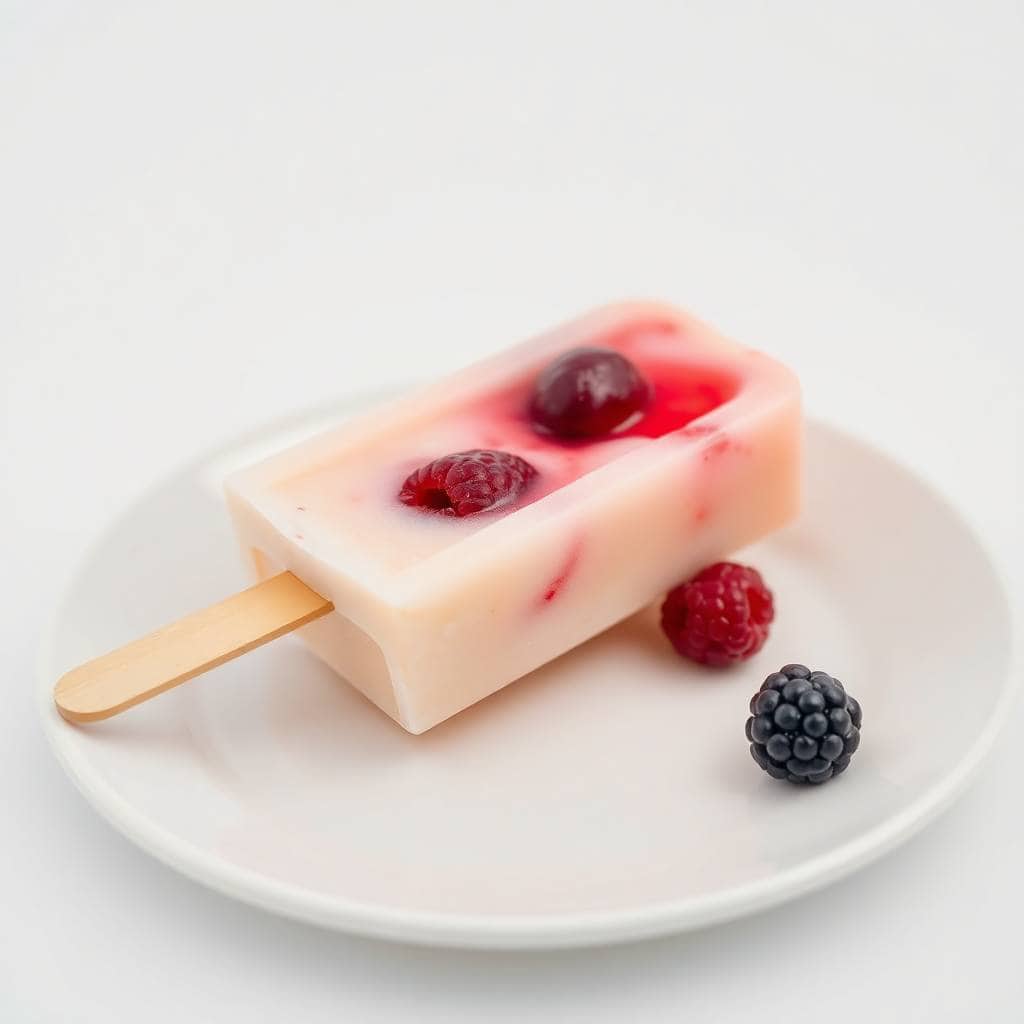
Tips for Success
- Use full-fat yogurt, not low-fat: I tried low-fat Greek yogurt once thinking it wouldn't matter much. The pops came out noticeably icier and a little grainy. Full-fat yogurt has enough fat to keep the texture smooth and creamy even after freezing. It's worth buying the right kind.
- Taste before you pour: Freezing dulls sweetness, so the mixture needs to taste slightly too sweet at room temperature to end up just right once frozen. I adjust the honey based on how tart the berries are — summer raspberries especially can be quite sharp.
- Layer slowly if you want the pattern: If you pour too fast, the yogurt and berry puree just blend together into a purple-pink mash. Spoon slowly and you'll get actual distinct stripes. It takes maybe 2 extra minutes but looks dramatically better.
- Tap the molds every layer: Air pockets form as you spoon in the mixture, and they show up as ugly holes on the finished pop. Tapping the mold on the counter after each layer only takes a second and saves the final result.
- Warm water is the key to getting them out cleanly: Don't yank the pop by the stick — I broke two that way before I learned patience. Run warm (not hot) water over the mold for 10–15 seconds, then pull gently. They slide right out.
Variations
- All strawberry: Blend one cup of fresh or frozen strawberries with the yogurt for a simple single-flavor pop. This is actually the version my husband reaches for most — he likes the clean flavor without the tartness of raspberries. It's also the prettiest color by far.
- Tropical twist: Swap the berries for chopped mango and pineapple, and use coconut yogurt instead of Greek yogurt. The result is a completely different pop — lighter, more summery, almost like a piña colada in frozen form. My kids loved this version on a whim one afternoon.
- Dairy-free version: Use coconut milk yogurt or almond milk yogurt in place of Greek yogurt. The texture is slightly less thick, so I'd recommend freezing for the full overnight to get the best structure. These work well if you're making pops for guests who are dairy-free.
- Red, white, and blue pops: Use strawberry puree at the bottom, plain white yogurt in the middle, and blueberries at the top. The layers look great and they're fun to serve at a 4th of July or summer barbecue — something to make alongside my blueberry cream cheese french toast casserole for a berry-themed spread.
- Smoothie-style (no layering): Blend everything together — yogurt, berries, honey — into one uniform mixture and pour directly into molds. Less visual drama, but honestly simpler to make on a busy day, and the flavor is just as good. This is what I make when I'm in a hurry.
Serving and Storage
Serving
These are best served straight from the freezer, right after unmolding. I usually set them out on a small plate or in a bowl of ice if I'm serving them to guests — they melt faster than you'd expect on a hot day. For kids, I wrap the bottom half in a paper towel so little hands don't get cold and sticky at the same time. If you're serving them at a party, unmold them ahead of time and lay them on a parchment-lined tray back in the freezer until ready to hand out.
Storage
Once frozen solid, you can unmold the pops and wrap each one individually in a small square of parchment paper, then place them all in a zip-top freezer bag. They keep well for up to 2 weeks. After that, freezer burn starts setting in on the surface. I always label the bag with the date so I know when I made them — I've definitely found mystery frozen things in my freezer before and had no idea how old they were.

Frequently Asked Questions
Can I use frozen berries instead of fresh?
Yes, frozen berries work great here. Let them thaw for about 10 minutes before blending so they don't strain your blender and blend more smoothly. I actually use frozen berries more often than fresh because I always have a big bag in the freezer from Costco.
Can I skip the sweetener entirely?
You can. If your berries are naturally sweet and you're using vanilla Greek yogurt, you might not need any honey at all. Taste the mixture before pouring it into molds and trust your judgment. I skip it sometimes when I'm using very ripe summer strawberries.
What if I don't have popsicle molds?
Paper cups work perfectly well. Fill them about three-quarters full, cover with a small square of foil, and push a wooden craft stick through the foil to hold it upright while freezing. The foil keeps the stick centered. To unmold, just tear away the paper cup.
Why do my popsicles come out icy instead of creamy?
Almost always it comes down to the yogurt. Low-fat or non-fat yogurt has a higher water content, which freezes into ice crystals. Full-fat Greek yogurt is what gives you the smooth, creamy texture. Also make sure you're not adding watery fruit — if your berries release a lot of juice, drain some of that liquid off before blending.
How long do these need to freeze?
A minimum of 6 hours, but overnight is what I always recommend. I pulled a batch out at 4 hours once and the centers were still soft — they fell apart when I tried to unmold them. Make them the evening before you need them and you'll have no problems.
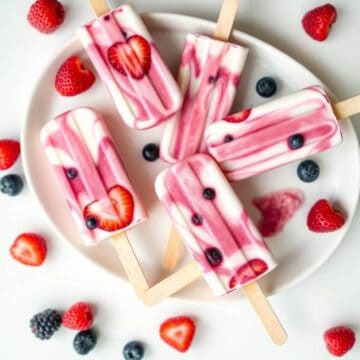
FROZEN YOGURT BERRY POPS
Ingredients
- 1 ½ cups plain or vanilla Greek yogurt
- 2 –3 tablespoons honey or maple syrup optional, to taste
- ½ teaspoon vanilla extract if using plain yogurt
- 1 cup chopped strawberries
- ½ cup blueberries
- ½ cup raspberries
- Popsicle molds and sticks
Instructions
Mix Yogurt Base:
- In a bowl, stir together Greek yogurt, honey or maple syrup, and vanilla extract (if using).
Layer or Mix:
- Add berries directly into the yogurt or layer yogurt and berries in popsicle molds for a swirled effect.
Fill Molds:
- Spoon the mixture into popsicle molds, tapping to remove air bubbles. Insert sticks.
Freeze:
- Freeze for 4–6 hours or until completely solid. Run molds under warm water to release.
Notes
- Sweetness: Adjust sweetener depending on the tartness of the yogurt or berries.
- Dairy-Free Option: Use coconut milk yogurt for a dairy-free version.
- Berry Swap: Use any mix of fresh or frozen berries—blackberries, mango, or peach work great too.
- Patriotic Tip: Alternate red berries and blueberries for a red, white & blue look.
- Storage: Keep in molds or wrap individually in parchment and freeze for up to 2 weeks.
I've made these pops more times than I can count at this point, and they've become one of those summer staples I just keep in the freezer without thinking about it. I make a double batch every time now because one batch disappears within two days — between the kids, my husband sneaking one after dinner, and me grabbing one while standing at the freezer door, they don't last long.
What I love most about this recipe is how forgiving it is. I've used berries that were slightly past their prime, yogurt that was a day from expiring, and skipped the vanilla when I ran out — and the pops still came out great every time. It's not a fussy recipe. It rewards you for showing up with whatever you have.
If you're putting together a full summer dessert spread, these pair really well alongside my churro saltine toffee — that crunchy caramel contrasts nicely with something cold and creamy. And if you're looking for a berry-forward breakfast to match the mood, my blueberry cream cheese french toast casserole is worth bookmarking for the weekend.
Make a batch tonight, let them freeze while you sleep, and pull them out tomorrow when everyone needs something cold. 🍓🫐✨
If you liked these frozen yogurt berry pops, here are a few more recipes from my kitchen you might want next:
- Hot Fudge Pudding Cake — for when you need the opposite of a cold treat
- Blueberry & Cream Cheese French Toast Casserole — a berry-loaded weekend breakfast
- Churro Saltine Toffee — crunchy, caramel-y, wildly addictive
- Brown Sugar Banana French Toast Casserole — another make-ahead option the whole family loves
- Peanut Butter Cup Christmas Cookies — saving this one for when summer ends





Comments
No Comments