
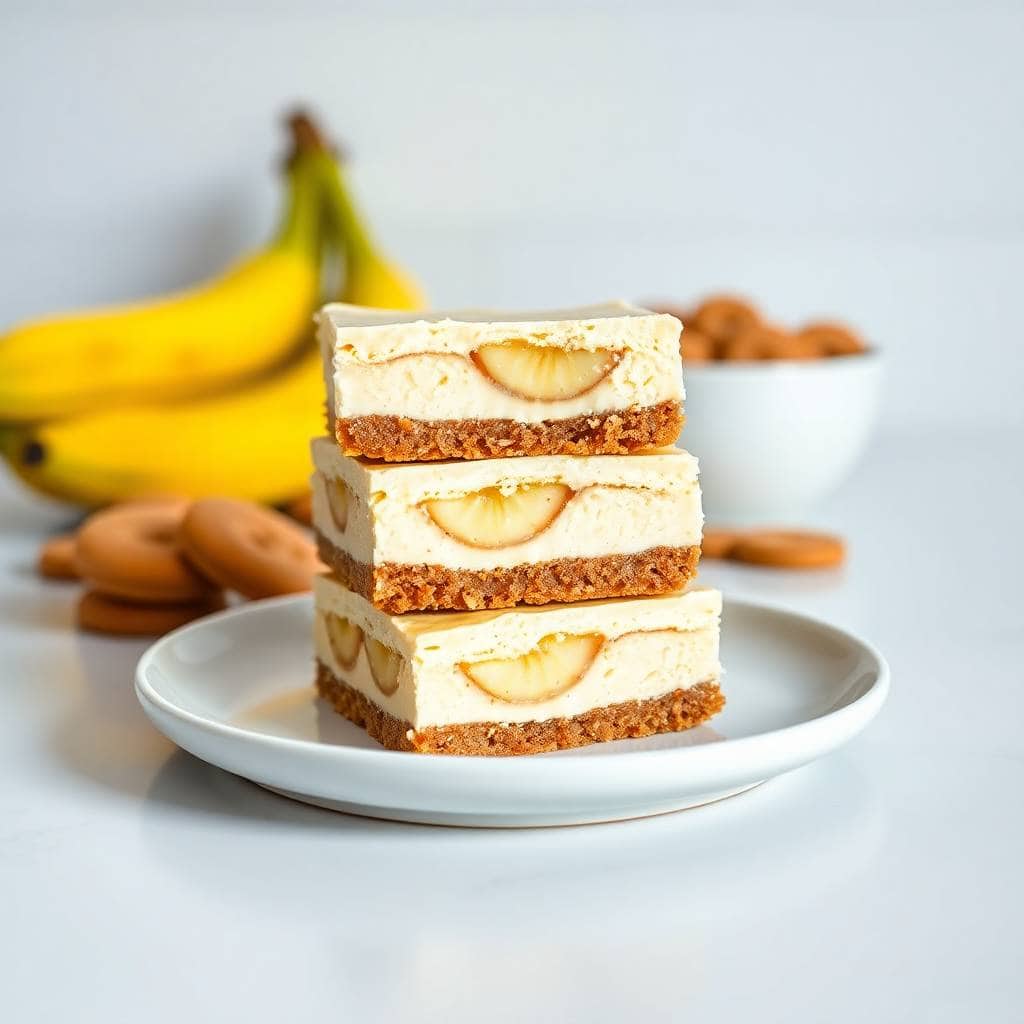
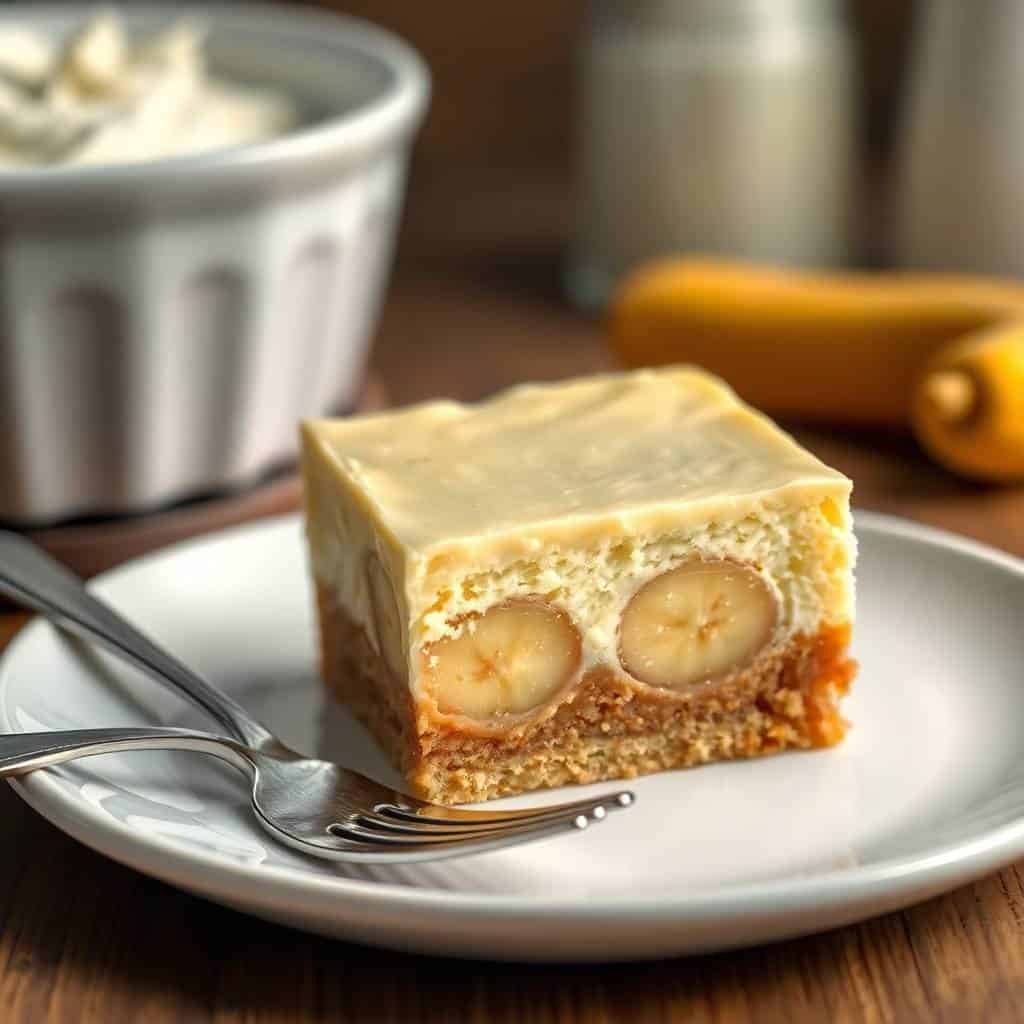
Saad asked me to make "that banana dessert" four weeks in a row before I finally stopped winging it and wrote everything down. He meant these — banana pudding cheesecake bars with a buttery vanilla wafer crust, a thick banana-cheesecake filling, and a cloud of whipped topping on top. Once I had the recipe locked in, I understood why he kept asking.
What makes these different from a regular banana pudding is the cream cheese layer. The instant banana pudding mix gets beaten directly into softened cream cheese along with a little mashed banana and sour cream, and what you end up with is something denser and richer than pudding but lighter than a traditional baked cheesecake. It slices cleanly, it holds its shape, and it tastes like both desserts at once. I won't pretend this is some complicated technique — it's genuinely straightforward, which is part of why I keep making it.
I make a double batch whenever I'm taking something to a gathering, because a single 9x9 disappears faster than I expect. It's become my go-to for warm-weather potlucks, which is the same reason I love my Orange Dreamsicle Salad — both are cold, creamy, and make people happy in the middle of summer. The bars travel well as long as you keep them cold, and they look impressive even though the actual effort is pretty minimal.
One thing to know before you start: this recipe is baked, not no-bake. The filling has eggs and cream cheese that need the oven to set up properly. Don't skip the cooling and chilling steps — I did once, got impatient, and ended up with bars that slumped when I sliced them. Four hours in the fridge is the minimum; overnight is genuinely better.
Why You'll Love This Recipe
- It tastes like two desserts at once: The banana pudding mix does something interesting when it's beaten into cream cheese — it gives the filling that nostalgic banana-pudding flavour while the cream cheese adds a tang and richness that regular pudding never has. You get the best of both things. My husband, who doesn't usually go for fruit desserts, had two pieces the first time I served these.
- The crust is genuinely good: Vanilla wafers crushed with butter and a little sugar form a base that's sturdy enough to hold a slice together but not so hard it's unpleasant to bite through. It has a slightly toasty sweetness after the short bake that I really like. Graham crackers work if that's what you have, but the vanilla wafer flavour is worth seeking out — I find them at Walmart and most grocery stores without any trouble.
- Make-ahead friendly: These bars actually get better the longer they chill. I almost always make them the night before I need them, which means the day of a party or dinner I have zero dessert stress. The flavours settle and deepen overnight, and the bars slice much more cleanly after a full night in the fridge.
- No stand mixer needed: A hand mixer works perfectly here. I've even made the filling with a wooden spoon and a good arm when my hand mixer was charging in another room — it takes more elbow grease to get the cream cheese smooth, but it works. The key is that the cream cheese is fully softened before you start so there are no lumps.
- Easy to transport: Because these are bars and not a pie or a layered trifle, they're simple to cover with foil and carry somewhere. I've brought them to school events, potlucks, and family gatherings and they've never arrived looking worse for the journey — as long as you keep them cold the whole time.
Ingredients
- For the Crust:
- 2 cups vanilla wafer crumbs (about half a standard 11 oz box, crushed)
- ¼ cup granulated sugar
- ½ cup unsalted butter, melted
- For the Filling:
- 2 (8 oz) packages cream cheese, fully softened to room temperature
- 1 (3.4 oz) box instant banana cream pudding mix
- ¾ cup granulated sugar
- 2 large eggs
- 1 teaspoon vanilla extract
- ½ cup mashed ripe banana (about 1 medium banana)
- ¼ cup sour cream
- For the Topping:
- Whipped cream or whipped topping (like Cool Whip), thawed
- Crushed vanilla wafers and/or banana slices for garnish (optional)
Directions
- Step 1: Preheat and prep your pan. Preheat your oven to 325°F (165°C). Line a 9x9-inch baking dish with parchment paper, leaving some overhang on the sides so you can lift the bars out cleanly later. This step matters — I skipped the parchment once and had to dig the bars out in pieces.
- Step 2: Make the crust. In a bowl, stir together the vanilla wafer crumbs, sugar, and melted butter until everything looks like wet sand. Press the mixture firmly and evenly into the bottom of your prepared pan — a flat-bottomed measuring cup helps compress it. Bake for 8 to 10 minutes, then set aside to cool slightly while you make the filling.
- Step 3: Beat the cream cheese and sugar. In a large bowl, beat the softened cream cheese and sugar together until completely smooth, with no lumps at all. This takes 2 to 3 minutes with a hand mixer. If your cream cheese is cold, you'll end up with a lumpy filling, so let it sit on the counter for at least 30 minutes before you start.
- Step 4: Add the remaining filling ingredients. Add the pudding mix, eggs, vanilla extract, mashed banana, and sour cream to the cream cheese mixture. Beat on medium speed until everything is fully combined and the batter looks creamy and uniform. Don't overbeat at this stage — just mix until the streaks disappear.
- Step 5: Pour and smooth. Pour the filling over the slightly cooled crust and spread it into an even layer with a spatula. Tap the pan gently on the counter a couple of times to release any air bubbles.
- Step 6: Bake. Bake at 325°F for 35 to 40 minutes, until the center is just set — it should have only a very slight jiggle in the very middle when you nudge the pan. The edges will look more firmly set. Pull it out and let it cool completely at room temperature before refrigerating.
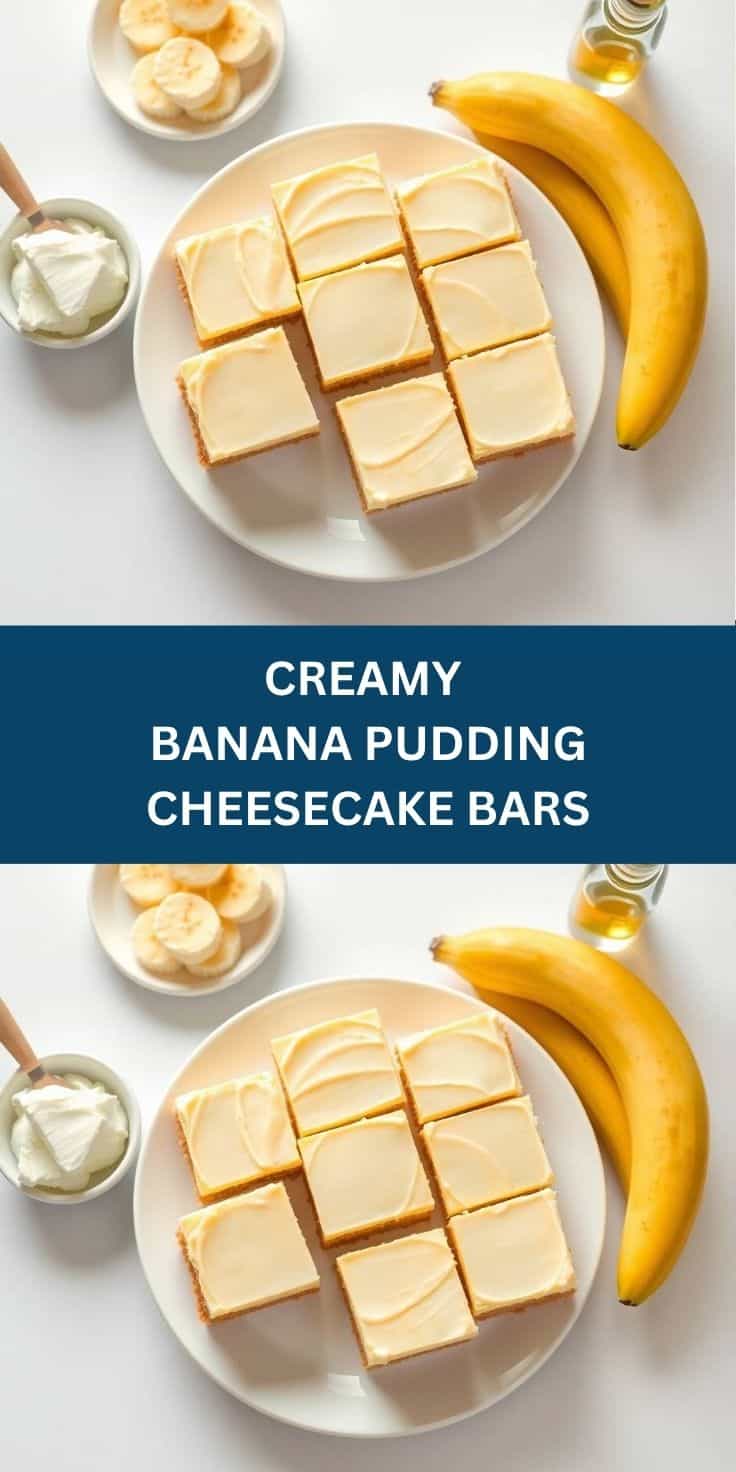
- Step 7: Chill, then top and slice. Refrigerate for at least 4 hours, or overnight if you can manage it. Before serving, spread whipped topping over the surface and garnish with crushed vanilla wafers and banana slices if you like. Use the parchment overhang to lift the whole slab out, then slice into bars with a warm, clean knife.
Tips for Success
- Cream cheese temperature is everything: I cannot stress this enough — cold cream cheese will not beat smooth, no matter how long you run the mixer. You'll get tiny lumps that bake into the filling and the texture will be off. I leave mine on the counter for at least 30 to 45 minutes before I start. In a cooler kitchen in winter, I sometimes give it a full hour.
- Slice banana for the topping, not into the filling: I tried folding actual banana slices into the cheesecake filling once, thinking it would add more banana flavour. What happened was the banana browned and got mushy inside the filling, and the texture became strange. The mashed banana in the filling is enough; save the sliced banana for the garnish, and add it right before serving so it doesn't oxidize.
- Warm knife for clean cuts: Run your knife under hot water and dry it between each cut. It sounds fussy but it genuinely makes a difference — the filling doesn't drag or tear, and each bar comes out with clean sides. I use a chef's knife rather than a serrated one for this.
- Don't rush the cooling: The bars need to come down to room temperature before they go into the fridge, or you'll get condensation on the surface as they cool, which can make the top wet. I usually let them sit on the counter for about an hour after they come out of the oven, then cover and refrigerate. If you're making them overnight, this isn't a problem at all.
- Use full-fat dairy throughout: This isn't the recipe to swap in light cream cheese or low-fat sour cream. The fat content is what gives the filling its density and creaminess. I've tried the lower-fat versions and the bars come out slightly softer and less rich — they still taste fine, but the texture difference is noticeable.
Variations
- Chocolate banana: Press mini chocolate chips into the top of the filling right before it goes in the oven, or scatter them over the whipped topping after chilling. The bittersweet chocolate against the banana filling is really good — this is actually Zainab's preferred version. You could also do a drizzle of melted chocolate over the top once the bars are fully set.
- Peanut butter swirl: Warm 3 to 4 tablespoons of creamy peanut butter until it's loose enough to drizzle, then swirl it through the top of the filling with a toothpick before baking. It bakes right in and creates a ribbon of nutty flavour through the cheesecake layer. Banana and peanut butter is a combination that works reliably — I can't take credit for discovering that.
- Caramel finish: Once the bars are fully chilled and topped with whipped cream, drizzle store-bought caramel sauce over everything just before serving. Don't add the caramel in advance or it soaks into the whipped topping and makes it weep. I serve this version when I'm feeling like the bars need a little extra something for a dinner party.
- Graham cracker crust: Swap the vanilla wafers for graham cracker crumbs in a 1:1 ratio. Graham crackers are easier to find in most grocery stores and taste slightly more toasty and honeyed than vanilla wafers. Either works well — it's really personal preference. If you enjoy these bars, you might also like my Glazed Lemon Cookies, which use a similar buttery-sweet base flavour profile.
- Gluten-free version: Substitute the vanilla wafers with gluten-free vanilla cookies or even almond flour mixed with melted butter (about 1½ cups almond flour to ½ cup butter, pressed in the same way). The almond flour crust is slightly more crumbly but it tastes great and holds together well after chilling.
Serving and Storage
Serving
Serve these bars cold, straight from the fridge. I slice them into 12 to 16 squares depending on how large I want them. Add the whipped topping and any banana slice garnish right before you serve — not hours in advance. Top with a sprinkle of crushed vanilla wafers for a little texture contrast. If you're bringing them to a potluck or party, keep them in the pan with the parchment and slice on site. These make a great addition to a holiday brunch spread alongside something like my Easter brunch ideas if you're planning a bigger spread.
Storage
Store covered in the refrigerator for up to 4 days, though they're at their best within the first 2 days. If you've already added banana slices on top, eat those bars first — the banana will brown by day two. I store the bars in the pan with plastic wrap pressed directly against the surface, or transfer to an airtight container once sliced. Don't freeze these once assembled; the cream cheese filling changes texture after freezing and becomes grainy when thawed. The baked crust and filling on their own (before topping) can be frozen, but honestly I just make a fresh batch when I need one.
Frequently Asked Questions
Can I use homemade banana pudding instead of the instant mix?
The instant pudding mix is what I'd stick with here. It's not just for flavour — it also adds starch that helps the filling set up properly when baked. Homemade cooked pudding has a different consistency and won't behave the same way in this recipe. I haven't tested it with homemade, so I can't promise the bars would firm up correctly.
Can I make these bars ahead of time?
Yes, and honestly I'd encourage it. The bars slice much more cleanly after a full night in the fridge, and the banana flavour deepens as everything sits together. I almost always bake them the evening before I need them. Just hold off on the whipped topping and banana slice garnish until right before serving.
Can I freeze these cheesecake bars?
I don't recommend it once they're fully assembled and topped with banana slices or whipped cream — the banana will brown and the cream will weep when thawed. The baked, chilled bars without topping can technically be frozen, but the cream cheese filling can become slightly grainy after freezing and thawing. These are really best made fresh and eaten within a few days.
What can I substitute for sour cream in the filling?
Full-fat Greek yogurt works as a direct substitute in the same quantity. It gives the filling a similar slight tang and creaminess. I've used plain Greek yogurt when I've run out of sour cream and couldn't tell much of a difference in the final bar. Just make sure it's full-fat, not low-fat.
Why did my filling crack on top?
A few things can cause cracking: overmixing the batter after adding the eggs (which incorporates too much air), baking at too high a temperature, or cooling too quickly. Make sure you're at 325°F and not higher, and let the bars cool slowly at room temperature before refrigerating. A few small surface cracks don't affect the flavour at all — the whipped topping covers everything anyway.
CREAMY BANANA PUDDING CHEESECAKE BARS
Ingredients
For the Crust:
- 2 cups vanilla wafer crumbs
- ¼ cup granulated sugar
- ½ cup unsalted butter melted
For the Filling:
- 2 8 oz packages cream cheese, softened
- 1 3.4 oz box instant banana cream pudding mix
- ¾ cup granulated sugar
- 2 large eggs
- 1 teaspoon vanilla extract
- ½ cup mashed ripe banana
- ¼ cup sour cream
For the Topping (Optional):
- Whipped cream or whipped topping
- Crushed vanilla wafers or banana slices
Instructions
Preheat Oven:
- Preheat oven to 325°F (165°C). Line a 9x9-inch baking dish with parchment paper.
Make the Crust:
- In a bowl, mix vanilla wafer crumbs, sugar, and melted butter. Press firmly into the prepared pan. Bake for 8–10 minutes, then let cool slightly.
Prepare the Filling:
- Beat cream cheese and sugar until smooth. Add pudding mix, eggs, vanilla, banana, and sour cream. Beat until fully combined and creamy.
Bake:
- Pour filling over the crust and smooth the top. Bake for 35–40 minutes or until the center is set. Let cool completely, then chill for at least 4 hours or overnight.
Serve:
- Top with whipped cream and crushed wafers or banana slices before slicing into bars.
Notes
These bars are best made a day ahead for easier slicing and maximum flavour. Custom Flavors:
Swap banana pudding for vanilla or cheesecake-flavour for variety. Serving Suggestions:
Serve chilled with extra whipped topping for a creamy, refreshing dessert. Allergy-Friendly Options:
Use gluten-free cookies for the crust and dairy-free cream cheese alternatives as needed. Storage Tips:
Store in an airtight container in the fridge for up to 4 days. Do not freeze once topped with banana slices.
These bars have become one of those recipes I know by heart now — the kind where I don't need to look anything up and the whole thing comes together on autopilot. What I like most about them is that they feel special without requiring anything I don't already have in my kitchen. Vanilla wafers, cream cheese, a box of instant pudding, and a couple of eggs. That's really it.
I make them most often in the warmer months when I want a dessert that doesn't require me to turn the oven on for long. The 40-minute bake time is manageable even in summer, and then the fridge does all the real work. If you're a fan of cold, creamy, fruit-forward desserts, you might also want to look at my Soft and Chewy Gingerbread Men Cookies for a completely different season — they're what I bake when the weather finally turns and I want something warm and spiced instead.
If you make these banana pudding cheesecake bars, I hope they disappear as fast at your table as they do at mine. Saad will be pleased to know his persistence in asking for them four weeks running is what finally made me write this down properly. 🍌🍰✨





Comments
No Comments