
I made this chocolate pudding for the first time on a Tuesday night when Zainab was sick and asking for something sweet. I had no idea it would become a regular in our house. I threw together the simplest ingredients I had — cocoa powder, cornstarch, milk — and 20 minutes later we had actual, proper chocolate pudding sitting on the counter. She ate two cups of it.
What makes this recipe work is the combination of cocoa powder AND real chocolate chips. A lot of stovetop pudding recipes use only one or the other. The cocoa gives you that deep, slightly bitter backbone, and the chocolate chips (or chopped chocolate) add the richness and gloss you want at the end. Together they do something neither ingredient does alone. I've made it both ways and there's no comparison.
My husband doesn't usually care much for pudding — he's more of a lemon cookies kind of person — but he finished almost the whole batch the first night. Zainab asks for it at least twice a month now. I make a double batch when I know people are coming over, because a single batch disappears faster than I expect.
One thing to know before you start: this pudding needs to chill. You can't rush it. The 20 minutes is the hands-on cooking time, but you're looking at another 2 hours in the fridge before it's ready to eat. I usually make it in the afternoon and serve it after dinner. Plan around that and you'll be fine.
Why You'll Love This Recipe
- It comes together on the stovetop in under 20 minutes: No oven, no water bath, no fussing with a double boiler. You just whisk everything in one saucepan over medium heat. On the nights I don't have the energy for anything complicated, this is the recipe I reach for. The active cooking time is genuinely short — the waiting is all in the fridge.
- The ingredients are almost certainly already in your pantry: Whole milk, sugar, cocoa powder, cornstarch, salt, butter, vanilla. That's it. I don't call for heavy cream or egg yolks or anything that requires a special trip to the store. If you bake at all, you have everything you need right now.
- The texture is genuinely silky — not gluey, not thin: The first time I made a stovetop pudding years ago, I got the ratio wrong and it came out weirdly stiff. This version hits the right balance — thick enough to hold its shape in a cup but still smooth when you eat a spoonful. The cornstarch is what makes it work, and the amounts here are dialed in.
- It keeps well in the fridge for several days: I make a batch Sunday afternoon and we eat it through the week. It actually tastes better on day two once it's fully set and the chocolate flavor has had time to deepen. Cover the cups tightly and it's good for up to 4 days.
- Kids love it, but it doesn't taste childish: Zainab likes it plain with a little whipped cream. My husband takes his with a sprinkle of flaky salt on top. I've served it at dinner parties in small glass cups and people always ask for the recipe. It works for all of them without me having to make different versions.
Ingredients
- 2 ½ cups whole milk
- ½ cup granulated sugar
- ⅓ cup unsweetened cocoa powder
- 3 tablespoons cornstarch
- ¼ teaspoon salt
- 2 tablespoons unsalted butter
- 1 teaspoon vanilla extract
Directions
- Mix the dry ingredients: In a medium saucepan, whisk together the sugar, cocoa powder, cornstarch, and salt until combined. Take a minute to do this properly — if you add the milk before the dry ingredients are evenly mixed, you'll chase lumps of cornstarch around the pan the whole time.
- Add the milk: Pour in the milk gradually, whisking as you go. Don't dump it all in at once. Adding it slowly while you whisk keeps everything smooth from the start. Once it's all in, make sure there are no dry clumps hiding at the bottom of the pan.
- Cook the pudding: Set the pan over medium heat and keep whisking. Don't walk away. It takes about 8–10 minutes to thicken and come to a gentle boil — you'll notice it going from thin to noticeably thicker, and you'll see big slow bubbles forming. That's when it's ready. Keep whisking through those bubbles for about a minute to cook out the raw cornstarch taste.
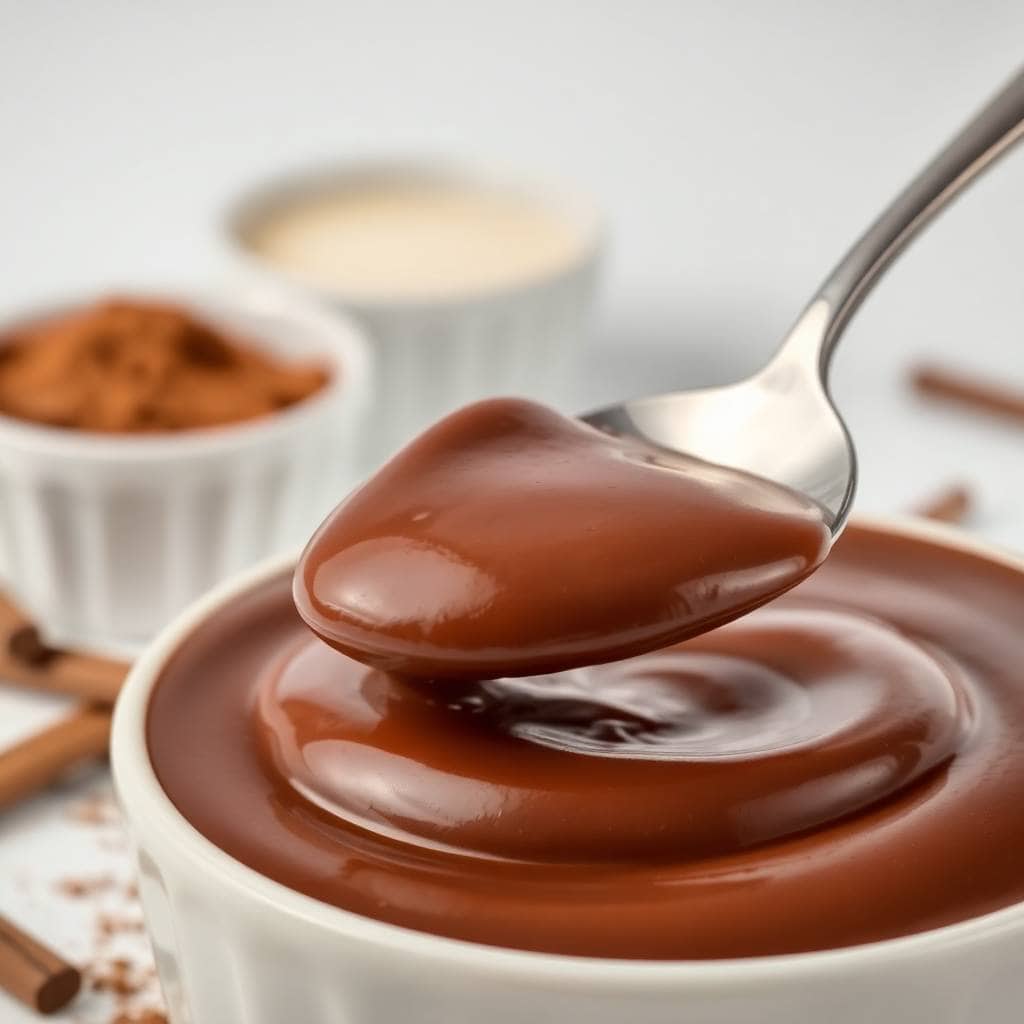
- Add the butter and vanilla: Pull the pan off the heat and stir in the butter and vanilla extract. The butter melts into the pudding and gives it that glossy, rich finish. Stir until fully smooth — it should look shiny at this point.
- Chill: Pour the pudding into individual serving dishes or cups. Press a piece of plastic wrap directly onto the surface of the pudding — this is what stops a skin from forming. Refrigerate for at least 2 hours before serving.
Tips for Success
- Never stop whisking once the pan is on the heat: I learned this the hard way — I turned to answer Zainab for maybe 90 seconds and came back to scorched pudding stuck to the bottom of the pan. It's a short cooking time, so just stay at the stove. If you need to do something else, pull the pan off the heat first.
- Use good cocoa powder: This is one of those recipes where the quality of your cocoa actually matters. I've made it with the cheap store-brand stuff and it tasted flat. Dutch-process cocoa (Droste is my go-to, easy to find at most grocery stores) gives you a deeper, smoother chocolate flavor. It's not expensive — just don't skip on this one ingredient.
- Don't skimp on the chilling time: Two hours is the minimum. I've tried cutting it to an hour and the pudding was still a little loose in the middle. The full chill time is what takes it from "cooked chocolate mixture" to proper pudding with a clean set. Overnight is even better if you can wait.
- Press the plastic wrap directly onto the surface: Not draped over the top of the bowl — actually touching the pudding. If there's any air between the plastic and the pudding, a thick skin forms on top. It's not harmful, but it's unpleasant to eat through. A few seconds of pressing it down saves you that problem entirely.
- Use a heavy-bottomed saucepan if you have one: It distributes the heat more evenly, which means less risk of hot spots burning the pudding at the bottom. I use a regular 2-quart stainless saucepan that I've had for years. Nothing fancy — just not a thin, lightweight pan.
Variations
- Mocha pudding: Add 1 teaspoon of instant espresso powder to the dry ingredients before you add the milk. It doesn't make the pudding taste like coffee — it just deepens the chocolate flavor and adds a little complexity. My husband prefers this version. It's a small change that makes a noticeable difference.
- Mexican chocolate twist: Stir in ¼ teaspoon of cinnamon and a tiny pinch of cayenne with the dry ingredients. This is inspired by Mexican hot chocolate, and it works beautifully in pudding form. The warmth from the spices is subtle but you'll notice it. If you enjoy things like Black Poison Candy Apples, you'll appreciate this kind of unexpected depth in a dessert.
- Peanut butter swirl: Once the pudding is poured into the serving dishes and still warm, drop a tablespoon of peanut butter into each cup and swirl it through with a knife or toothpick. It melts in slightly and creates pockets of nuttiness throughout. Saad would eat this every single day if I let him.
- Dairy-free version: Swap the whole milk for oat milk (full-fat works best) and use vegan butter or just skip the butter entirely. It sets a tiny bit softer than the dairy version but the flavor is still really good. Oat milk has a natural creaminess that works better here than almond milk, which can make the pudding taste thin.
- Mint chocolate: Add ¼ teaspoon of peppermint extract along with the vanilla at the end. Go carefully — peppermint extract is strong and a little goes a long way. Start with less and add more if you want. This version topped with a little crushed Oreo or dark chocolate shavings is genuinely great.
Serving and Storage
Serving
Serve the pudding cold, straight from the fridge. I usually portion it into individual cups or small glass jars before chilling so they're ready to go — no scooping required at the table. Whipped cream on top is the classic move, and it works. A few fresh raspberries or a sprinkle of flaky salt are both good if you want something a little more interesting. For a fancier presentation, chocolate shavings made from a bar of dark chocolate and a vegetable peeler look impressive with almost no effort. In Pakistan we'd serve a similar pudding-style dessert at room temperature, but this version really is better cold — the texture firms up properly and the chocolate flavor is cleaner.
Storage
Keep the pudding covered in the fridge and it'll stay good for up to 4 days. Keep the plastic wrap pressed directly onto the surface of each cup until you're ready to eat it. I don't recommend freezing — the texture breaks down when it thaws and goes grainy. If you want to make it ahead for a gathering, make it the day before; it actually tastes better after a full night in the fridge.
Frequently Asked Questions
Can I use skim milk instead of whole milk?
You can, but the pudding will be noticeably less rich and may set a little softer. Whole milk gives you that creamy body. If you're somewhere between, 2% works reasonably well and is a decent middle ground. I'd avoid skim if you can — it's one ingredient worth not cutting corners on.
How do I prevent lumps from forming in the pudding?
Two things help: whisk the dry ingredients together thoroughly before you add any liquid, and then add the milk gradually while whisking rather than pouring it all in at once. If you do get a few lumps, you can strain the pudding through a fine mesh sieve before pouring it into your cups — it takes about 30 seconds and fixes the problem completely.
Can I freeze chocolate pudding?
I wouldn't. Cornstarch-thickened puddings don't freeze well — the texture goes watery and grainy when it thaws. Refrigeration is your best option here. It keeps for 4 days in the fridge, which is usually more than enough time to finish a batch.
Can I use dark chocolate instead of semi-sweet chocolate chips?
Absolutely, and I actually prefer it. Dark chocolate gives you a more intense, slightly less sweet result — which balances nicely with the sugar already in the recipe. A 70% dark chocolate bar chopped up works beautifully here. Just make sure whatever chocolate you use is good quality, because you'll taste it.
Can I make this pudding a day ahead?
Yes — and honestly, I'd encourage it. Making it the night before a dinner or gathering means it has a full night to set and the flavors deepen overnight. Just keep the plastic wrap pressed onto the surface, cover the cups, and pull them out of the fridge when you're ready to serve.
CHOCOLATE PUDDING RECIPE
Ingredients
- 2 ½ cups whole milk
- ½ cup granulated sugar
- ⅓ cup unsweetened cocoa powder
- 3 tablespoons cornstarch
- ¼ teaspoon salt
- 2 tablespoons unsalted butter
- 1 teaspoon vanilla extract
Instructions
- Mix Dry Ingredients: In a medium saucepan, whisk together sugar, cocoa powder, cornstarch, and salt.
- Add Milk: Gradually whisk in milk until smooth.
- Cook Pudding: Cook over medium heat, stirring constantly, until mixture thickens and comes to a gentle boil, about 8–10 minutes.
- Add Butter & Vanilla: Remove from heat and stir in butter and vanilla extract until smooth.
- Chill: Pour pudding into individual serving dishes. Cover with plastic wrap, pressing it directly onto the surface to prevent a skin from forming. Chill for at least 2 hours before serving.
Notes
- Make Ahead: Pudding can be made a day in advance and refrigerated.
- Toppings: Serve with whipped cream, chocolate shavings, or fresh berries.
- Dairy-Free Option: Substitute almond or oat milk and vegan butter for a dairy-free version.
This pudding has earned its spot in my regular rotation. I like that it's quick enough to make on a weeknight but looks put-together enough to serve to guests. The times I've brought it to other people's houses in little glass jars, people have assumed it came from a bakery. It didn't. It came from a saucepan and 20 minutes of whisking.
If you're on a dessert kick, I'd also recommend trying my Carrot Apple Zucchini Muffins with Cream Cheese Frosting — they're a completely different vibe but equally easy to pull together on a regular evening. And if you want something no-bake and fun for kids, my Lemonade Puppy Chow is always a hit in this house.
The thing I keep coming back to with this pudding is how the simplest desserts are often the ones people remember. No fancy equipment, no obscure ingredients, just patience and a whisk. Make it once and I think you'll understand why it's become a regular in my kitchen. 🍫🥄
If you liked this recipe, here are a few more you might enjoy:
- Carrot Apple Zucchini Muffins with Cream Cheese Frosting
- Lemon Cookies
- Lemonade Puppy Chow
- Black Poison Candy Apples





Comments
No Comments