
I never actually planned to make cookie dough into individual cups — I was just trying to use up the silicone mini muffin mold I bought on a whim and then ignored for six months. The first batch I made was a disaster: I filled the chocolate shells too full, the dough overflowed when I added the top layer, and I ended up with sad little chocolate puddles. But the taste? Even the messy version tasted so good that Zainab ate three of them before dinner and I didn't even stop her.
What I love about this recipe is that it's genuinely no-bake, genuinely safe to eat raw (as long as you heat-treat the flour — more on that below), and the chocolate shell does all the heavy lifting. You don't need anything fancy. A silicone mini muffin mold makes unmolding easy, but a regular mini muffin tin lined with paper liners works just as well. The dough itself is just butter, sugar, heat-treated flour, vanilla, a splash of milk, and mini chocolate chips — stuff most people have sitting around.
These have become one of my go-to treats when I need something that looks impressive but takes almost no effort. I make a double batch because one batch disappears the same day — Zainab packs them in her lunch and my husband eats them straight from the fridge while pretending to look for something else. If you're the kind of person who's ever sneaked a spoonful of raw cookie dough from the bowl (I know I have), this recipe is basically that experience, but contained in a chocolate shell and slightly more socially acceptable.
If you like no-bake desserts, you'll probably also want to check out my Cinnamon Roll Poke Cake — it's a different kind of indulgent but uses the same "minimum effort, maximum result" logic. For the cookie dough cups, the one thing to keep in mind before you start: make sure your butter is genuinely softened, not melted. Cold butter won't cream properly and melted butter makes the dough greasy. Leave it out for about 30 minutes before you begin.
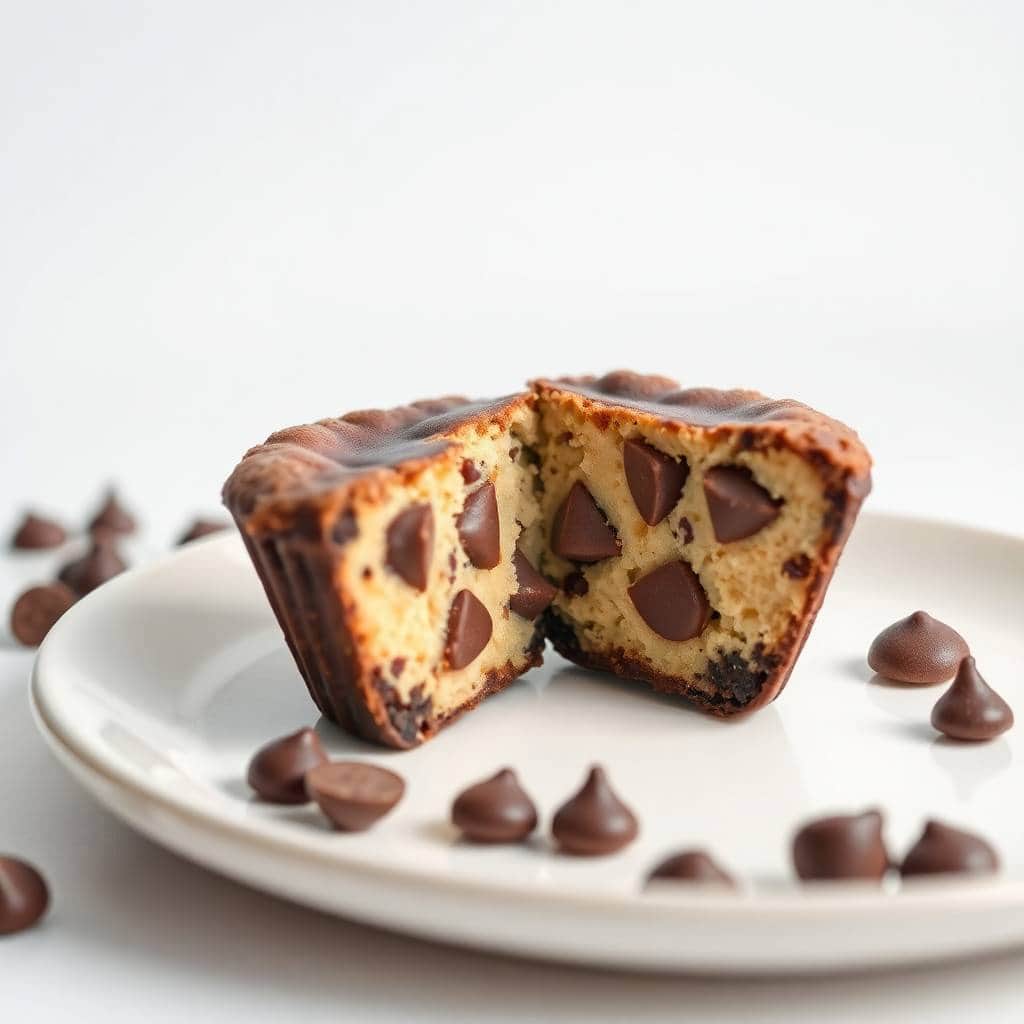
Why You'll Love This Recipe
- No oven required: The whole thing is done on the stovetop (or microwave) and in the fridge. I make these on hot summer days when turning on the oven feels like a punishment. They're also great when you have exactly 20 minutes of active work time and need something that can sit in the fridge doing its thing while you get on with your day.
- Safe to eat raw: The dough is made without eggs, and the flour gets heat-treated before it goes in — either in the microwave or oven. That step takes about two minutes and means anyone can eat these without any worry, including kids who will absolutely try to eat the dough before it makes it into the cups.
- The chocolate-to-dough ratio is just right: I've had cookie dough bites before where the chocolate coating is so thick it overwhelms the filling, or so thin the shell cracks immediately. One tablespoon of chocolate per cup, spread up the sides, gives you a shell that's sturdy but not clunky. The dough flavor still comes through clearly.
- They travel and store well: These hold up in the fridge for up to five days in an airtight container, and they freeze for up to a month. I've packed them for school lunches, brought them to potlucks in a small cooler bag, and gifted them in little treat boxes at Eid. They look far fancier than they are to make.
- Easy to customize: The base dough is neutral enough that you can go a lot of directions with it — peanut butter, crushed Oreos, white chocolate coating, sea salt on top. I've tried most of the variations listed below and they all work. This is one of those recipes where you can mess around and it still comes out fine.
Ingredients
- 1 cup semi-sweet chocolate chips (for the shells)
- ½ cup unsalted butter, softened (leave it out 30 minutes before starting)
- ½ cup brown sugar, packed
- ¼ cup granulated sugar
- 1 teaspoon vanilla extract
- 1 cup all-purpose flour, heat-treated (see Tips below for how to do this — it takes 2 minutes)
- ¼ teaspoon salt
- ½ cup mini chocolate chips
- 1–2 tablespoons milk (only if the dough feels too stiff to scoop)
- 1 tablespoon coconut oil, optional (adds smoothness to the chocolate coating)
Directions
- Step 1: Heat-treat the flour. Spread the flour on a microwave-safe plate and microwave on high for 60–90 seconds, stirring every 30 seconds, until it reaches 165°F (74°C) on an instant-read thermometer. Alternatively, spread on a baking sheet and bake at 350°F (175°C) for 5 minutes. Let it cool completely before using — hot flour melts the butter and ruins the dough texture.
- Step 2: Make the chocolate shells. Melt the chocolate chips (and coconut oil if using) in a microwave-safe bowl in 30-second intervals, stirring between each, until completely smooth. Spoon about 1 tablespoon of melted chocolate into each mini muffin cup and use the back of a spoon or a small brush to push it up the sides. You want a shell, not just a flat disc of chocolate at the bottom. Refrigerate for 10–15 minutes until set.
- Step 3: Make the cookie dough. In a bowl, beat the softened butter with both sugars until smooth and creamy — a wooden spoon works fine, no mixer needed, just put in about 2 minutes of elbow grease. Add the vanilla and mix. Add the heat-treated flour and salt and stir until a dough forms. If it feels crumbly, add milk one tablespoon at a time. Fold in the mini chocolate chips.
- Step 4: Fill the cups. Take the chocolate shells out of the fridge. Scoop the cookie dough and press it into each shell, filling almost to the top but leaving a small gap — about ⅛ inch — at the rim. That space is for the top chocolate layer, and if you overfill you'll get overflow when you add it. I learned this the messy way.
- Step 5: Seal with chocolate and chill. Reheat your remaining melted chocolate for 15 seconds if it's stiffened up. Spoon a thin layer over each filled cup to seal the dough inside. Refrigerate for at least 1 hour until fully set. Don't rush this step — if the chocolate isn't completely firm the cups won't pop out cleanly.
- Step 6: Unmold and serve. Pop the cups out of the silicone mold or peel away the paper liners. Serve cold or let them sit at room temperature for 5 minutes if you prefer a slightly softer dough center.
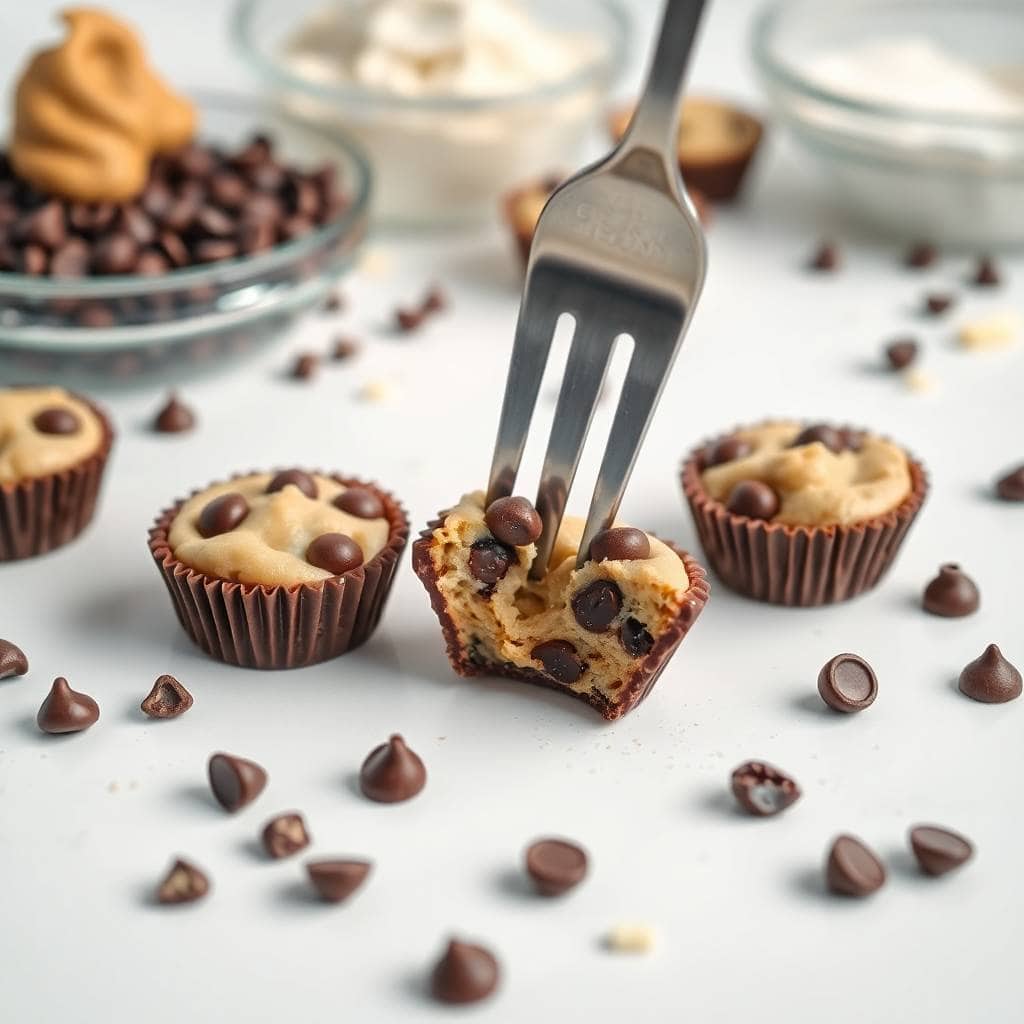
Tips for Success
- Heat-treat the flour properly and let it cool: I skipped the cooling step once because I was in a hurry, and the warm flour melted the butter slightly as I mixed the dough. It still tasted fine but the texture was oily and a little loose. Two minutes of patience makes a real difference. Spread it on a plate and let it cool for at least 5 minutes before it goes anywhere near your butter.
- Don't overfill the shells before sealing: Every time I've been impatient and overfilled, the top chocolate layer slides off the sides and sets in a messy ring around the cup. Leave that small gap at the top of each shell before you add the sealing layer. You want the chocolate to sit on top of the dough, not float around it.
- Use a silicone mold if you can find one: A silicone mini muffin mold (you can get these for around $10–12 at Walmart, Amazon, or similar stores) makes unmolding completely effortless — just flex the mold and the cups pop right out. If you're using a metal mini muffin tin, use paper liners and press them in before adding the chocolate. Peeling the paper away works just as well.
- Melt chocolate slowly: Chocolate seizes up fast if you rush the microwave. I go 30 seconds at a time, stir between each, and stop heating as soon as most of it is melted — the residual heat finishes the job. If your chocolate looks grainy or lumpy after stirring, a teaspoon of coconut oil stirred in usually rescues it.
- Make the dough a little on the firm side: If your dough is too soft to scoop cleanly, stick it in the fridge for 10 minutes before filling the cups. Soft dough is harder to press into the shells without squishing the chocolate sides inward. The dough firms up quickly in the fridge and becomes much easier to handle.
Variations
- Peanut butter cookie dough: Add 3 tablespoons of creamy peanut butter to the dough when you cream the butter and sugar. It makes the filling richer and slightly denser, and it pairs really well with a dark chocolate shell. My husband is a peanut butter fanatic so this version gets made often in our house.
- White chocolate coating: Swap the semi-sweet chocolate shells for melted white chocolate. The sweetness level goes up noticeably, so I'd suggest adding a small pinch of flaky sea salt on top before the white chocolate sets — it balances things out and makes them look nice too.
- Crushed Oreo filling: Mix ¼ cup of finely crushed Oreo crumbs into the dough in place of some of the mini chocolate chips. It adds a slightly different texture and a cookies-and-cream flavor that Zainab specifically requested I make again. Use the chocolate shell as normal — it works perfectly.
- Dark chocolate chips in the dough: If you find regular mini chocolate chips a bit too sweet (I sometimes do), use dark chocolate chips instead. The slight bitterness cuts through the sweetness of the brown sugar dough nicely. I use Ghirardelli 60% chips when I can find them at Costco.
- Vegan version: Use vegan butter (I've had good results with Earth Balance), swap the milk for any plant-based milk, and use dairy-free chocolate chips for both the shell and the dough. The texture is very close to the original — not identical, but genuinely good. This isn't a compromise version, it actually works.
Serving and Storage
Serving
Serve these cold, straight from the fridge. The chocolate shell is firm and the dough center is cool and creamy that way. If you let them sit at room temperature for 10 minutes the dough softens noticeably — some people prefer that, it's really just personal preference. For a dessert platter, arrange them on a flat board with a few extras like my Easy Marble Bundt Cake slices for variety. For gifting, stack them in a small box lined with parchment paper and tie with ribbon — they look completely homemade in the best way.
Storage
Store in an airtight container in the fridge for up to 5 days. They don't dry out or lose texture over that time — if anything, the flavors settle and they taste better on day 2. For longer storage, freeze them in a single layer on a sheet pan first until solid, then transfer to a zip-lock bag or container. They keep in the freezer for up to 1 month. Pull them out 10–15 minutes before eating to let the dough thaw slightly — biting into a fully frozen one is a bit much.

Frequently Asked Questions
How do I heat-treat flour at home?
The quickest way is in the microwave: spread the flour on a microwave-safe plate, heat on high for 60–90 seconds, stirring every 30 seconds, until it reaches 165°F (74°C) on an instant-read thermometer. If you don't have a thermometer, 90 seconds at full power in most microwaves is enough. You can also spread it on a baking sheet and bake at 350°F (175°C) for 5 minutes. Either way, let it cool completely before adding to the dough.
Can I make these without a silicone mold?
Yes, absolutely. Use a regular metal mini muffin tin lined with small paper cupcake liners. Press the liner snugly into the cup before adding the chocolate. Once everything is chilled and set, just peel the paper away. It takes a little more care than the silicone version but works just as well. I used a metal tin with liners for the first four batches I ever made.
Can I skip the chocolate coating and just eat the dough?
You can. Once the flour is heat-treated and the eggs are left out, the dough is safe to eat as-is. Roll it into small balls and refrigerate — it keeps for up to a week the same way. That said, the chocolate shell is what makes these feel like a finished treat rather than just a snack, so I'd encourage you to try it at least once before going the plain route.
Can I freeze these before the chocolate sets?
I'd recommend letting them set in the fridge first — at least 30 minutes — before moving to the freezer for longer storage. If you freeze them with wet chocolate, the chocolate can bloom (develop white streaks on the surface) as it sets. It doesn't affect the taste but it does affect how they look. Fridge first, freezer after, if you're storing them long term.
What's the best chocolate to use for the shells?
Standard semi-sweet chocolate chips work well — Nestlé Toll House or Ghirardelli are both easy to find and melt cleanly. If you add a teaspoon of coconut oil when melting, the chocolate becomes slightly thinner and easier to spread up the mold sides, and it sets with a smoother finish. Avoid chocolate bars with caramel or cookie bits mixed in — they don't melt evenly.
CHOCOLATE CHIP COOKIE DOUGH CUPS
Ingredients
- 1 cup semi-sweet chocolate chips for shells
- ½ cup unsalted butter softened
- ½ cup brown sugar packed
- ¼ cup granulated sugar
- 1 teaspoon vanilla extract
- 1 cup all-purpose flour heat-treated*
- ¼ teaspoon salt
- ½ cup mini chocolate chips
Instructions
Prepare Chocolate Shells:
- Melt the chocolate chips in a microwave-safe bowl in 30-second intervals, stirring until smooth. Spoon about 1 tablespoon into each mini muffin cup and spread up the sides to form a shell. Chill in the fridge for 10-15 minutes to set.
Make Cookie Dough:
- In a mixing bowl, beat softened butter with brown sugar and granulated sugar until creamy. Add vanilla extract and mix well. Gradually add heat-treated flour and salt, mixing until combined. Stir in mini chocolate chips.
Fill the Cups:
- Remove chocolate shells from the fridge. Spoon cookie dough into each chocolate cup, filling almost to the top.
Top with Chocolate:
- Melt remaining chocolate chips and spoon a thin layer over each filled cup to seal the cookie dough inside. Chill for at least 1 hour until fully set.
Serve:
- Carefully remove cookie dough cups from the muffin tin and enjoy!
Notes
- Make Ahead: Store in an airtight container in the fridge for up to 5 days.
- Flour Safety: Always heat-treat flour to avoid risks from raw flour.
- Variation: Use peanut butter chips or white chocolate chips instead of mini chocolate chips.
- Serving Suggestion: Serve chilled for a cool, creamy texture.
- Gift Idea: These cups make great homemade gifts for holidays or parties.
More Recipes You'll Like
These cookie dough cups have become a fixture in my kitchen — I pull out the silicone mold whenever I need a no-fuss dessert that still looks like I put in real effort. The heat-treating step sounds fussier than it is, and once you've done it once you'll do it on autopilot. I like that the whole recipe can be completely done and in the fridge within 45 minutes, and that my family will eat them for days without the novelty wearing off.
If you're planning a bigger dessert spread and want something to pair these with, my Easy Marble Bundt Cake sits beautifully alongside these on a platter — the visual contrast alone is worth it. And if you're new here and wondering what else we get up to in this kitchen, it's a mix of Pakistani comfort food and recipes like these that my kids specifically requested and kept requesting until I got them right.
Make a double batch if you're taking these anywhere — one batch is never enough. 🍫🍪✨
If you liked this recipe, here are a few more from the site you might want to try next:
{"@context":"https://schema.org","@type":"Article","headline":"CHOCOLATE CHIP COOKIE DOUGH CUPS","description":"Chocolate chip cookie dough cups are a no-bake, sweet treat filled with edible cookie dough and coated in rich chocolate.","datePublished":"2025-05-17T11:11:08+00:00","dateModified":"2026-05-03T21:28:39+00:00","author":{"@type":"Person","name":"Sana Umer","url":"https://forfoodiefriends.com/about/","description":"Self-taught home cook with 10+ years of kitchen experience. Mom of two who develops every recipe in her own kitchen.","jobTitle":"Recipe Developer & Food Blogger","image":"https://forfoodiefriends.com/wp-content/uploads/sana-umer-author-photo.jpg"},"publisher":{"@type":"Organization","name":"For Foodie Friends","url":"https://forfoodiefriends.com/","logo":{"@type":"ImageObject","url":"https://forfoodiefriends.com/wp-content/uploads/forfoodiefriends-logo.png"}},"mainEntityOfPage":{"@type":"WebPage","@id":"https://forfoodiefriends.com/chocolate-chip-cookie-dough-cups/"},"image":"https://forfoodiefriends.com/wp-content/uploads/2025/05/CHOCOLATE-CHIP-COOKIE-DOUGH-CUPS.jpg"}




Comments
No Comments