
Saad asked me to make these three weeks in a row before I finally sat down and wrote the recipe out properly. He'd seen a version somewhere online, described them to me as "brownie things with cookie dough on top," and that was enough for me to start experimenting. The first batch I made had too-thin brownies that practically crumbled when I tried to cut them — not pretty, but still very eaten.
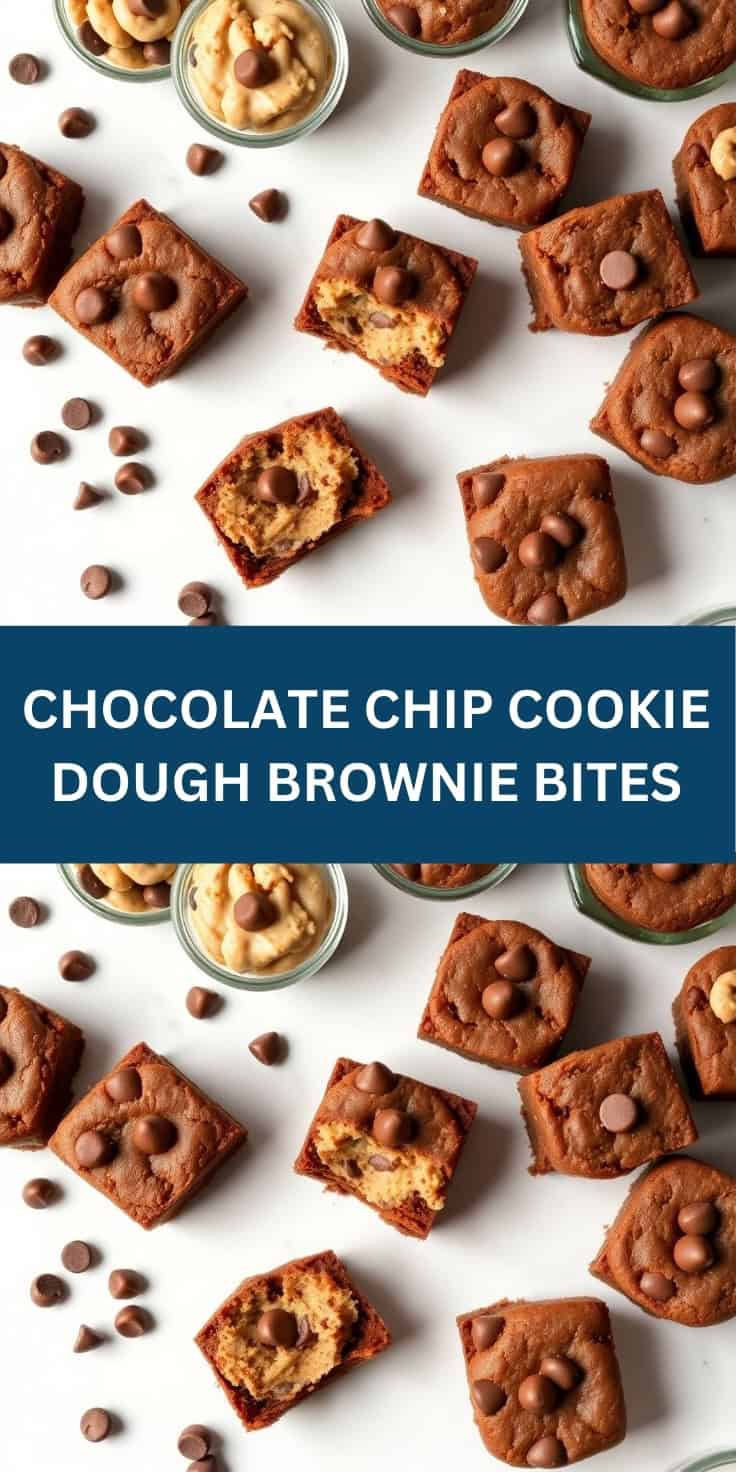
What I like about this version is that the brownie base is baked in a mini muffin pan, so you get individual little cups rather than a slab you have to slice carefully. That means no uneven pieces, no crumbling edges, and a natural well on top where the cookie dough sits. It's a small change from the original idea but it makes the whole thing so much easier to handle — especially if you're making them for a party or sending them in a lunchbox.
The cookie dough layer has no raw eggs in it, and I use heat-treated flour, so it's safe to eat as-is. My kids know that and they have absolutely zero patience for the chilling step. I've started making a double batch because the first one disappears before it even makes it to the fridge. If you're into other baked treats worth making ahead, my chewy pumpkin snickerdoodle cookies are a good one to have in your rotation too.
One thing to set your expectations on: let those brownies cool completely before you add the cookie dough. I rushed it once and the dough started sliding off the warm brownie. Give them at least 30–40 minutes at room temperature, or pop them in the fridge to speed it up. After that, it all comes together in about ten minutes.
Why You'll Love This Recipe
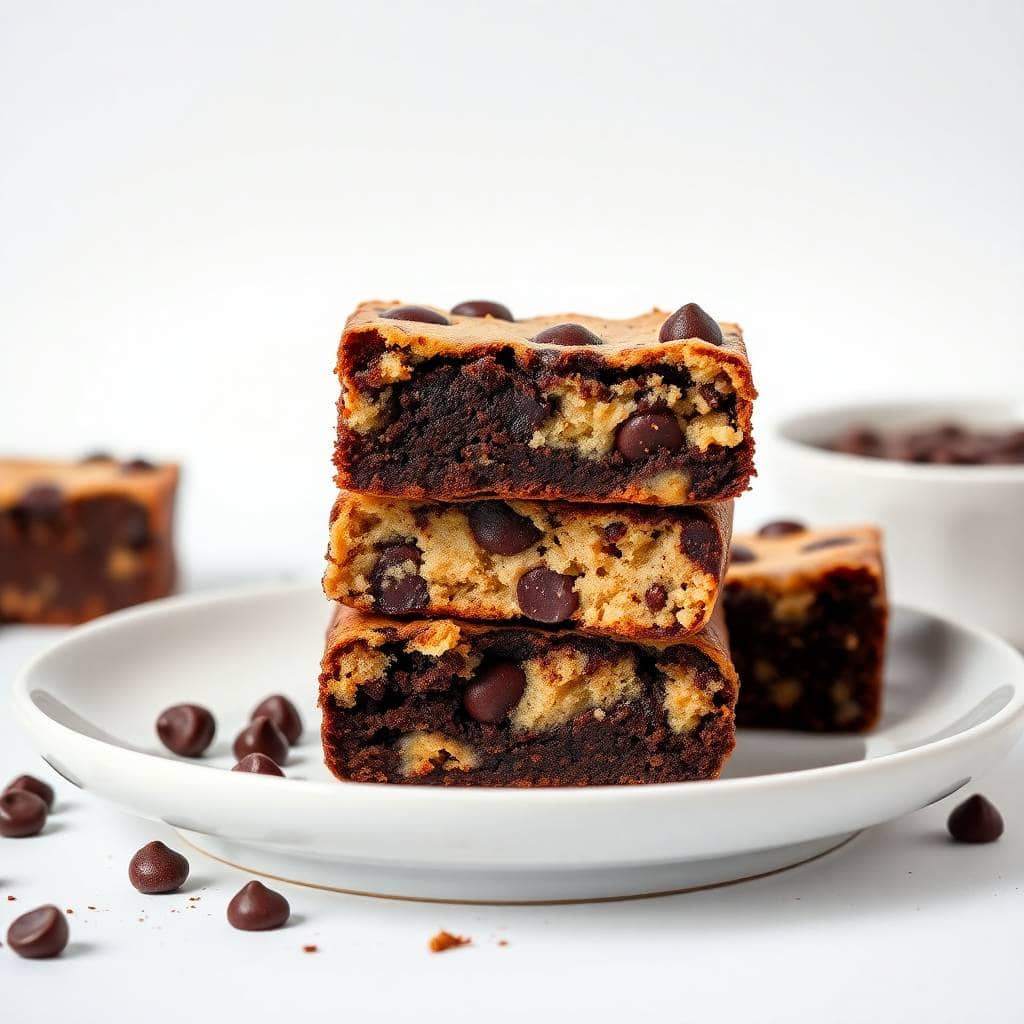
- Two desserts in one bite: The brownie base is fudgy and cocoa-forward, and the cookie dough on top is buttery and sweet in a totally different way. They don't compete — they actually balance each other out. It's one of those combinations where you take a bite and immediately reach for another one.
- No raw eggs in the cookie dough: I know some people don't worry about this, but I do — especially when kids are eating the dough straight off the top. The heat-treated flour and egg-free cookie dough mean I don't have to think twice about it. Everyone can eat them, including Zainab who has a habit of eating two before dinner.
- Mini muffin format means no messy cutting: When I first tried making these as a sheet pan and slicing them, the edges crumbled and the layers separated. The mini muffin pan solved everything. Each brownie bakes into its own little cup and holds the cookie dough on top perfectly. No sharp knife required, no stressing about clean slices.
- Make-ahead friendly: I usually make these the night before I need them. They keep in the fridge for up to five days and actually taste better cold — the cookie dough firms up slightly and becomes this dense, almost truffle-like layer. If anything, patience makes them better.
- Basic pantry ingredients: Nothing in this recipe requires a special trip to a specialty store. Butter, sugar, eggs, cocoa powder, flour — things I always have. The sweetened condensed milk in the original version has been swapped for plain milk in this one, which I think actually makes the cookie dough less cloying and more like real cookie dough.
Ingredients
- For the Brownie Base:
- ½ cup unsalted butter, melted
- 1 cup granulated sugar
- 2 large eggs
- 1 teaspoon vanilla extract
- ⅓ cup cocoa powder (unsweetened)
- ½ cup all-purpose flour
- ¼ teaspoon salt
- For the Cookie Dough Layer:
- ½ cup unsalted butter, softened to room temperature
- ½ cup brown sugar, packed
- ¼ cup granulated sugar
- 2 tablespoons milk (whole milk works best)
- 1 teaspoon vanilla extract
- 1 cup all-purpose flour, heat-treated (see Tips below)
- ½ cup mini chocolate chips
- For Decoration (Optional):
- Melted chocolate for drizzling
- Extra mini chocolate chips
Directions
- Step 1: Preheat and prep your pan — Heat your oven to 350°F (175°C) and line a mini muffin pan with paper liners or grease each cup lightly with butter or cooking spray. Paper liners make removal much easier and keep the shape clean.
- Step 2: Make the brownie batter — Whisk together the melted butter, sugar, eggs, and vanilla until smooth and slightly glossy. Stir in the cocoa powder, flour, and salt until just combined — don't overmix or the brownies turn cakey instead of fudgy. The batter will be thick.
- Step 3: Bake — Spoon batter into the muffin cups, filling each about ¾ full. Bake for 15–18 minutes. You want a toothpick to come out with a few moist crumbs — not wet batter, but not clean either. Err on the side of underdone rather than overdone here. Let them cool completely in the pan before moving on.
- Step 4: Make the cookie dough — Beat the softened butter with both sugars until fluffy, about 2 minutes. Add the milk and vanilla and mix again. Stir in the heat-treated flour and mini chocolate chips until everything is evenly combined. The dough should be soft but holdable — if it feels sticky, refrigerate it for 10 minutes.
- Step 5: Assemble — Scoop a small ball of cookie dough (about a teaspoon) onto the top of each cooled brownie cup and press gently. It should sit on top like a little dome without spreading. If the brownies puffed up in the middle, press down gently with your thumb first to make a small well.
- Step 6: Decorate and chill — Drizzle with melted chocolate and scatter a few extra mini chips on top if you want them to look extra finished. Refrigerate for at least 30 minutes before serving so everything sets up nicely.
Tips for Success
- Heat-treat your flour properly: Raw flour can carry bacteria the same way raw eggs can, so this step isn't optional when you're eating the dough uncooked. Spread the flour on a sheet pan and bake at 350°F for 5 minutes, or microwave it in a bowl for about 60–90 seconds, stirring halfway. Let it cool before mixing it into the dough. It takes less than 10 minutes and it matters.
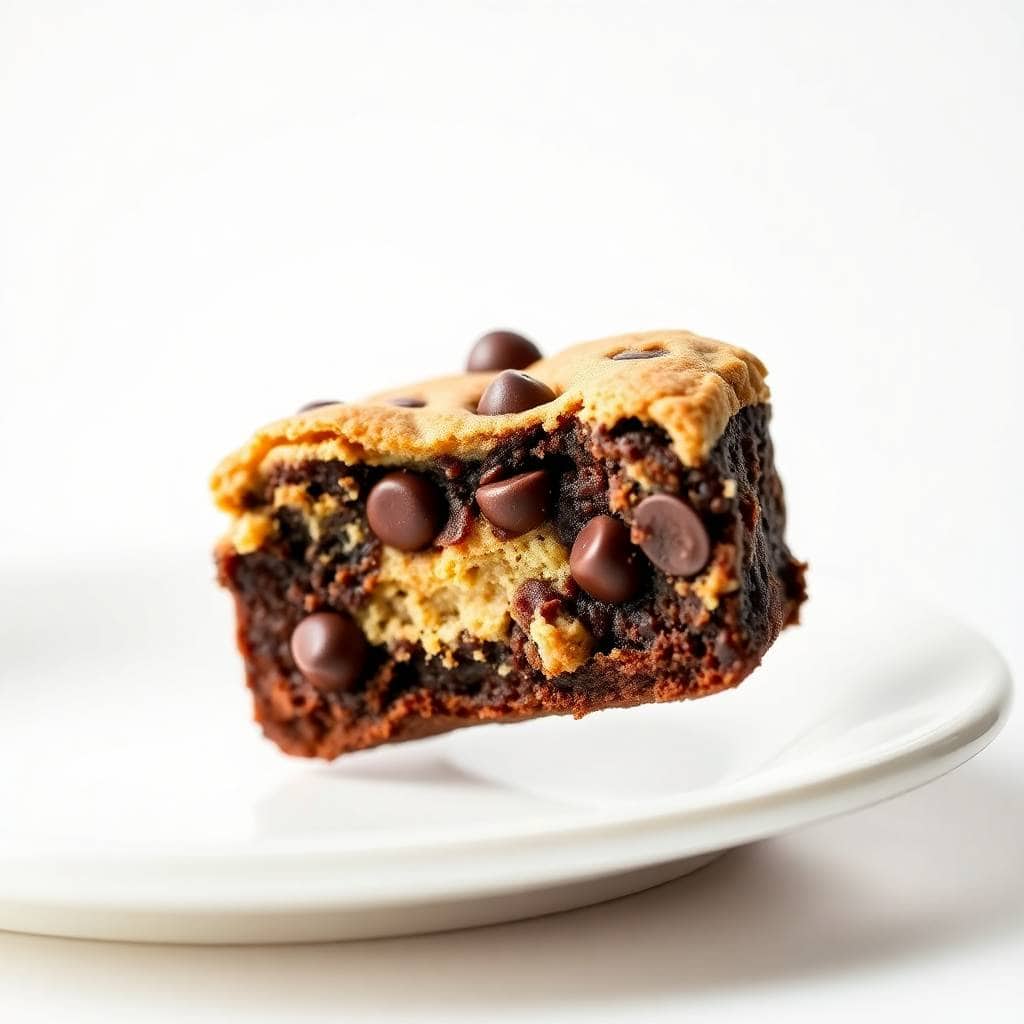
- Don't overbake the brownie cups: I learned this the hard way on my first batch — I waited for a clean toothpick and ended up with dry, crumbly brownies that didn't pair well with the soft cookie dough at all. Pull them out when the toothpick shows moist crumbs. They'll firm up as they cool. Fudgy brownies are what you want here.
- Cool completely before adding cookie dough: If the brownies are even slightly warm, the butter in the cookie dough starts to melt and the whole thing turns into a greasy mess. I usually bake the brownies an hour before I plan to assemble, or I stick the pan in the fridge for 20 minutes to speed things up. It's worth the wait.
- Use mini chocolate chips, not regular: Regular chips are too big relative to the size of these bites. Mini chips distribute more evenly through the cookie dough so you get chocolate in every bite instead of just a few big chunks. It's a small thing but it makes a real difference in texture.
- Chill before cutting or serving: Even with the muffin pan format, the bites hold their shape much better when cold. The cookie dough layer firms up and the brownie becomes denser and more fudgy. I serve these straight from the fridge or let them sit at room temperature for no more than 10–15 minutes first.
Variations
- Peanut butter swirl: Add 2 tablespoons of creamy peanut butter into the brownie batter and swirl it with a toothpick before baking. The peanut butter bakes into the chocolate and adds a nutty richness that works really well against the sweet cookie dough on top. My husband actually prefers this version.
- Salted caramel drizzle: Instead of (or alongside) the chocolate drizzle, add a little caramel sauce over the cookie dough layer and finish with a tiny pinch of flaky sea salt. It sounds like a lot but it balances the sweetness and makes them feel a bit more grown-up. Good for a dinner party dessert platter.
- Oreo cookie dough: Crush about 5–6 Oreos and fold them into the cookie dough layer in place of (or alongside) the chocolate chips. The cream filling softens into the dough and adds this distinct cookies-and-cream flavor. Zainab went through a phase where she'd only eat the Oreo version and refused the plain one.
- White chocolate version: Swap the mini chocolate chips in the cookie dough for white chocolate chips and use a blond brownie (just leave out the cocoa powder and reduce sugar slightly) as your base. It's a lighter, sweeter combination — almost like a vanilla caramel bite. Good for people who find regular brownies too rich.
- Holiday version: Add red and green sprinkles to the cookie dough layer or drizzle with colored melted chocolate. I've made these for school events around Christmas and they disappear instantly. You can also do orange and black for Halloween — the brownie base already looks suitably dark and dramatic.
Serving and Storage
Serving
Serve these cold from the fridge or let them sit at room temperature for about 10 minutes first. Cold, the cookie dough layer is firm and dense. At room temperature, it softens to something closer to actual raw dough — both are good, just different textures. For a dessert platter, I like to drizzle them with extra melted chocolate right before serving. They pair nicely alongside a hot fudge sundae if you're doing a full chocolate dessert spread — or next to something completely different like my Italian S cookies for contrast.
Storage
Keep them in an airtight container in the fridge for up to 5 days. They actually taste better on day 2 once everything has had time to set. For longer storage, freeze them in a single layer first (so the cookie dough topping doesn't get squashed), then transfer to a freezer bag. They'll keep frozen for up to 1 month. Thaw overnight in the fridge — don't microwave them or the cookie dough layer turns greasy.
Frequently Asked Questions
Can I use a boxed brownie mix instead of making brownies from scratch?
Yes, a boxed mix works fine for the base. Follow the package instructions but use a mini muffin pan rather than a square pan — fill the cups about ¾ full and reduce the baking time to 15–18 minutes. Let them cool completely before adding the cookie dough layer, same as you would with the homemade version.
Do I really need to heat-treat the flour?
Yes. Raw flour can carry harmful bacteria — it's not cooked during milling, so it's technically an uncooked ingredient the same as a raw egg. To heat-treat it, spread the flour on a sheet pan and bake at 350°F for 5 minutes, or microwave it in 30-second intervals for about 60–90 seconds total, stirring in between. Let it cool before you use it.
How do I know when the brownie cups are done baking?
Insert a toothpick into the center of one cup — it should come out with a few moist crumbs clinging to it, not wet batter and not completely clean. A clean toothpick means they're overbaked. Pull them at the moist crumb stage and let them finish setting as they cool in the pan.
Can I make these ahead of time?
Definitely — and honestly I'd recommend it. The bites taste better after a few hours in the fridge once the layers have had time to settle together. I usually make them the evening before I need them and store them covered in the fridge overnight. They're ready to serve straight from the fridge with no extra steps.
Can I make these gluten-free?
I haven't tested this myself, so I can't give you exact results, but substituting a 1:1 gluten-free all-purpose flour (like Bob's Red Mill or King Arthur's GF blend) in both the brownie base and the cookie dough layer should work. Make sure to still heat-treat the GF flour before using it in the cookie dough layer.
CHOCOLATE CHIP COOKIE DOUGH BROWNIE BITES
Ingredients
For the Brownie Base:
- ½ cup unsalted butter melted
- 1 cup granulated sugar
- 2 large eggs
- 1 teaspoon vanilla extract
- ⅓ cup cocoa powder
- ½ cup all-purpose flour
- ¼ teaspoon salt
For the Cookie Dough Layer:
- ½ cup unsalted butter softened
- ½ cup brown sugar
- ¼ cup granulated sugar
- 2 tablespoons milk
- 1 teaspoon vanilla extract
- 1 cup all-purpose flour heat-treated
- ½ cup mini chocolate chips
For Decoration (Optional):
- Melted chocolate for drizzling
- Extra mini chocolate chips
Instructions
- Preheat the Oven: Preheat to 350°F (175°C) and line a mini muffin pan with paper liners or grease lightly.
- Make the Brownie Batter: Whisk melted butter, sugar, eggs, and vanilla until smooth. Stir in cocoa, flour, and salt until combined.
- Bake: Spoon batter into muffin cups and bake for 15–18 minutes. Let cool completely.
- Prepare the Cookie Dough: Beat butter, sugars, milk, and vanilla until creamy. Mix in flour and chocolate chips.
- Assemble: Scoop small amounts of cookie dough onto cooled brownies and press gently.
- Decorate: Drizzle with melted chocolate and top with extra chips if desired. Chill before serving.
Notes
- Make Ahead: Store in the fridge for up to 5 days or freeze for up to 1 month.
- Edible Dough Tip: Heat-treat flour for safety—microwave for 1 minute or bake at 350°F for 5 minutes.
- Serving Suggestions: Perfect for parties, lunchbox treats, or as a fun dessert bite.
- Storage Tips: Keep refrigerated to maintain texture; serve chilled or at room temperature.
These brownie bites have become one of those recipes I keep coming back to because they're genuinely low-stress to make and they always land well. The brownie cups come out fudgy every time as long as I don't overbake them, and the cookie dough layer takes less than five minutes to pull together. There's no complicated technique, no special equipment — just a regular muffin pan, a wooden spoon, and a bowl.
If you're making them for a gathering, I'd suggest doubling the recipe. A single batch of 24 sounds like a lot until you put them out on a table and watch them go. They're the kind of thing people eat one of and then quietly take two more without saying anything. I usually make them the day before so I'm not scrambling the day of.
If you're on a baking kick this season, my Mardi Gras king cake is another showstopper that's more approachable than it looks, and the chewy pumpkin snickerdoodles are great for when you want something spiced and simple. These brownie bites sit at the richer, more chocolatey end of the spectrum — which in my house means Saad approves, and that's the real test. 🍫🍪✨
If you liked these, here are a few more recipes worth bookmarking:
- Hot Fudge Sundae — if you want to turn these bites into a full dessert situation, a warm hot fudge sundae alongside does it perfectly.
- Italian S Cookies — a completely different texture and flavor, but they belong on the same dessert platter.
- Chewy Pumpkin Snickerdoodle Cookies — great make-ahead cookie option with the same kind of easy, reliable results.
- Mardi Gras King Cake — for when you want something more involved and festive.
- Vegan Love Letter Pastries — a sweet option worth trying if you're baking for someone who doesn't eat dairy or eggs.





Comments
No Comments