
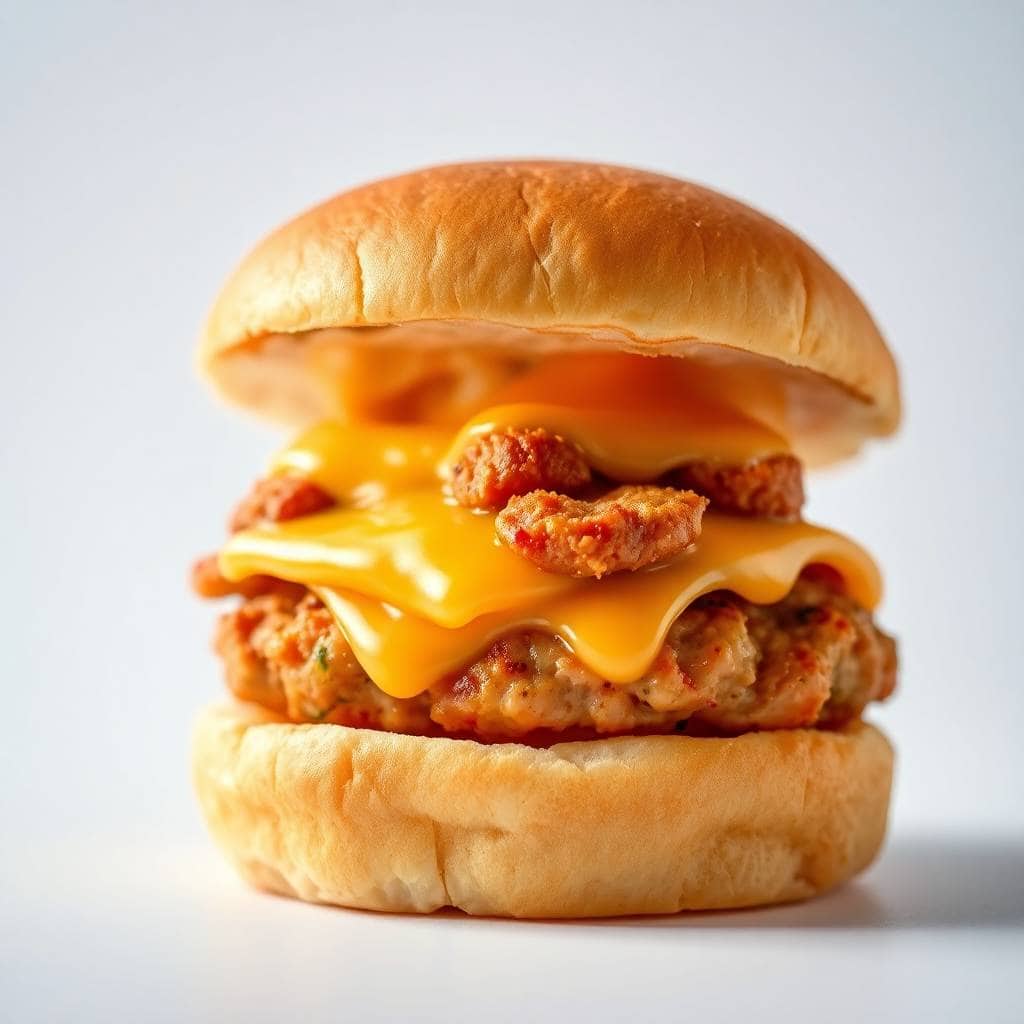
Chicken sliders are the ultimate comfort food, combining juicy chicken with soft buns and bold flavors. They are easy to prepare, customizable, and ideal for dinners, game days, or gatherings when you want something satisfying without stress.
These chicken sliders strike a perfect balance between simplicity and indulgence, making them a favorite for both beginners and experienced cooks. With minimal ingredients and straightforward steps, you can create a pleasing recipe.
Whether you are hosting a party or planning quick family meals, chicken sliders adapt beautifully. You can serve them as appetizers, or snacks, pairing them with sauces, veggies, and sides to suit any occasion easily and creatively everytime.
This recipe focuses on delivering maximum flavor with simple techniques, ensuring tender chicken and perfectly balanced seasoning. The sliders cook quickly, assemble effortlessly, and disappear fast, making them reliable when time is limited.
From weeknight dinners to weekend celebrations, chicken sliders fit seamlessly into your routine. Once you try them, they will become a go to option whenever you need something delicious, comforting, and guaranteed to please guests.

WHY YOU WILL LOVE THIS RECIPE
- Juicy, Flavorful Bites: These sliders deliver juicy, seasoned chicken in every bite, paired with soft buns and customizable toppings, creating a balance of texture and flavor that keeps everyone coming back for more.
- Perfect for Any Occasion: Perfect for parties and family meals, chicken sliders are easy to prepare ahead, cook quickly, and serve effortlessly, making them ideal when you need results without techniques or preparation times.
- Simple Ingredients: This recipe uses simple ingredients you likely already have, allowing you to create flavorful sliders without special equipment, rare spices, or expensive components, while still delivering quality taste at home.
- Customizable Options: Chicken sliders are versatile enough to suit many preferences, letting you adjust seasonings, sauces, and toppings to create mild, spicy, or savory versions that please picky eaters and lovers alike.
- Fun, Shareable Size: Their small size makes these sliders fun to eat and easy to serve, helping with portion control while still feeling indulgent, comforting, and satisfying for adults and children at table.
INGREDIENTS
- Boneless chicken breasts
- Slider buns
- Olive oil
- Garlic powder
- Paprika
- Salt
- Black pepper
- Lettuce leaves
- Sliced tomatoes
- Cheese slices
- Favorite sauces
DIRECTIONS
- Step No.1: Prepare the chicken
Slice the chicken into evenly sized pieces and season with salt, pepper, health benefits of garlic powder, and paprika, ensuring all sides are well coated for even flavor.
- Step No.2: Cook the chicken
Heat benefits of olive oil in a skillet over medium heat and cook the chicken pieces until golden outside and fully cooked inside, flipping as needed for even browning.
- Step No.3: Rest the chicken
Remove the cooked chicken from heat and allow it to rest briefly so juices redistribute, keeping the meat moist and tender.
- Step No.4: Toast the buns
Lightly toast the slider buns in a pan or oven until warm and slightly crisp to add texture and prevent sogginess.
- Step No.5: Assemble the sliders
Layer chicken on the buns with cheese, lettuce, tomatoes, and sauces, then gently press together before serving warm.

TIPS FOR SUCCESS
- Even Chicken Pieces: Use evenly sized chicken pieces to ensure consistent cooking, preventing dry edges and undercooked centers while improving overall texture quality.
- Generous Seasoning: Season the chicken generously before cooking so flavors penetrate deeply, creating tasty sliders that remain delicious even without heavy sauces.
- Avoid Overcrowding: Do not overcrowd the pan or grill, allowing proper browning and heat circulation for juicy chicken with better flavor development.
- Toast the Buns: Toast the slider buns lightly to add texture and prevent sogginess when assembling with sauces and warm chicken inside buns.
- Rest Before Assembling: Let the cooked chicken rest briefly before assembling sliders to retain juices and keep each bite moist and tender inside.
- Prep Ahead: Prepare toppings and sauces ahead of time to streamline assembly, especially when serving sliders to groups during busy mealtimes events.
VARIATIONS
- Juicier Thigh Option: Swap chicken breasts for chicken thighs to achieve richer flavor and extra juiciness, making sliders more forgiving during cooking while adding a slightly deeper, savory taste everyone will appreciate greatly.
- Spicy Sliders: Create a spicy version by adding chili powder, hot sauce, or sliced jalapenos to the chicken, then finishing sliders with cooling sauces to balance heat and keep flavors exciting fresh.
- Barbecue Style: Turn these into barbecue chicken sliders by tossing cooked chicken in smoky barbecue sauce, topping with coleslaw, and serving on toasted buns for a sweet, tangy, crowd pleasing twist option.
- Lighter Version: Make a lighter version by using grilled chicken, whole wheat buns, and fresh vegetable toppings, creating sliders that feel wholesome, balanced, and satisfying without sacrificing flavor or enjoyment for anyone.
- Global Flavors: Add international flair by seasoning chicken with Mediterranean herbs, teriyaki glaze, or buffalo sauce, then pairing with matching toppings to create globally inspired slider variations at home for fun meals.
- Kid Friendly: Make sliders kid friendly by using mild seasonings, simple toppings, and familiar sauces, ensuring younger eaters enjoy them while adults can customize portions separately with additional sauces served on side.
SERVING AND STORAGE
Serving
Serve chicken sliders warm on toasted buns with favorite sides like fries, salad, or veggies for a complete meal experience.
Storage
Store leftover chicken sliders in an airtight container in the refrigerator for up to three days, reheating gently before serving.
FAQ
Yes, you can cook the chicken in advance and assemble the sliders just before serving for best texture and flavor.
Any good melting cheese works great. Cheddar, Monterey Jack, provolone, or pepper jack are all excellent choices to add creaminess and flavor.
Yes, ensure it is fully thawed and patted dry before seasoning and cooking to achieve proper browning and avoid steaming the chicken.
Toasting the buns and assembling sliders just before serving are the best methods. You can also place lettuce between the chicken and the bottom bun as a barrier.
Absolutely. Grilling adds a delicious smoky flavor. Cook over medium heat until the internal temperature reaches 165°F (74°C).
This recipe is simple and flexible. You can use grilled, baked, or shredded chicken, making it easy to adapt based on what you have on hand. With minimal prep, these sliders come together quickly for busy weeknights or last-minute gatherings.
Juicy chicken paired with soft buns makes every bite comforting and delicious. Add melted cheese or a flavorful sauce to enhance the taste, creating sliders that are rich, satisfying, and full of classic comfort food appeal.


CHICKEN SLIDERS
Ingredients
For the Chicken Filling:
- 2 cups cooked shredded chicken
- ½ cup BBQ sauce
- ½ teaspoon salt
- ½ teaspoon black pepper
For Assembly:
- 12 slider buns
- 6 slices cheddar cheese
- 2 tablespoons butter melted
Instructions
Prepare Chicken:
- Preheat oven to 180°C (350°F). In a bowl, mix shredded chicken with BBQ sauce, salt, and pepper.
Assemble Sliders:
- Place bottom halves of slider buns in a baking dish. Spread chicken mixture evenly over buns.
Add Toppings:
- Top with cheese slices and cover with top buns. Brush with melted butter.
Bake:
- Bake for 15–20 minutes until heated through and cheese is melted.
Serve:
- Remove from oven, slice into sliders, and serve warm.
Notes
- Make Ahead: Chicken filling can be prepared in advance for quick assembly.
- Variations: Use buffalo sauce, honey mustard, or ranch for different flavors.
- Serving Suggestions: Serve with fries, chips, or coleslaw.
- Allergy-Friendly: Use gluten-free slider buns if needed.
- Storage Tips: Store leftovers in an airtight container in the refrigerator for up to 3 days.




Comments
No Comments