
Zainab asked me to make cheesecake for her birthday and then specifically said "the one with the red stuff on top." I had never made a cherry lemon cheesecake before, but that's how half my recipes get started — a kid makes a request and I figure it out from there.
What I like about this one is that it doesn't require a water bath. I know water baths are supposed to help with cracking, but every time I've tried one I've ended up with a soggy crust because the foil seal never holds perfectly. This version skips all of that. Instead, you cool the cheesecake slowly in the oven with the door cracked, and that gentle cooldown does most of the work. In the four times I've made this now, I've only had one small crack — and it was covered by cherry topping anyway, so nobody noticed.
The lemon in the filling is subtle, not sharp. It lifts the richness of the cream cheese without turning the whole thing into a lemon dessert. If you want something more lemony and don't want to bake at all, my no-bake lemon cheesecake bars are worth looking at too. But this baked version has a different texture entirely — dense, creamy, and cold straight from the fridge.
One thing I'll tell you upfront: plan for overnight chilling. Four hours is the minimum, but the next-day texture is noticeably better. I usually make this on Saturday afternoon and we eat it Sunday after lunch. That timing works out well, and it means I'm not hovering over the kitchen while guests are already at the table.
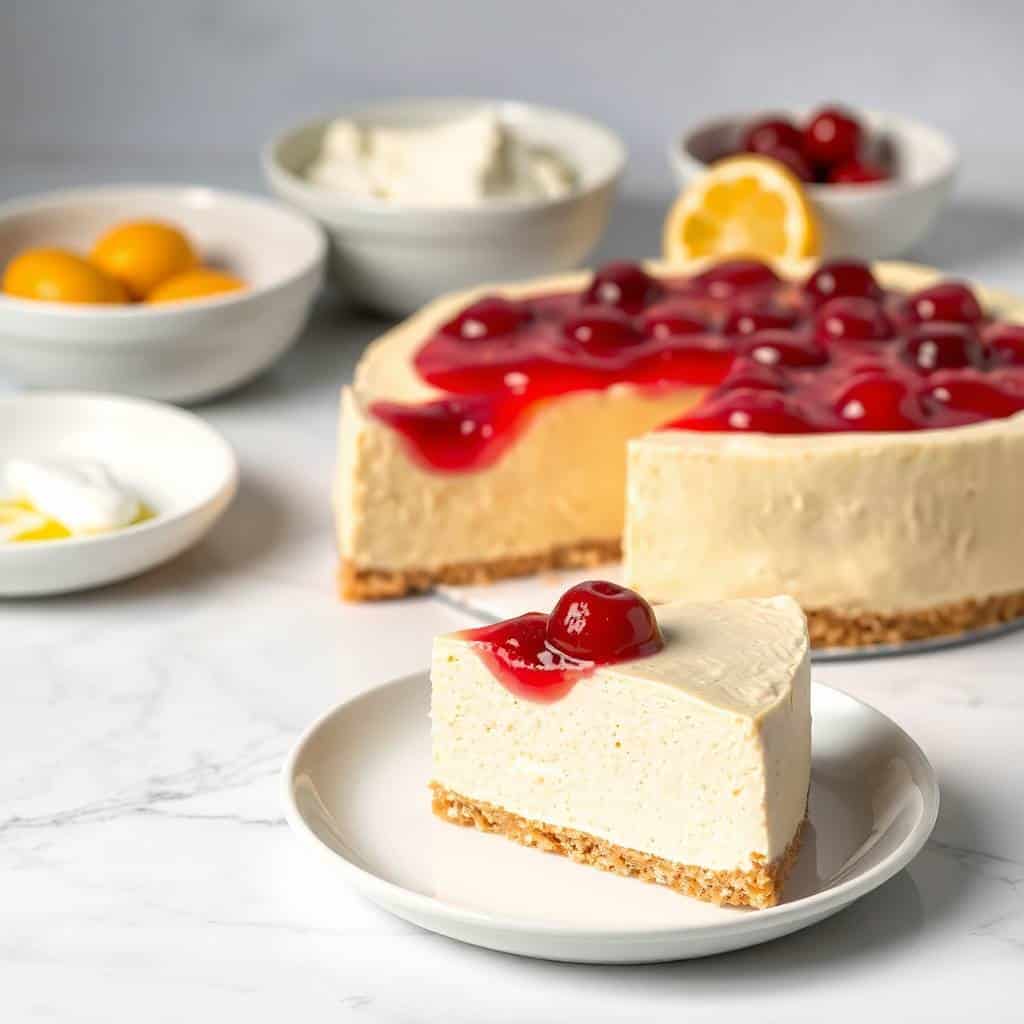
Why You'll Love This Recipe
- No water bath required: I spent years avoiding baked cheesecakes because the water bath step always stressed me out — leaking foil, wet crusts, the whole mess. This recipe skips it entirely and still gives you a creamy, mostly crack-free result. The slow oven cooldown does the job instead, and it's a much more forgiving technique for a home kitchen.
- Three ingredients for the crust: Graham cracker crumbs, sugar, melted butter. That's it. I keep a box of graham crackers in my pantry specifically for this kind of thing, and you can find them at any Walmart or Kroger. The crust takes about five minutes to put together and ten minutes to bake.
- Make-ahead friendly: This cheesecake actually gets better after sitting overnight in the fridge, which makes it one of the least stressful desserts I make for guests. I bake it the day before, chill it completely, and add the cherry topping right before serving. Zero day-of stress.
- The lemon keeps it from feeling heavy: Regular cheesecake can feel very rich after a full meal. The lemon zest and juice in this filling add enough brightness that a slice doesn't sit heavy. It's still a proper cheesecake — not a mousse or anything light — but it doesn't feel like a brick at the end of dinner.
- The cherry topping is as simple as opening a can: I use canned cherry pie filling, and I'm not apologetic about it. It tastes good, it looks gorgeous, and it takes fifteen seconds to spread. If you want to make a homemade cherry compote, go for it — but the canned version from any grocery store works just fine for a weeknight or a birthday table.
Ingredients
- 1½ cups graham cracker crumbs
- ¼ cup granulated sugar (for crust)
- ½ cup unsalted butter, melted
- 24 oz (three 8 oz packages) cream cheese, softened to room temperature
- 1 cup granulated sugar (for filling)
- 3 large eggs, room temperature
- 2 tablespoons fresh lemon juice
- 1 tablespoon lemon zest
- 1 teaspoon vanilla extract
- 1 can (21 oz) cherry pie filling, for topping
Directions
- Prepare the crust: Preheat your oven to 325°F (163°C). Mix the graham cracker crumbs, ¼ cup sugar, and melted butter in a bowl until the crumbs are evenly coated — it should look like wet sand. Press the mixture firmly into the bottom of a 9-inch springform pan, using the back of a spoon or a flat-bottomed glass to pack it in. Bake for 10 minutes, then set aside to cool while you make the filling.
- Make the filling: Beat the softened cream cheese and 1 cup of sugar together until smooth and no lumps remain — this takes about 2-3 minutes with a hand mixer on medium. Add the eggs one at a time, mixing on low after each one just until combined. Overmixing after the eggs go in is what causes cracks, so stop as soon as each egg disappears. Stir in the lemon juice, lemon zest, and vanilla extract.
- Bake the cheesecake: Pour the filling over the cooled crust and smooth the top. Bake at 325°F for 50–60 minutes, until the edges are set and the center has just a slight wobble when you gently shake the pan — like Jell-O, not liquid. Turn off the oven, crack the door about an inch, and leave the cheesecake inside for 1 hour. This slow cooldown is what prevents cracks without a water bath.
- Chill completely: Once the cheesecake is at room temperature, transfer it to the fridge. Chill for at least 4 hours, but overnight is genuinely better — the texture tightens up and the flavor deepens. Don't rush this step.
- Add the cherry topping and serve: Right before serving, spoon the cherry pie filling evenly over the top of the cheesecake. Run a sharp knife under warm water, wipe it dry, then slice — cleaning the knife between each cut gives you cleaner slices. Release and remove the springform ring, then serve cold.
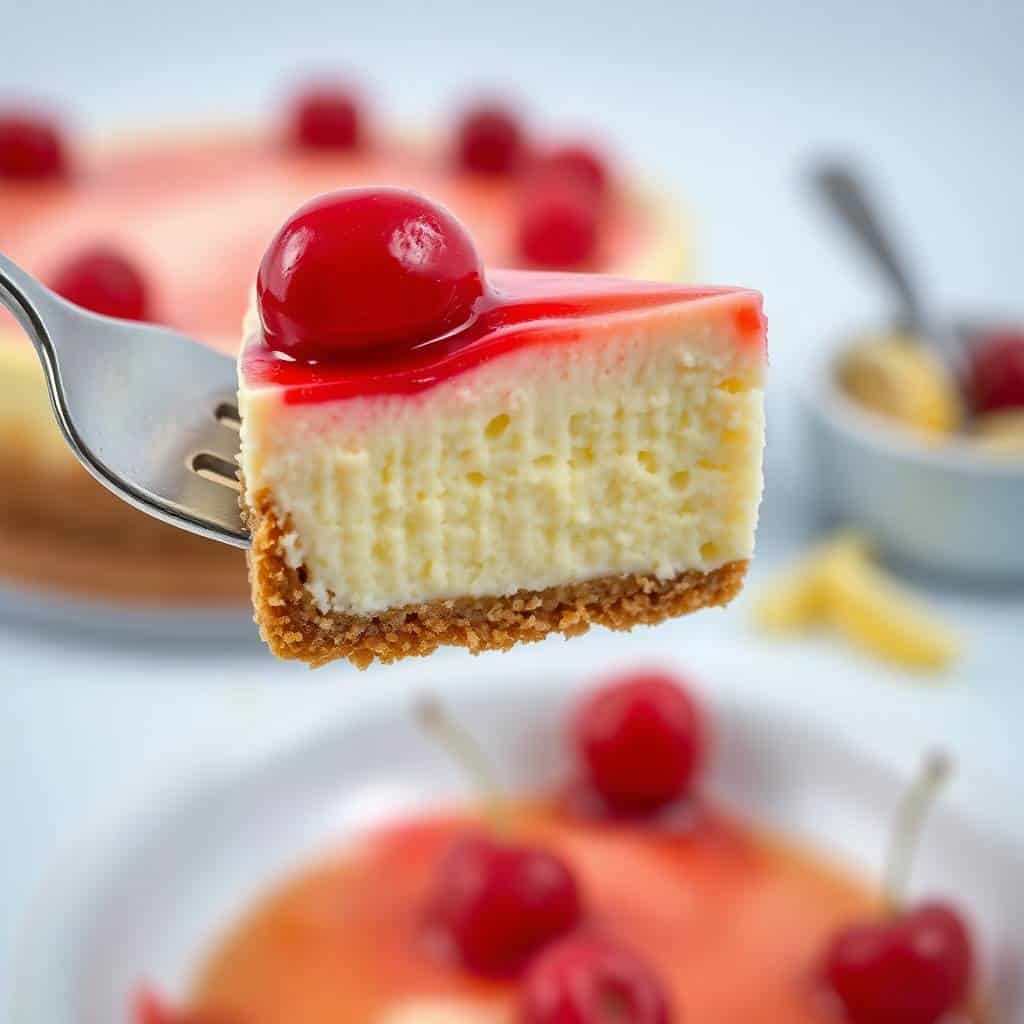
Tips for Success
- Take your cream cheese out an hour early: Cold cream cheese will never beat completely smooth — you'll always end up with some lumps no matter how long you mix. I set my cream cheese and eggs on the counter about an hour before I start. If I forget (which happens), I put the sealed cream cheese packages in a bowl of warm water for 15 minutes. Not perfect, but it helps.
- Stop mixing once the eggs are in: This is the mistake I made the first time — I kept the mixer running thinking smoother batter meant better cheesecake. Extra air in the batter expands in the oven and then contracts as it cools, which causes the top to crack. Once the eggs are mixed in, you just want things combined. Low speed, short time.
- Use fresh lemon juice, not bottled: Bottled lemon juice works in a pinch, but there's a slight chemical aftertaste that becomes noticeable in a delicate filling like this. Fresh lemons are worth it here. You only need two tablespoons, which is about one medium lemon. I zest first and then juice the same lemon — less waste.
- Don't skip the oven cooldown: I know it feels like it's adding an extra hour to the process, but this step really matters. Pulling a hot cheesecake straight into cold air causes it to contract quickly and crack across the top. Cracking on the surface doesn't affect the flavor, but if you're serving this for a birthday or a dinner party, a smooth top looks a lot better before the cherry topping goes on.
- Add the cherry topping only when you're ready to serve: I spread the cherry topping on right before the cheesecake goes to the table, not before it goes back in the fridge. Cherry pie filling can bleed color into the top of the cheesecake if it sits overnight with the topping on. It's not a disaster, but the contrast between the white filling and the red cherries looks much cleaner when the topping is fresh.
Variations
- Swap the cherry topping for another fruit: Blueberry pie filling works beautifully here — the color contrast is even more dramatic against the pale filling. I've also done fresh sliced strawberries tossed with a little sugar and lemon juice, which feels lighter and more summery. Whatever fruit you use, add it right before serving.
- Double lemon: If you want a stronger lemon flavor, add a layer of lemon curd under the cherry topping. You can find lemon curd at most grocery stores near the jams. It adds a bright, sharp lemon punch that pairs really well with the sweet cherries above it. This version is my personal favorite — it reminds me of something you'd get from a proper bakery.
- Mini cheesecakes for a crowd: Line a muffin tin with paper liners, press about a tablespoon of crust mixture into the bottom of each one, and divide the filling between the cups. Bake at 325°F for about 20-22 minutes. They're easier to serve at parties — no slicing required — and they look really nice on a dessert table. If you're also making a savory dinner party spread, pair these alongside something like my caramel candy cheesecake for a full dessert lineup.
- Oreo crust instead of graham cracker: Crush about 24 Oreos (filling and all) and mix with ¼ cup melted butter. Press and bake the same way. The chocolate cookie crust with lemon filling and cherry topping sounds like an unusual combination but it works — the chocolate adds a slight bitterness that balances everything nicely.
- Gluten-free version: Swap in gluten-free graham crackers for the crust — the ones from Kinnikinnick or Schär are easy to find online and increasingly available at larger grocery stores. The rest of the recipe is naturally gluten-free as written. No flour in this version means you don't need to substitute anything in the filling.
Serving and Storage
Serving
Serve this cheesecake cold, straight from the fridge. I add the cherry topping right before it hits the table. If you want to dress it up, a little whipped cream around the edge and a thin lemon slice looks nice without much effort. For clean slices, run your knife under hot water, wipe it dry, cut, and then repeat — it makes a bigger difference than you'd expect.
Storage
Store leftovers covered in the fridge for up to 5 days. If you already added the cherry topping, just keep it covered — it'll be fine to eat, though the topping may soften slightly. If you want to freeze the cheesecake, do it without the cherry topping: wrap it well in plastic wrap and then foil, and freeze for up to one month. Thaw overnight in the fridge before adding the cherry topping and serving.
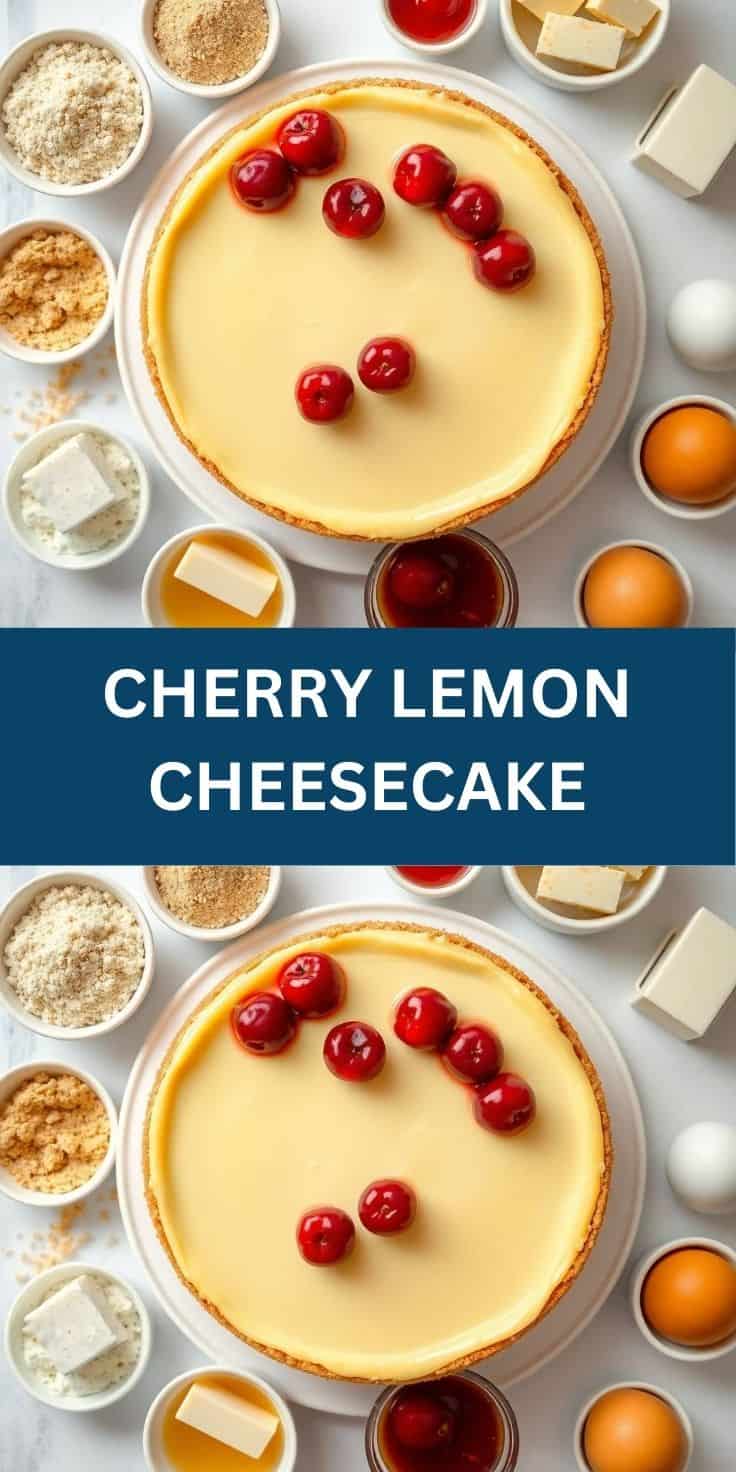
Frequently Asked Questions
Can I make this cheesecake the day before?
Yes, and honestly I recommend it. The texture is noticeably better after a full overnight chill — firmer, creamier, and the lemon flavor settles in more evenly. Just hold off on adding the cherry topping until right before you serve it.
What if I don't have a springform pan?
You can use a regular 9-inch cake pan, but getting the first slice out cleanly is tricky. Line the bottom and sides with parchment paper before pressing in the crust — it won't be perfect, but you can lift slices out with a spatula. A springform pan makes things much easier and you can find a decent one for under $15 at Walmart or Target.
Can I use low-fat cream cheese?
You can, but the filling will be softer and less rich. Full-fat cream cheese gives the cheesecake its dense, creamy texture. If you use low-fat, it may also need a few extra minutes of chilling time to firm up properly before slicing.
Can I freeze the cheesecake?
Yes — freeze it without the cherry topping. Wrap the whole thing tightly in plastic wrap, then in foil, and it'll keep for up to a month. Thaw it in the fridge overnight. Add the cherry topping after it's fully thawed and you're ready to serve.
Can I use homemade cherry topping instead of canned?
Absolutely. A simple cherry compote works beautifully — simmer about 2 cups of fresh or frozen cherries with ¼ cup sugar and a splash of lemon juice until thickened, then cool completely before spreading. It tastes fresher and a little less sweet than the canned version. Either works, though — I reach for the can when I'm in a hurry and it never disappoints.
CHERRY LEMON CHEESECAKE
Ingredients
For the Crust:
- 1 ½ cups graham cracker crumbs
- ¼ cup granulated sugar
- ½ cup melted butter
For the Cheesecake Filling:
- 3 8 oz packages cream cheese, softened
- 1 cup granulated sugar
- 3 large eggs
- 2 tablespoons lemon juice
- 1 tablespoon lemon zest
- 1 teaspoon vanilla extract
For the Topping:
- 1 21 oz can cherry pie filling
Instructions
Step 1 – Prepare the Crust:
- Preheat oven to 325°F (163°C). Mix graham cracker crumbs, sugar, and melted butter. Press into the bottom of a 9-inch springform pan. Bake for 10 minutes, then let cool.
Step 2 – Make the Filling:
- Beat cream cheese and sugar until smooth. Add eggs one at a time, mixing well. Stir in lemon juice, zest, and vanilla extract.
Step 3 – Bake:
- Pour filling over crust. Bake for 50–60 minutes, or until center is set. Turn off oven, crack the door, and let cheesecake cool in oven for 1 hour.
Step 4 – Chill:
- Refrigerate for at least 4 hours or overnight for best results.
Step 5 – Add Topping:
- Spread cherry pie filling over chilled cheesecake before serving.
Notes
- Make Ahead: Can be made 2 days in advance and stored in the fridge.
- Topping Tip: Use fresh cherries or homemade cherry compote for a gourmet version.
- Freezing: Cheesecake (without topping) can be frozen up to 1 month—thaw overnight in fridge.
This is the dessert I make when I want something that looks like it came from a bakery but was actually assembled in my kitchen on a Saturday afternoon. It's not a difficult recipe — the technique is forgiving, the ingredients list is short, and canned cherry topping means there's no fussing with fruit at the end. I've served it at Zainab's birthday, at a casual dinner with friends, and once just because I had cream cheese in the fridge that needed using up.
The no-water-bath method is the part I'd highlight most if someone asked me what makes this recipe worth trying. Baked cheesecakes have a reputation for being fussy, but this one genuinely isn't. If you follow the slow oven cooldown and don't rush the chilling, you'll get a clean, creamy result without any of the stress. And if a small crack appears — put some cherry topping on it and call it a day.
If you're in a baking mood and want something different alongside it, my caramel candy cheesecake is another baked cheesecake worth trying — same kind of technique, completely different flavor direction. And if you're not up for baking at all, the no-bake lemon cheesecake bars are just as satisfying with about a third of the effort.
Make it a day ahead, add the cherries when you're ready to serve, and keep a warm knife nearby for slicing. That's genuinely all there is to it. 🍒✨
If you liked this, here are a few more recipes from my kitchen you might want to try:
- Caramel Candy Cheesecake with Toffee Bits — another baked cheesecake with a completely different personality
- No-Bake Lemon Cheesecake Bars — when you want lemon cheesecake flavor without turning on the oven
- Chocolate Pudding — silky, rich, and done in 20 minutes when you need dessert fast
- Air Fryer Steak Bites — for when you need a main course that comes together as quickly as this cheesecake is low-maintenance
- Baked Garlic Parmesan Shrimp — an easy dinner to make while your cheesecake chills overnight





Comments
No Comments