
Zainab called this "the pink fluffy thing" the first time I made it, and now she asks for it by that name every time we have guests over. I made it one afternoon when I had a can of cherry pie filling in the pantry and no energy to actually bake anything — and it's been a regular in my kitchen ever since. No oven, no fancy equipment, no plan required.
What makes this work isn't anything complicated — it's the order of things. You beat the cream cheese first until it's completely smooth, then fold everything else in gently. That's it. The one mistake I made early on was using cream cheese straight from the fridge. It stays lumpy no matter how long you beat it. Now I pull it out at least 20 minutes before I start, and the texture is completely smooth every time.
I make this most often in summer when I need something cold and dessert-like without heating up the kitchen, but I've also made it for Eid gatherings, potlucks, and birthday parties. It travels well, it looks pretty in individual cups, and I usually make a double batch because it disappears faster than I expect. If you're looking for an easy no-bake dessert that comes together in about 15 minutes of actual work, this is it. If you enjoy no-bake desserts like this, you might also like my Banana Pudding Rice Krispie Treats — another one that requires zero oven time.
The recipe below is what I've landed on after a few rounds of testing. The WPRM card at the bottom has the base version. In the body of the post I've added notes for the extras — marshmallows, nuts, pineapple — because those are worth knowing about even if they're optional.
Why You'll Love This Recipe
- No oven, no stress: The whole thing comes together in one bowl with a hand mixer or even just a wooden spoon if you're patient. I've made it without any electric mixer on days when I couldn't be bothered to dig one out. It took a few extra minutes but worked perfectly fine.
- 15 minutes of actual work: The prep is genuinely fast. Beat the cream cheese, fold in the rest, chill. Most of the time is just waiting in the fridge. I usually make it right after lunch so it's ready by dinner, or the night before a gathering so I'm not scrambling.
- Kids go for it immediately: Zainab loves the mini marshmallows — she picks them out first. The cherry color makes it visually exciting to kids in a way that a plain cheesecake never quite manages. I've brought this to school events twice and it always comes back as an empty bowl.
- Flexible base recipe: The cherry version is what I make most often, but I've swapped in strawberry, blueberry, and even peach pie filling and they all work. The cream cheese and whipped topping base stays the same — only the can of fruit changes.
- Makes ahead beautifully: This is one of those recipes that's actually better the next day. The flavors settle and meld overnight, the texture firms up slightly, and it scoops cleanly. I almost never serve it same-day anymore — I always make it the night before.
Ingredients
- 8 oz cream cheese, softened (pull it out of the fridge at least 20 minutes before you start)
- 1 cup powdered sugar
- 1 teaspoon vanilla extract
- 2 cups whipped topping, thawed (like Cool Whip — one standard 8 oz tub)
- 1 can (21 oz) cherry pie filling
- 1 cup mini marshmallows (optional, but Zainab insists on them)
- ½ cup chopped walnuts or pecans (optional)
- ½ cup crushed pineapple, well drained (optional)
Directions
- Beat the cream cheese: In a large bowl, beat the softened cream cheese with a hand mixer until completely smooth — no lumps at all. This is the most important step. If the cream cheese is cold it will stay grainy, so don't rush it. Beat for a good 2 minutes until it's light and fluffy.
- Add sugar and vanilla: Mix in the powdered sugar and vanilla extract until combined. Taste it here — this is your base flavor. It should be gently sweet with that vanilla note coming through.
- Fold in the whipped topping: Gently fold in the thawed whipped topping using a spatula or wooden spoon. Don't use the mixer here — you want to keep it airy. Fold until just combined, no white streaks remaining.
- Add the cherry filling: Fold in about half the cherry pie filling now, saving the rest for topping when you serve. This keeps the swirl effect instead of turning everything a uniform pink. Stir very gently — just 4 or 5 folds.
- Mix in the extras (if using): Add mini marshmallows, nuts, and drained pineapple now if you're using them. One more gentle stir to distribute everything evenly without deflating the fluff.
- Chill: Cover the bowl or transfer to individual serving cups and refrigerate for at least 1 hour, ideally overnight. The texture firms up and the flavors come together as it chills.
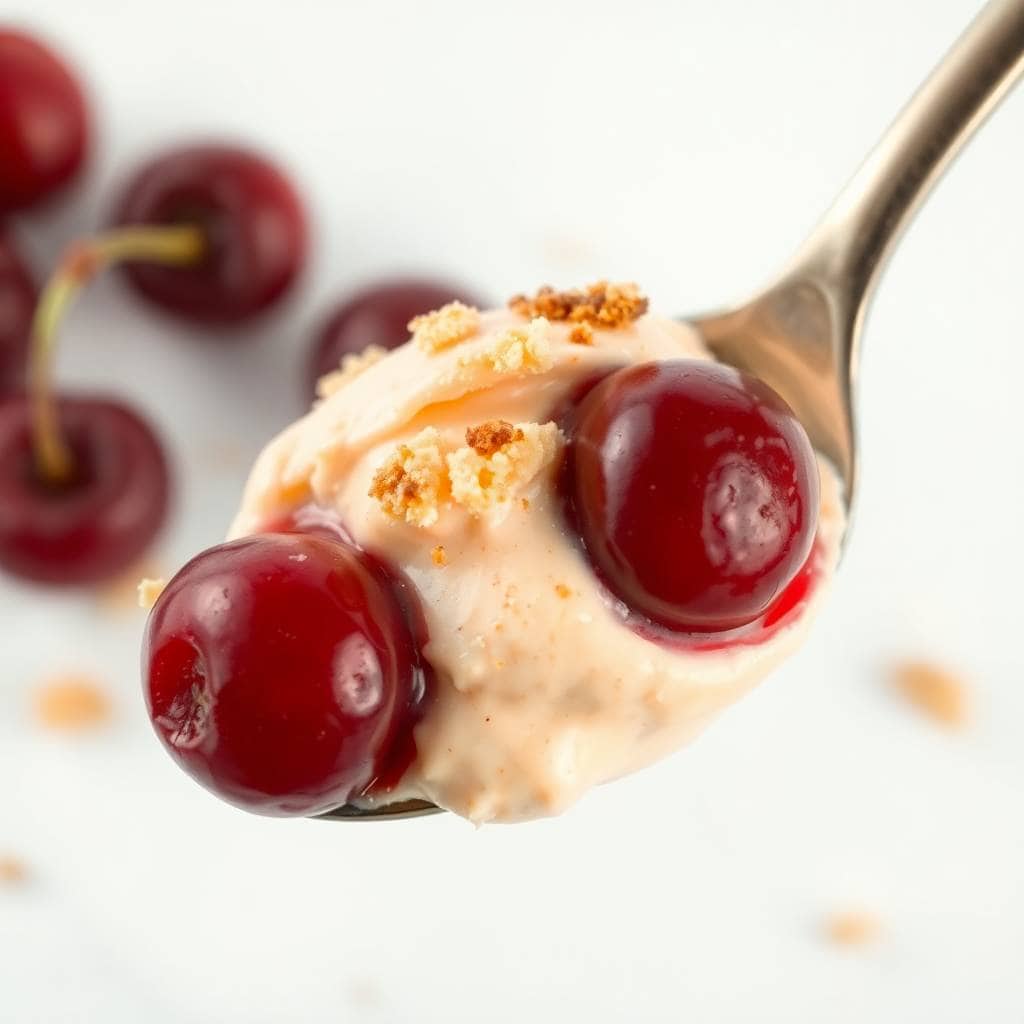
- Serve: Spoon the remaining cherry pie filling over the top right before serving. Add a few extra marshmallows or some crushed graham crackers on top if you want some texture contrast.
Tips for Success
- Room temperature cream cheese is non-negotiable: I learned this the hard way. The first time I made this I was impatient and used cold cream cheese. No matter how long I beat it, there were tiny lumps throughout the finished dessert. Now I always set it out at least 20 minutes ahead — 30 is better. If you forgot, you can microwave it for 10 seconds at a time until it just barely starts to soften, but don't overdo it or it gets oily.
- Fold, don't stir: Once you add the whipped topping, put down the mixer. A spatula in slow folding motions keeps all that air in the topping intact. If you stir vigorously, the whole thing deflates and you lose the light, fluffy texture that makes this worth making. Same goes for when you add the cherry filling — gentle folds only.
- Drain the pineapple really well: If you're adding crushed pineapple and you don't drain it thoroughly, you'll end up with a watery fluff that doesn't hold its texture. I press it in a fine mesh strainer with the back of a spoon for about a minute. This also prevents the flavor from being overwhelmed by pineapple juice.
- Save half the cherry filling for the top: The recipe calls for folding in only half the can. This is worth doing. It gives you that beautiful red topping right before serving instead of everything blending to one uniform pink. It also makes individual cups look much more presentable at a gathering.
- Chill overnight if you can: One hour is the minimum — the fluff is still a little loose at that point. If you chill it overnight, it firms up properly, the flavors come together, and it scoops cleanly. I've served it at 1 hour and it was fine, but overnight is noticeably better.
Variations
- Strawberry cheesecake fluff: Swap the cherry pie filling for strawberry pie filling, same quantity. It comes out lighter in color and slightly less tart. My husband actually prefers the strawberry version — says it tastes more like a classic American cheesecake to him. I've also seen people add a handful of fresh sliced strawberries alongside the canned filling for more fruit texture.
- Blueberry lemon fluff: Use blueberry pie filling and add 1 teaspoon of fresh lemon zest to the cream cheese mixture before you fold in the whipped topping. The lemon cuts through the sweetness in a really nice way. This version reminds me a little of my Classic Lemon Bars — that same bright citrus note against a creamy base.
- Tropical fluff: Keep the cherry filling or replace it with peach, then add ½ cup drained crushed pineapple and 2 tablespoons shredded sweetened coconut. This version is great for summer gatherings. It's a bit more complex in flavor and the coconut gives it a nice texture contrast without needing nuts.
- Chocolate cherry: Fold in ¼ cup mini chocolate chips along with the marshmallows. This is the version I make when my husband is around — he loves anything that combines chocolate and cherry. It's a small addition but it makes the whole thing feel richer and more dessert-like. Goes especially well with a sprinkle of crushed Oreos on top.
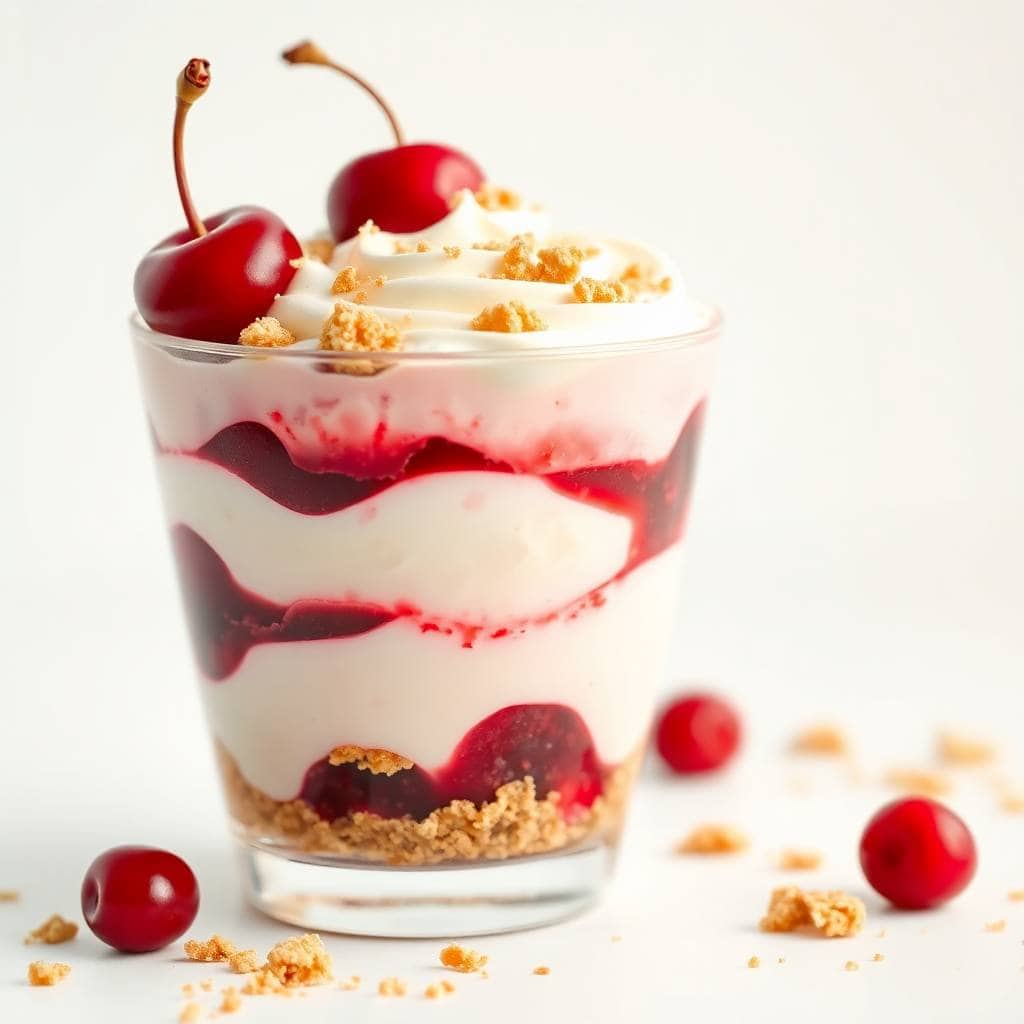
- Graham cracker parfait: Layer the fluff in tall glasses with crushed graham crackers between the layers — fluff, crackers, fluff, cherry topping. This turns it into something that looks much fancier than it is, and the graham crackers give it that actual cheesecake feel. I serve it this way when I want individual portions at a dinner party. It also pairs nicely alongside my Strawberry Cheesecake Eggroll Bites if you're doing a full dessert spread.
Serving and Storage
Serving
Serve cold, straight from the fridge. I like individual cups or parfait glasses for gatherings because they're easy to grab without serving utensils. For a more casual family dinner, I just put the whole bowl on the table with a big spoon. Top each portion with the reserved cherry pie filling right before serving — don't add it too early or it bleeds into the fluff. A few crushed graham crackers on top add a nice crunch and make it look like an actual cheesecake. If you're bringing this to a potluck alongside savory dishes, it works well next to something like a Red White and Blue Potato Salad for a complete spread.
Storage
Store covered in the refrigerator for up to 3 days. I use plastic wrap pressed directly onto the surface of the fluff before putting the lid on the container — it prevents any fridge smell from getting in. Do not freeze this dessert. The whipped topping breaks down when frozen and thawed, and the texture goes watery and grainy. It's not salvageable after that. Fortunately, it holds up well in the fridge, so three days is plenty of time to finish it off — and in my house, it rarely lasts past day two.

Frequently Asked Questions
Can I make this the night before?
Yes, and I'd actually recommend it. The texture firms up nicely overnight and the flavors come together much better than when it's freshly made. Just keep it covered in the fridge and add the cherry topping right before you serve it — not the night before.
Can I use homemade whipped cream instead of Cool Whip?
Yes, about 3 cups of freshly whipped heavy cream works as a substitute. The texture will be slightly softer and the dessert won't hold as long in the fridge — homemade whipped cream starts to weep after about a day. If you're making this ahead by more than 12 hours, stick with stabilized whipped topping like Cool Whip.
Can I leave out the marshmallows?
Completely fine to skip them. The fluff is still creamy and holds together well without them. The marshmallows add a soft, pillowy texture that kids love, but they're genuinely optional. If you want some texture without marshmallows, try a handful of crushed graham crackers folded in right before serving instead.
What other pie fillings can I use?
Strawberry, blueberry, and peach all work really well with the same base. I've tried all three and they each bring a slightly different feel — strawberry is the sweetest, blueberry has a deeper flavor, and peach feels more summery and light. The only one I haven't loved is apple, which gets a bit heavy against the cream cheese base.
Is this recipe gluten-free?
The basic recipe has no flour or wheat-based ingredients, but check the labels on your canned cherry pie filling and whipped topping to confirm they're certified gluten-free if that matters for your household. If you're serving graham crackers alongside, those would need to be swapped for a gluten-free version.
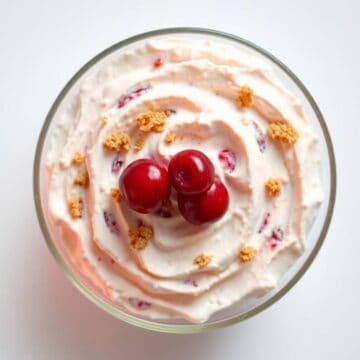
CHERRY CHEESECAKE FLUFF
Ingredients
- 8 oz cream cheese softened
- 1 cup powdered sugar
- 1 teaspoon vanilla extract
- 2 cups whipped topping like Cool Whip
- 1 can 21 oz cherry pie filling
Instructions
Prepare the Cream Cheese Mixture:
- In a large bowl, beat cream cheese until smooth. Add powdered sugar and vanilla extract, mixing well.
Fold in Whipped Topping:
- Gently fold in whipped topping until combined and fluffy.
Add Cherry Pie Filling:
- Fold in half of the cherry pie filling carefully, saving the rest for topping.
Chill:
- Transfer the mixture to a serving bowl or individual cups. Chill for at least 1 hour to set.
Serve:
- Top with remaining cherry pie filling before serving.
Notes
- Make Ahead: Prepare up to a day in advance and keep chilled.
- Customizing the Flavor: Swap cherry pie filling with strawberry or blueberry for variety.
- Serving Suggestions: Serve with graham crackers or as a topping for pound cake.
- Allergy-Friendly Options: Use dairy-free cream cheese and whipped topping for a dairy-free version.
- Storage Tips: Store covered in the fridge for up to 3 days.
Cherry cheesecake fluff is one of those recipes I keep coming back to because it asks almost nothing of me and always delivers. Fifteen minutes of work, a few hours in the fridge, and you have a dessert that looks like you put in real effort. I've made it for Eid, for potlucks, for a random Tuesday when someone wanted something sweet after dinner — it works in all of those contexts.
What I like most about it is how flexible the base is. Once you have the cream cheese and whipped topping ratio down, you can take it in almost any direction. I've probably made eight different versions of this over the past couple of years and I still make the classic cherry one most often, because that's what Zainab asks for by name.
If you try this and want to branch out into other no-bake desserts, my Banana Pudding Rice Krispie Treats are another no-oven option that my kids love just as much. And if you're putting together a full dessert table, the Classic Lemon Bars balance out all this creaminess really nicely — the tartness cuts through and the two together make a good spread.
Make it the night before if you can. You'll thank yourself tomorrow. 🍒✨
If you liked this, here are a few more recipes you might enjoy:
- Banana Pudding Rice Krispie Treats — no-bake, kid-approved, gone in one sitting
- Strawberry Cheesecake Eggroll Bites — crispy, creamy, great for dessert spreads
- Classic Lemon Bars — tart and buttery, a nice contrast to all this creaminess
- Red White and Blue Potato Salad — if you're building a full potluck menu
- 6-Minute Microwave Caramels — another no-fuss dessert that takes almost no time





Comments
No Comments