
Thanksgiving at my house means my husband is in charge of the turkey and I'm responsible for every single side dish — which sounds unfair until you realize I actually prefer it that way. For the last three years running, this cheesy corn casserole has been the first thing to disappear from the table. Before the turkey is even carved, someone has already scooped half the pan.
What I love about this recipe is how little effort it takes for how much it delivers. You're basically stirring everything into one bowl and sliding it into the oven. The cornbread mix — I use Jiffy, which you can find at basically any Walmart or grocery store — gives it that slightly sweet, slightly dense texture that makes it feel more like a meal than a side. The two cans of corn (one whole kernel, one creamed) are what make it so incredibly moist without being wet.
My husband requests this alongside his meat and potato casserole whenever we have people over, and Zainab eats the leftovers cold straight from the fridge, which I pretend not to notice. I make a full 9x9 for a family of four and there is never, ever anything left.
One thing to know before you start: don't rush the bake time. I pulled it at 35 minutes once because the top looked golden and the center was still completely liquid. It needs the full 40-45 minutes to set properly — check the center by giving the pan a gentle jiggle. If it wobbles like jello, give it another 5 minutes.
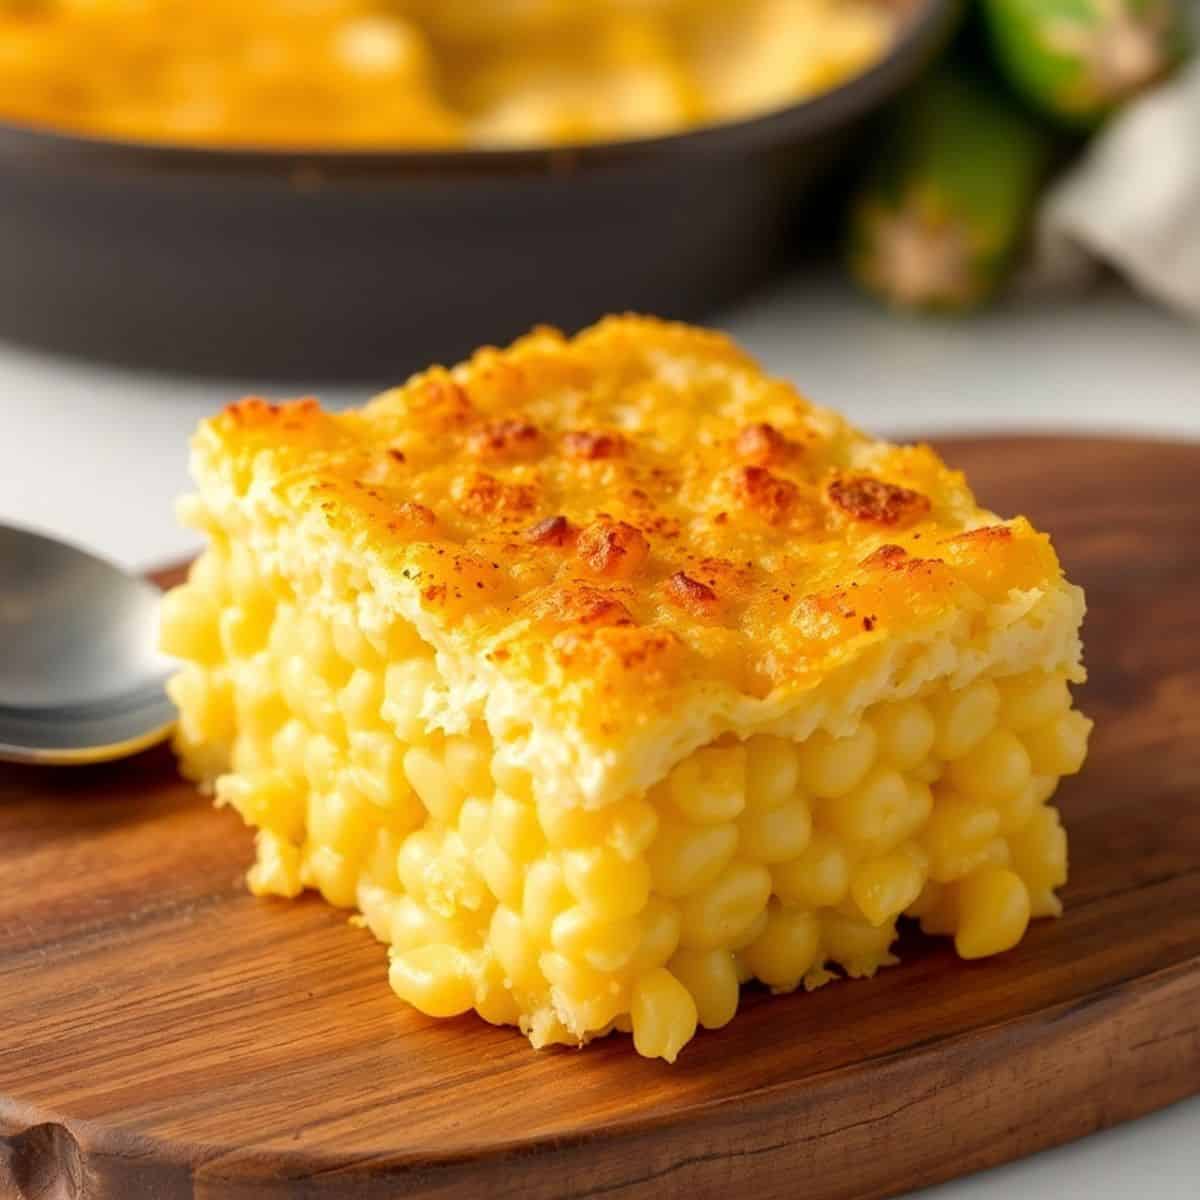
Why You'll Love This Recipe
- One bowl, no fuss: Everything gets mixed in a single large bowl before it goes into the baking dish. There's no sautéing, no layering, no separate sauce to make. I can have it assembled and in the oven in about 10 minutes, which matters a lot when I'm also managing three other dishes on a holiday.
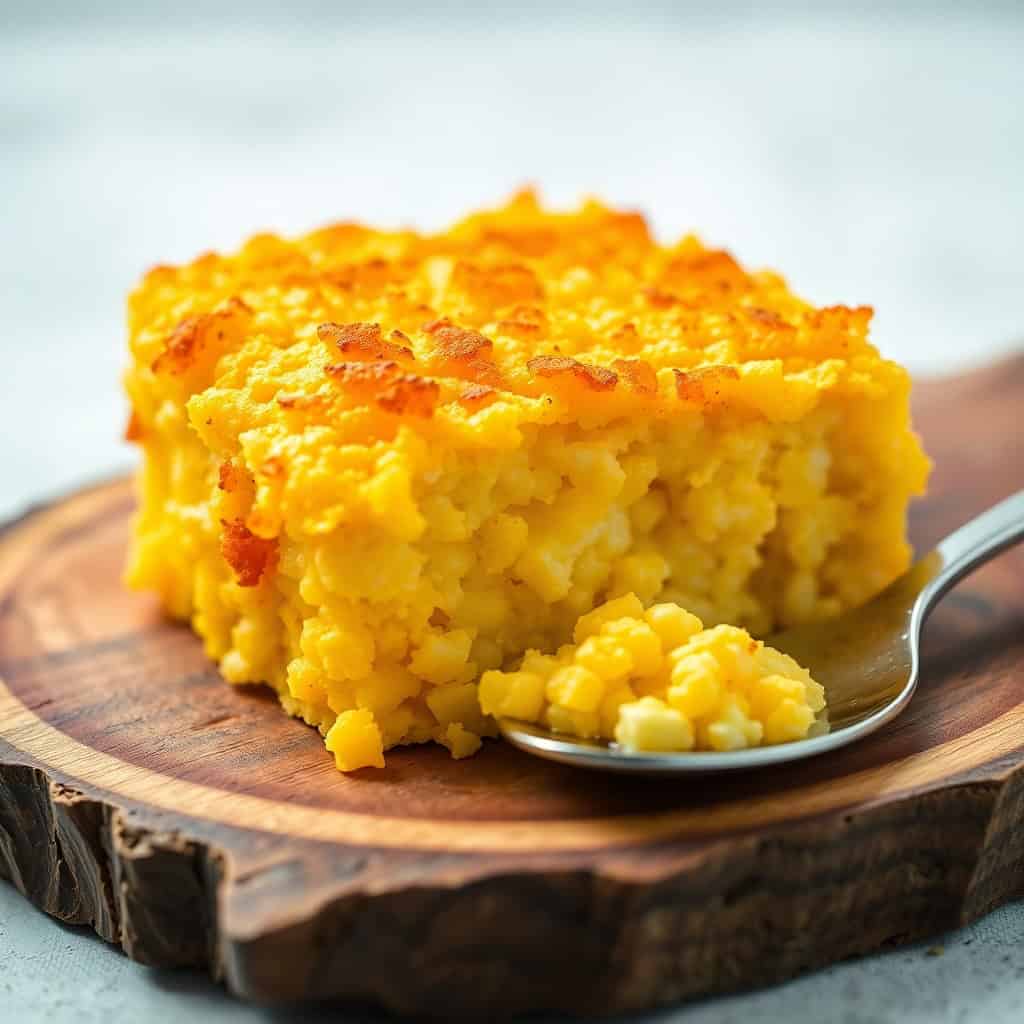
- That creamy, custardy center: The combination of creamed corn, sour cream, eggs, and butter creates a texture that's somewhere between corn pudding and a soft cornbread. It's not dry. It's not wet. It holds its shape when you scoop it but practically melts when you eat it.
- Holds up well if made ahead: I've mixed the whole thing the night before, covered it with foil, refrigerated it, and baked it the next day. It works perfectly. On big cooking days like Thanksgiving, anything I can prep the night before saves my sanity.
- Works with almost any main: I've served this alongside roasted chicken, grilled ribs, and turkey. In the summer I put it out next to cheeseburger sliders and it fits right in. It's a very accommodating dish — it doesn't try to compete with whatever else is on the table.
- Easy to customize: The base recipe is mild and kid-friendly, but it takes add-ins really well. Jalapeños, crispy bacon, green onions, a different cheese — I've tried all of them at different points and they all work. It's a flexible recipe that you can push in whatever direction your family likes.
Ingredients
- 1 can (15 oz) whole kernel corn, drained
- 1 can (15 oz) creamed corn
- 1 cup shredded cheddar cheese
- ½ cup sour cream
- ½ cup butter, melted
- 2 large eggs, beaten
- 1 cup cornmeal or Jiffy corn muffin mix (Jiffy is easier and slightly sweeter — both work)
- ½ teaspoon salt
- ½ teaspoon black pepper
- ½ teaspoon garlic powder
Directions
- Step 1: Preheat the oven — Set your oven to 350°F (175°C) and grease a 9x9-inch baking dish with butter or cooking spray. I go with butter because it adds a tiny bit of flavor to the edges as they bake.
- Step 2: Mix everything together — In a large bowl, combine both cans of corn, the shredded cheddar, sour cream, melted butter, beaten eggs, cornmeal or Jiffy mix, salt, pepper, and garlic powder. Stir until fully combined — no dry pockets of cornmeal hiding at the bottom. A wooden spoon works fine here; no mixer needed.
- Step 3: Pour into the dish — Pour the mixture into your prepared baking dish and spread it evenly with a spatula. Give the pan a little shake to settle it if it's uneven.
- Step 4: Bake until set — Bake for 40-45 minutes, until the top is golden brown and the center doesn't jiggle when you gently shake the pan. If you're unsure, a toothpick inserted in the center should come out mostly clean with just a few moist crumbs.
- Step 5: Rest and serve — Let the casserole cool for 5-10 minutes before scooping. It slices cleaner once it's had a moment to settle, and you won't burn your mouth.

Tips for Success
- Use real butter, not margarine: I know margarine seems like a fine swap but the flavor difference is noticeable in something this simple. When butter is one of ten ingredients, it matters. I use salted butter and skip adding extra salt — adjust based on what you have.
- Don't skip the eggs: The eggs are what give this its custardy, set texture rather than a thick porridge. I forgot them once — the casserole came out of the oven looking fine but the center never quite set, even after an extra 15 minutes. Beat them separately first so they mix in evenly.
- Let the butter cool slightly before mixing: If your melted butter is very hot and you pour it straight onto the beaten eggs, you'll start scrambling them. Melt the butter first, let it sit for a couple of minutes, then add it to the bowl. Takes 2 minutes and saves you a weird texture problem.
- Check your cornmeal vs. Jiffy: If you use plain cornmeal instead of Jiffy mix, the casserole will be slightly less sweet and a bit denser. Both work — it's really a personal preference. I usually grab a box of Jiffy from Walmart because it's cheap and always in stock, and I like the slightly sweet result it gives.
- Add cheese on top in the last 10 minutes: If you want a more dramatic cheesy crust, hold back a small handful of shredded cheddar and scatter it over the top about 10 minutes before the end of baking. It melts into a proper golden layer. My slow cooker cheddar corn with bacon uses the same trick and it always gets compliments.
Variations
- Spicy jalapeño version: Stir in one diced jalapeño (seeds removed if you want mild, seeds kept if you want heat) and a pinch of cayenne. I make this version when it's just the adults eating, because my husband goes through it twice as fast. Pepper Jack cheese instead of cheddar leans even harder into the spice — the pepper jack mac and cheese is built on that same idea.
- Bacon and green onion version: Cook 4-5 strips of bacon until crispy, crumble them, and stir them into the batter along with 2 tablespoons of sliced green onions. This is my favorite variation for summer cookouts — something about the smoky-sweet combination works really well with grilled food.
- Green chile version: Add one 4 oz can of diced green chiles, drained, to the batter. They add a mild tangy flavor without much heat. This is probably the easiest variation because it's just one extra ingredient — the whole thing takes the same amount of time to make.
- Extra cheesy version: Double the cheese — use 1 cup in the batter and scatter another ½ cup on top for the last 10 minutes. Mozzarella works if you want it stretchy; Monterey Jack melts smoother. This is what I do when I want people to actually gasp when the dish comes out of the oven.
- Herb version: Add 2 tablespoons of fresh chopped cilantro or parsley to the batter before baking. A small thing, but it brightens the flavor and makes the dish look prettier when you serve it. I've also tried a pinch of smoked paprika on top — genuinely lovely.
Serving and Storage
Serving
Serve this hot or warm, straight from the baking dish. It works as a side alongside roasted chicken, turkey, grilled ribs, or a big holiday spread. I've also served it next to cheeseburger sliders at a casual dinner and it was the unexpected hit of the table. If you're making it for Thanksgiving, it can sit on the counter covered with foil for up to 30 minutes after baking and still be warm enough to serve — no need to time it perfectly with the turkey.
Storage
Leftovers keep well in an airtight container in the refrigerator for up to 3 days. To reheat, I slice out a portion and warm it in a 325°F oven for about 10-12 minutes — this keeps the edges from drying out and the center stays soft. The microwave works in a pinch (about 90 seconds on medium power) but the texture gets a bit softer. Zainab eats it cold, which is apparently also an option. To freeze, let it cool completely, wrap the dish tightly in two layers of plastic wrap plus foil, and freeze for up to 2 months. Thaw overnight in the fridge before reheating.
Frequently Asked Questions
Can I make this casserole the day before?
Yes, and honestly I'd recommend it for holiday cooking. Mix everything together, pour it into the greased baking dish, cover tightly with foil, and refrigerate overnight. Pull it out about 20 minutes before baking so it's not completely cold when it goes into the oven. You may need an extra 5 minutes of bake time if it's going in cold — just check the center with the jiggle test.
Can I freeze this casserole?
Yes. Assemble the casserole unbaked, wrap it very tightly (plastic wrap plus foil), and freeze for up to 2 months. Thaw it in the refrigerator overnight before baking. You can also freeze it after baking — let it cool completely first, then freeze in portions. Reheat from frozen at 325°F, covered with foil, for about 25 minutes.
Can I use fresh or frozen corn instead of canned?
Fresh or frozen corn works for the whole kernel portion — just make sure frozen corn is thawed and drained well so you're not adding extra moisture. For the creamed corn, I'd stick with canned because making it from scratch adds a step that isn't really necessary here. If you swap canned corn for fresh, you might lose a small amount of the starchy liquid that helps the texture, so keep an eye on the final consistency.
What's the difference between Jiffy mix and plain cornmeal in this recipe?
Jiffy corn muffin mix already has flour, sugar, and leavening in it, so the casserole comes out slightly sweeter and a little lighter in texture. Plain cornmeal gives you a denser, more savory result. Both work well — I use Jiffy because I like the sweeter note it adds and it's very easy to find at Walmart, Target, or most grocery stores. If you use plain cornmeal, consider adding a teaspoon of sugar to the batter to compensate.
How do I know when the casserole is fully set?
Give the pan a gentle shake at the 40-minute mark. The center should be mostly firm — a very slight jiggle at the very center is fine, because it will continue to set as it cools. If it's sloshing around or looks liquid in the middle, give it another 5-8 minutes. A toothpick inserted in the center should come out with just moist crumbs, not wet batter.

This is one of those recipes I keep coming back to because it never disappoints. It doesn't require any skill, any special equipment, or anything you won't find at a regular grocery store. A bowl, a wooden spoon, one baking dish, and 45 minutes — that's genuinely all it takes.
I've made it for Thanksgiving, made it for a random Tuesday in February, and made it for a potluck where I needed something that would travel well and feed a crowd. Every single time, someone asks for the recipe before they leave. I always tell them it takes 10 minutes to put together, and they never believe me until they try it themselves.
If you're planning a holiday spread and want something sweet to finish things off, my pecan pie balls are what I'd put out for dessert — they're no-bake, they can be made ahead, and they feel festive without a lot of effort. Which, honestly, is exactly the energy I need on a big cooking day.
Make this casserole once and I'm pretty sure it'll earn a permanent spot on your holiday table — the same way it did on mine. 🌽🧀✨

CHEESY CORN CASSEROLE
Ingredients
- 1 can 15 oz whole kernel corn, drained
- 1 can 15 oz creamed corn
- 1 cup shredded cheddar cheese
- ½ cup sour cream
- ½ cup melted butter
- 2 large eggs beaten
- 1 cup cornmeal or Jiffy corn muffin mix
- ½ teaspoon salt
- ½ teaspoon black pepper
- ½ teaspoon garlic powder
Instructions
- Step 1: Preheat Oven – Preheat oven to 350°F (175°C) and grease a 9x9-inch baking dish.
- Step 2: Mix Ingredients – In a large bowl, combine both cans of corn, cheddar cheese, sour cream, melted butter, beaten eggs, cornmeal, salt, black pepper, and garlic powder. Stir well.
- Step 3: Bake – Pour the mixture into the prepared baking dish and spread evenly.
- Step 4: Bake Until Golden – Bake for 40-45 minutes or until the top is golden brown and the center is set.
- Step 5: Serve Warm – Let cool slightly before serving.
Notes
- Make Ahead: Prepare the casserole mixture in advance and refrigerate until ready to bake.
- Customizing the Flavor: Add diced jalapeños, crispy bacon, or green onions for extra flavor.
- Serving Suggestions: Pairs well with roasted meats, BBQ dishes, or holiday feasts.
- Allergy-Friendly Options: Use dairy-free cheese and butter substitutes if needed.
- Storage Tips: Store leftovers in the refrigerator for up to 3 days. Reheat in the oven for best texture.
If you liked this recipe, here are a few more you might want to try:
- Slow Cooker Cheddar Corn with Bacon — another cheesy corn dish, completely hands-off once it's in the slow cooker
- Meat and Potato Casserole — a hearty main that pairs really well with this as a side
- Cheeseburger Sliders — great for casual dinners when you want something fun alongside this casserole
- Pecan Pie Balls — my go-to no-bake holiday dessert when I've already been baking all day
- Pepper Jack Stovetop Mac and Cheese — if you love cheesy comfort food, this one belongs in your rotation too





Comments
No Comments