
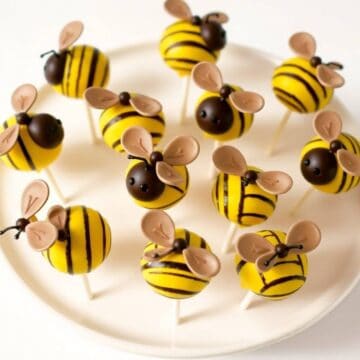
Bee Cake Pops are cheerful, fun, and perfect for spring, birthdays, or garden-themed celebrations. These cute treats are made from crumbled cake and frosting rolled into balls, dipped in candy coating, and decorated like little buzzing bees.
Kids love their playful design and parents appreciate how easy they are to serve without plates or forks. These Bee Cake Pops are customisable, making them a great project for themed parties or baby showers.
Whether using chocolate, vanilla, or lemon cake as the base, each bite is moist, sweet, and full of fun. They’re not just adorable—they’re incredibly tasty and always a big hit. A delightful treat that’s sure to impress kids and adults alike!
Serve them standing upright in a foam block or laid flat on a tray—they’re cute either way. You can use store-bought cake and frosting to save time, or make everything from scratch if you prefer homemade.
The decorating is the best part—think yellow candy melts, mini wings, and chocolate stripes. Whether you’re hosting a party or just want to bake something joyful, these Bee Cake Pops will definitely bring smiles.
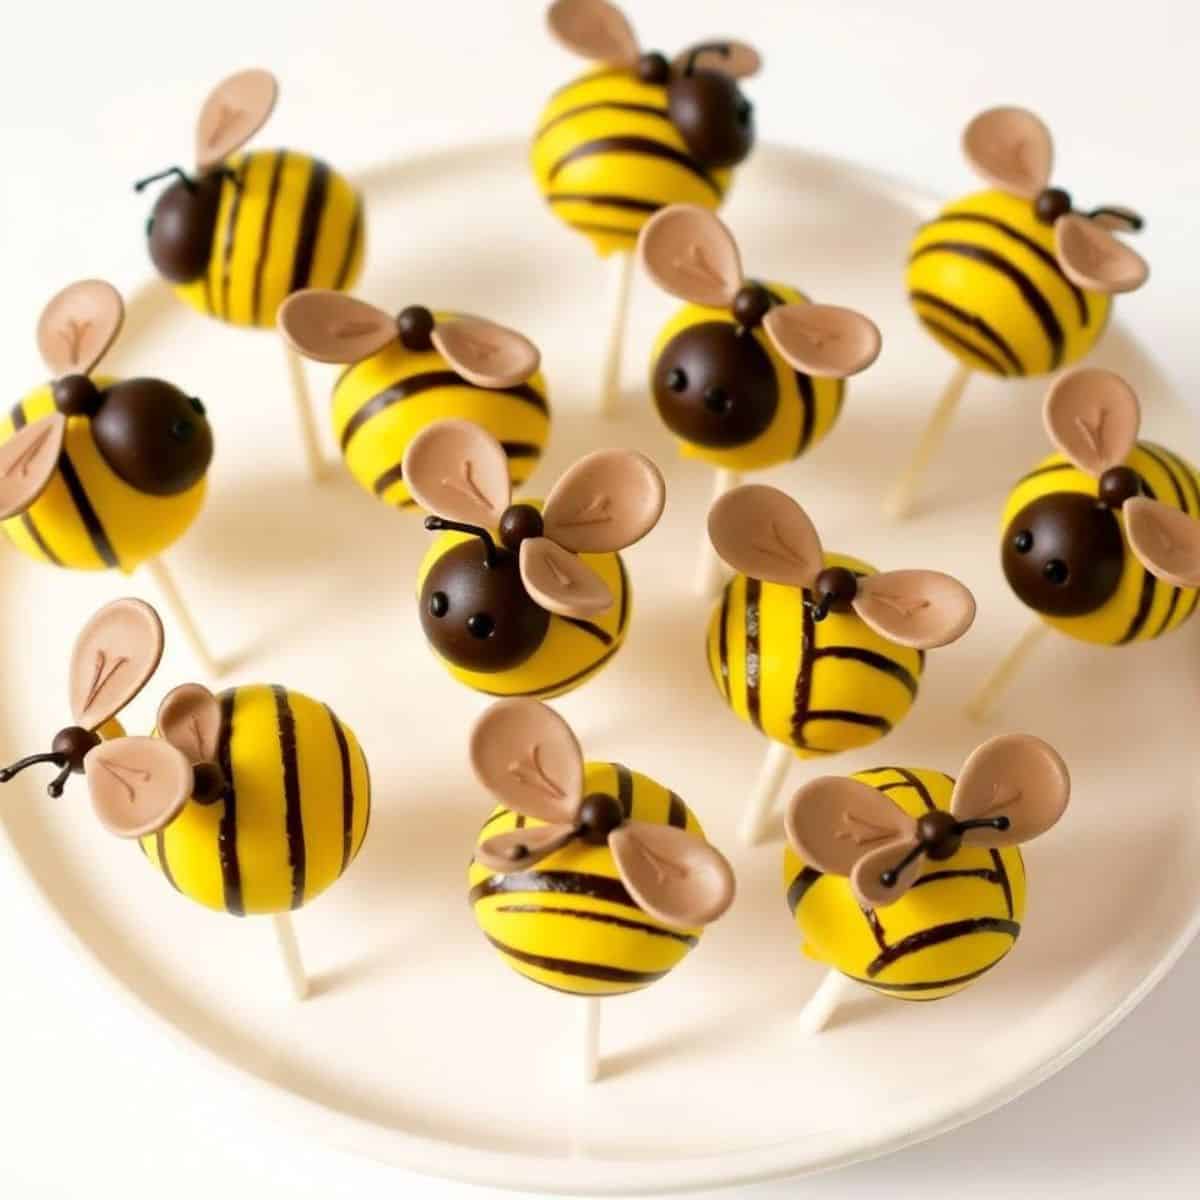
WHY YOU WILL LOVE THIS RECIPE
- Adorably Themed Dessert: These bee-inspired treats look delightful and instantly brighten up any dessert table, making them perfect for parties or seasonal celebrations.
- Perfect for Kids' Parties: Their size, cuteness, and mess-free nature make them ideal for little hands and easy sharing among party guests.
- Moist and Delicious Inside: Each bite delivers rich, moist cake blended with frosting, coated in smooth chocolate for the ultimate cake pop texture.
- Easy to Customise: You can switch up the cake flavour, colours, or decorations to match any event, theme, or personal creative style.
- Make-Ahead Friendly: Prepare these in advance and chill until party time—they hold up beautifully and taste great straight from the fridge.
- Great for Beginners: Even first-time bakers can master cake pops with this straightforward recipe and easy-to-handle ingredients and decorations.
- Fun Decorating Activity: A fantastic way to engage kids or guests in decorating and creating something fun, sweet, and photo-worthy together.
INGREDIENTS
- 1 box of cake mix (any flavour)
- Ingredients needed to bake the cake (eggs, oil, water)
- ¾ cup frosting (store-bought or homemade)
- 1½ cups yellow candy melts
- ½ cup black candy melts or melted chocolate
- Candy eyes
- White sprinkles or candy wings
- Lollipop sticks
- Styrofoam block for drying
DIRECTIONS
- Step No.1: Bake the cake
Prepare and bake the cake mix according to package instructions. Let it cool completely before proceeding to the next step.
- Step No.2: Crumble and mix
Crumble the cake into fine crumbs in a large bowl. Mix in the frosting until the mixture holds together like dough.
- Step No.3: Shape into balls
Scoop out portions and roll into small balls. Place on a baking sheet lined with parchment paper. Freeze for 15–20 minutes.
- Step No.4: Insert sticks
Melt a little yellow candy, dip lollipop sticks in it, and insert into each cake ball. Chill again to set the sticks.
- Step No.5: Dip and coat
Melt the yellow candy melts. Dip each cake pop fully and let the excess drip off. Stick upright in foam to dry.
- Step No.6: Decorate like bees
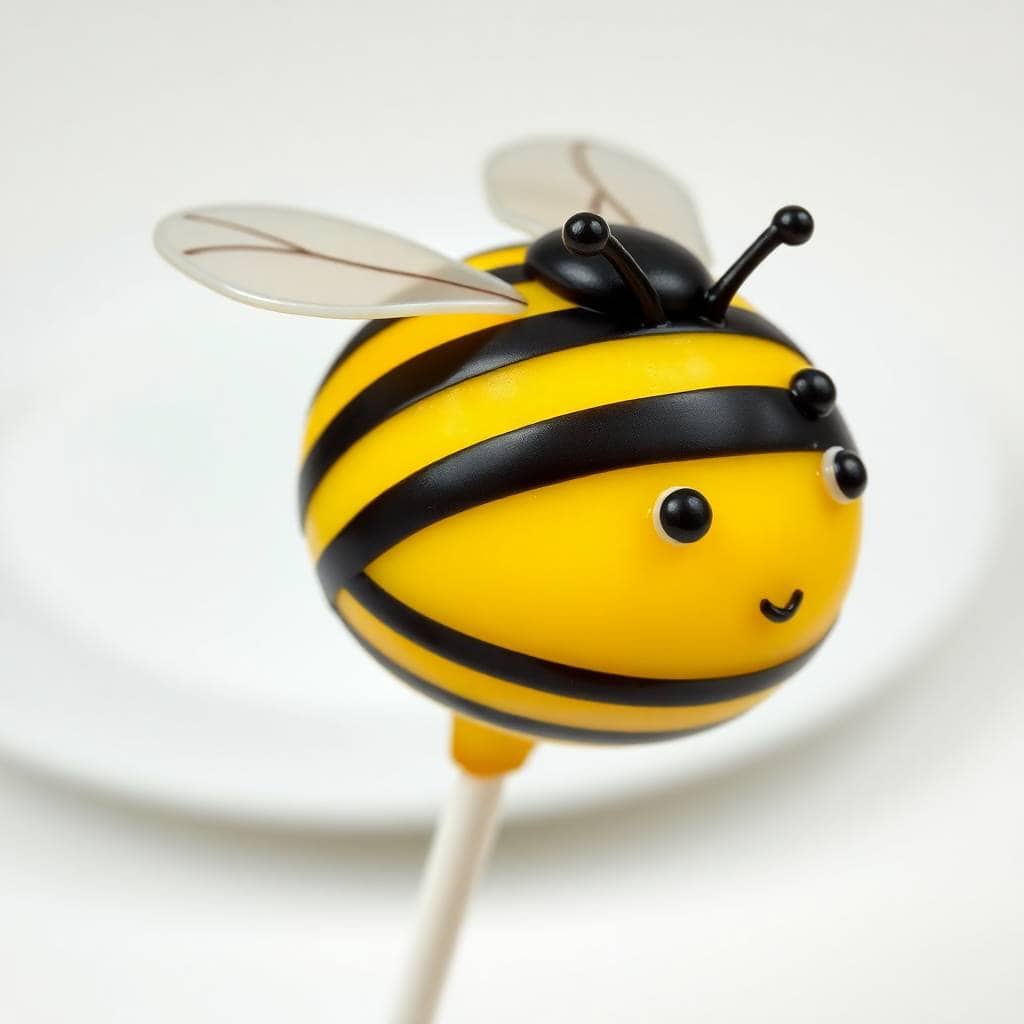
Melt black candy and pipe on stripes. Add candy eyes and wing sprinkles. Let all decorations set completely before serving or packing.
TIPS FOR SUCCESS
- Chill Before Dipping: Always freeze cake balls for at least 15 minutes so they stay firm during dipping and don’t slide off the sticks.
- Thin Candy Coating: If candy melts are too thick, add a teaspoon of coconut oil to achieve a smoother and easier dipping consistency.
- Use Piping Bags: To draw bee stripes neatly, transfer melted chocolate into a piping bag or ziplock with a snipped tip for better control.
- Work in Small Batches: Keep most cake balls in the fridge while dipping and decorating a few at a time to avoid softening.
- Stick Placement Matters: Dip sticks in candy melt before inserting to anchor them securely and reduce the risk of cake balls falling off later.
- Let Decorations Set: Allow bees to dry fully upright in a foam block to prevent smudging the cute stripes or eyes before serving.
- Keep Them Cool: Store finished pops in the fridge until ready to serve to maintain firmness and prevent chocolate melting in warmer environments.
VARIATIONS
- Chocolate Bees: Use chocolate cake with dark chocolate coating for a rich, brownie-like version of the same cute bee design.
- Lemon Zest Buzz: Make lemon cake and lemon frosting for a bright, zesty bee that’s perfect for spring or summer garden parties.
- Pastel Bee Pops: Use pastel candy melts for a baby shower or Easter-themed version with soft colours instead of traditional yellow and black.
- Mini Bee Bites: Make smaller pops using mini scoops for bite-sized treats that are perfect for dessert tables and easier for kids to eat.
- No-Bake Option: Use crushed sandwich cookies and cream cheese in place of baked cake for a fun twist on cake pop texture and taste.
- Flavoured Frosting Mix-ins: Add almond extract, citrus zest, or cinnamon to the frosting for subtle but delightful flavour upgrades in every bite.
- Beehive Display: Arrange bee pops in a circular pattern around a cupcake tower to create a hive-inspired centrepiece for your dessert table.
SERVING AND STORAGE
Serving
Serve upright in a foam block or displayed on trays. Pair with floral decorations or honeycomb accents for an extra festive presentation.
Storage
Store in an airtight container in the refrigerator for up to 5 days. Let sit at room temperature 10 minutes before serving.
FAQ
Yes! Any moist cake will work well—just make sure it’s fully cooled before crumbling and mixing with frosting.
Yes. Freeze undecorated cake balls. Once dipped and decorated, freezing may affect appearance, so it's best to chill instead.
Use white chocolate chips, almond slices, heart sprinkles, or small white candies to resemble bee wings for a fun and easy design.
No. This recipe uses a traditional method with cake and frosting rolled by hand—no special equipment needed.
Yes. Serve them as bee truffles in mini cupcake liners if you prefer a stick-free version.
Bee Cake Pops are the sweetest little treats that bring joy to everyone, from kids to adults.
From baby showers to birthday parties, they’re guaranteed to be the most talked-about dessert on the table.
Their portability makes them perfect for serving in big batches, while the customisation options allow you to adapt the flavours and colours to suit any occasion.
Plus, they store well and can be made ahead of time, taking pressure off on the day of your event.
Whether you’re baking just for fun or creating a centrepiece dessert, Bee Cake Pops are sure to impress.
Buzz into baking with these cheerful little pops—they’re as fun to make as they are to eat!
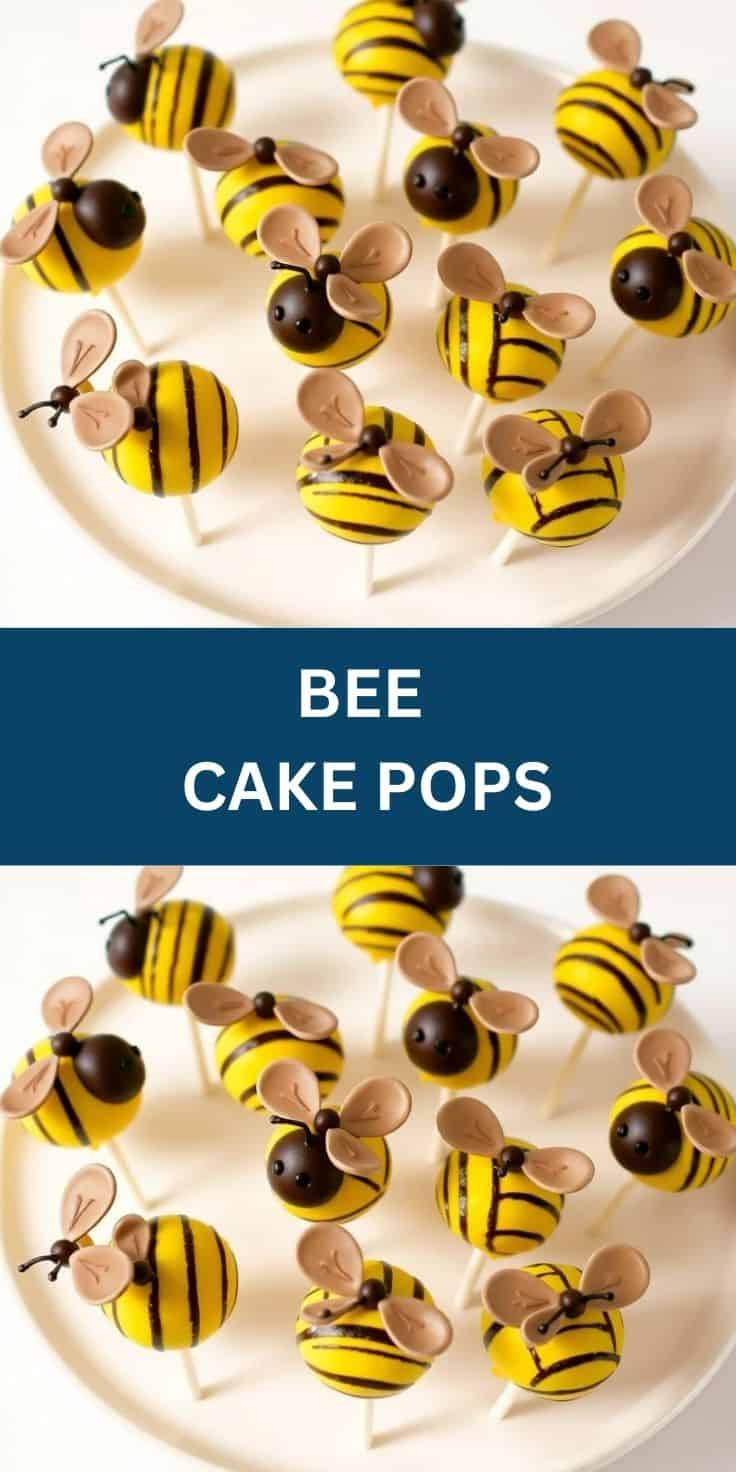
BEE CAKE POPS
Ingredients
- 1 box yellow cake mix plus ingredients listed on box
- ½ cup prepared frosting vanilla or cream cheese
- 1½ cups yellow candy melts
- ½ cup chocolate candy melts or melted chocolate
- Small candy eyes
- White candy melts or mini marshmallows for wings
- Lollipop sticks
Instructions
Bake Cake:
- Prepare and bake the cake according to the box instructions. Let cool completely.
Make Cake Balls:
- Crumble cake into a large bowl. Mix in frosting until the mixture holds together. Roll into 1-inch balls and chill for 30 minutes.
Insert Sticks:
- Melt a little yellow candy, dip the tip of each stick in it, and insert into each ball. Chill for another 15 minutes.
Coat Cake Pops:
- Melt yellow candy melts. Dip each cake pop to fully coat and let set upright (use a styrofoam block).
Decorate Bees:
- Melt chocolate and pipe or draw stripes. Add candy eyes and attach white candy wings.
Set and Serve:
- Let decorations set before serving or storing in an airtight container.
Notes
- Make Ahead: Store finished pops in the fridge for up to 5 days.
- Variations: Use chocolate cake and yellow coating for a fun twist.
- Serving Suggestions: Perfect for birthday parties, baby showers, or spring holidays.
- Allergy-Friendly: Use gluten-free cake mix or dairy-free frosting as needed.





Comments
No Comments