
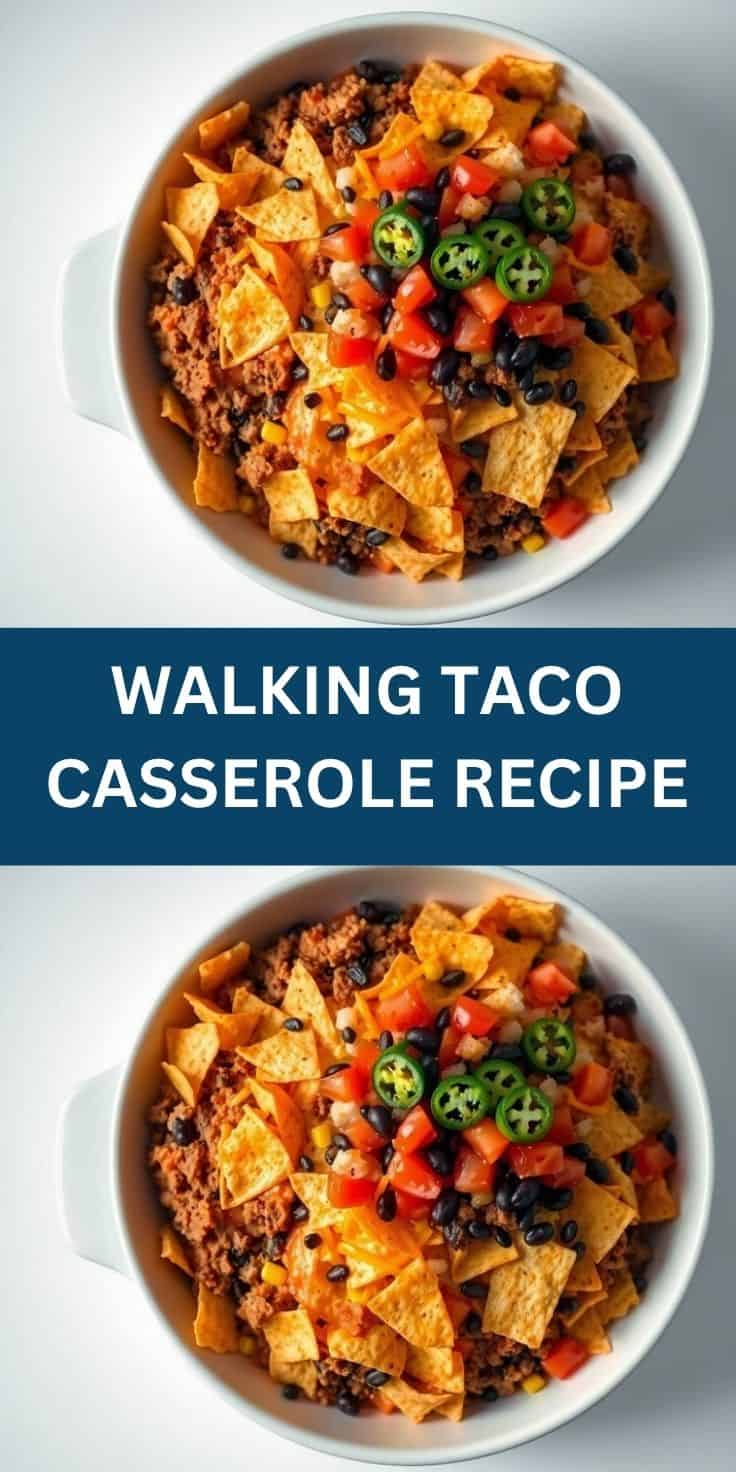
Walking taco casserole recipe takes everything you love about the classic walking taco and transforms it into the ultimate crowd-pleasing baked casserole. Seasoned beef, beans, cheese, and crushed Fritos baked together in one dish.
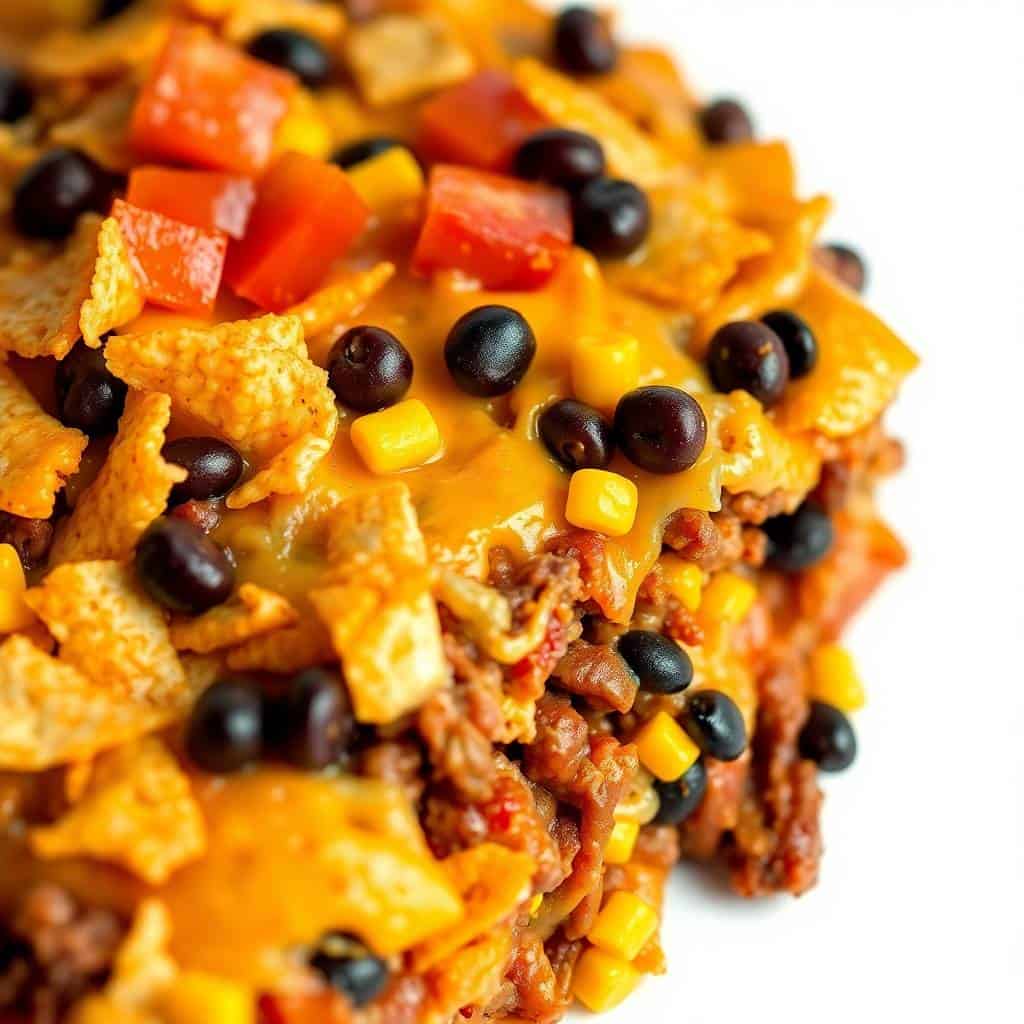
The Fritos stay perfectly crunchy on top while the cheesy beefy filling bubbles underneath. Every bite delivers that signature salty crunch with savory Tex-Mex goodness.
Each forkful delivers seasoned taco meat, creamy beans, melted cheese, and crunchy corn chips all in one incredible bite. Pure comfort food magic that feeds a hungry crowd.
Perfect for weeknight family dinners, potlucks, game days, or feeding a crowd without any fuss. Top with all your favorite taco fixings for endless customization.
Make it once and watch it become the most requested casserole in your household. Let's dive in!

WHY YOU WILL LOVE THIS RECIPE
- Fritos Stay Crunchy: The corn chip topping stays perfectly crispy on top of the cheesy filling — the best texture combination in any casserole.
- Feeds a Crowd: One 9x13 dish feeds 8-10 people generously — perfect for potlucks, parties, and hungry family dinners.
- Kid-Approved: Cheesy, crunchy, and full of Tex-Mex flavor — even the pickiest eaters clean their plates every single time.
- Make-Ahead Friendly: Assemble the filling ahead and refrigerate, then add chips and bake when ready — perfect for stress-free entertaining.
- Fully Customizable: Load up with sour cream, guacamole, jalapeños, pico de gallo, and all your favorite taco toppings after baking.
- Ready in 45 Minutes: Quick prep and bake time means dinner hits the table fast without sacrificing any of that bold Tex-Mex flavor.
INGREDIENTS
- Lean ground beef
- Taco seasoning packet
- Black beans, drained and rinsed
- Corn kernels (frozen or canned)
- Diced tomatoes with green chiles (rotel)
- Cream cheese, softened
- Sour cream
- Shredded Mexican cheese blend
- Fritos corn chips (original)
- Yellow onion, diced
- Garlic cloves, minced
- Olive oil
- Salt and pepper
- Toppings: Sour cream, guacamole, pico de gallo, jalapeños, shredded lettuce, hot sauce, cilantro
DIRECTIONS
- Step No.1: Brown the beef
Preheat oven to 350°F. Heat benefits of olive oil in a large skillet over medium-high heat. Cook diced onion 3 minutes, add garlic 1 minute, then add ground beef and cook until browned. Drain excess fat.
- Step No.2: Season and add filling ingredients
Add taco seasoning to the beef and stir to coat. Add rotel tomatoes, black beans, and corn. Stir and cook 3 minutes until everything is heated through and combined.
- Step No.3: Add the creamy layer
Stir in softened cream cheese and sour cream until fully melted and combined into a creamy Tex-Mex sauce. Season with salt and pepper to taste.
- Step No.4: Transfer and top with cheese
Pour filling into a greased 9x13 baking dish. Top generously with shredded Mexican cheese blend, covering the entire surface.
- Step No.5: Bake until bubbly
Bake uncovered at 350°F for 20-25 minutes until cheese is melted, bubbly, and starting to turn golden at the edges.
- Step No.6: Top with Fritos and serve
Remove from oven and immediately top with a generous layer of Fritos corn chips. Add all your favorite taco toppings — sour cream, guacamole, pico, jalapeños — and serve immediately.

TIPS FOR SUCCESS
- Add Fritos After Baking: Always add the Fritos right before serving in this walking taco casserole recipe — baking them makes them soggy and ruins the signature crunch.
- Drain Beef Well: Drain all excess fat from the ground beef — too much grease makes the casserole heavy and prevents the sauce from coming together properly.
- Soften Cream Cheese First: Room temperature cream cheese melts smoothly into the filling — cold cream cheese leaves lumps in the sauce.
- Use Original Fritos: Original corn flavor Fritos work best — flavored varieties can overpower the Tex-Mex filling underneath.
- Don't Drain the Rotel: The juice from the Rotel tomatoes adds essential flavor and moisture to the filling — don't drain it away.
- Serve Immediately: This casserole is best served right away while the cheese is bubbly and the Fritos are perfectly crunchy on top.
VARIATIONS
- Ground Turkey Version: Swap ground beef for ground turkey for a leaner lighter casserole with the same bold Tex-Mex flavor throughout.
- Chicken Walking Taco: Use shredded rotisserie chicken instead of beef for a quick shortcut version that's equally delicious and even easier.
- vegetarian diet Version: Skip the meat and double the beans — use black beans and pinto beans for a hearty meatless version everyone loves.
- Extra Spicy: Add diced jalapeños, chipotle peppers in adobo, or hot Rotel for a fiery version that spice lovers will absolutely devour.
- Doritos Version: Swap Fritos for crushed Nacho Cheese Doritos for an even bolder cheesy chip topping that kids absolutely go crazy for.
- Layer in Rice: Add 2 cups cooked Mexican rice to the filling for a more substantial and hearty casserole that feeds an even larger crowd.
SERVING AND STORAGE
Serving
Serve immediately from the baking dish topped with Fritos and all toppings. Set up a toppings bar so guests can customize their own plate with sour cream, guac, jalapeños, and pico.
Storage
Store the filling (without chips) in airtight containers in the fridge for up to 4 days. Reheat in the oven at 350°F for 15 minutes, then top with fresh Fritos before serving. Freezes up to 3 months.
FAQ
A walking taco is a fun handheld meal made by opening a small bag of Fritos or Doritos and filling it with taco toppings so you can eat it while walking — popular at fairs, carnivals, and football games.
Yes — prepare the filling and refrigerate up to 24 hours ahead. Add cheese and bake when ready to serve. Always add Fritos after baking for maximum crunch.
Yes, crushed tortilla chips work great as a substitute. Fritos have a distinctly salty corn flavor that's classic, but tortilla chips are a delicious alternative.
Store the filling and chips separately. Reheat just the filling, then add fresh Fritos on top right before serving — this keeps the crunch perfect.
Freeze just the filling (without chips or fresh toppings) for up to 3 months. Thaw overnight in the fridge, reheat in the oven, and top with fresh Fritos before serving.
This walking taco casserole recipe is the kind of dinner that gets everyone excited the moment it hits the table. Cheesy, crunchy, and absolutely irresistible.
Make it once and watch it become the most requested casserole in your house. For more easy Tex-Mex dinners, see our dump and bake taco pasta casserole.
It's the perfect game day or weeknight crowd-pleaser. Looking for more casserole ideas? Try our dump and bake chicken fajita casserole.
Add it to your dinner rotation for bold flavors everyone loves. Browse more easy weeknight ideas in our 15 easy dinner recipes.
WALKING TACO CASSEROLE (EASY CROWD-PLEASING TEX-MEX DINNER)
Equipment
- 9x13 baking dish
- Large skillet
- Mixing spoon
Ingredients
Beef Mixture:
- 1 lb ground beef
- 2 tablespoon taco seasoning
- 1 onion chopped
- 1 cup salsa
- 1 cup black beans drained and rinsed
- 1 cup corn
Casserole Layer:
- 4 cups tortilla chips lightly crushed
- 2 cups cheddar cheese shredded
- jalapeños optional, sliced
Toppings:
- sour cream
- green onions chopped
Instructions
Cook Beef:
- In a skillet, cook ground beef and onion until browned. Drain excess fat.
Season:
- Stir in taco seasoning, salsa, black beans, and corn. Simmer for 5 minutes.
Assemble:
- Preheat oven to 375°F (190°C). Spread crushed tortilla chips in a 9x13 baking dish.
Layer:
- Top chips with beef mixture and sprinkle with shredded cheese and jalapeños if using.
Bake:
- Bake for 15–20 minutes until cheese is melted and bubbly.
Serve:
- Top with sour cream and green onions. Serve warm.
Notes
- Add crushed Doritos for extra flavor.
- Great for parties, potlucks, or game day.
- Adjust spice level with hot salsa or extra jalapeños.




Comments
No Comments