
This dessert brings back memories of simpler times, when soda fountains and department store cafés served delightful treats that became classics. The Woolworth icebox cheesecake is one such timeless favorite that continues to charm generations.
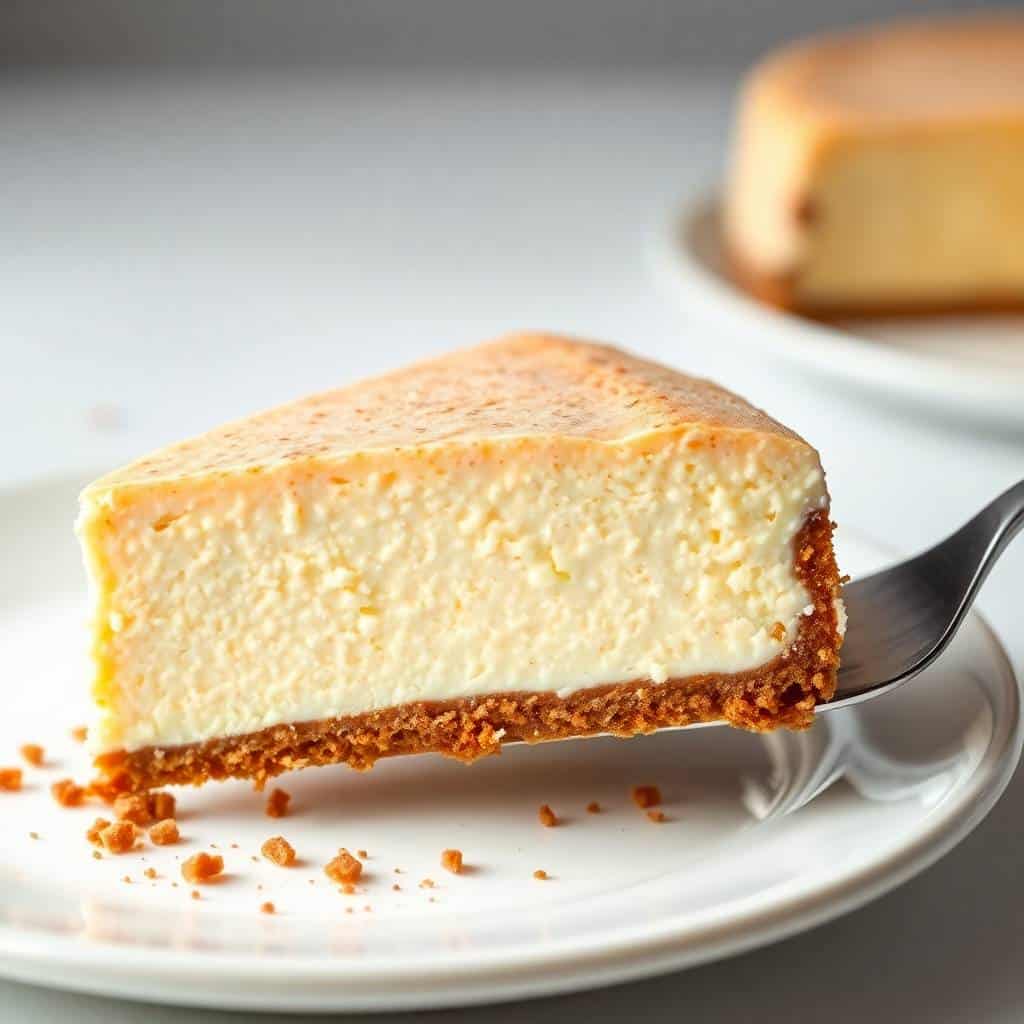
Light, airy, and refreshingly tangy, this cheesecake is quite different from dense baked versions. Its mousse-like texture melts in your mouth, offering a delicate balance of sweetness and citrus flavor that feels both indulgent and refreshing.
What makes this recipe truly special is its simplicity. With no baking required, it’s perfect for beginners or anyone who wants a fuss-free dessert that still delivers impressive results every single time.
The graham cracker crust provides a buttery, slightly crunchy base that perfectly complements the creamy filling. Together, they create a harmony of textures that is both satisfying and comforting.
Whether you’re making it for a family gathering or a quiet treat at home, this vintage-inspired cheesecake never fails to impress and delight everyone who tastes it.
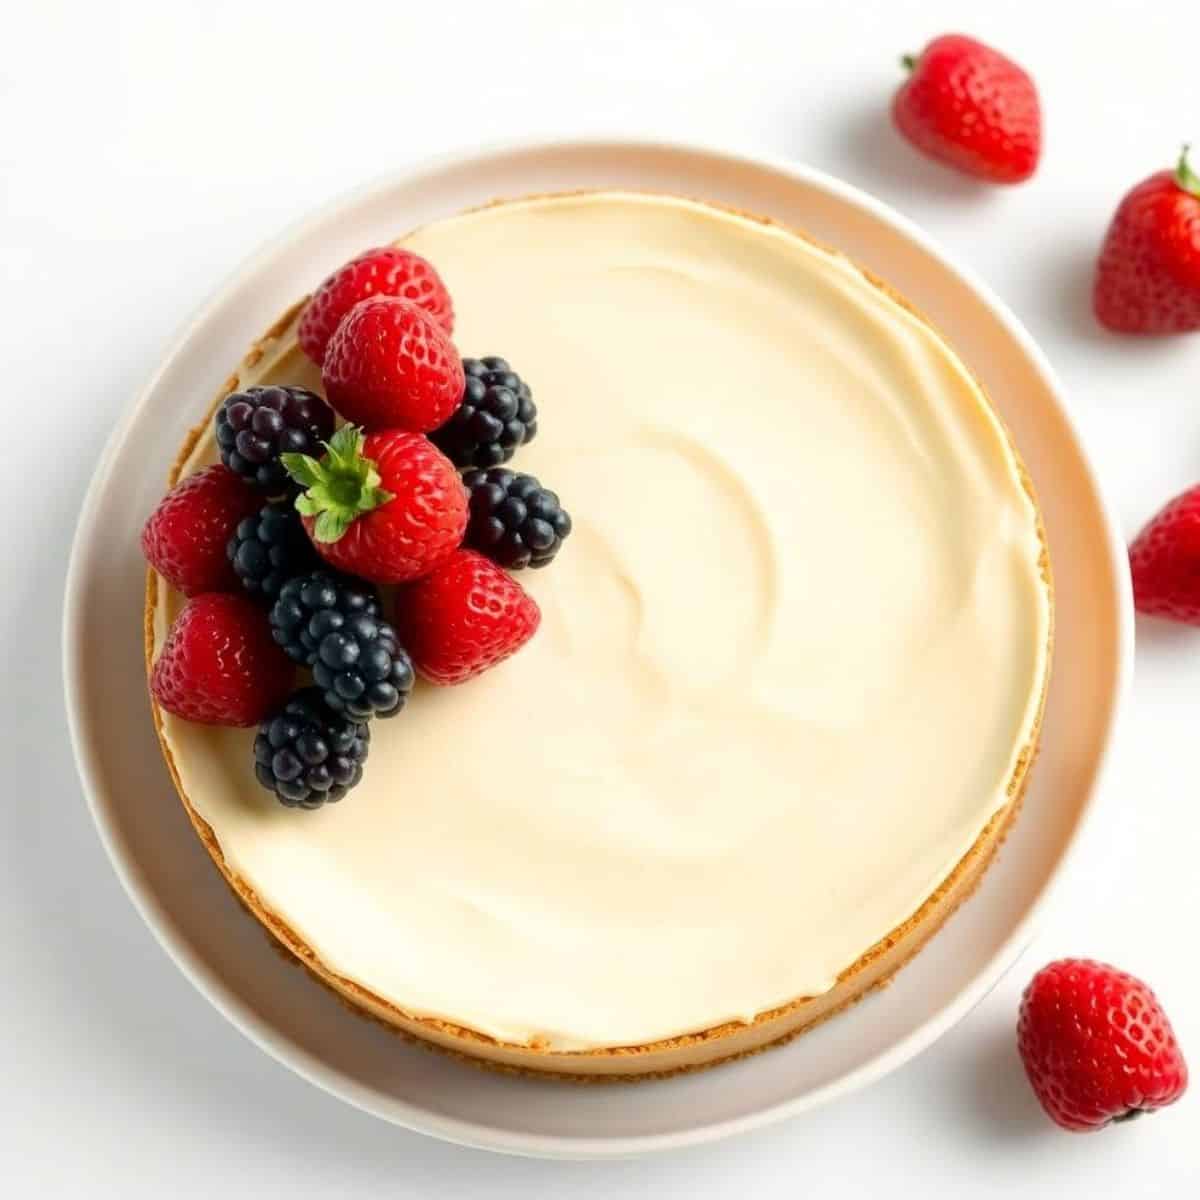
WHY YOU WILL LOVE THIS RECIPE
- No-Bake Simplicity: This recipe requires no oven, making it perfect for warm days when you want a delicious dessert without heating kitchen.
- Light and Airy Texture: Unlike dense cheesecakes, this version is fluffy, smooth, and mousse-like, creating a refreshing dessert that feels indulgent yet not overly heavy.
- Classic Nostalgic Flavor: Inspired by the original Woolworth recipe, it delivers a timeless lemony sweetness that brings comforting vintage dessert vibes to every bite.
- Budget-Friendly Ingredients: Made with simple, affordable pantry staples, this recipe is accessible for everyone without compromising on taste or overall delightful quality.
- Perfect for Any Occasion: Whether for holidays, parties, or casual dinners, this cheesecake fits beautifully into any gathering and always impresses guests effortlessly.
- Make-Ahead Convenience: This dessert sets in the refrigerator, allowing you to prepare it in advance and save time when hosting or planning meals.
INGREDIENTS
- Graham cracker crumbs
- Granulated sugar
- Melted butter
- Cream cheese
- Lemon gelatin
- Boiling water
- Cold water
- Evaporated milk (chilled)
- Lemon juice
- Vanilla extract
DIRECTIONS
- Step No.1: Prepare the crust
Mix graham cracker crumbs, sugar, and melted butter until combined. Press firmly into a baking dish to form an even crust. Refrigerate while preparing the filling to allow it to set properly.
- Step No.2: Dissolve gelatin
In a bowl, dissolve lemon gelatin in boiling water. Stir thoroughly until completely dissolved, then add cold water and allow the mixture to cool slightly without setting.
- Step No.3: Beat cream cheese
In a separate bowl, beat softened cream cheese until smooth and creamy. Add lemon juice and vanilla extract, mixing well to ensure a lump-free consistency.
- Step No.4: Combine mixtures
Gradually add the cooled gelatin mixture into the cream cheese mixture, blending until smooth and evenly combined with no separation visible.
- Step No.5: Whip evaporated milk
Whip chilled evaporated milk until it becomes light and fluffy. This step is key to achieving the cheesecake’s signature airy texture.
- Step No.6: Fold and assemble
Gently fold the whipped milk into the cream cheese mixture. Pour the filling over the prepared crust and smooth the top evenly.
- Step No.7: Chill until set
Refrigerate for several hours or overnight until fully set. Slice and serve chilled for best flavor and texture.
TIPS FOR SUCCESS
- Use Softened Cream Cheese: Ensure cream cheese is fully softened before mixing to avoid lumps and achieve a silky smooth filling consistency throughout.
- Chill Evaporated Milk Properly: Cold evaporated milk whips better, creating the light texture that defines this cheesecake’s signature airy and fluffy consistency.
- Don’t Rush Gelatin Cooling: Allow gelatin to cool slightly before mixing, preventing curdling and ensuring a smooth blend with cream cheese mixture.
- Press Crust Firmly: A tightly packed crust helps maintain structure and prevents crumbling when slicing and serving the finished cheesecake later.
- Fold Gently: Carefully fold whipped milk into mixture to retain airiness and prevent deflating the light, mousse-like texture of the cheesecake.
- Allow Enough Chill Time: Refrigerate for several hours or overnight to ensure proper setting and best flavor development before slicing and serving.
- Use Fresh Lemon Juice: Freshly squeezed lemon juice enhances flavor, providing a bright, natural tang that elevates the overall dessert experience significantly.
VARIATIONS
- Strawberry Topping Twist: Add fresh strawberries or strawberry glaze on top for a fruity variation that complements the lemon flavor beautifully and adds vibrant color.
- Chocolate Crust Option: Substitute graham crackers with chocolate cookie crumbs to create a richer base that pairs wonderfully with the tangy cheesecake filling.
- Lime Flavor Variation: Replace lemon gelatin and juice with lime for a zesty twist that delivers a slightly different but equally refreshing citrus experience.
- Orange Cream Version: Use orange gelatin and juice for a creamsicle-inspired dessert that tastes sweet, citrusy, and wonderfully nostalgic with every bite.
- Mini cheesecake cups: Prepare in individual cups for easy serving at parties, making them portable, convenient, and visually appealing for guests.
- Low-Sugar Alternative: Use sugar substitutes and low-fat cream cheese to create a lighter version suitable for those watching sugar intake or calorie information.
- Nutty Crust Addition: Mix crushed nuts into the crust for added crunch and flavor, enhancing texture and giving a slightly more complex taste profile.
SERVING AND STORAGE
Serving
Serve chilled slices topped with whipped cream or fresh fruit for a refreshing dessert that’s perfect for warm weather gatherings.
Storage
Store covered in refrigerator for up to four days. Keep chilled to maintain texture and freshness; avoid freezing for best results.

FAQ
Yes, it’s ideal for making ahead since it needs several hours to chill and set properly in the refrigerator.
Yes, but evaporated milk provides the authentic light texture. Whipped cream will make it slightly richer and denser.
The cheesecake should feel firm to the touch and hold its shape when sliced after proper chilling.
Absolutely, cookie or biscuit crusts work well and can add different flavors to complement the filling.
It has a balanced sweetness with a tangy lemon flavor, making it refreshing rather than overly sugary.
This Woolworth icebox cheesecake recipe is a delightful reminder that simple ingredients can create something truly special. Its light texture and bright flavor make it stand out.
With minimal effort and no baking required, it’s a fantastic option for both beginners and experienced cooks. The process is straightforward, yet the result feels elegant and satisfying.
Its versatility allows you to experiment with flavors and toppings, making it easy to adapt based on your preferences or seasonal ingredients available in your kitchen.
The combination of creamy filling and buttery crust delivers a perfect bite every time, ensuring that this dessert becomes a favorite in your household quickly.

WOOLWORTH ICEBOX CHEESECAKE
Ingredients
For the Crust:
- 1 ½ cups graham cracker crumbs
- ¼ cup granulated sugar
- 6 tablespoons unsalted butter melted
For the Filling:
- 16 oz cream cheese softened
- 1 cup powdered sugar
- 1 teaspoon vanilla extract
- 1 ½ cups heavy whipping cream
For Topping (Optional):
- Whipped cream
- Fresh berries or fruit topping
Instructions
Prepare Crust:
- Mix graham cracker crumbs, sugar, and melted butter. Press evenly into the bottom of a 9-inch springform pan. Chill while preparing filling.
Make Filling:
- In a bowl, beat cream cheese, powdered sugar, and vanilla extract until smooth.
Whip Cream:
- In a separate bowl, whip heavy cream until stiff peaks form. Gently fold into cream cheese mixture until combined.
Assemble Cheesecake:
- Spread filling over the crust evenly. Chill in the refrigerator for at least 4 hours until set.
Serve:
- Top with whipped cream and fresh berries or fruit if desired. Slice and serve chilled.
Notes
- Make Ahead: Cheesecake can be prepared a day in advance for easier serving.
- Variations: Add a layer of chocolate ganache or caramel for extra richness.
- Serving Suggestions: Serve chilled as a dessert for parties, summer gatherings, or holidays.
- Allergy-Friendly: Use dairy-free cream and cream cheese for a lactose-free version.
- Storage Tips: Store in an airtight container in the refrigerator for up to 3 days. Do not freeze.





Comments
No Comments