
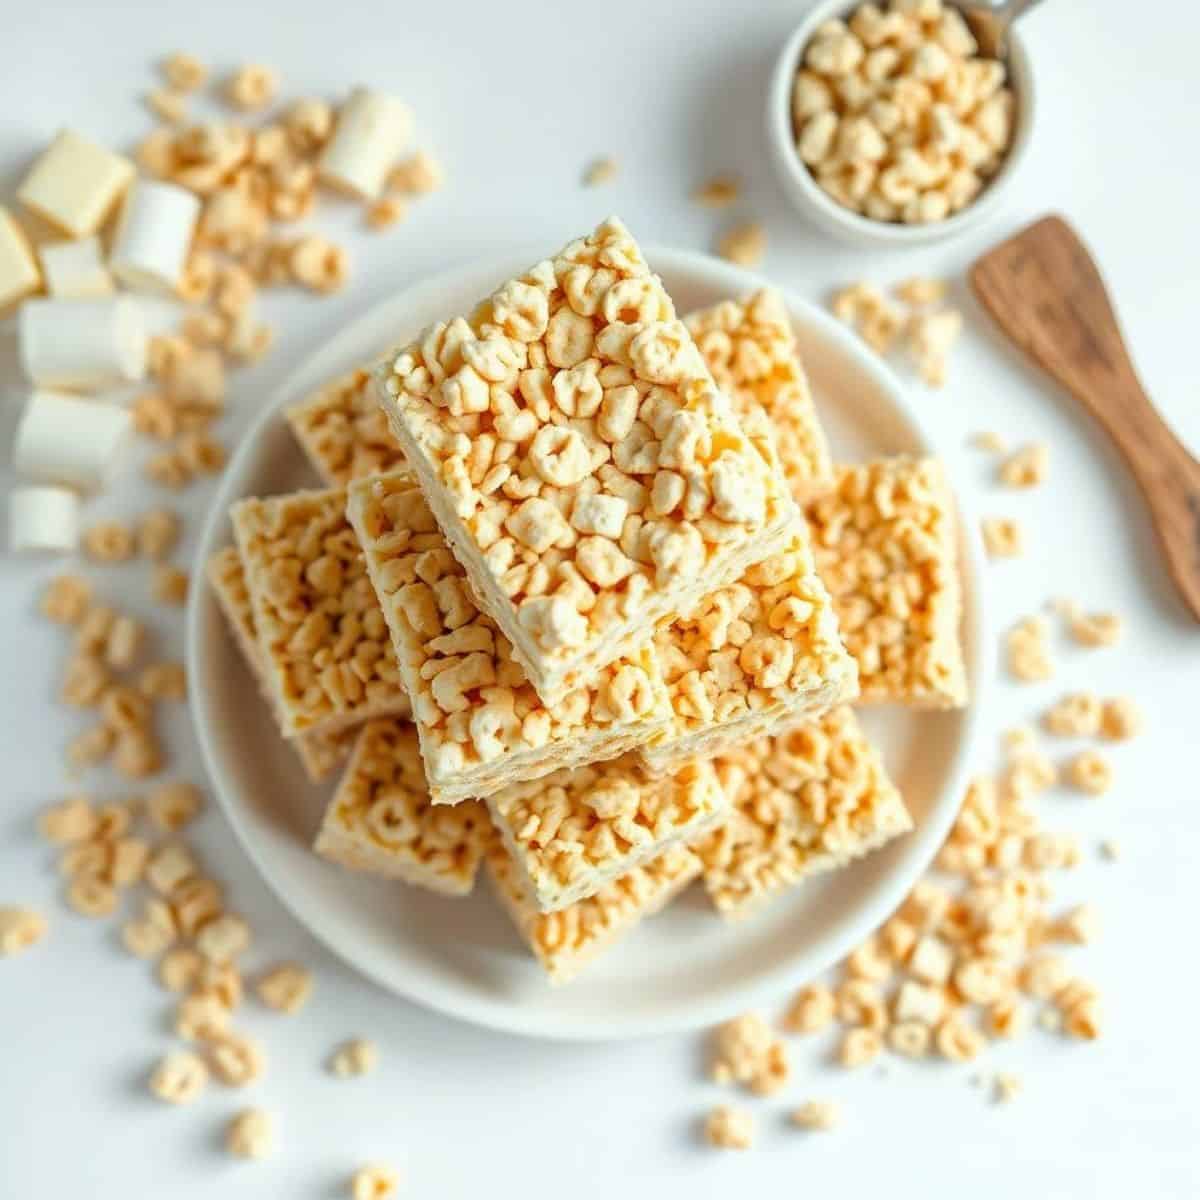
Rice Krispie treats are a classic snack that have been loved by generations. With their crispy texture and sweet marshmallow coating, they are the perfect treat for any time of day.
Making them at home is surprisingly simple. With just a few ingredients and minimal preparation, you can create a batch of these delicious treats in under 30 minutes.
This recipe ensures a perfect balance of gooey marshmallow and crunchy cereal. It’s ideal for lunchboxes, parties, or simply a cozy treat while watching a movie at home.
Whether you’re an experienced baker or a beginner, these Rice krispie treats are easy to make. The recipe provides step-by-step instructions to guarantee consistent results every time.
Beyond just taste, making Rice krispie treats at home allows for creativity. You can add chocolate, sprinkles, or other mix-ins to personalize this beloved snack for your family or friends.
WHY YOU WILL LOVE THIS RECIPE
- Quick and Easy: This recipe comes together in minutes, making it perfect for busy schedules or last-minute dessert cravings.
- Perfect Texture: Achieves the ideal balance of crispy cereal and gooey marshmallows every single time without fail.
- Kid-Friendly: Children love helping make these treats, creating fun memories while learning simple cooking skills safely.
- Customizable: Easily add chocolate, peanut butter, or sprinkles to make the treats unique and personal every time.
- Great for Parties: Perfect for birthdays, holidays, and gatherings, offering a sweet treat that everyone will enjoy.
INGREDIENTS
- 6 cups Rice Krispies cereal
- 4 cups mini marshmallows
- 3 tablespoons unsalted butter
- 1 teaspoon vanilla extract (optional)
- Pinch of salt
DIRECTIONS
- Step No.1: Prepare the pan
Grease a 9x13-inch baking pan with butter or line it with parchment paper to ensure the treats don’t stick.
- Step No.2: Melt the butter and marshmallows
In a large saucepan, melt the butter over low heat. Add marshmallows and stir continuously until completely melted and smooth.
- Step No.3: Add vanilla and salt
Remove the pan from heat and stir in the vanilla extract and a pinch of salt, ensuring even distribution for enhanced flavor.
- Step No.4: Combine with cereal
Gradually add Rice Krispies cereal to the melted marshmallow mixture. Stir gently to coat the cereal evenly without crushing it.
- Step No.5: Transfer to pan
Pour the mixture into the prepared pan and use a buttered spatula or wax paper to press it evenly without compacting too tightly.
- Step No.6: Cool and cut
Allow the treats to cool at room temperature for about 30 minutes before cutting into squares or rectangles with a sharp knife.

TIPS FOR SUCCESS
- Use fresh marshmallows: Fresh marshmallows melt more smoothly, creating a perfectly gooey texture without lumps.
- Low heat melting: Melt butter and marshmallows over low heat to prevent burning and ensure a smooth mixture.
- Grease utensils: Lightly butter your spatula or hands to prevent sticking while pressing mixture into the pan.
- Don’t overmix: Stir just enough to coat the cereal evenly; overmixing can crush the Rice Krispies and affect texture.
- Press lightly: Avoid compacting mixture too much to maintain airy, crunchy bites that are easy to enjoy.
- Cut after cooling: Allow treats to cool completely before cutting to achieve clean edges without crumbling.
- Store properly: Keep treats in an airtight container to maintain freshness and prevent them from drying out.
VARIATIONS
- Chocolate drizzle: Melt chocolate chips and drizzle over cooled treats for extra indulgent flavor.
- Peanut butter mix-in: Stir in peanut butter when melting marshmallows for a rich, nutty variation.
- Sprinkle toppings: Add colorful sprinkles on top before the mixture sets for a festive touch.
- Mini candy pieces: Fold in mini M&M’s or chocolate chips to create fun, bite-sized surprises.
- Coconut addition: Mix shredded coconut into the marshmallow mixture for tropical flair.
- Marshmallow fluff topping: Spread marshmallow fluff over treats for an extra gooey, decadent layer.
- Flavor extracts: Add almond or peppermint extract to the marshmallow mixture for creative flavor twists.
SERVING AND STORAGE
Serving
Serve cut squares on a plate as a snack or dessert, perfect for parties, school lunches, or casual treats.
Storage
Store in an airtight container at room temperature to maintain freshness and keep treats soft and chewy for days.

FAQ
Yes, but cut them into smaller pieces to ensure even melting and distribution throughout the cereal.
They last 3-5 days at room temperature in an airtight container and up to a week in the fridge.
Yes, wrap tightly in plastic wrap and store in a freezer-safe container for up to 2 months.
Use slightly more marshmallows or lightly warm the cut treats in the microwave before serving.
Yes, use plant-based butter and vegan marshmallows to make a fully vegan-friendly version.
Rice Krispie treats are a timeless, simple, and delightful dessert that everyone can enjoy. Their sweet, crunchy texture makes them a go-to treat for children and adults alike.
Making them from scratch ensures you get the perfect gooey consistency while controlling ingredients. It’s a fun, interactive experience that can involve the whole family in the kitchen.
This recipe’s flexibility allows you to customize with chocolate, peanut butter, or other mix-ins. Not only are they tasty, but these treats are quick to make and require minimal equipment.
From melting marshmallows to pressing the mixture into a pan, the steps are simple and accessible to beginners. Finally, the joy of homemade rice krispie treats extends beyond eating.

BEST RICE KRISPIE TREATS RECIPE
Ingredients
For the Treats:
- 6 cups rice cereal
- 4 cups mini marshmallows
- ½ cup unsalted butter
- 1 teaspoon vanilla extract
- Pinch of salt
Instructions
Melt Marshmallows:
- In a large saucepan, melt butter over low heat. Add marshmallows and stir until completely melted.
Add Flavor:
- Remove from heat and stir in vanilla extract and a pinch of salt.
Mix Cereal:
- Add rice cereal to marshmallow mixture. Stir until fully coated.
Shape Treats:
- Press mixture evenly into a greased 9x13-inch pan. Allow to cool.
Serve:
- Cut into squares and serve immediately or store in an airtight container.
Notes
- Make Ahead: Treats can be made a day in advance and stored in an airtight container.
- Variations: Add chocolate chips, sprinkles, or peanut butter swirls for extra flavor.
- Serving Suggestions: Perfect for parties, lunchboxes, or an afternoon snack.
- Allergy-Friendly: Use gluten-free rice cereal if needed.
- Storage Tips: Keep in an airtight container at room temperature for up to 3 days.





Comments
No Comments