
Zainab asked for chocolate mousse after she had it at a birthday party, and honestly I had no idea how easy it actually was to make at home. I always assumed mousse was one of those fancy restaurant things — the kind that requires a pastry degree and seven bowls. Turns out it needs four ingredients, one mixing bowl, and about fifteen minutes of actual work.
The version I landed on uses bittersweet chocolate melted with butter, folded into whipped cream. That's the core of it. No egg yolks, no sugar syrup, no water bath. I've seen recipes that go much more complicated, and I tried one once — it was stressful and the result wasn't noticeably better than this. So I simplified. The key is in two things: letting the chocolate cool enough before you fold it in, and not overwhipping the cream. Both of those I got wrong the first time.
My husband prefers his with a little espresso stirred in — I'll mention that in the variations. Zainab wants hers plain with a pile of whipped cream on top. I usually make a double batch because single servings disappear before I even get to refrigerate them properly. If you're making this for guests, you can prep it the day before and just pull it out of the fridge right before serving — which is exactly the kind of dessert I want when I'm also cooking the main course. If you love make-ahead desserts like I do, my Caramel Candy Cheesecake with Toffee Bits is another one that sets overnight and is completely hands-off come party time.
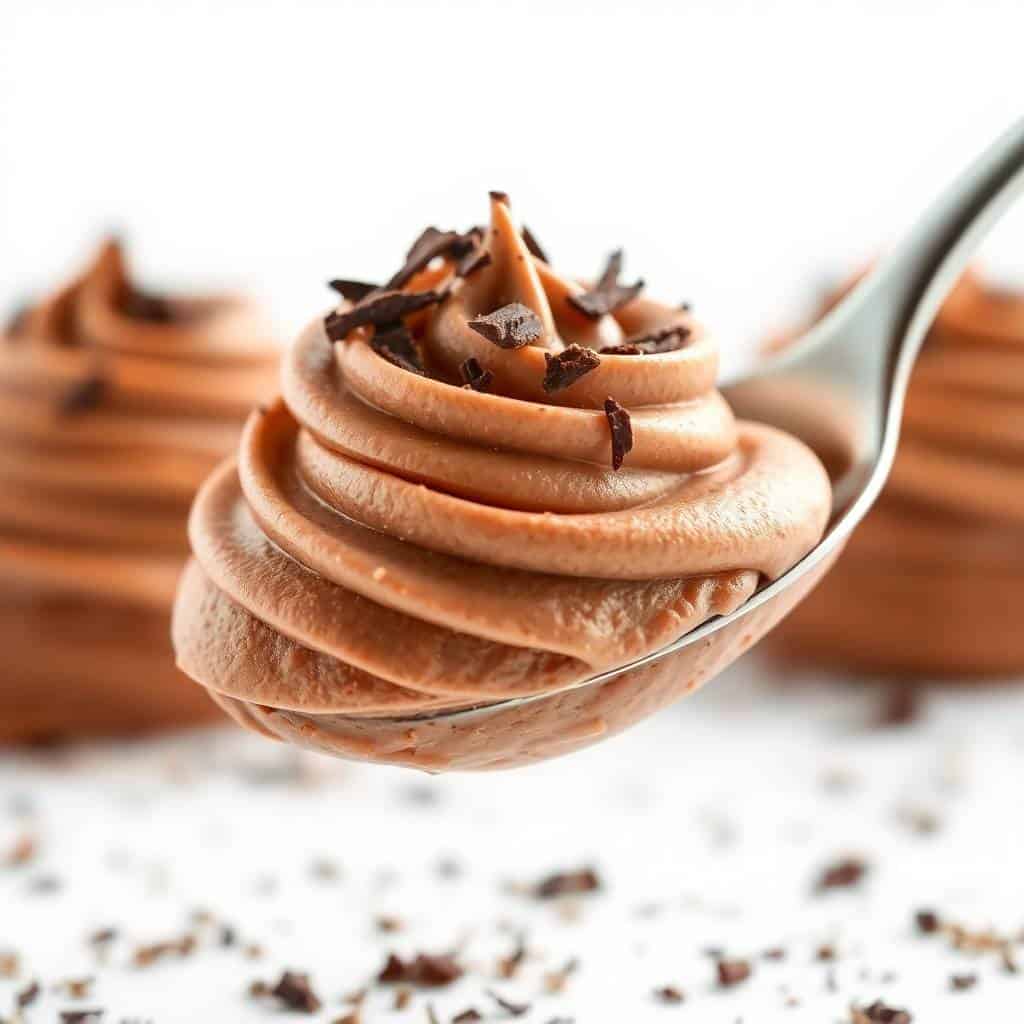
One expectation to set: this isn't a super stiff mousse. It's soft, almost pillowy, and it holds its shape when chilled but isn't dense. If you want something firmer, chill it for a full two hours minimum — don't rush it. And use real bittersweet chocolate, not chocolate chips. Chips have stabilizers in them that affect how they melt and fold. A good bar of baking chocolate from any grocery store is all you need.

Why You'll Love This Recipe
- Four main ingredients: Chocolate, butter, cream, and powdered sugar — that's the whole list. I've made this on a random Tuesday with things I already had in the fridge. There's no shopping trip required, no specialty store, nothing you can't find at any Walmart or Aldi. Simple ingredients, handled right, make something that genuinely tastes special.
- Make it ahead and forget about it: This mousse needs at least an hour or two in the fridge, which means you can make it the morning before a dinner party and not think about it again. The texture actually improves with more chill time — the flavors settle and it firms up beautifully. It's one of the few desserts where doing it early is genuinely better, not just convenient.
- No stand mixer needed: I whip the cream by hand with a balloon whisk. Yes, my arm gets tired. But it only takes about three to four minutes of real effort, and I know exactly when to stop — soft, billowy peaks that don't collapse. If you have a hand mixer, use it. If you don't, a regular whisk and a cold bowl work fine.
- The chocolate flavor is actually there: Because this recipe is so minimal, the chocolate carries all the weight. That's exactly why quality matters here — use a chocolate you'd happily eat on its own and the mousse will taste incredible. Use a waxy, overly sweet chocolate and you'll taste that too. I usually grab a 70% bittersweet baking bar.
- Endlessly presentable: Spoon it into little glasses or ramekins, top with whatever you have — whipped cream, chocolate shavings, a few raspberries, a dusting of cocoa powder. It looks like you worked way harder than you did. I've served this at a casual Friday dinner and at Eid — both times it disappeared completely.
Ingredients
- 6 oz bittersweet chocolate, chopped (use a baking bar, not chips)
- 3 tablespoons unsalted butter
- 1 teaspoon vanilla extract
- 1 cup heavy whipping cream, chilled
- 2 tablespoons powdered sugar
- Whipped cream and chocolate shavings for garnish (optional)
Directions
- Melt the chocolate: Combine the chopped chocolate and butter in a heatproof bowl. Melt together over a pot of barely simmering water, stirring until completely smooth and glossy — this is your double boiler setup, and it gives you more control than the microwave. Once melted, stir in the vanilla extract, then set the bowl aside to cool for about 10 minutes. This cooling step is not optional — if the chocolate goes into the cream while it's still hot, it will melt the cream and you'll lose all the air you worked to build in.
- Whip the cream: In a cold bowl (I stick mine in the freezer for five minutes first), whip the chilled heavy cream and powdered sugar together until soft peaks form. Soft peaks mean the cream holds its shape when you lift the whisk but the tip folds over gently — not stiff, not liquid. Stop here. Overwhipped cream gets grainy when you fold it with chocolate.
- Fold together: Add about a third of the whipped cream to the cooled chocolate mixture and stir it in — don't worry about being gentle here, this first addition just loosens the chocolate. Then add the rest of the whipped cream in two additions, folding gently with a rubber spatula using a down-and-over motion. You want it fully combined with no white streaks, but you don't want to knock all the air out either. Take your time.
- Portion and chill: Spoon or pipe the mousse into individual serving cups, glasses, or ramekins. Refrigerate for at least 1 to 2 hours before serving, or up to overnight. The longer it chills, the better the texture — I usually do overnight when I'm making it for guests.
- Serve: Pull the mousse out right before serving. Add a dollop of whipped cream and a few chocolate shavings or curls on top if you want. Even plain out of the fridge, it's good.
Tips for Success
- Cool the chocolate before folding: I cannot stress this enough — I ignored this the first time I made mousse and ended up with a warm, deflated chocolatey cream soup. It tasted fine but the texture was completely wrong. Give the melted chocolate a full 10 minutes to cool at room temperature. It should feel barely warm to the touch, not hot. If it's still warm after 10 minutes, set the bowl in a cold water bath for a minute.
- Chill your bowl and cream: Cold cream whips faster and holds its peaks longer than room-temperature cream. I keep my heavy cream at the back of the fridge where it's coldest, and I stick my bowl in the freezer for a few minutes before I start. It's a small habit that makes the whole process easier and more consistent.
- Use a rubber spatula for folding: A whisk will knock out the air you just spent time building into the cream. A rubber spatula lets you use that gentle scooping motion that keeps the mousse light. Fold slowly, especially at the end when you're almost done — those last few strokes matter.
- Don't skip the full chill time: The mousse needs time to set, not just cool. I've served it after 45 minutes in a rush and while it tasted good, it was too soft — it didn't hold its shape when scooped. Two hours is the real minimum. Overnight is better. If you're making this for a dinner party, make it the morning of or even the evening before.
- Buy real baking chocolate, not chips: Chocolate chips are formulated to hold their shape during baking — they contain stabilizers that make them melt differently and fold differently. They can make the mousse slightly grainy or cause the texture to be off. A bittersweet baking bar (Ghirardelli, Baker's, Lindt — all fine) melts cleaner and folds smoother. It's worth the extra dollar.
Variations
- Espresso chocolate mousse: Stir 1 teaspoon of instant espresso powder into the melted chocolate along with the vanilla. The coffee doesn't make it taste like coffee — it deepens the chocolate flavor and adds a slight edge that adults really love. My husband prefers this version. I make it for weeknight desserts when the kids are already in bed.
- Milk chocolate version: Swap the bittersweet chocolate for a good-quality milk chocolate bar. The mousse comes out sweeter and a bit lighter in color. Zainab would choose this version every time. Just note that milk chocolate melts more quickly, so keep the heat lower and watch it carefully.
- Orange zest chocolate mousse: Add the finely grated zest of half an orange to the melted chocolate. Chocolate and orange is a classic pairing and it works beautifully here — the citrus cuts through the richness and adds something that feels a little more special than plain chocolate. Great for a dinner party where you want to serve something unexpected without doing extra work.
- Dairy-free version: Use dairy-free bittersweet chocolate and swap the heavy cream for full-fat canned coconut cream — the kind that's been chilled overnight in the fridge. Scoop out only the solid white part, not the watery liquid underneath. It whips up surprisingly well and the coconut flavor is subtle enough that the chocolate still leads. This is a good option if you have guests with dairy restrictions.
- Spiced chocolate mousse: Add a pinch of cinnamon and a tiny pinch of cayenne pepper to the melted chocolate. It sounds like a lot, but the heat from the cayenne just barely shows up at the end of each bite — it's warm rather than spicy. In Pakistan we use warm spices in sweet dishes more often than people expect, and this combination feels natural to me. It's my personal favorite variation.
Serving and Storage
Serving
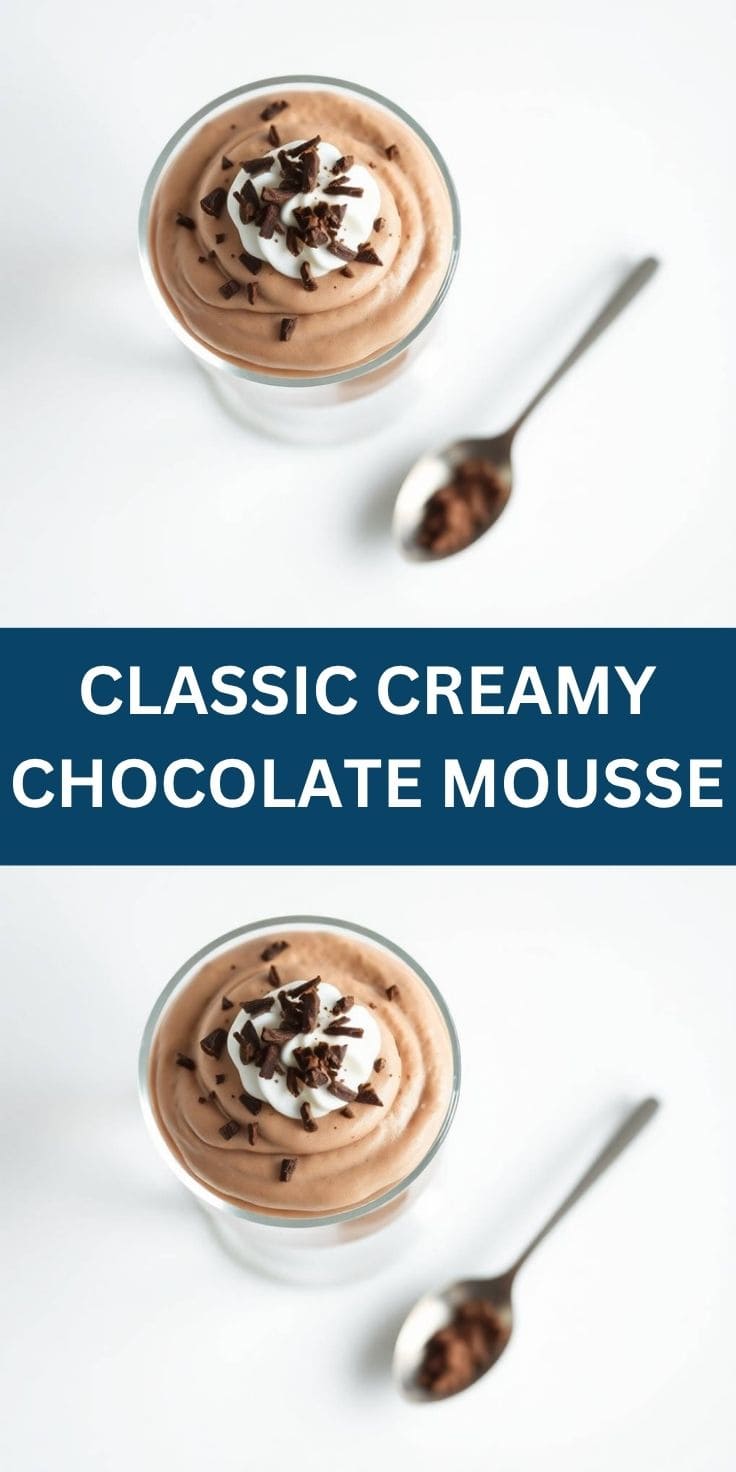
Serve the mousse cold, straight from the fridge. I spoon mine into small glasses or ramekins so each person gets their own portion — it looks nicer and it's easier than serving from a big bowl. Top with a small dollop of whipped cream and chocolate shavings if you have them. A few raspberries or strawberries on the side work really well too, especially if you want something to cut through the richness. If you're looking for a lighter dessert to serve alongside or before this, my Strawberry Puff Pastry Hearts are a lovely contrast.
Storage
Cover each serving cup with plastic wrap or press a piece of plastic wrap directly against the surface of the mousse before covering — this prevents a skin from forming on top. Store in the refrigerator for up to 2 days. I don't recommend freezing this. The cream structure breaks down when frozen and thawed, and you end up with something watery and grainy rather than creamy. Just make it fresh — it's quick enough that there's no reason to freeze it.
Frequently Asked Questions
Can I make this chocolate mousse the day before?
Yes, and I actually prefer it that way. The texture firms up overnight and the chocolate flavor settles and deepens. Make it the evening before, cover each cup with plastic wrap, and refrigerate. Pull them out right before serving. No last-minute fuss.
Why did my mousse turn out dense instead of airy?
Two likely culprits: the chocolate was still too warm when you folded it in (which partially melts the whipped cream), or the cream was overwhipped before folding (stiff peaks are too firm and don't fold well). Make sure the chocolate feels barely warm to the touch and stop whipping the cream as soon as you see soft, pillowy peaks.
Can I freeze chocolate mousse?
I don't recommend it. Freezing breaks down the whipped cream structure and once it thaws, the texture turns grainy and watery. It's a completely different experience from the fresh version. This mousse keeps well in the fridge for two days, which is usually plenty of time.
What's the best chocolate to use?
A bittersweet baking bar in the 60-70% cacao range works best — Ghirardelli, Baker's, and Lindt baking bars are all widely available and work well. Avoid chocolate chips (they have stabilizers that affect melting and texture) and avoid anything below about 55% cacao if you want the mousse to taste properly chocolatey rather than just sweet.
Can I make this without eggs?
This particular recipe is already egg-free — it's just chocolate, butter, cream, and sugar. So yes, no eggs needed. If you've seen other mousse recipes that call for egg yolks or whipped egg whites, those are a more traditional French approach, but this simplified version skips that step entirely and still gives you a genuinely good result.
CLASSIC CREAMY CHOCOLATE MOUSSE
Ingredients
For the Chocolate Mousse:
- 6 oz bittersweet chocolate chopped
- 3 tablespoon unsalted butter
- 1 teaspoon vanilla extract
- 1 cup heavy whipping cream chilled
- 2 tablespoon powdered sugar
- whipped cream or chocolate shavings for garnish optional
Instructions
Melt Chocolate:
- Melt chocolate and butter together until smooth. Stir in vanilla extract and let cool slightly.
Whip Cream:
- In a separate bowl, whip heavy cream and powdered sugar until stiff peaks form.
Combine Mixture:
- Fold melted chocolate mixture gently into whipped cream until fully combined.
Chill:
- Divide mousse into serving dishes or cups and chill for at least 1–2 hours.
Serve:
- Garnish with whipped cream or chocolate shavings before serving.
Notes
- Make Ahead: Can be prepared a day in advance for convenience.
- Variations: Add a splash of coffee or liqueur for extra flavor.
- Serving Suggestions: Serve in individual cups with berries or mint.
- Allergy-Friendly: Use dairy-free chocolate and cream if needed.
- Storage Tips: Store in refrigerator up to 2 days. Do not freeze.
Chocolate mousse has become one of those recipes I keep coming back to because it requires almost nothing from me on a busy day but still feels like I put in real effort. I make it in under 20 minutes, slide it into the fridge, and then it just waits there until I need it. That's the kind of dessert I want in my life — one that works on my schedule rather than demanding last-minute attention.
This isn't a classic French mousse with egg yolks and folded egg whites — I know that, and I want to be upfront about it. It's a simpler, more forgiving version that still delivers on texture and flavor. If you want to go the full traditional route one day, that's a great project. But this one is what I actually make on a regular basis, and it's what I'll keep making.
If you're in a dessert-making mood and want to keep going, my Pineapple Coconut Dream Cake is another no-fuss dessert that's great for making ahead. And if you want something on the lighter end to serve before the mousse, the Strawberry Puff Pastry Hearts are a nice contrast — flaky, fruity, and quick.
Give the spiced version a try at least once — the pinch of cayenne is more interesting than it sounds, and it's the kind of thing that makes people ask what's in it. Either way, I hope it becomes a regular in your house the way it has in mine. 🍫✨
If you liked this recipe, here are a few more from forfoodiefriends.com you might enjoy:
- Caramel Candy Cheesecake with Toffee Bits — another make-ahead dessert that gets better overnight
- Pineapple Coconut Dream Cake — light, tropical, and easy to put together
- Strawberry Puff Pastry Hearts — simple, pretty, and ready in under 30 minutes
- Pepper Jack Stovetop Mac and Cheese — for when you need something savory and comforting after all this sweetness
- BBQ Baby Back Ribs — if you're planning a full meal that deserves a proper chocolate ending





Comments
No Comments