
Pineapple Coconut Dream Cake is a tropical-inspired dessert that brings sunshine to your dessert table. Its moist layers and creamy frosting make every bite unforgettable. This cake is perfect for celebrations or a sweet treat after dinner.
The combination of juicy pineapple and rich coconut creates a flavor profile that’s refreshing and indulgent. Every slice melts in your mouth, leaving a subtle tropical aftertaste that makes you crave more. It’s a dessert that everyone will remember.
This cake is surprisingly simple to make, even for beginners. With easy-to-follow steps, you can create a bakery-quality dessert right in your kitchen. Plus, the ingredients are common and easy to find in most stores.
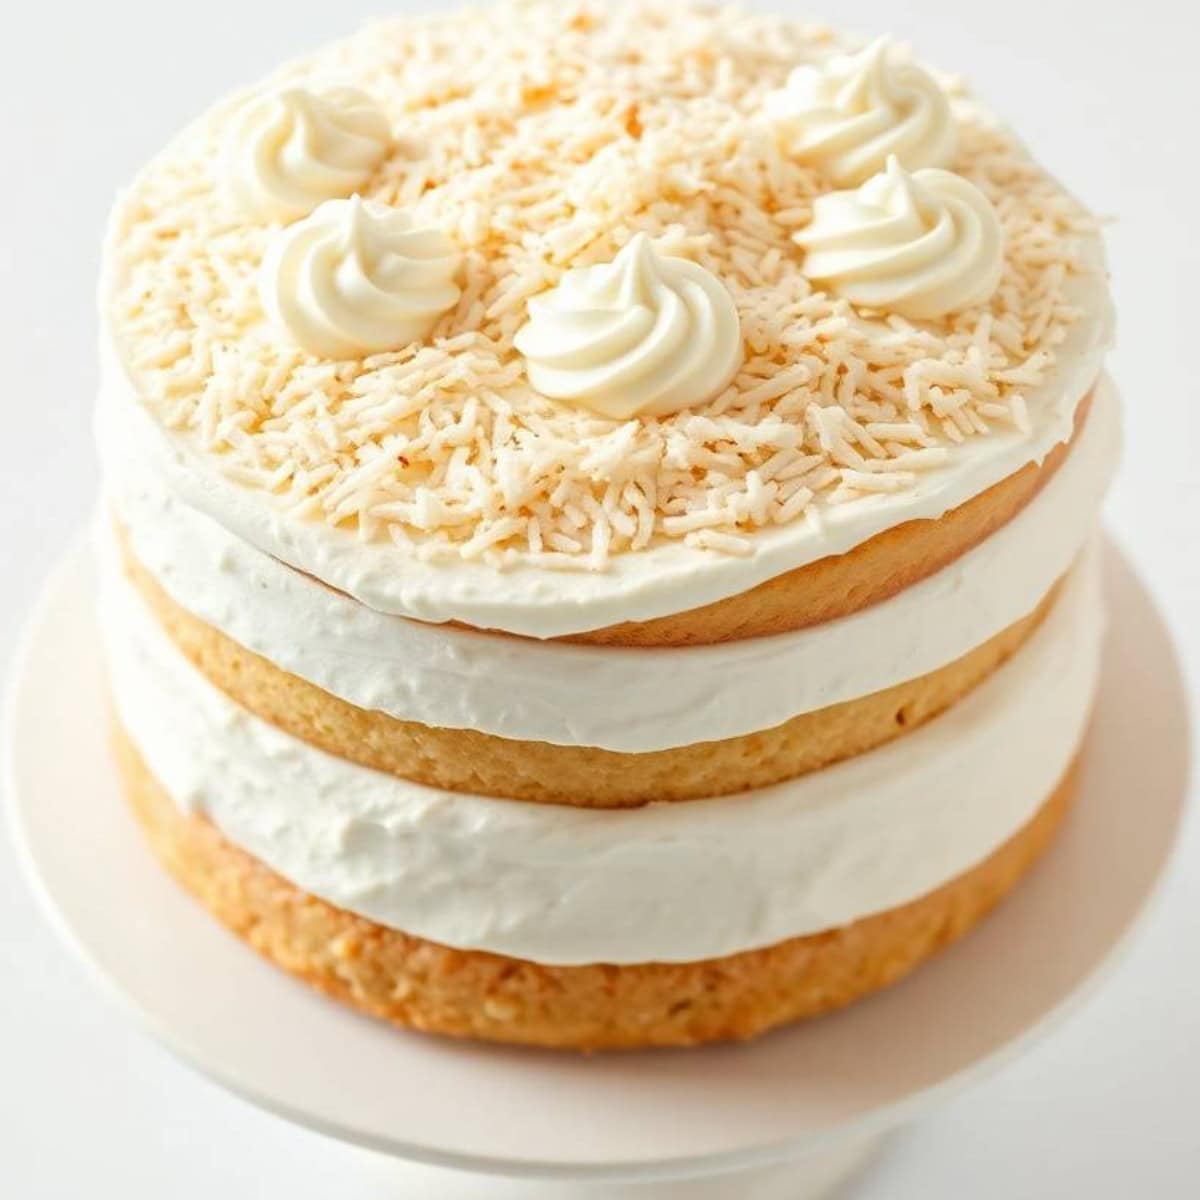
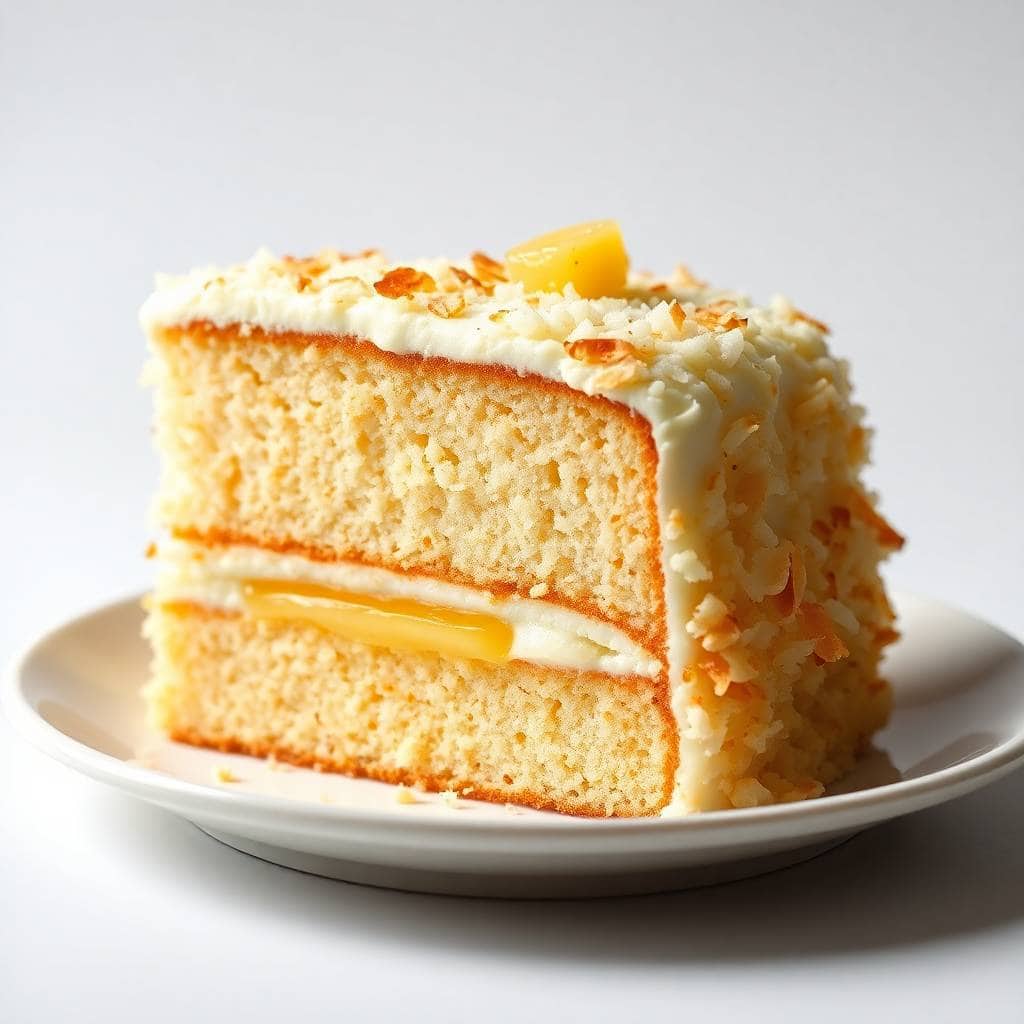
Beyond taste, the pineapple coconut Dream Cake is visually stunning. The layered design and creamy frosting make it perfect for parties and gatherings. You can even decorate with toasted coconut or pineapple slices for extra appeal.
Whether served for birthdays, holidays, or casual get-togethers, this cake is a crowd-pleaser. Its tropical flavors and moist texture guarantee smiles and compliments from everyone who tries it. This cake is as beautiful as it is delicious.
WHY YOU WILL LOVE THIS RECIPE
- Tropical Flavor Explosion: Each bite combines sweet pineapple and creamy coconut for an irresistible tropical taste experience.
- Moist and Fluffy Layers: Perfectly baked layers ensure soft texture that melts in your mouth every single time.
- Easy to Make: Simple ingredients and clear instructions make this cake approachable for novice and experienced bakers alike.
- Versatile Dessert: Ideal for birthdays, celebrations, or casual treats, pleasing all kinds of dessert lovers effortlessly.
- Visually Stunning: Creamy frosting and layered presentation make this cake look as impressive as it tastes.
- Family-Friendly: Loved by kids and adults, this cake brings smiles and compliments with every slice.
INGREDIENTS
- 2 cups all-purpose flour
- 1 ½ cups granulated sugar
- 1 teaspoon baking powder
- ½ teaspoon baking soda
- ½ teaspoon salt
- ½ cup unsalted butter, softened
- ¾ cup crushed pineapple, drained
- 1 cup coconut milk
- 3 large eggs
- 1 teaspoon vanilla extract
- 1 ½ cups shredded coconut, toasted
- 1 ½ cups whipped cream or cream cheese frosting
DIRECTIONS
- Step No.1: Preheat Oven
Preheat your oven to 350°F (175°C) and grease two 9-inch round cake pans. Line the bottoms with parchment paper for easy removal.
- Step No.2: Mix Dry Ingredients
In a large bowl, combine flour, baking powder, baking soda, salt, and sugar. Whisk until evenly blended.
- Step No.3: Combine Wet Ingredients
In a separate bowl, beat eggs, softened butter, coconut milk, crushed pineapple, and vanilla extract until smooth.
- Step No.4: Blend Wet and Dry
Gradually fold wet ingredients into dry ingredients, stirring until smooth and fully incorporated, ensuring a light, fluffy batter.
- Step No.5: Bake the Cake
Divide batter evenly between the prepared pans. Bake for 25-30 minutes, or until a toothpick inserted comes out clean.
- Step No.6: Cool and Frost
Allow cakes to cool in pans for 10 minutes, then transfer to a wire rack. Frost with whipped cream or cream cheese frosting and sprinkle toasted coconut.
TIPS FOR SUCCESS
- Drain Pineapple Well: Excess moisture from pineapple can make the cake soggy; drain thoroughly before mixing.
- Room Temperature Ingredients: Ensure butter, eggs, and coconut milk are room temperature for smooth batter and even baking.
- Do Not Overmix: Overmixing can create dense cakes; fold ingredients gently for light, fluffy layers.
- Toast Coconut: Toasting coconut enhances flavor and adds a slight crunch to frosting or decoration.
- Check Oven Temperature: Use an oven thermometer for accurate baking and prevent over or undercooked cakes.
- Cool Completely: Frost only after the cake is completely cooled to avoid melting and runny frosting.
- Decorate Creatively: Pineapple slices or extra coconut on top create a beautiful, professional presentation.
VARIATIONS
- Pineapple Upside-Down Twist: Bake the cake with a caramel pineapple layer on the bottom for a classic twist.
- Coconut Cream Filling: Add a layer of coconut cream between cake layers for extra richness and texture.
- Chocolate Drizzle: Drizzle melted chocolate over frosting to enhance flavor and presentation.
- Tropical Fruit Mix: Add mango or passionfruit puree for an extra tropical flavor burst.
- gluten-free diet Version: Substitute flour with gluten-free all-purpose flour for a safe, tasty alternative.
- vegan diet Adaptation: Use flax eggs, coconut oil, and dairy-free cream for a delicious vegan option.
- Mini Cakes: Create smaller cakes or cupcakes for personal servings and party-friendly treats.
SERVING AND STORAGE
Serving
Serve chilled or at room temperature with a slice of pineapple or toasted coconut on top.
Storage
Store covered in the refrigerator for up to 4 days or freeze slices for longer preservation.

FAQ
Yes, canned pineapple works well, but ensure it is well-drained to prevent sogginess.
Absolutely. Bake and frost a day in advance, then refrigerate to let flavors meld.
Yes, wrap slices in plastic wrap and store in the freezer for up to 2 months.
You can, but coconut milk enhances the tropical flavor and richness of the cake.
Grease pans thoroughly and line the bottom with parchment paper before pouring batter.
pineapple coconut Dream Cake is a tropical masterpiece that delights both visually and in taste. Its moist layers and creamy coconut frosting make it irresistible for all occasions.
The balance of sweetness and coconut creaminess offers a flavor combination that feels sophisticated yet approachable.
Additionally, this dessert is a true crowd-pleaser, suitable for kids and adults alike. Each slice provides a tropical escape, making every bite memorable and enjoyable.
Whether served fresh, chilled, or with creative variations, Pineapple Coconut Dream Cake remains a favorite.

PINEAPPLE COCONUT DREAM CAKE
Ingredients
For the Cake:
- 1 15.25-ounce box yellow cake mix
- 1 20-ounce can crushed pineapple with juice
- 3 large eggs
- ½ cup vegetable oil
For the Frosting:
- 1 8-ounce package cream cheese, softened
- ½ cup unsalted butter softened
- 2 cups powdered sugar
- 1 teaspoon vanilla extract
- 1 cup shredded sweetened coconut
Optional Garnish:
- Toasted coconut flakes
- Pineapple slices or chunks
Instructions
Preheat the Oven:
- Preheat your oven to 350°F (175°C). Grease and flour a 9x13-inch baking pan.
Prepare the Batter:
- In a large bowl, combine cake mix, crushed pineapple (with juice), eggs, and oil. Beat with an electric mixer until smooth and well combined.
Bake the Cake:
- Pour the batter into the prepared pan and bake for 28–32 minutes, or until a toothpick inserted in the center comes out clean. Let it cool completely.
Make the Frosting:
- In a medium bowl, beat cream cheese and butter together until creamy. Add powdered sugar and vanilla extract, mixing until smooth. Stir in shredded coconut.
Frost the Cake:
- Spread the frosting evenly over the cooled cake. Garnish with toasted coconut flakes or pineapple pieces if desired.
Chill and Serve:
- Refrigerate the cake for at least 1 hour before serving to let the flavors blend beautifully.
Notes
- Make Ahead: Bake the cake a day ahead and frost before serving for a chilled, refreshing texture.
- Customizing the Flavor: Add a splash of coconut extract to the frosting or top with macadamia nuts for extra crunch.
- Serving Suggestions: Serve cold for a tropical treat at summer parties or picnics.
- Storage Tips: Keep covered and refrigerated for up to 4 days. Best served chilled.





Comments
No Comments