
Zainab asked me to make something "pretty and red" for her class bake sale, and honestly that sentence alone sent me down a rabbit hole that ended with twelve little mason jars lined up on my kitchen counter at eleven o'clock at night. Red velvet cake in jars. I don't know why it took me this long to put these two things together.
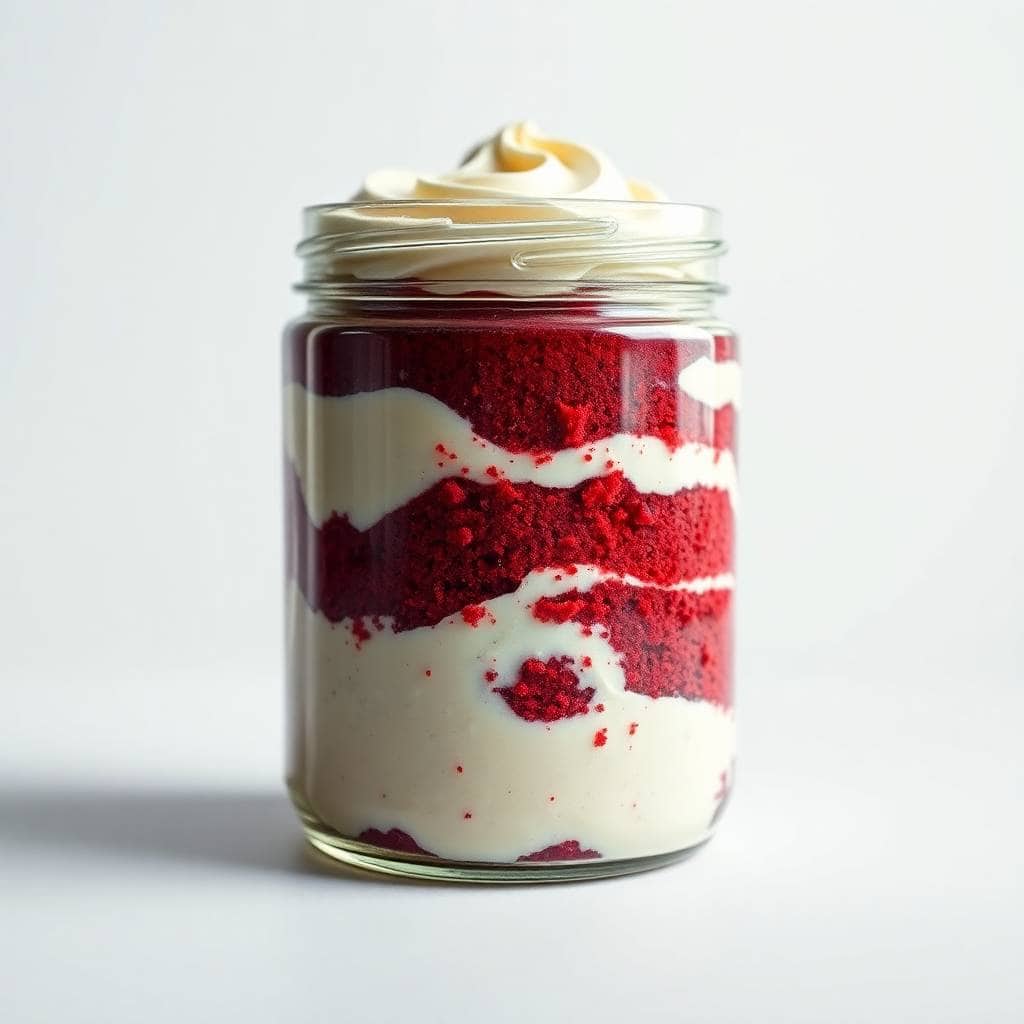
What I love about this format is that it solves every single problem I have with layer cakes. No slicing, no crumbling slices that fall apart on the plate, no arguing over who got the bigger piece. Each jar is its own self-contained little dessert — cake crumbles layered with that tangy cream cheese frosting, sealed up and ready to go. The red against the white looks genuinely dramatic, and I did zero special decorating. The layers do all the work.
The bake sale went well, by the way. Zainab came home with an empty tray and a very pleased look on her face. I've since made these for Eid gifts, for a friend's birthday, and once just for us on a random Thursday because I had leftover cream cheese frosting from my Lemon Coconut Cheesecake Cookies that needed to be used. All three occasions: success.
One thing I want to set expectations on: the cake needs to cool completely before you crumble it. I rushed this once, and the warm cake melted the frosting into a sad pink soup. Give yourself time. If you bake the cake the day before and assemble the next morning, the whole process is genuinely relaxed and even a little fun.
Why You'll Love This Recipe
- No slicing, no mess: The whole jar format means you skip the part where a layer cake falls apart when someone cuts it wrong. You crumble the cake yourself, layer it in, and each person gets their jar. I've served these at events where the only utensil needed was a long spoon. That kind of low-maintenance dessert is exactly what I want when I'm already managing a dozen other things.
- They look impressive without much effort: Red cake, white frosting, visible layers through the glass — it looks like you planned everything carefully. I didn't. I just crumbled and spooned. If you've ever made my Mini Ombre Cakes, you know I appreciate a dessert that photographs well without making me cry in the process.
- Great for gifting: I've given these as Eid gifts, birthday gifts, and thank-you gifts. Screw the lid on, add a little tag, done. The jar itself protects the dessert during transport, so the recipient opens something that still looks beautiful. It feels genuinely thoughtful without being complicated to put together.
- Make-ahead friendly: I almost always bake the cake a day ahead and assemble the next morning. The assembled jars keep well in the fridge for up to 5 days, so there's real flexibility here. When I'm doing a big batch for an event, I'll do the baking on Friday evening and assemble Saturday morning. Nothing frantic, nothing rushed.
- The frosting-to-cake ratio is in your control: This is genuinely underrated. When you're eating a slice of regular layer cake, you get whatever frosting ratio was decided for you. In a jar, you layer it yourself. Heavy frosting person? Add more. Prefer more cake? Do that. My husband loads his with extra frosting. I keep mine more balanced. We're both happy.
Ingredients
- 1 ¼ cups all-purpose flour
- 2 tablespoons unsweetened cocoa powder
- ½ teaspoon baking soda
- ¼ teaspoon salt
- ½ cup unsalted butter, softened
- ¾ cup granulated sugar
- 2 large eggs
- ½ cup buttermilk (see FAQ for a quick substitute)
- 1 teaspoon vanilla extract
- 1 teaspoon white vinegar
- 1 tablespoon red food coloring (gel coloring works best)
- 8 oz cream cheese, softened (let it sit out 20 minutes)
- ½ cup unsalted butter, softened (for frosting)
- 2 cups powdered sugar
- 1 teaspoon vanilla extract (for frosting)
- 6–8 small glass mason jars, 4 to 8 oz size
Directions
- Step 1: Preheat the oven — Heat your oven to 350°F (175°C) and grease a 9×9-inch baking pan well. I sometimes line mine with parchment too, which makes lifting the cake out much easier and saves some scrubbing later.
- Step 2: Mix the dry ingredients — In a large bowl, whisk together the flour, cocoa powder, baking soda, and salt until there are no lumps. This step matters — I once skipped proper whisking and got little pockets of baking soda in the finished cake. Not great.
- Step 3: Cream butter and sugar — In a separate bowl, beat the softened butter and sugar together until the mixture is pale and fluffy, about 2–3 minutes by hand or 1 minute with a hand mixer. This builds the structure for a tender crumb.
- Step 4: Add the wet ingredients — Beat in the eggs one at a time, then add the buttermilk, vanilla, vinegar, and red food coloring. Mix until everything is smooth and the color is even. The vinegar reacts with the cocoa and baking soda to give red velvet its characteristic flavor, so don't skip it.
- Step 5: Combine and bake — Fold the dry ingredients into the wet mixture gently until just combined — don't overmix or the cake gets dense. Pour into your prepared pan and bake for 18–20 minutes, until a toothpick inserted in the center comes out clean. Let the cake cool completely in the pan. Completely. I mean it.
- Step 6: Make the frosting — Beat the cream cheese and butter together until smooth and fluffy. Add the powdered sugar and vanilla, then beat until creamy. If your cream cheese is cold, the frosting will be lumpy — let it sit out first. I keep a piping bag handy for neater layering, but a spoon works fine too.
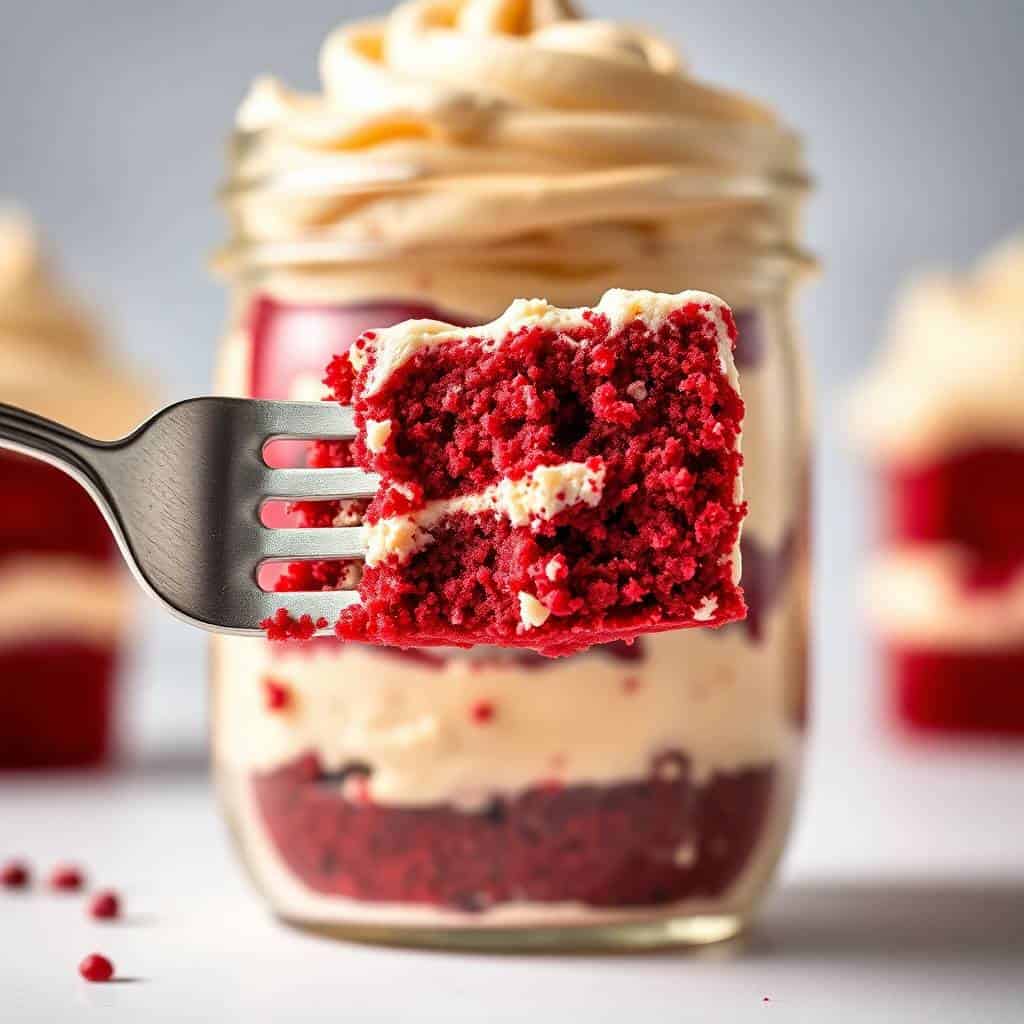
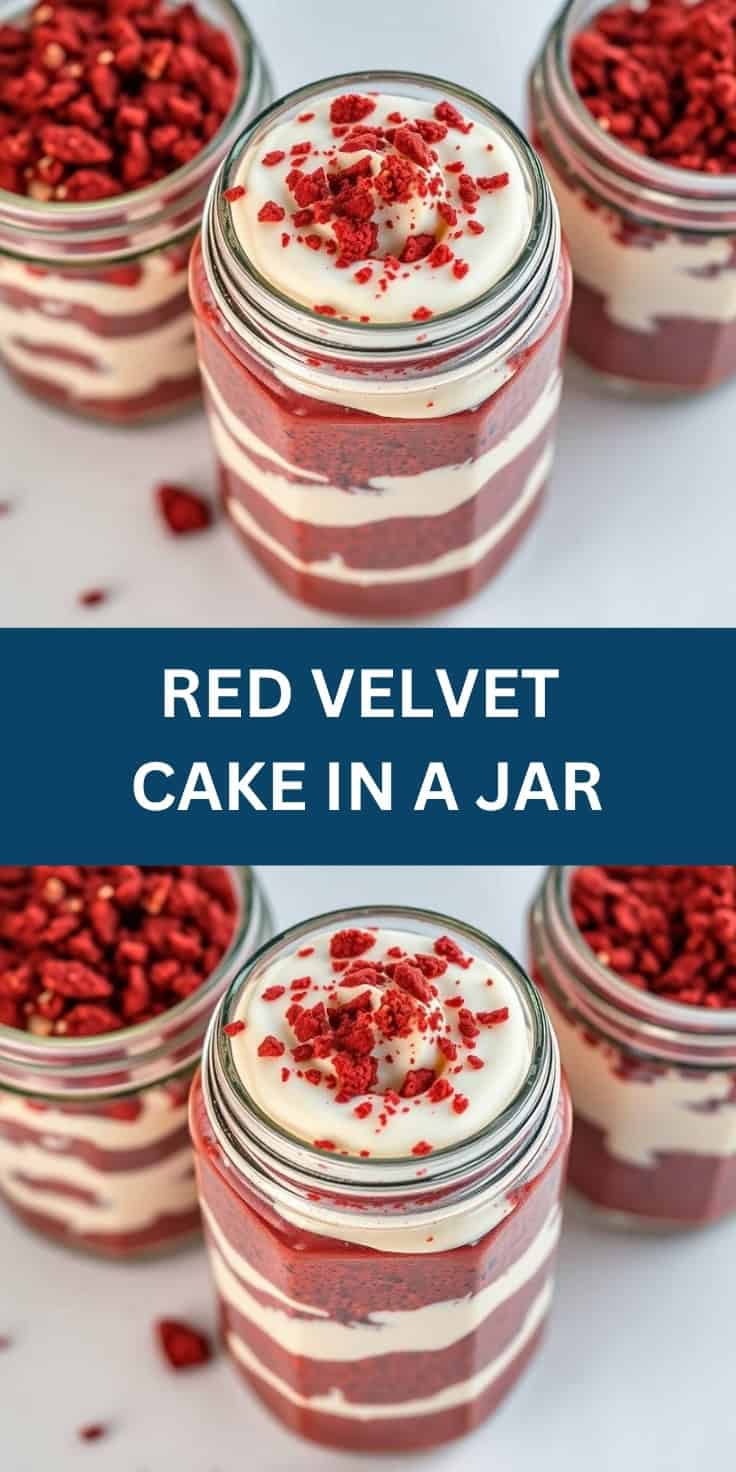
- Step 7: Assemble the jars — Crumble the cooled cake into rough chunks — not too fine, you want some texture. Spoon a layer of cake into the bottom of each jar, then pipe or spoon a layer of frosting over it. Repeat until the jar is nearly full, finishing with a generous swirl of frosting on top. Add a pinch of red velvet crumbs or a sprinkle on top if you want it to look extra nice.
Tips for Success
- Cool the cake all the way before crumbling: I know I said this already, but it wrecked my first batch so I'm saying it again. Warm cake melts the frosting on contact, and suddenly your beautiful layers are a pink-red swirl that tastes fine but looks like a mess. Bake the day before if you can — cold cake crumbles much more cleanly and holds its shape in the jar.
- Use gel food coloring, not liquid: Liquid red food coloring adds moisture to the batter and can make the color come out dull or uneven. Gel coloring (any grocery store baking aisle, or Walmart) gives you that deep, vivid red with just a small amount. I use about a tablespoon of gel and the color stays true even after baking.
- Soften your cream cheese properly: Cold cream cheese doesn't beat smooth — it stays lumpy no matter how long you mix it, and then you're left with a grainy frosting that won't layer nicely. I take mine out of the fridge 20–30 minutes before I start. If I forget (and I have), I unwrap it and microwave it for 10 seconds at a time until it gives when pressed.
- Use a piping bag for the frosting layers: If you don't have a piping bag, a zip-lock bag with one corner snipped off does the same job. Piping the frosting means it goes exactly where you want it, gives you cleaner layers through the glass, and looks much more intentional than spooning. It takes about thirty extra seconds and is worth it.
- Chill the assembled jars for at least an hour: This step sets the frosting slightly so the layers hold their shape when you dig in. It also lets the cake absorb a little moisture from the frosting, which makes the texture softer and more cohesive. I always chill mine overnight when I'm making them for a gift or event — they come out much better.
Variations
- Add fresh berries between layers: Fresh raspberries or sliced strawberries tucked between the cake and frosting layers cut through the richness beautifully. I made a version like this for a summer birthday and it disappeared faster than any other dessert on the table. The tartness of the berries works really well against the sweet cream cheese frosting.
- Swap the frosting for white chocolate ganache: Melt 4 oz of white chocolate with 3 tablespoons of heavy cream, let it cool until thick, and use that in place of the cream cheese frosting. It's richer and less tangy, which some people prefer. My husband actually likes this version better — he finds cream cheese frosting a bit sharp.
- Holiday-themed jars: For Christmas, I tint the frosting very lightly green and add red sprinkles on top. For Valentine's Day, pink sprinkles and a few conversation hearts. If you enjoy festive baking, check out my Flag Cake Variations for more ideas on decorating layered cakes for specific holidays — same principle, different occasion.
- Nutty crunch: Sprinkle chopped pecans or toasted walnuts between every other layer. It adds a texture contrast that makes each spoonful more interesting. I toast the nuts in a dry pan first — just 3–4 minutes over medium heat — and the flavor gets noticeably deeper.
- Coffee-spiked frosting: Add half a teaspoon of espresso powder to the cream cheese frosting. It doesn't make it taste like coffee — it just deepens the flavor and makes the whole thing taste more complex. I tried this on a whim and now it's my preferred version when I'm making these for adults rather than kids.
Serving and Storage
Serving
Serve these straight from the fridge or let them sit at room temperature for 10–15 minutes first — the frosting softens slightly and the texture is better that way. All you need is a long-handled spoon. I like to set them out on a small tray with the lids off when I'm serving at a party; they look good just sitting there. If you're serving kids, the smaller 4 oz jars are great — a full 8 oz jar is genuinely a lot of dessert.
Storage
Seal the jars with their lids and keep them in the refrigerator for up to 5 days. The cream cheese frosting means they can't sit at room temperature for more than 2 hours. If you want to freeze portions, freeze the crumbled cake on its own (not assembled), then thaw overnight in the fridge and assemble with fresh frosting when you're ready. Don't freeze assembled jars — the frosting doesn't recover well after thawing.
Frequently Asked Questions
Can I bake the cake directly in the jars?
I'd skip that. Glass jars aren't designed for oven baking and can crack from the heat, especially if they're thin mason jars. It also leads to uneven baking since the glass conducts heat differently than a metal pan. Bake the cake separately in a regular pan, cool it fully, then crumble and assemble in the jars — it takes the same amount of time and is much safer.
What if I don't have buttermilk?
This is a really easy fix. Add 1 teaspoon of white vinegar or lemon juice to ½ cup of regular whole milk, stir it, and let it sit for 5 minutes. It thickens slightly and gets that same slight tang as buttermilk. I use this substitute probably half the time because I don't always have buttermilk on hand.
Can I freeze these jars?
Freeze the crumbled cake only, not the assembled jars. The cream cheese frosting separates and gets watery when frozen and then thawed. Spread the crumbled cake in a zip-lock bag and freeze for up to 2 months. When you're ready to use it, thaw overnight in the fridge and make fresh frosting before assembling.
How long can these sit out at a party?
No more than 2 hours at room temperature. After that, the cream cheese frosting starts to soften too much and can spoil. For parties, I keep the jars in the fridge until about 15 minutes before serving, then set them out. If anything's left after 2 hours, back in the fridge they go.
Can I make these gluten-free?
Yes, a 1:1 gluten-free flour blend works here. I've used the Bob's Red Mill 1-to-1 blend and it bakes up similarly — maybe very slightly denser, but nothing dramatic. Make sure your cocoa powder and food coloring are also certified gluten-free if you're baking for someone with celiac disease.
RED VELVET CAKE IN A JAR
Ingredients
For the Cake:
- 1 ¼ cups all-purpose flour
- 2 tablespoons cocoa powder
- ½ teaspoon baking soda
- ¼ teaspoon salt
- ½ cup unsalted butter softened
- ¾ cup granulated sugar
- 2 large eggs
- ½ cup buttermilk
- 1 teaspoon vanilla extract
- 1 teaspoon white vinegar
- 1 tablespoon red food colouring
For the Frosting:
- 8 ounces cream cheese softened
- ½ cup unsalted butter softened
- 2 cups powdered sugar
- 1 teaspoon vanilla extract
Instructions
Make the Cake:
- Preheat oven to 350°F (175°C). Grease a 9×9-inch pan. In a bowl, whisk flour, cocoa, baking soda, and salt. In another bowl, beat butter and sugar until creamy. Add eggs, buttermilk, vanilla, vinegar, and red colouring. Mix in dry ingredients until smooth. Bake for 18–20 minutes. Cool completely.
Prepare the Frosting:
- Beat cream cheese and butter until fluffy. Add powdered sugar and vanilla, and mix until smooth.
Assemble:
- Crumble the cooled cake into chunks. In small mason jars, layer crumbled cake and frosting alternately. End with a swirl of frosting on top.
Decorate:
- Add red velvet crumbs, sprinkles, or chocolate shavings for garnish.
Notes
- Tip: Chill the jars before serving for a firm texture.
- Variation: Try using chocolate or vanilla frosting for a twist.
- Storage: Store in the refrigerator for up to 4 days; serve chilled or at room temperature.
These jars have become my go-to when I need a dessert that travels well and looks like I put in more effort than I did. The cake itself is straightforward — nothing technically tricky about it — and the assembly is genuinely relaxing once the cake is cold. I put on a podcast, line up my jars, and just layer. There's something satisfying about watching the red and white stack up through the glass.
If you're the kind of person who likes a make-ahead dessert situation, these are ideal. I make a double batch when I know I have a gathering coming up, because a single batch of six to eight jars goes fast. The assembled jars sitting in the fridge are also very hard to ignore — my husband has a habit of "just checking how they're setting" at 10pm, which is how I know the recipe is working.
If you're in a baking mood and want to keep going, my Boston Cream Pie Cookies use a similar cream cheese and pastry cream situation — completely different vibe, but same idea of building familiar flavors into a new format. Worth a look if you liked how these jars turned out.
Make these once and I think you'll understand why Zainab's bake sale tray came home empty. 🍰❤️
If you liked this recipe, you might also enjoy these:
- Mini Ombre Cakes — beautiful layered cakes in miniature form, great for the same occasions
- Boston Cream Pie Cookies — classic flavors in a completely unexpected format
- Lemon Coconut Cheesecake Cookies — if you have leftover cream cheese frosting, this is what to make next
- Flag Cake Variations — more ideas for festive layered cakes and how to decorate them
- Apple Pie Biscuits — another dessert that looks impressive and comes together without much fuss





Comments
No Comments