
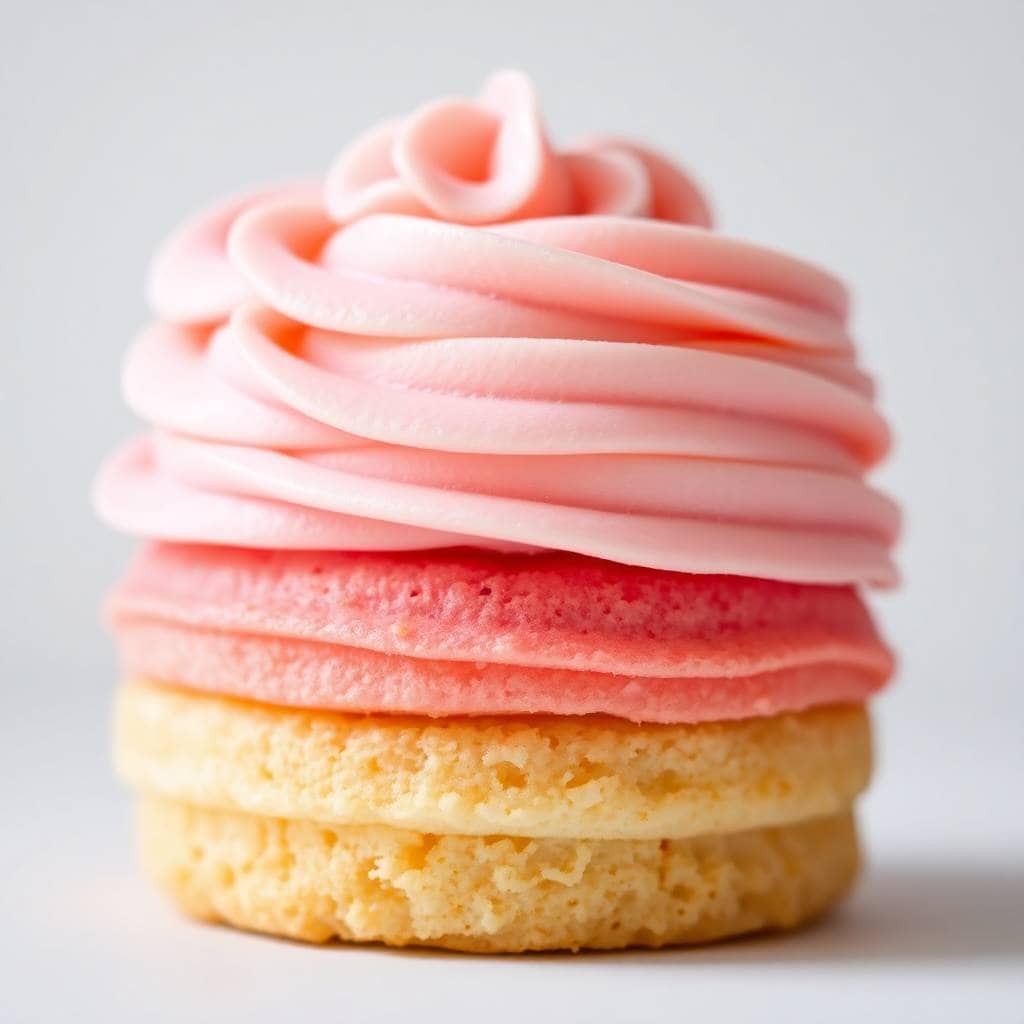
Not only do they look incredible, but their flavor is rich, and buttery. They’re perfect for birthdays, weddings, or even a quiet afternoon tea. The subtle differences in color make each bite feel like a mini celebration, adding excitement to every slice.
Not only do they look incredible, but their flavor is rich, and buttery. They’re perfect for birthdays, weddings, or even a quiet afternoon tea. The subtle differences in color make each bite feel like a mini celebration, adding excitement to every slice.
Their compact size makes them easy to package and perfect for sharing with friends and loved ones. Each layer melts in your mouth and leaves a delightful vanilla finish.
Best of all, making these cakes is a fun experience. From mixing colors to layering batter, every step is enjoyable and creatively fulfilling. They are also great for gifting. You can make a batch, decorate each uniquely, and surprise your favorite people.
WHY YOU WILL LOVE THIS RECIPE
- Show-Stopping Appearance: These cakes feature beautiful ombre layers that make every slice Instagram-worthy and party-perfect.
- Customizable Colors: Choose any color palette to match your event, season, or personal style for endless visual creativity.
- Moist Texture: Each mini cake is soft and tender with a buttery vanilla flavor that melts in your mouth.
- Perfect for Gifting: Their small size makes them great for packaging as thoughtful, homemade gifts for birthdays, showers, or holidays.
- Fun to Bake: The layering process is enjoyable, allowing you to explore your artistic side in the kitchen.
- Versatile Occasions: Ideal for parties, weddings, anniversaries, or just because—they suit any celebration or cozy moment.
- Impressive Yet Simple: They look professionally made, yet are easy enough for beginner bakers to master with a little patience.
INGREDIENTS
- 1 ½ cups all-purpose flour
- 1 ½ teaspoon baking powder
- ¼ teaspoon salt
- ½ cup unsalted butter, softened
- 1 cup granulated sugar
- 2 large eggs
- 2 teaspoon vanilla extract
- ½ cup whole milk
- Gel food coloring (3–4 shades of one color)
- Buttercream frosting (for decorating)
DIRECTIONS
- Step No.1: Prepare the oven and pans
Preheat your oven to 350°F (175°C). Line a mini cake pan or cupcake pan with parchment paper or liners for easy release.
- Step No.2: Mix the dry ingredients
In a medium bowl, whisk together flour, baking powder, and salt. Set aside while preparing the wet ingredients.
- Step No.3: Cream butter and sugar
In a large mixing bowl, beat the softened butter and sugar until light and fluffy. This will take about 2–3 minutes.
- Step No.4: Add eggs and vanilla
Add eggs one at a time, beating well after each addition. Stir in vanilla extract and mix until fully combined.
- Step No.5: Combine wet and dry ingredients
Alternately add the flour mixture and milk to the butter mixture, beginning and ending with the flour. Mix just until combined.
- Step No.6: Divide and color the batter
Divide the batter evenly into 3–4 bowls. Tint each with increasing amounts of food coloring to create an ombre gradient.
- Step No.7: Layer the batter in pans
Spoon a layer of the darkest shade into the bottom of each mold, followed by lighter shades. Repeat until all batter is used.
- Step No.8: Bake the cakes
Bake for 18–22 minutes or until a toothpick comes out clean. Let the cakes cool in the pan for 5 minutes, then transfer to a wire rack.
- Step No.9: Frost and decorate
Once completely cooled, frost the cakes with buttercream. Pipe designs or add sprinkles for extra flair if desired.

TIPS FOR SUCCESS
- Use Gel Food Coloring: Gel food coloring provides vibrant shades without altering the batter’s consistency.
- Don’t Overmix Batter: Overmixing can lead to dense cakes—mix just until the flour disappears for soft, fluffy results.
- Even Batter Division: Use a kitchen scale to ensure even amounts of batter for perfectly uniform layers.
- Pre-chill Pans: Slightly chilling the pan before layering can help keep colors from blending too much.
- Check for Doneness Early: Mini cakes bake faster—start checking a few minutes before the suggested time.
- Cool Completely Before Frosting: Frosting warm cakes will melt the buttercream and ruin the texture and look.
- Practice Piping Techniques: Take time to practice simple piping before decorating for a polished, professional finish.
VARIATIONS
- Chocolate Ombre Cakes: Replace vanilla extract with cocoa powder and add espresso for a rich, chocolatey gradient twist.
- Lemon Zest Layers: Add lemon zest and juice to the batter for a citrusy, zesty flavor in each colorful bite.
- Rainbow Surprise Cakes: Instead of one color family, use different rainbow shades for a playful, bright interior.
- Mini Ombre Cupcakes: Bake as cupcakes instead of mini cakes for an easier serving and sharing option.
- Holiday-Themed Colors: Choose reds and greens for Christmas, or pastels for Easter to match seasonal celebrations.
- Flavored Frosting Options: Use strawberry, chocolate, or cream cheese frosting to complement the cake flavors.
- Layer with Fruit Jam: Add a thin layer of raspberry or strawberry jam between cake layers for a sweet, fruity surprise.
SERVING AND STORAGE
Serving
Serve chilled or at room temperature with tea, coffee, or champagne for a beautiful and elegant dessert experience.
Storage
Store cakes in an airtight container at room temperature for 2 days or refrigerate for up to 5 days.
FAQ
Yes, wrap each unfrosted cake in plastic wrap and freeze up to 2 months. Thaw and decorate as needed.
Gel food coloring is ideal because it delivers vibrant colors without thinning the batter.
Yes, substitute the all-purpose flour with a 1:1 gluten-free diet baking flour blend for similar results.
Yes, substitute the all-purpose flour with a 1:1 gluten-free diet baking flour blend for similar results.
Absolutely. Just adjust baking time accordingly and check doneness with a toothpick inserted in the center.
Their colorful layers not only look impressive but also make the experience of eating them more joyful and memorable.
The versatility of the recipe means you can experiment with flavors, colors, and decorations to suit the theme of your event.
In the end, baking these mini ombre cakes is more than just making dessert—it's an artistic, satisfying experience that delivers joy from first mix to final bite.
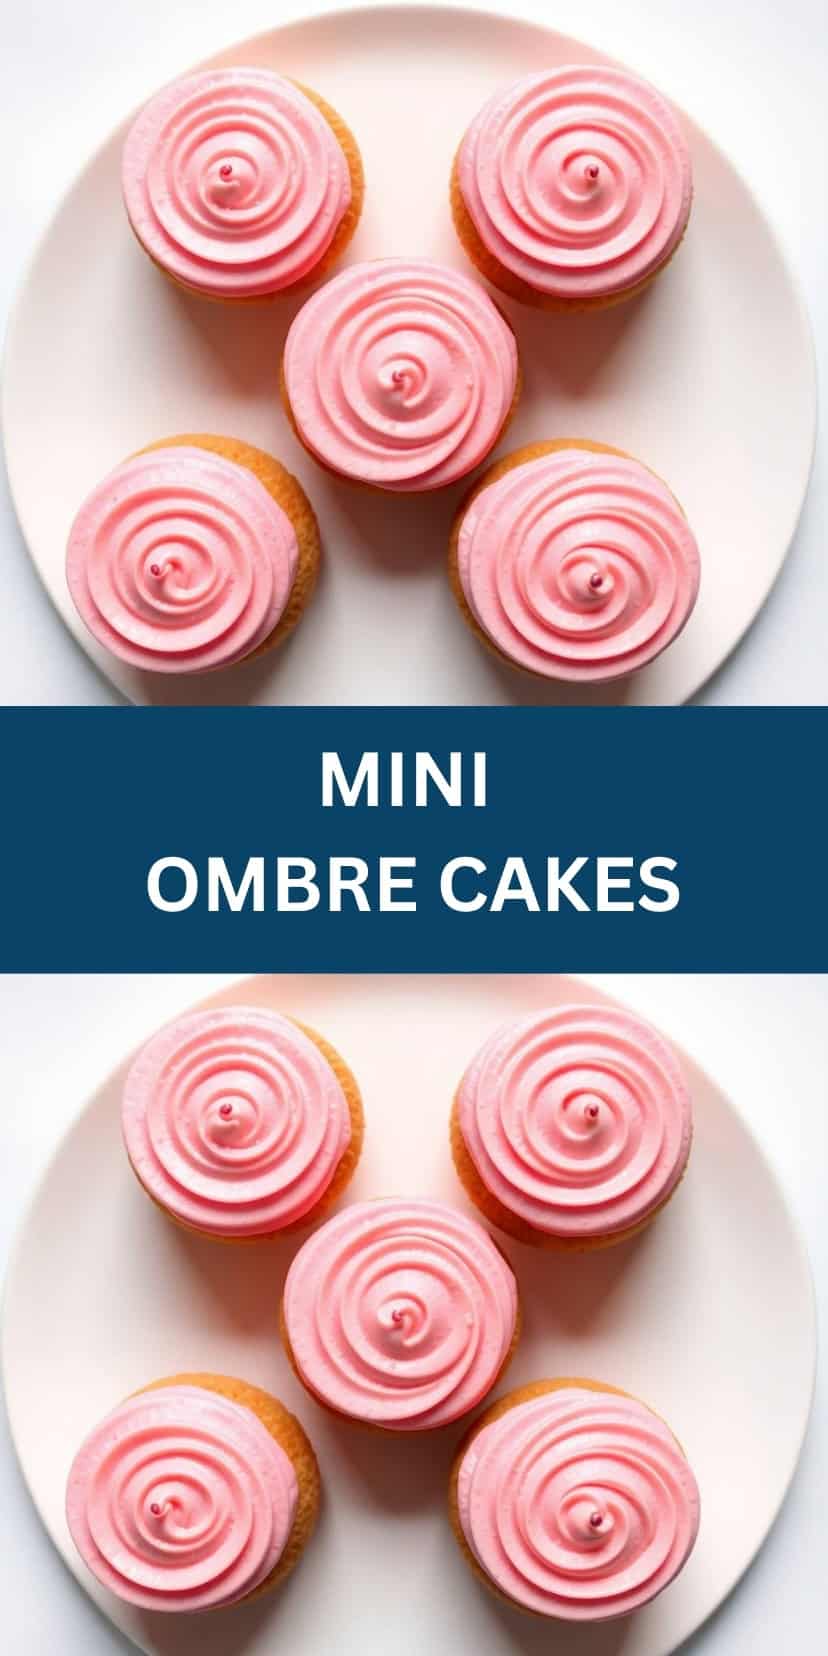
MINI OMBRE CAKES
Ingredients
- 1 ½ cups all-purpose flour
- 1 ½ teaspoons baking powder
- ¼ teaspoon salt
- ½ cup unsalted butter softened
- 1 cup granulated sugar
- 3 large eggs
- 2 teaspoons vanilla extract
- ¾ cup milk
- Gel food colouring 3–4 shades
- 1 ½ cups buttercream frosting
Instructions
- Preheat the Oven: Preheat oven to 350°F (175°C). Grease and line 3–4 small cake pans or muffin tins.
- Mix Dry Ingredients: Whisk together flour, baking powder, and salt. Set aside.
- Make the Batter: In a large bowl, beat butter and sugar until light and fluffy. Add eggs one at a time, then vanilla. Gradually add dry ingredients alternately with milk.
- Divide and Colour: Divide batter into separate bowls and tint each with gel food colouring, from light to dark shades.
- Bake Layers: Pour each coloured batter into prepared pans. Bake for 20–25 minutes or until a toothpick comes out clean. Cool completely.
- Assemble and Frost: Stack the layers from lightest to darkest, spreading buttercream between each layer. Frost the outside evenly.
- Serve: Slice and enjoy these beautiful mini ombre cakes.
Notes
- Make Ahead: Cakes can be baked a day in advance and stored covered at room temperature. Frost before serving.
- Customizing the Flavor: Add a hint of almond or lemon extract for extra flavour. Top with sprinkles for festive occasions.
- Serving Suggestions: Serve with tea, coffee, or a scoop of ice cream for a delightful treat.
- Allergy-Friendly Options: Use dairy-free butter and milk for a vegan-friendly version.
- Storage Tips: Store in an airtight container at room temperature for up to 2 days or refrigerate for up to 4 days.





Comments
No Comments