
I discovered dump cakes completely by accident. I was looking for something to bring to a school event, had maybe 40 minutes, and stumbled across the concept of just layering things in a pan and letting the oven do the work. I was skeptical — I kept thinking, this can't actually taste good. Then I made it, and both Saad and Zainab ate three pieces each.
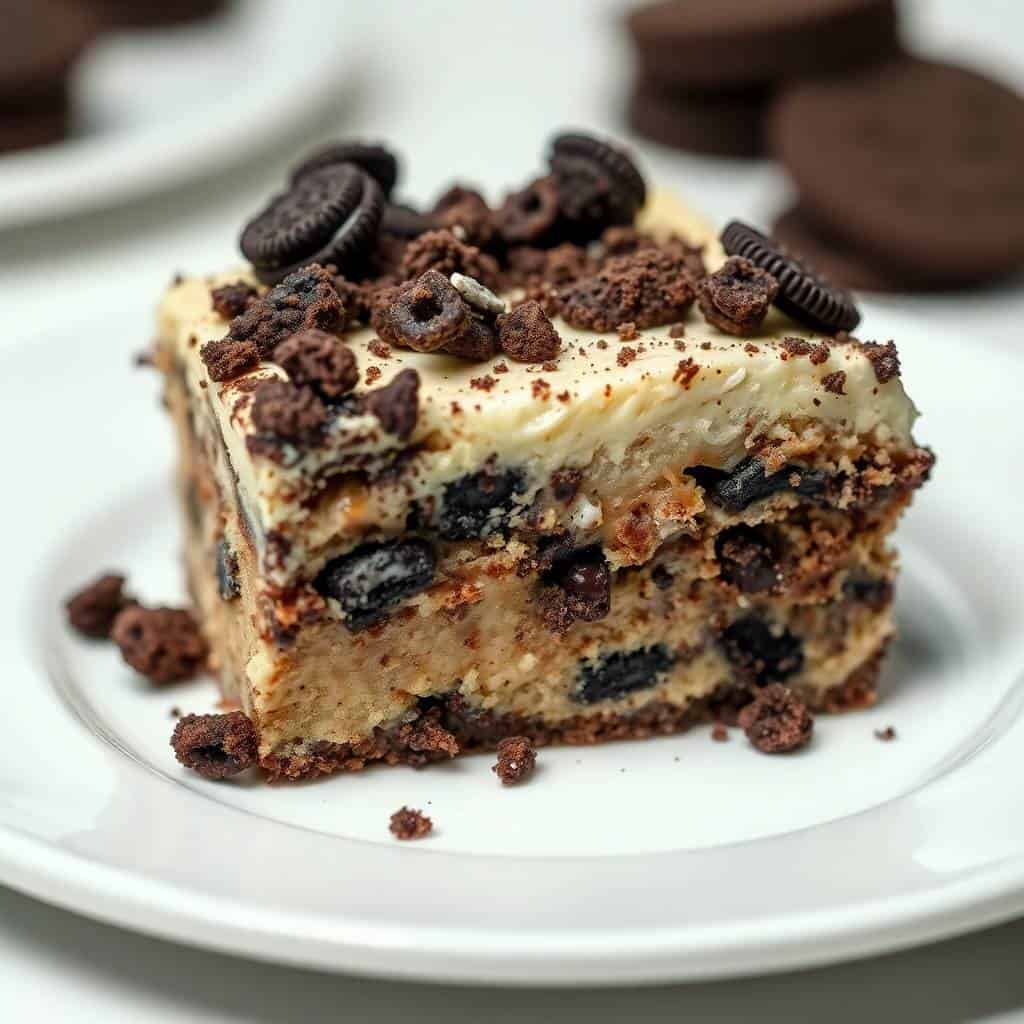
What makes this Oreo version work is the chocolate-on-chocolate layering. You've got whole Oreos on the bottom that soften into something almost brownie-like, then prepared chocolate pudding soaking into dry cake mix, then a whole cup of melted butter pulling it all together into gooey, fudgy layers. It's not a cake in the traditional sense — it's more like a cobbler made with Oreos, which honestly sounds better anyway.
I make this when I need a no-stress dessert that still gets a reaction. It shows up at birthday dinners, school potlucks, and honestly sometimes just a random Tuesday night when we need something sweet. If you like easy chocolate desserts, you might also want to bookmark my hot fudge chocolate pudding cake — it's a similar vibe but with a totally different texture.
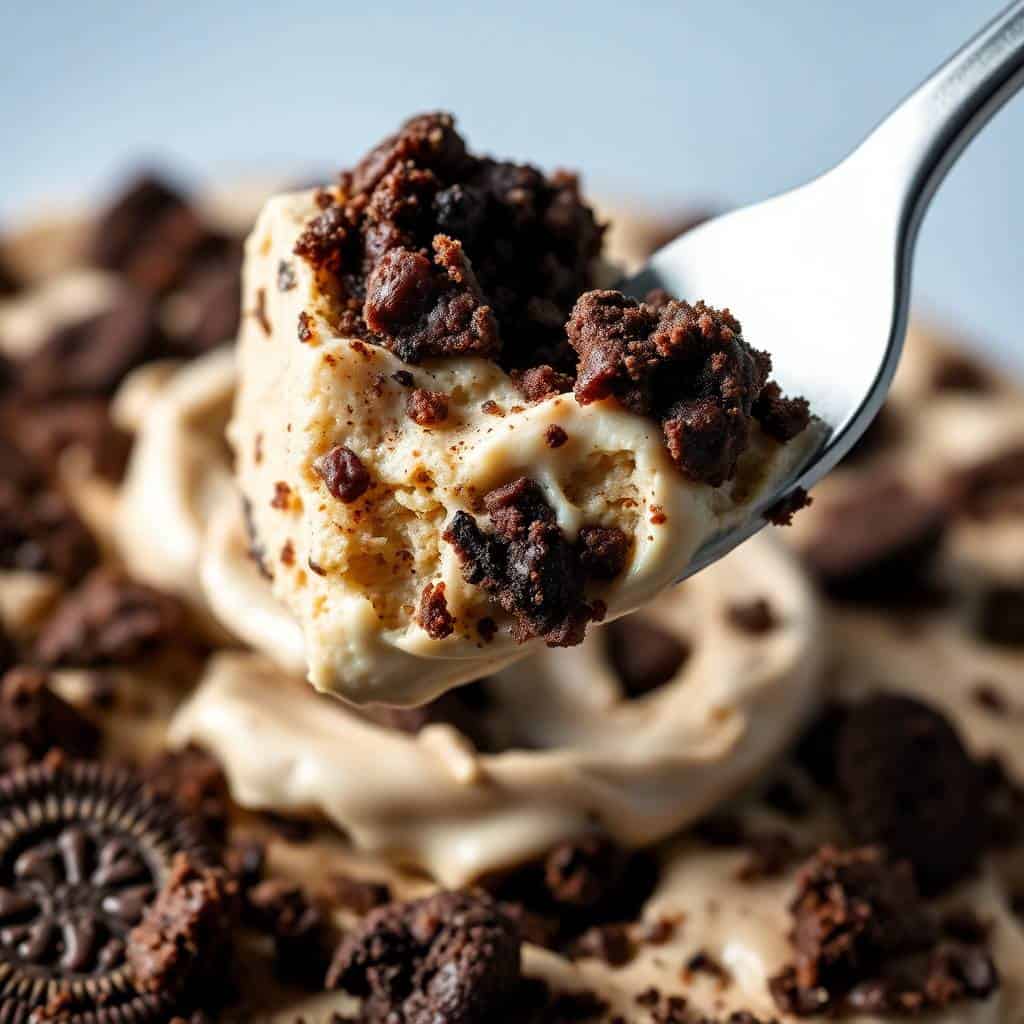
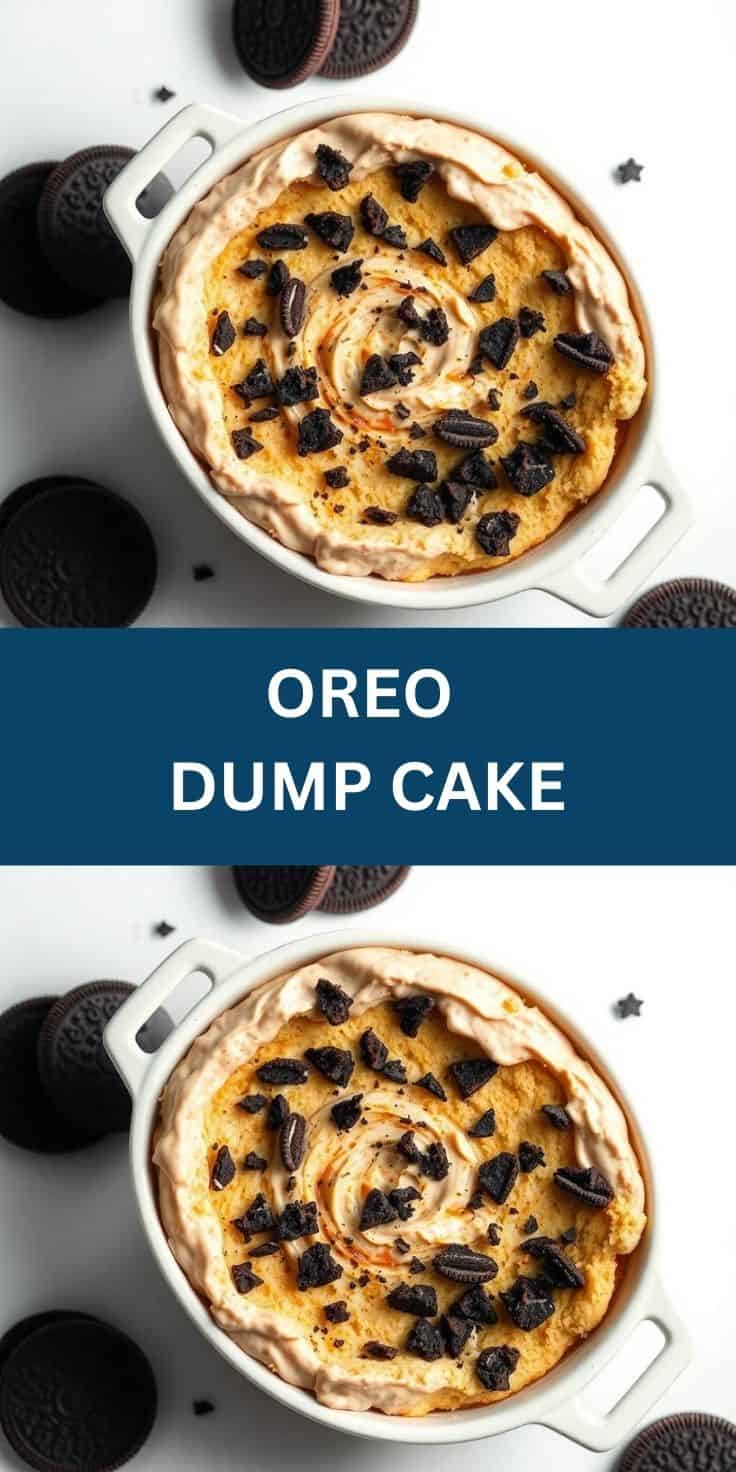
One thing to set expectations: this is not a neat, sliceable layer cake. It comes out gooey and scoopable, especially in the middle, and that's exactly what you want. If you pull it out and it looks a little messy — good. Serve it warm with a scoop of vanilla ice cream and nobody will complain about presentation.
Why You'll Love This Recipe
- No mixing, no fuss: The whole point of a dump cake is that you don't cream butter, don't beat eggs, don't sift flour. You layer things in a pan and put it in the oven. I've made this after a long day when I had zero patience for actual baking, and it came out just as good as when I was paying close attention.
- Five ingredients, all easy to find: Everything here comes from the regular grocery store — a box of chocolate cake mix, a package of Oreos, a can of prepared chocolate pudding, butter, and whatever you want on top. No specialty stores, no unusual ingredients. I've grabbed everything at Walmart in one quick run.
- The texture is something else: The bottom layer of Oreos goes soft and almost fudgy from the pudding soaking into them. The top gets slightly crisp where the butter hits the dry cake mix. In the middle it's gooey. You get all three textures in one spoonful, which is why this disappears so fast.
- Kids can actually help make it: Zainab loves laying out the Oreos in the pan. Saad pours the pudding. It's the kind of recipe where kids feel involved without me worrying about raw eggs or anything complicated. And then they're invested in eating it, which is always a bonus.
- It works warm or cold: Warm from the oven with ice cream is the move. But I've also eaten this cold from the fridge the next morning and it's completely different — denser, more like a fudge bar. Both versions are worth trying.
Ingredients
- 36 Oreo cookies (about 1 standard package)
- 1 box chocolate cake mix (15.25 oz — any brand works, I usually use Duncan Hines)
- 1 can (15 oz) prepared chocolate pudding (Jell-O brand is at every grocery store)
- 1 cup (2 sticks / 225g) unsalted butter, melted
- Optional for serving: vanilla ice cream or whipped cream
Directions
- Preheat and prep your pan: Heat the oven to 350°F (175°C). Grease a 9x13-inch baking dish with cooking spray or butter. I use a glass dish because I like being able to see the layers through the sides — totally optional, metal pan works fine too.
- Layer the Oreos: Spread all 36 Oreos in a single layer across the bottom of the dish. You want them touching, covering the whole base. Don't crush them — they'll soften beautifully in the oven and you lose that texture contrast if they're already broken up.
- Pour the chocolate pudding: Open the can of prepared pudding and pour it evenly over the Oreo layer. Use a spoon or spatula to spread it so every cookie gets covered. The pudding soaks into the Oreos during baking and turns the bottom layer fudgy and soft.
- Add the dry cake mix: Open the box of cake mix and sprinkle it evenly over the pudding layer. Do not stir — just spread it out as evenly as you can across the whole surface. This dry layer is what creates the slightly crisp, cakey top.
- Pour the butter: Drizzle the melted butter as evenly as possible over the dry cake mix, trying to cover the whole surface. If there are a few dry patches, that's okay — they'll still bake through. The butter is what activates the cake mix and turns it from powder to actual cake.
- Bake: Bake for 35–40 minutes until the top is set and golden and the edges are bubbling. The center might still look a little jiggly — that's fine, it firms up as it cools.
- Cool slightly before serving: Let it sit for at least 10–15 minutes before scooping. Serve warm as-is, or with vanilla ice cream. Add whipped cream on top if you want.
Tips for Success
- Do not stir the layers: The first time I made a dump cake I got nervous looking at the dry cake mix sitting on top and stirred it slightly. Big mistake — the whole texture changed, and it baked up more like a dense brownie than the gooey layered thing it's supposed to be. The layers need to stay separate to do their thing in the oven. Trust the process.
- Spread the butter as evenly as you can: I pour mine slowly back and forth across the pan in a zigzag pattern. The goal is to wet as much of the cake mix surface as possible. Dry patches at the edges can turn powdery after baking. If you're nervous, melt a little extra butter — a couple extra tablespoons won't hurt.
- Use prepared pudding, not instant mix: The recipe calls for a can of already-prepared chocolate pudding, not a dry pudding mix packet. They're different things. The prepared pudding comes in a can (Jell-O Chocolate Pudding Snacks or similar) and has the right consistency to soak into the Oreos. Dry mix won't hydrate the same way.
- Don't overbake: I pulled mine out at 45 minutes once and the edges got too dry and crisp while the middle was fine. Start checking at 35 minutes. You want the top to look golden and set, edges bubbling, but the center can still have a slight wobble. It continues to set as it cools on the counter.
- Let it rest before scooping: I know it's hard to wait, but 10–15 minutes of cooling makes a real difference. It goes from molten-lava territory to actually scoopable. If you're serving it at a party, pull it from the oven 20 minutes before you plan to serve so it has time to settle.
Variations
- Add peanut butter: Drop spoonfuls of peanut butter (about ¼ cup) over the pudding layer before adding the cake mix. It melts into pockets of nutty richness throughout the cake. My husband does this every single time now — he doesn't consider the original version complete without it.
- Mint chocolate version: Swap in Mint Oreos and use a chocolate fudge cake mix. The mint flavor comes through in every layer and makes it feel a bit more special, like something you'd order at a restaurant. This is a good option for holiday gatherings — it feels a little more festive than the standard version.
- Add a berry layer: Spread a layer of cherry pie filling or raspberry jam over the Oreos before adding the pudding. Chocolate and cherry is a classic combination and the tartness cuts through the sweetness of everything else. A can of cherry pie filling from any grocery store works perfectly here.
- Golden Oreo + vanilla version: Use Golden Oreos, vanilla pudding, and a yellow cake mix for something lighter and less intensely chocolatey. This is the version I make when I need something a little different — it's almost like a warm vanilla cream cookie bar. The kids like this one just as much as the original.
- Extra chocolate everything: Use chocolate fudge cake mix, add ½ cup of semi-sweet chocolate chips between the pudding layer and the cake mix, and drizzle with hot fudge sauce after baking. This is for serious chocolate moments. I make this version when I want something that feels really indulgent — it pairs well with vanilla cream caramels on the side if you're doing a full dessert spread.
Serving and Storage
Serving
Serve warm, scooped straight from the pan into bowls. Vanilla ice cream is the classic pairing — the cold ice cream against the warm gooey cake is really the best way to eat this. Whipped cream works too, though it melts faster. If you're serving this at a party, set it up as a self-serve situation with a big spoon and bowls nearby — people come back for seconds. For a full dessert night, this goes nicely alongside something like cookie dough truffles if you want variety.
Storage
Cover the pan with plastic wrap or foil and keep it in the fridge for up to 4 days. It firms up in the fridge and turns into something closer to a dense fudge bar, which I actually love cold. To reheat, scoop out a portion and microwave it for 20–30 seconds until it's warm and gooey again. I don't recommend freezing this one — the texture gets a bit watery when it thaws.
Frequently Asked Questions
Can I make this Oreo dump cake ahead of time?
Yes — you can assemble the whole thing, cover it, and keep it in the fridge unbaked for up to 24 hours. Then bake it straight from the fridge, adding about 5 extra minutes to the bake time. Just don't add the whipped cream or ice cream until right before serving.
Do I need to crush the Oreos first?
No, leave them whole. They soften during baking and end up with a texture somewhere between a cookie and a brownie at the bottom of the pan. Crushing them changes the texture completely — the bottom becomes more uniform and you lose that contrast. I tried it once out of curiosity and preferred the whole-cookie version.
Can I use a different flavor of pudding?
Absolutely. Vanilla pudding with Golden Oreos and yellow cake mix is a great variation. Butterscotch pudding with regular Oreos is surprisingly good too. The only thing to keep consistent is using prepared (ready-to-eat) pudding from a can, not a dry mix packet — the texture is different and won't work the same way.
What if I don't have evaporated milk — do I need it for this recipe?
This version of the recipe uses prepared pudding instead of evaporated milk, so you don't need it at all. The pudding provides the moisture that activates the cake mix. Just make sure you're using the canned prepared pudding, not a dry mix, and you're good.
How do I know when it's done baking?
The edges will be bubbling and slightly pulling away from the sides of the pan, and the top will look golden and set rather than shiny and wet. The center can still have a slight jiggle — it firms up as it cools. I start checking at 35 minutes and usually pull it between 37 and 40. Every oven runs a little different so keep an eye on it that last stretch.
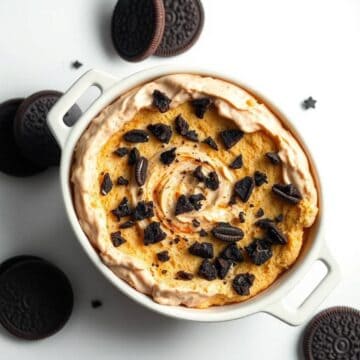
This Oreo dump cake has become my go-to answer for "what do I bring to this thing" questions. Potluck at school? Oreo dump cake. Someone's birthday and I have two hours of notice? Oreo dump cake. Night when we just want something warm and chocolatey? Also Oreo dump cake. It's the kind of recipe that doesn't require you to be in a good cooking headspace — you just need to be able to open packages and turn on an oven.
What I keep coming back to is how the textures work together. The bottom layer of soft Oreos, the fudgy middle from the pudding, the slightly cakey top — it eats more like a cobbler than a traditional cake, and that's part of why it's so satisfying. If you're into this kind of easy, no-fuss chocolate dessert, my gingerbread cake with cinnamon molasses frosting is another low-stress bake that gets a big reaction for minimal effort.
Make it once and you'll have the whole thing memorized — it's that simple. Scoop it warm, add ice cream, and enjoy the fact that you made something this good without dirtying a single mixing bowl. 🍫🍪✨
OREO DUMP CAKE
Ingredients
- 36 Oreo cookies about 1 package
- 1 box chocolate cake mix
- 1 can 15 oz chocolate pudding, prepared
- 1 cup butter melted
- Optional: whipped cream or ice cream for serving
Instructions
- Preheat Oven: Preheat oven to 350°F (175°C). Grease a 9x13-inch baking dish.
- Layer Ingredients: Spread Oreo cookies evenly on the bottom of the dish. Pour prepared chocolate pudding over the cookies. Sprinkle dry cake mix evenly on top.
- Add Butter: Drizzle melted butter evenly over the cake mix.
- Bake: Bake 35–40 minutes until top is golden and bubbly. Let cool slightly before serving.
- Serve: Serve warm with whipped cream or ice cream if desired.
Notes
- Make Ahead: Assemble the dump cake in advance; refrigerate and bake when ready.
- Flavor Variations: Use white chocolate or peanut butter pudding for a different twist.
- Serving Suggestions: Serve at parties, family dinners, or holiday gatherings.
- Storage Tips: Store leftovers in an airtight container at room temperature for 2 days or in the fridge for up to 4 days.
If you liked this, here are a few more recipes worth having in your back pocket:
- Hot Fudge Chocolate Pudding Cake — another one-pan chocolate dessert, different texture but just as easy
- Cookie Dough Truffles — no-bake, great for making ahead, and kids go absolutely wild for them
- Vanilla Cream Filled Caramels — for when you want something a little more special to put out alongside dessert
- Gingerbread Cake with Cinnamon Molasses Frosting — a low-effort cake that punches way above its weight
- Bacon, Egg and Cheese Biscuit Bake — because after a dessert this rich, you'll want something equally satisfying for breakfast the next morning




Comments
No Comments