
I keep a running mental list of what to do when bananas go fully black on my counter. Banana chips, smoothies, the classic plain loaf — but the one I actually get excited about is this chocolate banana bread. It started as an experiment a couple of years ago when I had four very sad bananas and a half-empty tin of cocoa powder, and I just decided to throw them together. I did not expect it to become the thing my family requests by name.
What makes this loaf work is that the bananas aren't just a flavor — they're doing structural work. They keep the crumb moist in a way that no amount of extra butter can replicate. The cocoa powder gives it a deep, almost brownie-like character, and the two together produce something that sits right between a proper chocolate cake and a classic quick bread. I use softened butter here rather than oil (the WPRM card below reflects the final tested version), and I think it gives the loaf a slightly richer bite than the oil-based versions I tried first.
My kids go through phases with food, but this one has held steady. Zainab likes hers with a thin spread of butter while it's still slightly warm. My husband slices it thick and eats it with his morning tea. I've made it for school bake sales, brought it to a neighbor's house, and honestly made it just for myself on a quiet Tuesday afternoon. It travels well, keeps well, and smells incredible while it's baking. If you're looking for a weekend baking project that's low-stress but genuinely impressive, this is a good one to have in your back pocket — same energy as my mini pancake recipe, just more chocolaty and way more dramatic-looking when you slice it.
One thing to manage expectations on: this loaf takes a full hour in the oven, sometimes a touch more. The first time I made it I pulled it at 50 minutes because the top looked done. The inside was still wet in the center. Lesson learned — trust the toothpick, not the top crust. I'll say more about this in the tips below, but don't rush the baking time.
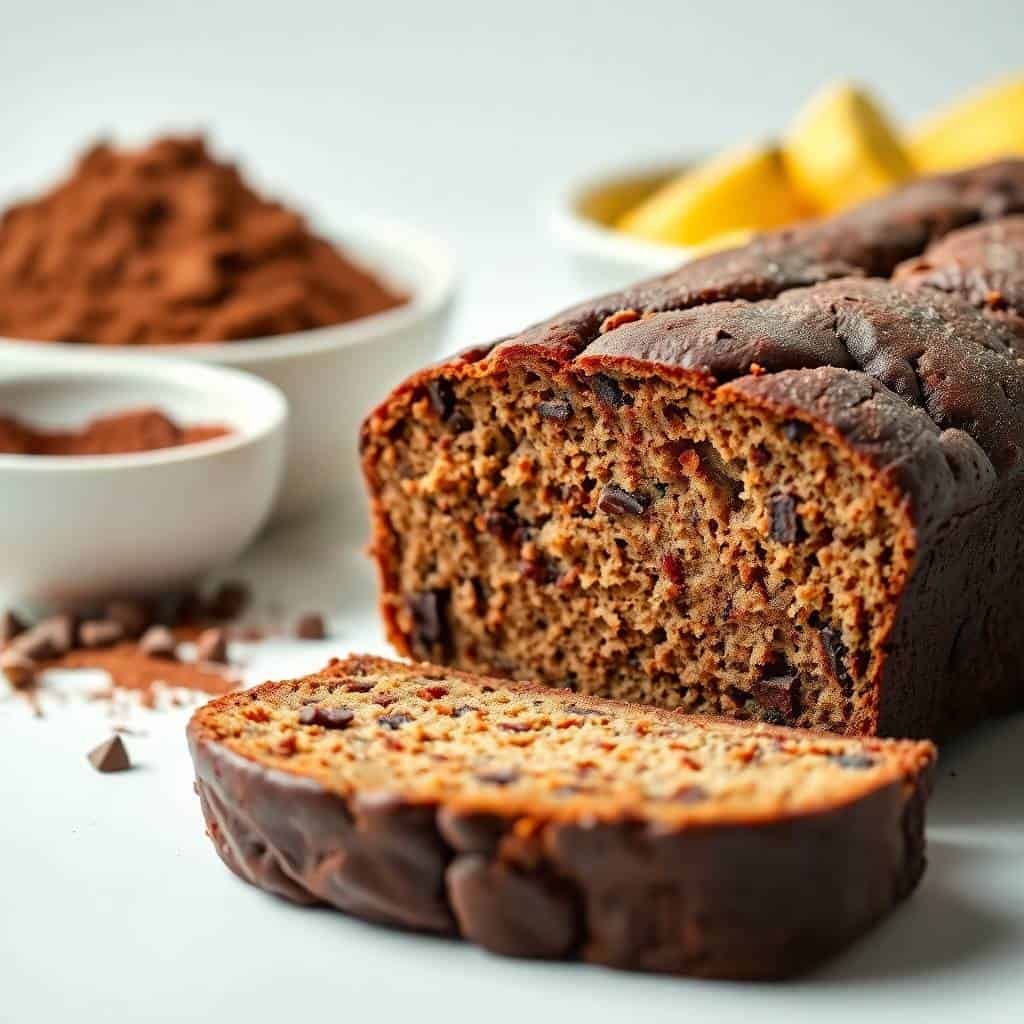
Why You'll Love This Recipe
- It uses bananas you'd otherwise throw away: The blacker the banana, the better this loaf gets. I used to feel vaguely guilty about spotty bananas sitting on my counter — now I actually look forward to them. The natural sugars in overripe bananas concentrate as they ripen, which means the bread is sweeter and more flavorful without adding extra sugar. If I see my bananas going dark, I leave them for one more day on purpose.
- The crumb stays moist for days: Unlike some quick breads that dry out by day two, this one actually holds up well through the week if you wrap it properly. I think the combination of butter, mashed banana, and cocoa creates a really forgiving base. I've eaten a slice on day four that was just as good as day one, which is not something I can say about most baked goods I make.
- It's genuinely simple to make: You need two bowls, a loaf pan, and a fork for mashing. I don't have a stand mixer and I don't need one for this — creaming the butter and sugar by hand with a wooden spoon takes maybe three minutes and builds some character. No special equipment, no specialty ingredients beyond cocoa powder, which you can find in any Walmart or Aldi baking aisle.
- The chocolate chips on top melt into something wonderful: If you scatter a few extra chocolate chips on the surface before baking, they melt and sort of set into a thin layer of chocolate on the crust. It's a small thing but it looks beautiful and tastes even better. Zainab noticed this the first time I did it and now she reminds me every time I'm making the batter.
- It freezes well: I usually make a double batch because one loaf disappears within two or three days. The second loaf goes into the freezer in individual slices, wrapped in foil. On mornings when I haven't had time to think about breakfast, I pull out a slice, let it thaw on the counter for 20 minutes, and that's sorted. It comes back to life really nicely.
Ingredients
- 1 ½ cups all-purpose flour
- ½ cup unsweetened cocoa powder
- 1 teaspoon baking soda
- ¼ teaspoon salt
- ½ cup unsalted butter, softened (leave it out on the counter for 30 minutes — cold butter won't cream properly)
- ¾ cup granulated sugar
- 2 large eggs
- 3 ripe bananas, mashed (the riper the better — very black skin is ideal)
- 1 teaspoon vanilla extract
- ½ cup chocolate chips, optional (I add them every time — semi-sweet works great)
Directions
- Preheat the oven: Set your oven to 350°F (175°C). Grease a 9x5-inch loaf pan well, or line it with parchment paper. I prefer parchment — the bread lifts out cleanly and I don't have to scrape anything.
- Mix the dry ingredients: In a medium bowl, whisk together the flour, cocoa powder, baking soda, and salt. Whisking breaks up any cocoa lumps and saves you from finding dry pockets in the finished loaf. Set this bowl aside.
- Cream the butter and sugar: In a large bowl, beat the softened butter and sugar together until it looks light and fluffy — about 2-3 minutes by hand with a wooden spoon, or 1 minute with a hand mixer. This step builds the structure of the bread, so don't skip it and don't rush it.
- Add the wet ingredients: Add the eggs, mashed bananas, and vanilla extract to the butter-sugar mixture. Stir until everything is combined and mostly smooth. It'll look a little curdled — that's fine, it comes together once the flour goes in.
- Fold in the dry ingredients: Add the flour mixture to the banana mixture gradually, folding it in gently. Stop as soon as you can't see dry flour. Overmixing develops gluten and makes the bread tough — this is the most important thing to get right in quick bread baking.
- Stir in the chocolate chips: If you're using them, fold in most of the chips now. Save a small handful to scatter on top of the batter before it goes in the oven — it makes a nicer-looking crust.
- Bake: Pour the batter into your prepared loaf pan and smooth the top. Bake for 50–60 minutes, until a toothpick inserted in the center comes out clean or with just a few moist crumbs. Check it at 50 minutes but don't be surprised if it needs the full hour or a few minutes more.
- Cool properly: Let the bread sit in the pan for 10 minutes before turning it out onto a wire rack. Then let it cool for at least another 20 minutes before slicing. I know it's hard to wait — but cutting it too early means the center is still setting and you'll get a gummy slice.
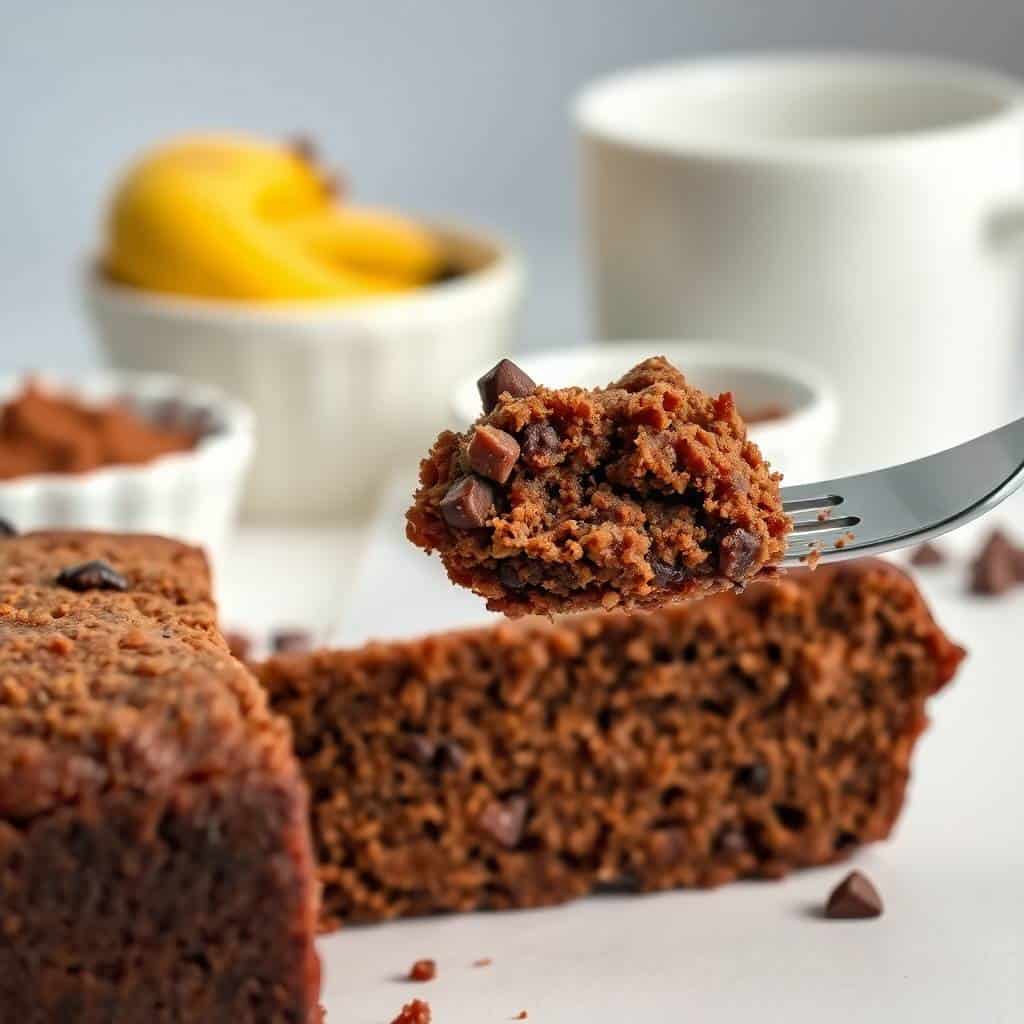
Tips for Success
- Really let the butter soften: I learned this one the hard way — I've tried to rush it by microwaving butter for a few seconds, and it goes partially melted rather than soft, which changes the whole texture of the batter. Set your butter out 30 to 45 minutes before you start. In a warm kitchen, even 20 minutes usually does it. The butter should leave an indent when you press it but not feel greasy or slick.
- Use the toothpick, not the clock: My oven runs slightly hot, so my loaf is sometimes done closer to 50 minutes. A friend's oven runs cool and hers takes 65. Every oven is different, so start checking at 50 minutes and go from there. Insert the toothpick into the very center of the loaf — if it comes out with wet batter clinging to it, give it 5 more minutes and check again.
- Don't overmix once the flour goes in: Quick breads are not like cake batter — you don't want to work the gluten. Once you add the flour mixture, stir gently and stop when the batter just comes together. A few small streaks of flour are fine; they'll absorb during baking. The times I've overmixed, the loaf came out noticeably denser and more rubbery.
- Sift the cocoa if it's lumpy: Cocoa powder clumps, especially if it's been sitting in the pantry for a while. If yours is lumpy, run it through a fine mesh strainer before adding it to the flour. It takes 30 seconds and saves you from biting into a chalky cocoa pocket in your otherwise perfect loaf.
- Wrap it while it's still slightly warm: If you're storing it for more than a day, wrapping the loaf while it still has a little warmth to it (not hot, but not fully cold) seems to help it stay moist longer. I use a layer of plastic wrap and then foil over the top. Stored at room temperature, it keeps really well for 3 days.
Variations
- Peanut butter swirl: Drop 3 tablespoons of peanut butter in small spoonfuls over the top of the batter before baking, then drag a knife through it to swirl. The peanut butter sets into the crust and creates this ribboned effect that looks much fancier than the effort it takes. My husband is obsessed with this version — he asks for it specifically now.
- Espresso boost: Add 1 teaspoon of instant espresso powder to the dry ingredients. You won't taste coffee in the finished bread — what it does is deepen the chocolate flavor and make the cocoa taste richer. I do this whenever I remember to, which is about half the time. Even Zainab, who dislikes actual coffee, can't tell it's there.
- Make it into muffins: Pour the batter into a greased 12-cup muffin tin and bake at 350°F for 20–25 minutes. Muffins are easier to portion out for school lunches and they cool faster. In Pakistan, serving individual portions like this at a gathering is very common — they're easier to hand out than sliced loaf, and nobody needs a plate.
- Add chopped walnuts: Fold in ½ cup of roughly chopped walnuts or pecans along with (or instead of) the chocolate chips. The nuts add a crunch that contrasts really nicely with the soft crumb. I buy the big bags from Costco and keep them in the freezer — they work perfectly baked straight from frozen, no need to thaw.
- White chocolate chips instead: Swap the semi-sweet chips for white chocolate chips. The sweetness level goes up and you get this interesting contrast between the dark cocoa crumb and the pockets of creamy white chocolate. It's a bit more dessert-y than the standard version, which is sometimes exactly what you want. Pair a slice with a cup of tea and I promise you won't regret it.
Serving and Storage
Serving
We eat this loaf at every time of day, honestly. In the morning, a thick slice with strong tea is a proper breakfast in my house. At room temperature it slices cleanly and holds together well. If you want to warm it up, 15 seconds in the microwave is all it needs — the chocolate chips (if you used them) go slightly melty again and it tastes freshly baked. For dessert, serve it with a scoop of vanilla ice cream or a spoonful of whipped cream alongside. If you're putting out a spread, it pairs really naturally next to something fruity — the bright, tangy flavors of my strawberry shortcake trifles balance the richness of this loaf beautifully if you're doing a full dessert table.
Storage
At room temperature, wrap the loaf tightly in plastic wrap or store slices in an airtight container. It keeps well for 3 days this way. For longer storage, refrigerate it — up to a week, though I find refrigerated banana bread loses a little moisture, so I prefer wrapping individual slices and freezing them instead. Frozen slices keep for up to 2 months. To thaw, just leave a slice on the counter for 20–30 minutes, or microwave for 20–25 seconds if you're impatient (I always am).
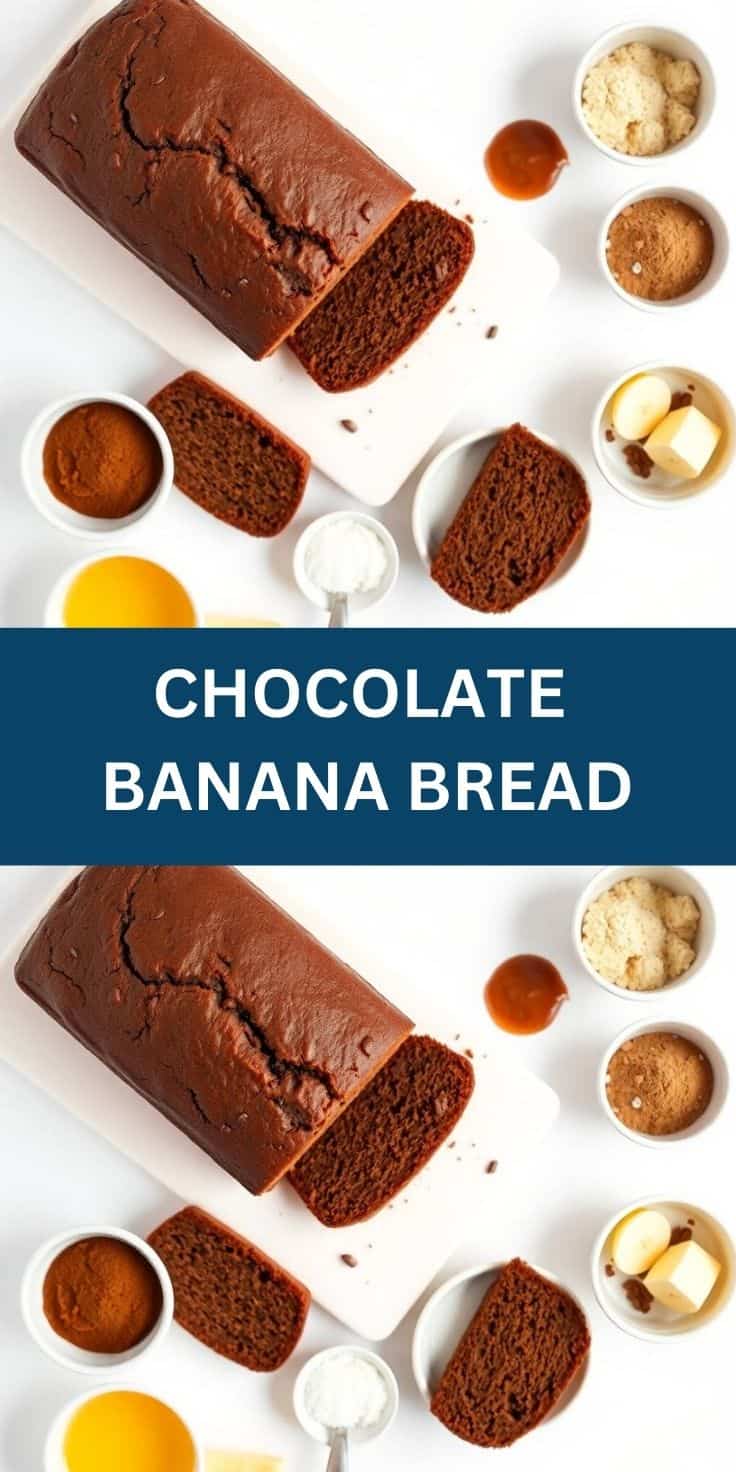
Frequently Asked Questions
Can I freeze chocolate banana bread?
Yes, and I actually think it's worth baking an extra loaf just for the freezer. Wrap individual slices in foil or plastic, then store them in a zip-top bag for up to 2 months. Thaw on the counter for 20–30 minutes or microwave for about 20 seconds. The texture comes back really nicely — I've done this dozens of times and it never disappoints.
Do I have to use chocolate chips?
Not at all. The bread is deeply chocolaty from the cocoa powder alone, and the chips are purely optional. I add them because my family likes the extra pockets of chocolate, but if you're skipping them — either because you're out or you want something slightly less sweet — the loaf still turns out great. You won't feel like something is missing.
Why did my banana bread sink in the middle?
Usually this happens for one of two reasons: either the bread was underbaked and the center was still wet when you removed it from the oven, or the oven door was opened too early (I've done this — the temperature drop causes the center to collapse). Always check with a toothpick before pulling the loaf, and resist the urge to open the oven before at least 45 minutes have passed.
Can I use melted butter instead of softened butter?
You can, but the texture will be different. Melted butter skips the creaming step, which means less air gets incorporated into the batter, and the finished loaf will be denser. It'll still taste good — just more fudgy and compact, less fluffy. If you only have melted butter (or you forgot to soften it in time), go ahead and use it, just adjust your expectations a little on the crumb.
Can I make this gluten-free?
Yes — swap the all-purpose flour for a 1:1 gluten-free baking flour (the kind that already has xanthan gum in it, like Bob's Red Mill 1-to-1). I've made it this way for a friend who can't eat gluten and it came out well. The texture is slightly different — a tiny bit denser and more crumbly — but the flavor is completely there. Don't substitute with almond flour or coconut flour directly; those need different ratios entirely.
CHOCOLATE BANANA BREAD
Ingredients
- 1 ½ cups all-purpose flour
- ½ cup cocoa powder
- 1 teaspoon baking soda
- ¼ teaspoon salt
- ½ cup unsalted butter softened
- ¾ cup granulated sugar
- 2 large eggs
- 3 ripe bananas mashed
- 1 teaspoon vanilla extract
- ½ cup chocolate chips optional
Instructions
- Preheat Oven: Preheat oven to 350°F (175°C). Grease a 9x5-inch loaf pan and set aside.
- Mix Dry Ingredients: In a bowl, whisk together flour, cocoa powder, baking soda, and salt.
- Prepare Wet Ingredients: In a large bowl, cream butter and sugar until light and fluffy. Add eggs, mashed bananas, and vanilla extract, mixing until combined.
- Combine Ingredients: Gradually fold in dry ingredients. Stir in chocolate chips if using.
- Bake: Pour batter into prepared loaf pan and bake for 50–60 minutes, or until a toothpick inserted in the center comes out clean.
- Cool and Serve: Allow to cool in the pan for 10 minutes, then transfer to a wire rack to cool completely before slicing.
Notes
- Make Ahead: Banana bread can be stored in an airtight container at room temperature for up to 3 days.
- Flavor Variations: Add chopped nuts, dried fruits, or swirl in peanut butter for extra flavor.
- Serving Suggestions: Serve warm with butter, nut butter, or a drizzle of chocolate.
- Storage Tips: For longer storage, wrap in plastic and freeze for up to 2 months; thaw before serving.
This is one of those recipes I come back to every few weeks without really planning to. I'll notice the bananas have gone completely black, I'll remember I have cocoa in the pantry, and an hour and a half later there's a loaf cooling on my rack that the whole house has started hovering around. It's become a reflex at this point — part baking, part instinct, part just knowing what my family will be happy to eat.
What I like most about it is how little it demands. No mixer required, no unusual ingredients, no complicated technique. The hardest part is waiting for it to cool before cutting into it, which I admit I'm not always great at. But the recipe itself is genuinely forgiving — I've forgotten the vanilla once, I've used three different varieties of chocolate chips, I've made it in a slightly smaller pan and just watched the baking time — it handles all of that with grace.
If you're on a baking streak this week, my strawberry shortcake trifles are another no-fuss option that looks far more impressive than the effort involved. And if you want something savory to balance all this chocolate, my cheesy enchilada chili is what I make for dinner on the same day I bake this bread — it's become an accidental tradition in our house.
I hope this one earns a spot in your regular rotation the way it has in mine. Next time you see those bananas going dark on your counter, you'll know exactly what to do. 🍫🍌✨
If you liked this, you might also enjoy these: