
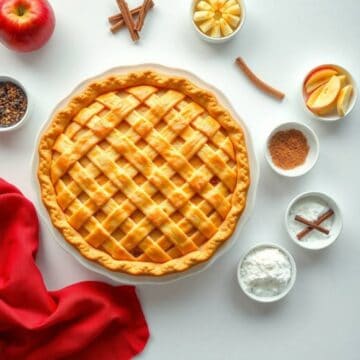
There’s something timeless about a classic apple pie that evokes warmth, comfort, and tradition. This beloved dessert brings together sweet apples, warm spices, and a flaky, golden crust to create a nostalgic flavor everyone loves.
The beauty of this recipe lies in its simplicity and ability to showcase the natural flavor of apples. A touch of cinnamon, and lemon enhances the fruit without overpowering it. Whether for holidays or a casual treat, it never disappoints.
You don’t need to be a professional baker to create this pie. With a few simple steps, you’ll craft a dessert that looks and tastes like it came from a bakery. It’s also a wonderful way to use fresh, seasonal apples in autumn or any time of year.
Serve it warm with a scoop of vanilla ice cream or a drizzle of caramel sauce for extra indulgence. The pie can also be made ahead, making it convenient for gatherings, parties, or special meals. everyone will ask for seconds—and the recipe, too.
Whether you’re baking for your family or impressing guests, this classic apple pie is a must-have in your dessert repertoire. It’s comfort food at its finest. Each slice delivers that perfect balance of tart, and spice that defines a traditional apple pie.
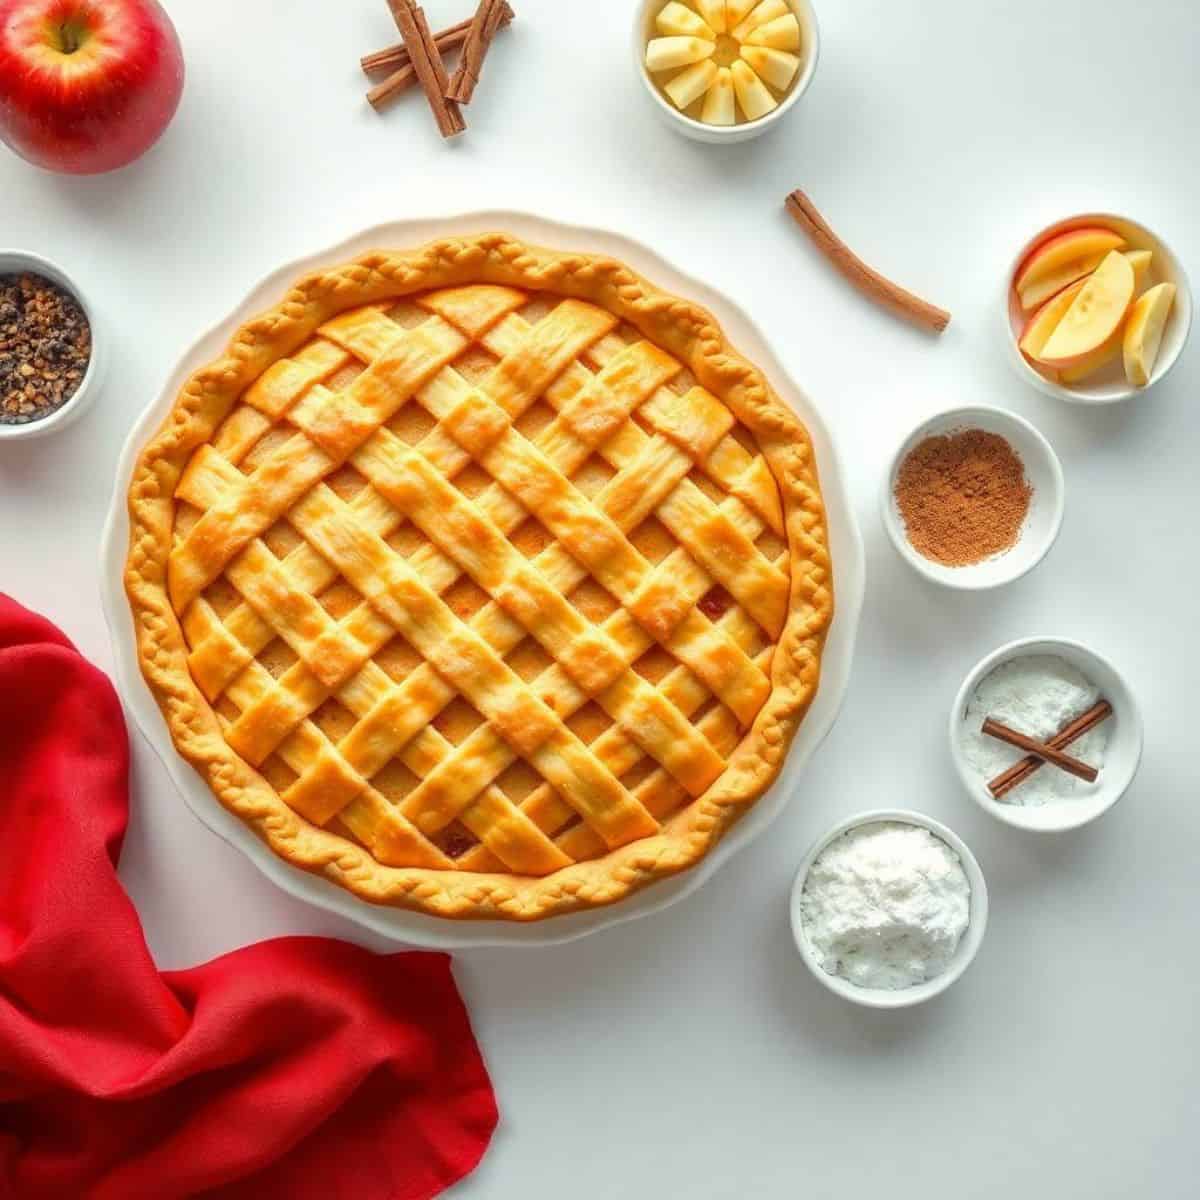
WHY YOU WILL LOVE THIS RECIPE
- Irresistible Flavor: A perfect blend of tart apples, sweet sugar, and warm spices delivers an unforgettable, mouthwatering flavor in every bite.
- Flaky Homemade Crust: The buttery, golden crust melts in your mouth and elevates the pie to bakery-quality deliciousness.
- Simple Ingredients: Made with pantry staples and fresh apples, this recipe is as accessible as it is impressive.
- Make-Ahead Friendly: You can prepare it in advance, allowing you to enjoy dessert without last-minute stress.
- Versatile and Customizable: Swap apples or add flavors to suit your taste while keeping the classic heart of the recipe intact.
- Crowd-Pleasing Dessert: Loved by kids and adults alike, it’s a safe bet for holidays, potlucks, and family dinners.
- Perfect for All Seasons: Although ideal in fall, this pie is welcome at any table, year-round.
INGREDIENTS
- 2 ½ cups all-purpose flour
- 1 teaspoon salt
- 1 tablespoon granulated sugar
- 1 cup unsalted butter (cold, cut into cubes)
- 6-8 tablespoons ice water
- 6 cups thinly sliced apples (Granny Smith or Honeycrisp recommended)
- ¾ cup granulated sugar
- ¼ cup light brown sugar
- 1 teaspoon ground cinnamon
- ¼ teaspoon ground nutmeg
- 1 tablespoon lemon juice
- 2 tablespoons all-purpose flour (for filling)
- 1 tablespoon unsalted butter (to dot on filling)
- 1 egg (beaten, for egg wash)
- 1 tablespoon coarse sugar (optional, for topping)
DIRECTIONS
- Step No.1: Prepare the crust
In a large bowl, whisk together flour, salt, and sugar. Cut in cold butter until the mixture resembles coarse crumbs. Gradually add ice water, one tablespoon at a time, mixing just until the dough comes together. Divide into two discs, wrap in plastic, and refrigerate for at least 1 hour.
- Step No.2: Make the filling
In a large mixing bowl, combine sliced apples with granulated sugar, brown sugar, cinnamon, nutmeg, lemon juice, and flour. Toss well to coat the apples evenly and set the mixture aside to marinate while rolling the crust.
- Step No.3: Roll out the dough
On a lightly floured surface, roll one disc of dough into a 12-inch circle. Fit it into a 9-inch pie dish, trimming any excess edges. Roll the second disc for the top crust.
- Step No.4: Assemble the pie
Fill the pie crust with the prepared apple mixture and dot with small pieces of butter. Place the top crust over the apples, trim excess dough, and crimp the edges. Cut slits in the top for steam to escape.
- Step No.5: Bake the pie
Brush the top crust with beaten egg and sprinkle with coarse sugar if desired. Bake at 425°F (220°C) for 20 minutes, then reduce temperature to 375°F (190°C) and bake for another 35–40 minutes, or until the crust is golden and filling bubbly.
- Step No.6: Cool before serving
Let the pie cool on a wire rack for at least 2 hours to allow the filling to set properly before slicing.
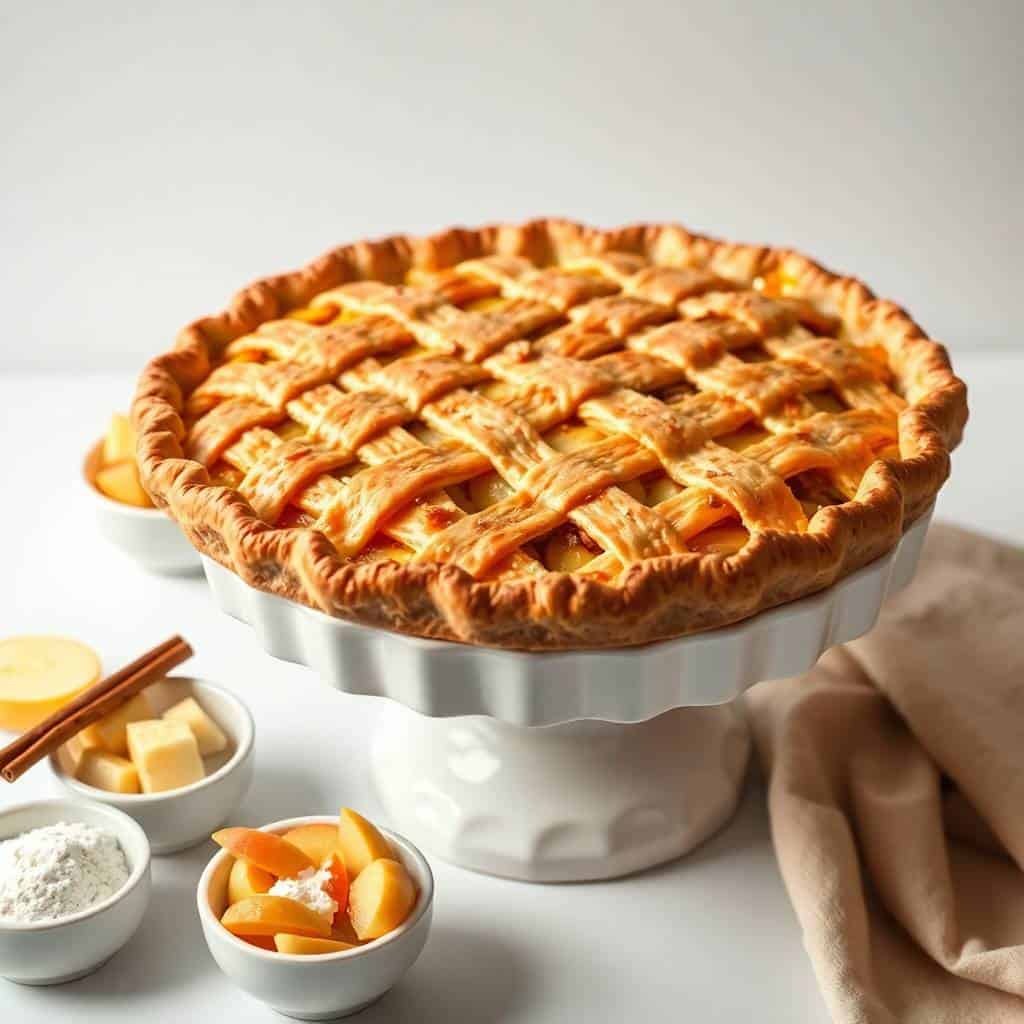
TIPS FOR SUCCESS
- Use Cold Butter: Cold butter helps create that flaky, tender crust by forming steam pockets during baking.
- Don’t Overwork Dough: Handle the crust dough gently to avoid developing too much gluten, which can make it tough.
- Marinate Apples: Letting the apples sit in sugar and spices draws out moisture and enhances the flavor of your filling.
- Prevent Soggy Bottoms: Sprinkle a little flour or breadcrumbs on the bottom crust before filling to absorb excess juices.
- Use a Mix of Apples: Combining tart and sweet apple varieties gives depth and balance to the filling.
- Cool Before Cutting: Allowing the pie to rest ensures clean slices and prevents runny filling.
- Shield Crust Edges: Cover the edges with foil halfway through baking to prevent burning while the center continues to cook.
VARIATIONS
- dutch apple pie: Add a buttery streusel topping instead of a top crust for a crunchy, sweet finish.
- caramel apple Pie: Drizzle caramel sauce over the apple filling before baking for extra richness and sweetness.
- Spiced Apple Pie: Add cloves or allspice for a deeper, more aromatic spice profile in the filling.
- gluten-free diet Crust: Use a gluten-free flour blend to make the crust safe for gluten-sensitive or celiac-friendly diets.
- Mini Apple Pies: Turn the filling and crust into individual muffin-sized pies for easy, portable treats.
- vegan diet Apple Pie: Use plant-based butter and a non-dairy crust for a delicious vegan version of this classic dessert.
- Add Nuts or Raisins: Toss in chopped walnuts or raisins to introduce texture and a pop of extra flavor.
SERVING AND STORAGE
Serving
Serve warm with vanilla ice cream, whipped cream, or a drizzle of caramel for a comforting and decadent dessert.
Storage
Store leftovers covered at room temperature for 2 days or refrigerate for up to 5 days; reheat before serving.
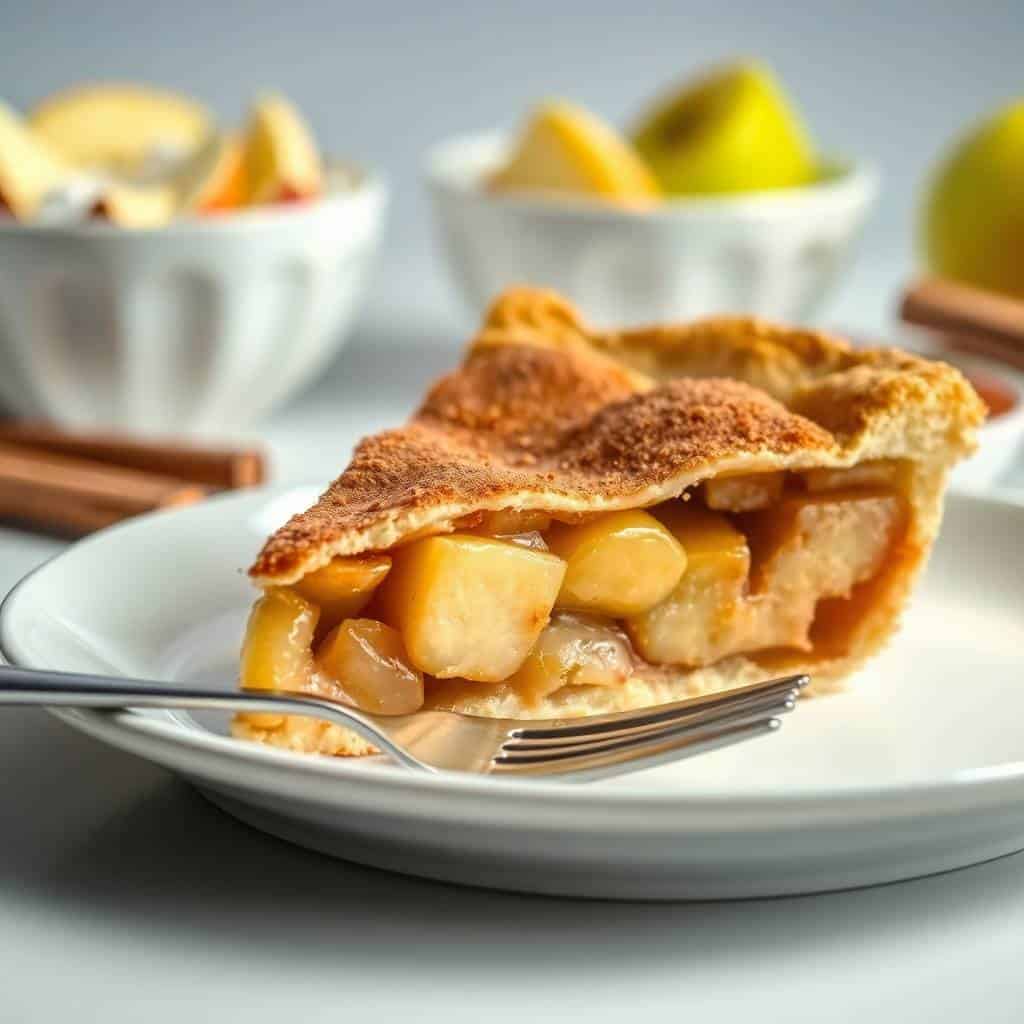
FAQ
Granny Smith and Honeycrisp are excellent choices for their balance of tartness and firmness during baking.
Yes, you can freeze the assembled unbaked pie or the baked pie; just wrap it tightly in plastic and foil.
No, the apples cook perfectly in the oven, absorbing the spices and sugars while baking into a soft, flavorful filling.
Use a glass pie dish, preheat your oven, and sprinkle flour or breadcrumbs before adding the filling.
Yes, store-bought crust works in a pinch, but homemade crust adds a more flavorful and flaky texture.
This classic apple pie recipe brings together the best elements of traditional baking—simplicity, flavor, and comfort.
It’s the kind of timeless dessert that’s both easy to prepare and satisfying to eat, especially with a scoop of vanilla ice cream.
The crust is tender and flaky, with just the right amount of crispness to contrast the juicy, perfectly spiced apple filling.
The aroma that fills your kitchen while it bakes is worth the effort alone—it’s comfort in the form of fragrance.
You can add your own twist with spices, toppings, or different apple varieties while keeping the traditional charm.
CLASSIC APPLE PIE
Ingredients
For the Pie Crust:
- 2 ½ cups all-purpose flour
- 1 teaspoon salt
- 1 cup unsalted butter chilled and cubed
- 6 tablespoons ice water
For the Filling:
- 6 cups sliced apples Granny Smith or Honeycrisp
- ¾ cup granulated sugar
- ¼ cup brown sugar
- 2 tablespoons all-purpose flour
- 1 teaspoon cinnamon
- ¼ teaspoon nutmeg
- 1 teaspoon lemon juice
- 1 tablespoon unsalted butter cut into small pieces
Instructions
- Make the Crust: In a bowl, mix flour and salt. Cut in butter until crumbly. Add ice water, mixing until dough forms. Divide into two discs, wrap, and chill for 1 hour.
- Prepare Apples: In a large bowl, toss sliced apples with sugars, flour, cinnamon, nutmeg, and lemon juice.
- Roll Out Dough: Roll one disc of dough on a floured surface and fit into a 9-inch pie dish.
- Assemble Pie: Fill with apple mixture and dot with butter. Roll out second dough disc and place on top. Seal edges and cut slits for steam.
- Bake: Preheat oven to 425°F (220°C). Bake for 20 minutes, then reduce temperature to 375°F (190°C) and bake for 30–35 minutes until crust is golden and filling is bubbly.
- Cool: Let the pie cool for at least 2 hours before serving.
Notes
- Make Ahead: Pie crust can be made 2 days ahead or frozen for up to 2 months.
- Serving Suggestions: Serve warm with vanilla ice cream or whipped cream.
- Storage Tips: Store covered at room temperature for 1 day or refrigerate for up to 4 days.





Comments
No Comments