
I made these parmesan potato stacks for the first time on a Sunday when I was trying to make a roast chicken dinner feel a little more special than usual. I had a bag of Yukon Golds sitting on the counter, a block of Parmesan in the fridge, and a standard muffin tin I usually only pull out for cupcakes. Something clicked, and I figured — why not stack the potatoes right in there and see what happens.
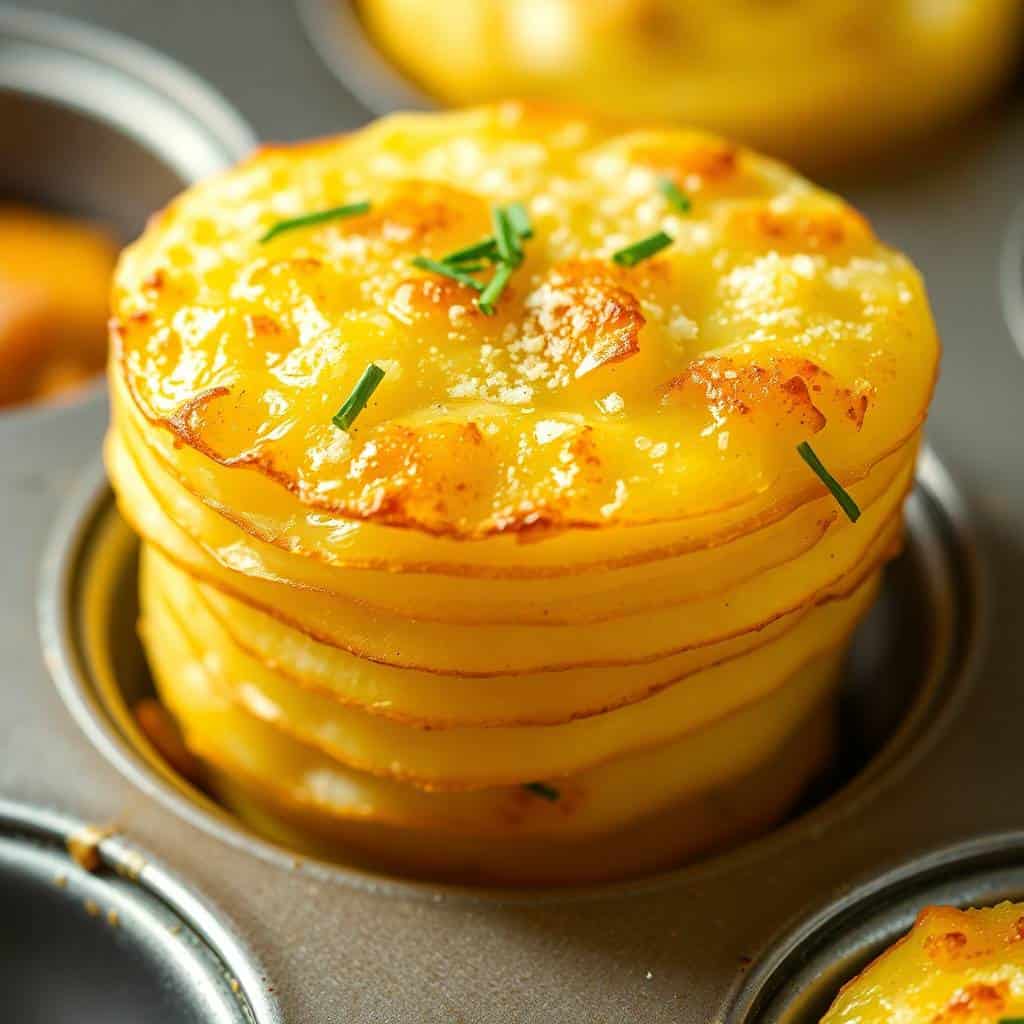
What I didn't expect was how well the muffin tin actually works here. The sides hold each stack in shape while it bakes, so every portion comes out looking like you spent way more effort than you actually did. The cream and Parmesan melt into the layers, and the edges that touch the tin get this gorgeous crispy, golden crust. The centers stay tender and almost custardy. It's the kind of side dish that makes people ask what you did differently.
My husband asked for these three dinners in a row after I first made them. He's the kind of person who eats everything without comment, so when he specifically requested something again, I took that seriously. These now show up regularly alongside roast chicken, pan-seared steak, or even just a simple weeknight dinner when I want something that feels a little extra. If you're a fan of my breakfast potatoes, you'll understand the general philosophy here — potatoes cooked right, in fat, until properly golden.
One thing to set expectations on: you do need to slice the potatoes thin. I mean really thin — ⅛ inch or less. The first time I tried to rush this with a knife and got uneven slices, some parts were overcooked and others still had bite in the middle. A cheap mandoline from any kitchen store solves this completely. But if you don't have one, a sharp knife and patience will get you there. Just be consistent.
Why You'll Love This Recipe
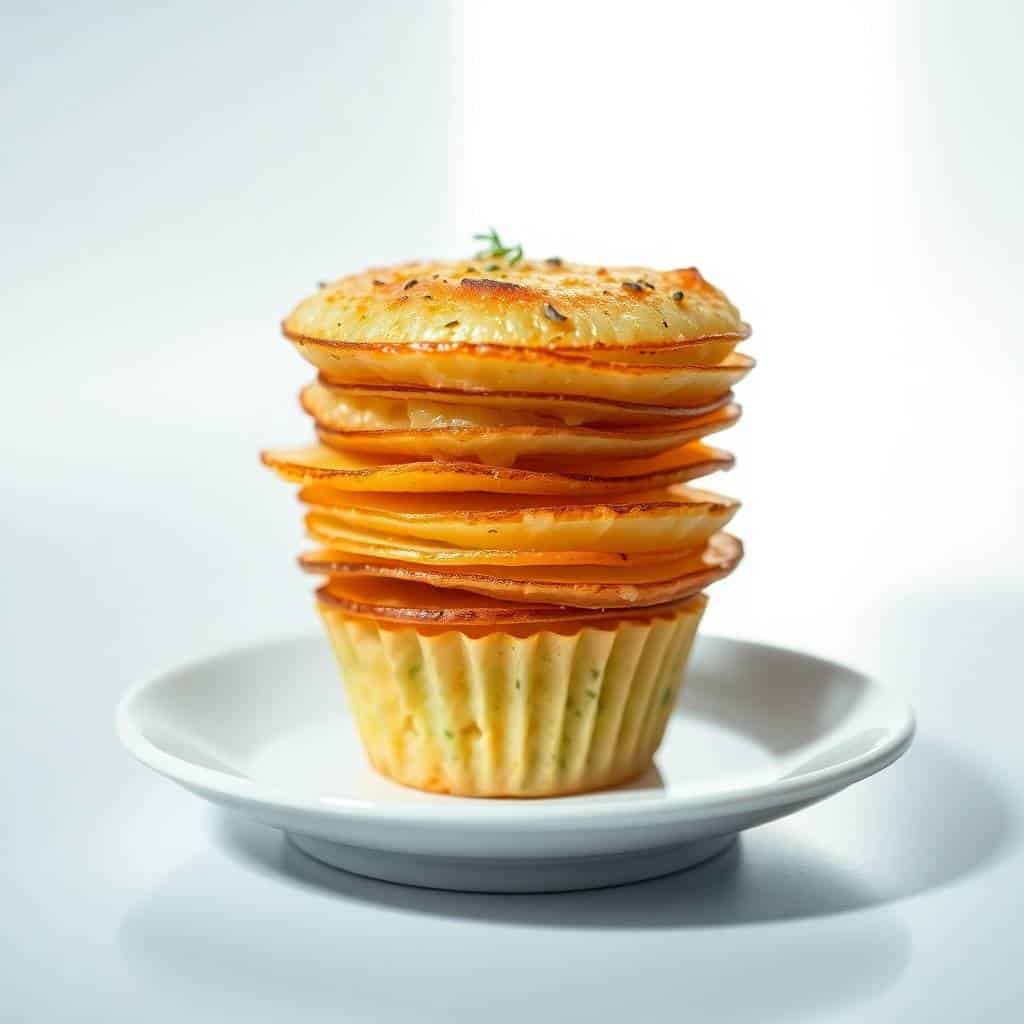
- Crispy outside, creamy inside: The muffin tin does something clever — the walls hold the stack together while the exposed top and edges crisp up in the oven heat. When you bite in, the outside is golden and slightly crunchy, and the inside layers are soft and rich from the cream and cheese. I've tried making similar potato gratins in a flat baking dish, and it's just not the same. The individual stacks give you more crispy surface per serving, which is the whole point.
- Each portion is already shaped for you: I love this when I'm cooking for company. Instead of scooping a gratin out of a dish and hoping it holds together, you just lift each stack out with a spatula. They look composed and intentional on the plate. I made these for a holiday dinner last year and got comments that they looked restaurant-quality — which honestly just means "you sliced the potatoes thin and used enough Parmesan."
- The ingredient list is short and unfancy: Potatoes, cream, garlic, Parmesan, butter, salt, pepper. That's basically it. Everything on that list is at Walmart or any grocery store. You don't need specialty cheese or imported anything. The Parmesan block from Trader Joe's or even the Kraft green can (in a pinch) both work. Freshly grated melts better and gives more flavor, but I'm not going to pretend I haven't used pre-grated in a rush.
- Pairs with almost everything: I've served these next to roast chicken, a simple pan-seared salmon, and even alongside my classic pot pie when I wanted a heartier spread. The flavor is savory and rich but not overpowering, so it doesn't compete with whatever main you're making. It just makes the whole plate feel more complete.
- You can prep most of it ahead: On busy days I slice the potatoes in the morning, keep them in a bowl of cold water in the fridge, then drain and dry them before assembling. The actual hands-on time once you're building the stacks is maybe 15 minutes. The oven does the rest. For dinner parties especially, this is the kind of thing where you pop the tin in the oven 45 minutes before guests sit down and you're done worrying about the side dish.
Ingredients
- 2 lbs Russet or Yukon Gold potatoes, peeled
- 1 cup heavy cream
- 2 cloves garlic, minced
- ½ cup finely grated Parmesan cheese, plus more for sprinkling on top
- ½ teaspoon salt
- ¼ teaspoon black pepper
- 2 tablespoons unsalted butter, melted (for greasing the muffin tin)
- Optional: fresh chives or parsley, chopped, for garnish
Directions
- Preheat and grease the tin: Preheat your oven to 375°F (190°C). Brush the inside of a 12-cup standard muffin tin generously with melted butter, making sure to coat the sides and bottom of every cup. Don't rush this step — thorough greasing is what lets the stacks release cleanly when they come out.
- Slice the potatoes thin: Using a mandoline or a sharp knife, slice the peeled potatoes into rounds about 1/16 to ⅛ inch thick. Consistent thickness matters here — thick slices in the same stack as thin ones means some pieces will be undercooked while others are overdone. Do NOT rinse the slices; the surface starch helps the layers stick together.
- Make the cream mixture: In a medium bowl, whisk together the heavy cream, minced garlic, ½ cup Parmesan, salt, and black pepper. Add all the potato slices to this bowl and toss gently until every slice is coated in the cream mixture.
- Build the stacks: Take handfuls of the coated potato slices and fan them vertically into each greased muffin cup, packing them in tightly. Stack them slightly above the rim — they'll shrink down as they bake. Spoon any remaining cream mixture from the bowl over the tops of the stacks.
- Bake covered: Cover the muffin tin loosely with aluminum foil and bake for 30 minutes. The foil traps steam and helps the potatoes cook through without the tops burning before the centers are tender.
- Uncover and finish: Remove the foil, sprinkle a little extra Parmesan over each stack, and continue baking for another 25–35 minutes. You're looking for deeply golden, crispy tops and potatoes that give easily when poked with a fork. If they're tender but not quite brown enough, slide them under the broiler for 1–2 minutes — just watch them, because they go from golden to burnt fast.
- Rest and remove: Let the tin sit on a wire rack for 5–10 minutes before trying to remove the stacks. This is not optional — I tried lifting them out too early once and they fell apart completely. After resting, run a thin knife or small spatula around the edge of each cup and gently lift them out. Garnish with fresh chives or parsley and serve warm.
Tips for Success
- Get a cheap mandoline if you don't have one: I resisted buying one for years because I thought my knife skills were fine. They're not — not for this recipe. Uneven slices are the number one reason these stacks turn out badly, with some layers mushy and others still firm. A basic mandoline from Walmart or Amazon costs about $15–$20 and makes this recipe genuinely easy. If you're using a knife, go slow and try to keep every slice as uniform as possible.
- Grease every corner of every cup: I learned this the hard way — the cream and melted Parmesan basically glue themselves to the tin if you miss a spot. Use a pastry brush or even just your fingers to work the butter into the bottom crease where the side meets the base. Non-stick spray also works here. Either way, be thorough.
- Pack the stacks in tightly and mound them above the rim: It feels wrong when the potatoes are sitting an inch above the top of the muffin cup, but they shrink a lot during baking. If you fill the cups only level with the rim, you'll end up with short, slightly sad-looking stacks. Pack them high and trust the process.
- Parmesan is salty — taste before adding more salt: The recipe calls for ½ teaspoon of salt in the cream mixture, and that's about right given how much Parmesan goes in. If you're using a very salty Parmesan or pre-grated from a container, start at ¼ teaspoon and adjust. I over-salted my second batch because I used a particularly sharp aged Parmesan and didn't account for it.
- Always rest before removing: Five to ten minutes of cooling in the tin lets the cream and cheese set back up slightly after coming out of the oven. If you try to lift them out while everything is still bubbling liquid, they fall apart. I set a small timer so I don't forget and then try to rush this step when I'm hungry.
Variations
- Garlic herb version: Add ½ teaspoon dried thyme or rosemary (or both) directly into the cream mixture. Fresh thyme works beautifully too — just strip the leaves from a few sprigs and toss them in. This is actually how the WPRM recipe card version is written, and it's my preferred way to make these for dinner parties. The herbs add a layer of fragrance that makes the whole thing smell incredible while it bakes.
- Different cheese combinations: Parmesan is the base, but you can mix in some Gruyère, Fontina, or sharp white cheddar. Gruyère in particular adds a nuttier, slightly sweeter depth that pairs really well with the cream. I usually do half Parmesan, half Gruyère when I want something richer for a special occasion dinner.
- Bacon between the layers: Cook 3–4 slices of bacon until crispy, crumble them, and sprinkle some into the stack as you build it. This is the version my husband likes most. It turns a side dish into something that can almost hold its own as a light meal. I sometimes serve these with my Croque Monsieur croissant bake for a brunch spread and the bacon version fits right in.
- Sweet potato version: Swap regular potatoes for sweet potatoes and reduce the salt slightly since sweet potatoes are less starchy. The color is gorgeous — deep orange with golden crispy edges. I'd suggest adding a pinch of smoked paprika and skipping the extra Parmesan on top, or using a milder cheese like Fontina, since the sweetness of the potato can clash slightly with a very sharp Parmesan.
- Dairy-free adaptation: Substitute the heavy cream with full-fat canned coconut milk (not the carton kind — too thin) and use a vegan Parmesan alternative. The result is slightly different in texture — a little less rich — but it still holds together and gets crispy on top. I've made this version for a guest who was dairy-free, and honestly everyone at the table ate it without noticing anything was different.
Serving and Storage
Serving
Serve these warm, straight from the tin after that 5–10 minute rest. They're sturdy enough to lift with a spatula and plate individually. I usually put them on a flat serving platter and scatter fresh chives or flat-leaf parsley on top — partly for the color, partly because the herb cuts through the richness. These go well alongside roast chicken, beef tenderloin, pan-seared salmon, or anything where you want a side dish that feels a little elevated without requiring a separate pot or pan.
Storage
Leftovers keep in an airtight container in the refrigerator for up to 3–4 days. I will say these are at their best fresh — the crispy edges soften overnight. To reheat, skip the microwave if you can and use a toaster oven or regular oven at 375°F for about 8–10 minutes. They won't be quite as dramatic as fresh out of the muffin tin, but the flavor is still good and they crisp back up reasonably well. Zainab actually likes them cold from the fridge the next day, which I find baffling but she's consistent about it.
Frequently Asked Questions
Can I slice the potatoes ahead of time?
Yes, you can slice them up to 24 hours in advance. Keep them submerged in cold water in the refrigerator — this stops them from browning. Just before you're ready to assemble, drain them thoroughly and pat them very dry with paper towels. Any extra water on the slices will thin out the cream mixture and make the stacks harder to crisp up.
My potato stacks stuck to the muffin tin — what went wrong?
Almost always this comes down to two things: not enough grease, or trying to remove them too soon. The cream and Parmesan can really bond to the tin if any spot was missed. Make sure you coat every cup thoroughly — sides, bottom, and especially that bottom corner crease. And wait the full 5–10 minutes after baking before you try to lift them out. A thin knife run around the edge of each cup also helps loosen them.
Can I use half-and-half instead of heavy cream?
Half-and-half will work but the result is noticeably less rich and the stacks are a bit more fragile when you try to remove them. The fat in heavy cream helps the layers bind together and gives that creamy interior texture. I wouldn't go lower than half-and-half — regular milk is too thin and the stacks may fall apart or come out watery.
Which potato is better — Russet or Yukon Gold?
Both genuinely work. Russets give a slightly fluffier, starchier interior and tend to hold their shape a bit more. Yukon Golds come out creamier and denser, which I personally prefer. I'd avoid waxy potatoes like red potatoes or fingerlings — they don't absorb the cream and cheese the same way and can come out firmer than you want in the center.
How do I get the tops really crispy and golden?
Make sure your oven is fully preheated before the tin goes in, and don't skip that extra Parmesan sprinkle after removing the foil — it's what forms that golden crust. If your stacks are fully tender when poked with a fork but the tops still look pale, switch your oven to broil and watch them for 1–2 minutes. They brown fast under the broiler, so don't walk away.

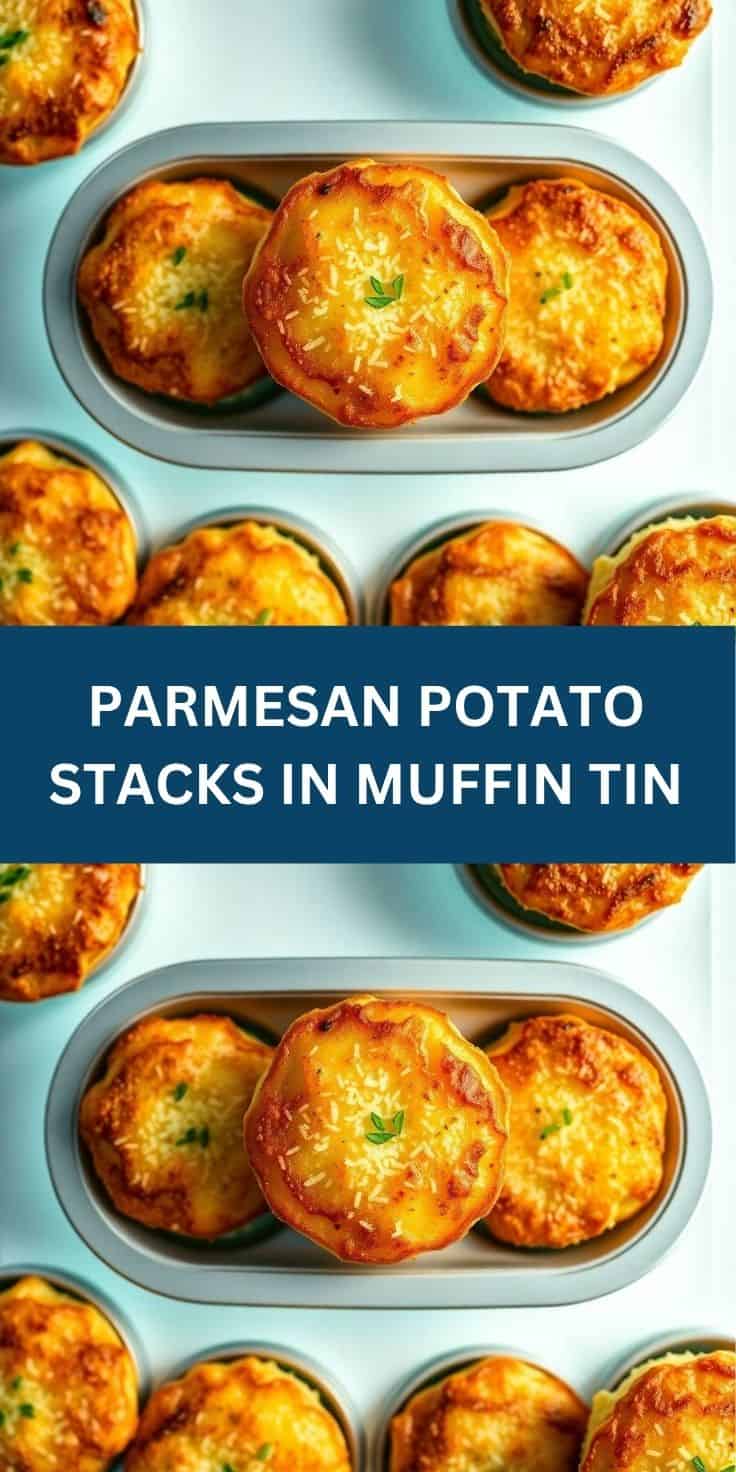
PARMESAN POTATO STACKS IN MUFFIN TIN
Ingredients
- Russet or Yukon Gold potatoes
- Unsalted butter melted
- Garlic minced
- Fresh thyme chopped or dried thyme
- Fresh rosemary chopped or dried rosemary
- Grated Parmesan cheese
- Salt
- Black pepper
- Cooking spray or butter for muffin tin
Instructions
Prepare Potatoes:
- Preheat oven to 375°F (190°C).
- Lightly grease a 12-cup standard muffin tin generously with cooking spray or butter.
- Wash and peel the potatoes. Using a mandoline slicer (highly recommended for even thin slices) or a very sharp knife, slice the potatoes into very thin, uniform rounds (about 1/16 to ⅛ inch thick).
- Place the sliced potatoes in a large bowl.
Season Potatoes:
- Pour the melted butter over the sliced potatoes.
- Add the minced garlic, chopped fresh thyme, chopped fresh rosemary, salt, and black pepper.
- Toss gently with your hands or a spatula until all the potato slices are evenly coated.
Layer in Muffin Tin:
- For each muffin cup, begin layering the potato slices vertically, stacking them tightly. Try to alternate the direction of the slices slightly to create a stable stack.
- As you build each stack, sprinkle a small pinch of grated Parmesan cheese between layers every few slices, and definitely on top of each stack. Continue layering until each muffin cup is filled with a tall stack of potatoes (they will shrink during baking).
Bake:
- Place the muffin tin on a baking sheet (to catch any potential drips).
- Bake for 45-60 minutes, or until the potatoes are very tender when pierced with a fork and the tops are golden brown and crispy. Baking time will vary depending on potato thickness and oven.
- For extra crispiness, you can broil for the last 1-2 minutes, watching carefully to prevent burning.
Rest & Serve:
- Once baked, remove from the oven and let the potato stacks rest in the muffin tin for 5-10 minutes. This helps them firm up and makes them easier to remove.
- Carefully loosen the edges with a knife or small spatula and lift each potato stack out. Serve warm.
Notes
- Potato Choice: Russet potatoes will yield a slightly drier, fluffier interior, while Yukon Golds will be creamier. Both work well. Starchy potatoes are generally preferred over waxy ones.
- Mandoline is Best: A mandoline slicer is highly recommended for achieving consistently thin potato slices, which is key for even cooking and a beautiful layered texture. If using a knife, ensure your slices are as uniform and thin as possible.
- Don't Rinse Potatoes: Unlike other potato recipes, do not rinse the sliced potatoes. The starch helps the layers stick together.
- Seasoning Layers: Don't forget to season the potatoes well with salt and pepper, and add Parmesan between layers for maximum flavor distribution.
- Cover if Browning Too Fast: If the tops are browning too quickly before the potatoes are tender, you can loosely cover the muffin tin with foil for part of the baking time, then remove for the last 10-15 minutes to crisp them up.
- Make Ahead: These are best served fresh, but you can slice and season the potatoes a few hours in advance and keep them covered in the refrigerator. Leftovers can be reheated in a toaster oven or oven for crispiness.





Comments
No Comments