
I discovered this sheet pan taco method completely by accident. I was running late on a Tuesday, had a pound of ground beef to use up, and couldn't face standing at the stove flipping individual tacos. I folded everything onto a sheet pan, threw it in the oven, and twenty minutes later my kitchen smelled incredible and I had the crispiest, cheesiest tacos I'd ever made at home. I've been making them this way ever since.
What actually makes this work is the double-pan trick — you press a second sheet pan on top while they bake, which gives you that pressed, golden crunch on both sides without any flipping drama. The tortillas get genuinely crispy, not just warm and bendy. The cheese melts into the filling rather than just sitting on top. It's a different result than any other taco method I've tried, and it comes together in about 30 minutes start to finish.
My husband eats these with hot sauce straight from the pan. Zainab piles on the sour cream and refuses to eat them any other way. These are a regular weeknight dinner in our house, right up there with my cheesy beef burritos with fries on the rotation. I usually make a double batch because one tray disappears before I've even set out the toppings.
One thing I want to set expectations on: these are baked tacos, not fried. They come out crispy and golden but in a different way than a deep-fried shell. Think pressed quesadilla energy, loaded with taco filling. If you go in expecting that, you'll be very happy with the result.
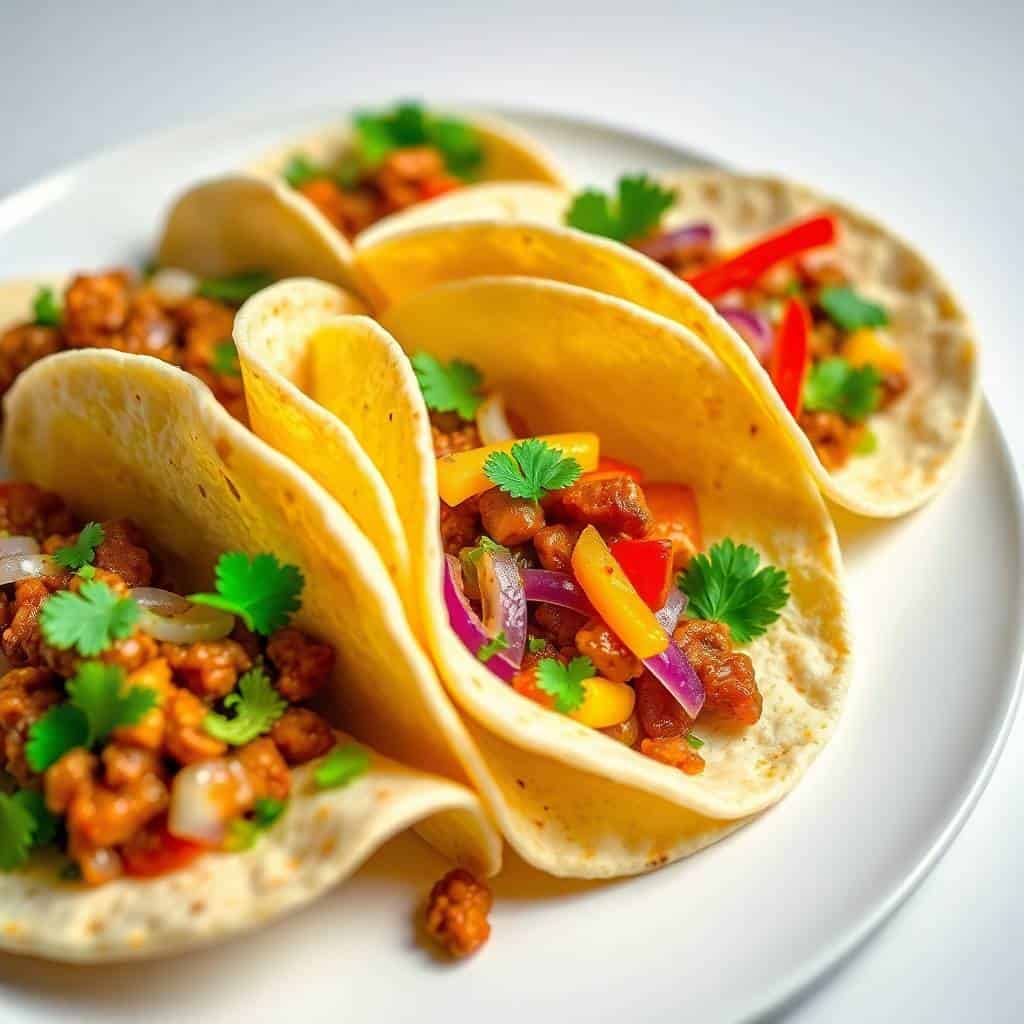
Why You'll Love This Recipe
- One pan, minimal cleanup: Everything except browning the meat happens on a single sheet pan. I wipe it down in two minutes after dinner, which is genuinely the best part of a Tuesday night. No stack of dishes, no grease-splattered stovetop. Even the second pan you use as a press just needs a quick rinse.
- Genuinely crispy tortillas: The first time I tried baking tacos in the oven I got sad, soft shells that flopped apart. This method is different. The oil, the heat, and the weight of the second pan pressing down means you get actual crunch. My husband said they reminded him of the tacos from a Tex-Mex restaurant we used to go to before kids.
- Feed a crowd without losing your mind: Eight tacos bake at once on one pan. If I need more, I run two pans side by side on different racks and rotate them halfway through. This is how I handle taco nights when we have people over — no one is standing at the stove sweating while everyone else eats.
- Works with whatever protein you have: Ground beef is my go-to, but I've made these with shredded rotisserie chicken on nights I didn't want to cook meat from scratch, and they were excellent. Beans and corn make a solid vegetarian version too — I tested that when my sister-in-law visited and I needed something she could eat.
- 30 minutes, truly: I know recipes lie about timing constantly. This one doesn't. Brown the meat while the oven heats, assemble, bake 15-17 minutes. That's it. I've done this on nights when I had 25 minutes before school pickup and still had tacos ready when we got back.
Ingredients
- 1 tablespoon olive oil
- 1 pound ground beef or shredded rotisserie chicken
- 1 packet taco seasoning (or 1 tablespoon homemade — chili powder, cumin, garlic powder, salt)
- ½ cup water
- 1 cup canned black beans, rinsed and drained
- 1 cup corn (fresh, canned, or frozen — all work fine)
- 8 small flour or corn tortillas
- 1½ cups shredded cheddar or Mexican blend cheese
- Optional toppings: diced tomatoes, shredded lettuce, sour cream, salsa, avocado or guacamole, jalapeños
Directions
- Step 1: Heat the oven and brown the meat — Preheat your oven to 425°F (220°C). While it heats, warm the olive oil in a skillet over medium-high heat and add the ground beef. Add the taco seasoning and water, and cook until the meat is browned and the liquid has mostly absorbed — about 8 minutes. Stir in the black beans and corn and take the pan off the heat.
- Step 2: Set up your sheet pan — Lightly grease a large sheet pan with oil or a quick spray. Lay the tortillas so they sit half on the pan and half hanging off the edge — this is how you fold them cleanly without losing the filling. Don't skip greasing; I did once and lost half a tortilla to the pan.
- Step 3: Fill and fold — Spoon the meat filling onto one half of each tortilla. Don't overstuff — about 3 tablespoons of filling per taco is enough. Sprinkle cheese generously over the filling, then fold the tortilla over to close it. Press down gently so it stays shut.
- Step 4: Press and bake — Brush or spray the tops of the folded tacos lightly with oil. Place a second sheet pan directly on top of the tacos — this is what gets you the crispy, pressed finish. Bake for 10–12 minutes, then carefully remove the top pan, flip the tacos, and bake another 5–7 minutes until golden on both sides.
- Step 5: Slice and serve — Pull them out and let them rest for two minutes — the cheese needs a moment to set, otherwise everything slides out when you cut them. Slice and serve immediately with your toppings on the side so everyone can build their own.
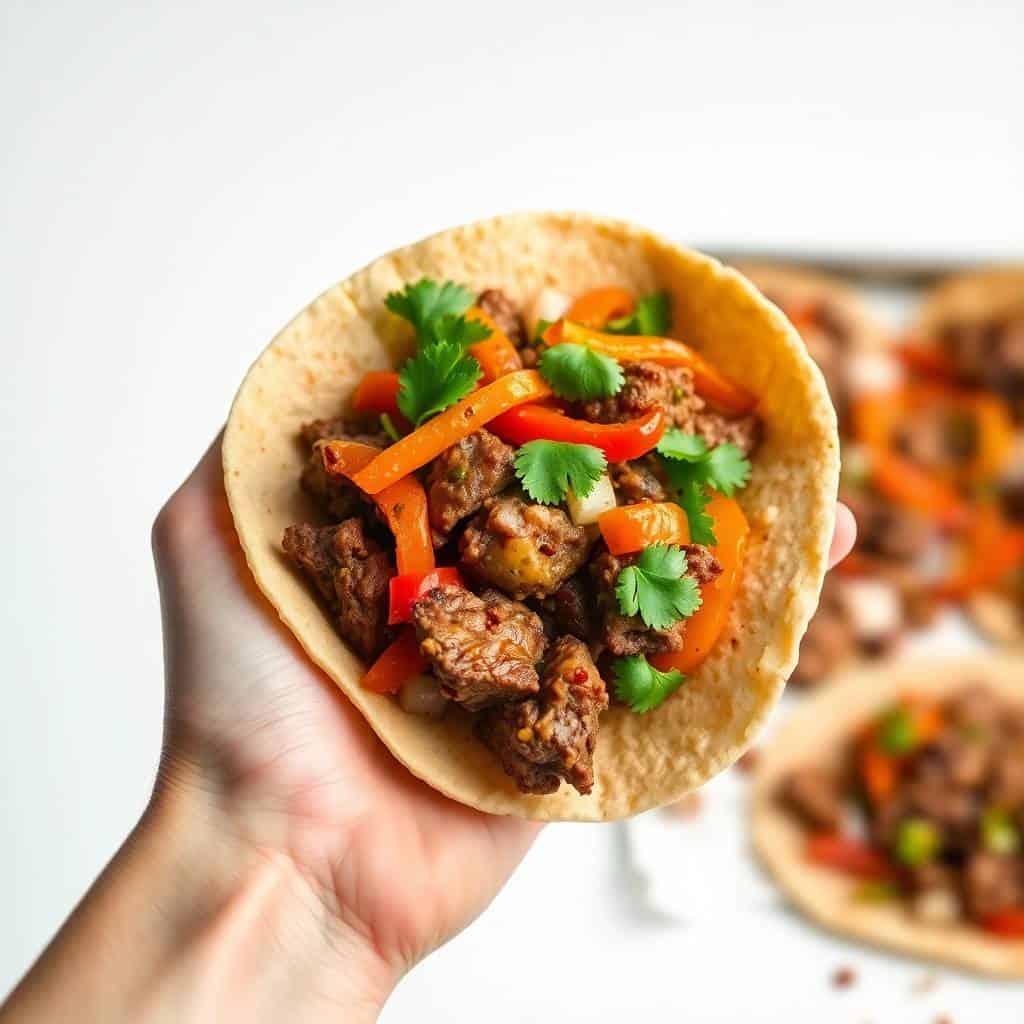
Tips for Success
- Don't skip the second pan: I tried making these without a weight on top the first few times and the tortillas puffed and didn't press down evenly. The second pan is what creates that flat, golden, pressed surface. Any oven-safe pan works — even a cast iron skillet laid on top if your sheet pans are different sizes.
- Keep the filling dry: Wet filling = soggy tacos. Make sure your meat mixture has cooked down before assembling — no pooling liquid in the pan. Drain your canned beans well, and if you're using canned corn, shake the water off. I learned this the hard way after a particularly sad batch with watery beans.
- Corn tortillas need warming first: If you're using corn tortillas instead of flour, warm them briefly in a dry skillet or wrap them in a damp paper towel and microwave for 30 seconds before folding. Cold corn tortillas crack down the middle when you fold them. Flour tortillas fold fine at room temperature.
- Don't overfill: Three tablespoons of filling per taco is genuinely enough. I always want to add more and I always regret it — overfilled tacos burst at the seam and the cheese leaks out onto the pan instead of staying inside. A tight, properly filled taco stays together and crisps better.
- Add cold toppings after baking: Lettuce, sour cream, fresh salsa, and avocado go on after the tacos come out of the oven, not before. I put them in little bowls on the table so everyone adds their own. Anything cold or creamy wilts and turns soggy if it goes in before the oven.
Variations
- Rotisserie chicken version: Grab a rotisserie chicken from Costco or Walmart, shred about 2 cups of the meat, and toss it with the taco seasoning and a splash of water in the skillet for 3 minutes to coat. Skip the long browning step entirely. This is my go-to when I want tacos on the table in 20 minutes flat — the chicken is already cooked.
- Vegetarian filling: Double the beans, add 1 cup of diced bell peppers and a cup of frozen corn, and skip the meat entirely. Season the same way with the taco packet. I make this version when I'm cooking for a mixed group — it's filling enough that nobody misses the meat, and it takes even less time since there's nothing to brown.
- Spicy Pepper Jack version: Swap the cheddar for Pepper Jack cheese and add a handful of pickled jalapeños into the filling before folding. My husband made me do this once and now he requests it specifically. If you want the heat dialed up even further, a few dashes of hot sauce stirred into the meat works well — similar vibe to the filling in my cheesy beef burritos.
- Breakfast taco version: Scramble 4 eggs with crumbled breakfast sausage, add a pinch of salt, and use that as your filling with shredded cheese. Bake the same way. This is genuinely one of the best weekend breakfast things I make — Zainab asks for it on Saturdays. Skip the taco seasoning and add a little black pepper instead.
- BBQ pulled beef or pork: Use leftover pulled pork or beef tossed with a few tablespoons of your favourite BBQ sauce. Add cheddar and a little coleslaw tucked inside before folding — the coleslaw goes in after baking, not before. It sounds unusual but it works really well. Pair it with a side of homemade creamy coleslaw on the table for dipping.
Serving and Storage
Serving
Serve these straight from the oven while the cheese is still molten and the tortillas are at peak crunch. I put the toppings in separate small bowls in the center of the table — diced tomatoes, shredded lettuce, sour cream, salsa, and sliced avocado — and let everyone pile on what they want. If you want to round out the meal, refried beans and rice alongside work really well. For a casual gathering, a bowl of tortilla chips and a good salsa on the side is all you need. These also go well next to chicken sliders if you're feeding a crowd and want some variety on the table.
Storage
Leftovers keep in an airtight container in the fridge for up to 3 days. To reheat, put them back in the oven at 375°F for 8–10 minutes — they crisp back up nicely. Don't use the microwave; you'll end up with a sad, steamed taco. For freezing, I recommend freezing the filling separately rather than the assembled tacos. When you're ready, thaw the filling, assemble fresh tortillas, and bake. Takes 5 minutes more than if you'd started from scratch, but the result is miles better than a frozen assembled taco.
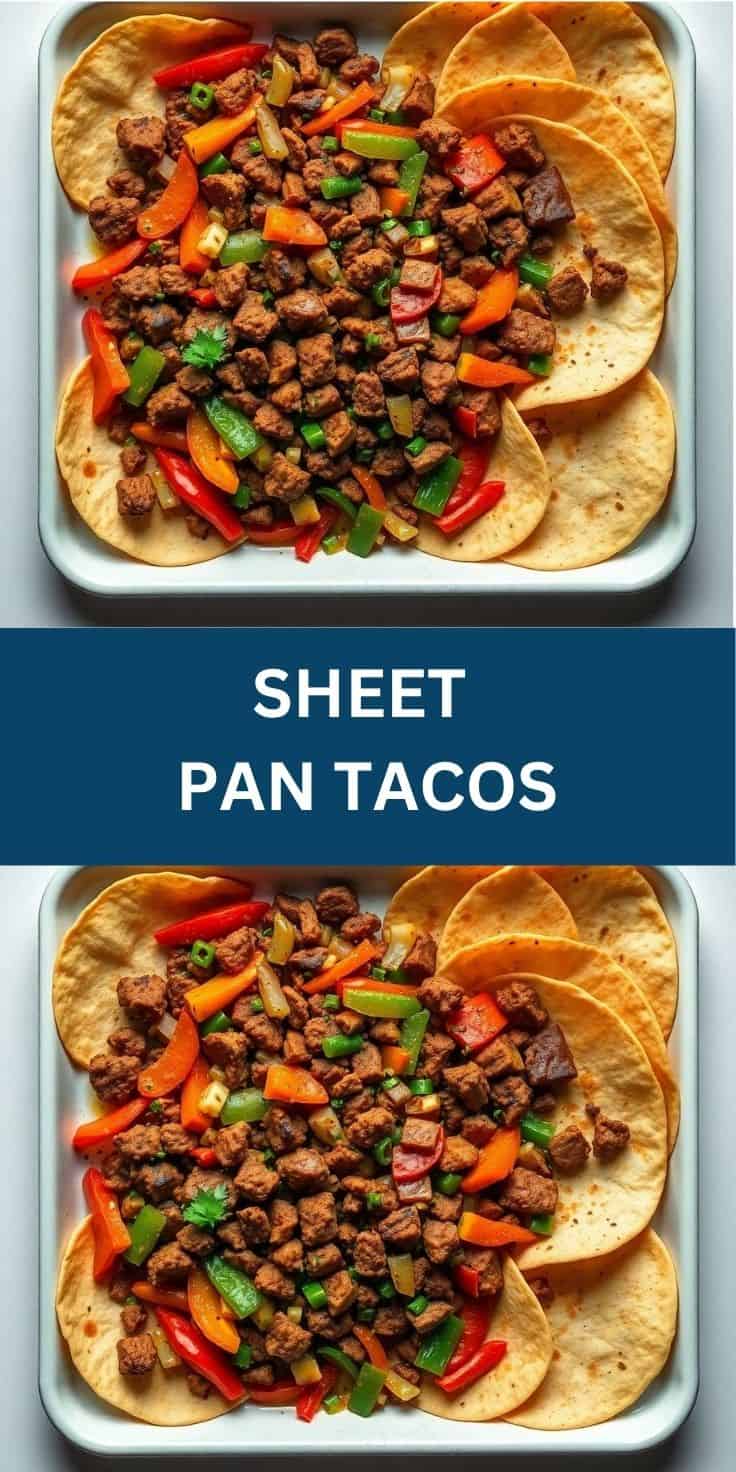
Frequently Asked Questions
Can I assemble these ahead of time?
Yes, and it works well. Assemble the filled and folded tacos on the sheet pan, cover loosely with plastic wrap, and refrigerate for up to 24 hours. When you're ready, brush with oil and bake straight from the fridge — just add 3–4 extra minutes to the baking time since the pan starts cold. I do this when we have people coming over so I'm not scrambling at the last minute.
Can I use corn tortillas instead of flour?
Absolutely, but warm them first. Corn tortillas crack when you fold them cold. Wrap a stack in a damp paper towel and microwave for 30 seconds, or heat them briefly in a dry skillet. Once they're warm and pliable, fold them the same way. They come out slightly chewier than flour tortillas but with a great corn flavor that works really well with the filling.
What's the best cheese to use?
I use a Mexican blend or straight cheddar most of the time — both melt well and have enough flavor to come through. Monterey Jack is great if you want something milder and extra gooey. Pepper Jack adds heat if that's your thing. The one cheese I'd avoid is pre-shredded in a bag that's been sitting a while — it has a coating on it that stops it from melting smoothly. Block cheese you shred yourself melts much better.
Can I freeze the baked tacos?
You can, but the texture suffers a bit. The tortillas go soft in the freezer and don't crisp back up the same way after reheating. My preference is to freeze just the filling in a zip-lock bag — it keeps for up to 3 months. When you want tacos, thaw the filling, assemble on fresh tortillas, and bake as normal. Takes barely more time and tastes much better than a frozen assembled taco.
Do I need a second sheet pan, or is there a workaround?
The second pan really does make a difference for getting that pressed, even crisp. If you don't have one, you can use an oven-safe skillet or a cast iron pan laid on top — it just needs to be something flat and heavy enough to weigh the tacos down. I've used a cast iron skillet in a pinch and it worked fine. Without any weight at all, the tacos still bake and taste good, but they puff and the texture is more like a baked quesadilla than a pressed taco.
A Few Last Thoughts
This is genuinely one of those recipes I wish I'd figured out years ago. I spent so much time standing at the stove making tacos one or two at a time, and this method just makes the whole thing easier and honestly better. The crunch you get from the oven is more even than anything I managed in a skillet, and having eight ready at once instead of two changes how the whole meal feels.
I keep the filling pretty simple most nights — ground beef, taco seasoning, beans, corn — but the variations are worth playing with once you've made it once or twice and know how the method works. The breakfast version especially surprised me. I wasn't sure scrambled eggs would work pressed in a tortilla in the oven, but they do. If you're someone who already loves sheet pan cooking, you'll take to this immediately. If you haven't tried the beef sliders on the site yet, those are another crowd-feeding recipe that uses a very similar pan-pressing technique — worth checking out alongside this one.
Make these on a Tuesday when you need something on the table fast, or make them on a Friday when you actually want to enjoy the process a little. Either way, have your toppings ready before the tacos come out of the oven — they move fast once they're on the table. 🌮✨
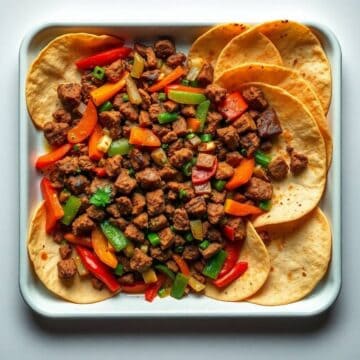
SHEET PAN TACOS
Ingredients
- 1 tablespoon olive oil
- 1 pound ground beef or shredded rotisserie chicken
- 1 packet taco seasoning
- ½ cup water
- 1 cup canned black beans rinsed and drained
- 1 cup corn fresh, canned, or frozen
- 8 small flour or corn tortillas
- 1½ cups shredded cheddar or Mexican blend cheese
- Optional toppings: diced tomatoes lettuce, sour cream, salsa, avocado
Instructions
Cook the Filling:
- Preheat oven to 425°F (220°C). In a skillet, heat olive oil. Add ground beef or chicken, taco seasoning, and water. Cook until meat is browned and mixture thickens. Stir in beans and corn.
Assemble the Tacos:
- Lightly grease a sheet pan. Place tortillas on the pan, half off the edge so you can fold them. Spoon filling on one side of each tortilla, sprinkle with cheese, and fold over.
Bake:
- Spray tops lightly with oil. Bake for 10–12 minutes, then flip and bake 5–7 minutes more until golden and crispy.
Serve:
- Top with your favourite taco toppings and enjoy warm.
Notes
Extra Crispy: Use a wire rack on your sheet pan for even crisping.
Make Ahead: Assemble tacos up to 1 day ahead, then bake when ready to serve.
Freezer Friendly: Freeze baked tacos in a single layer, then reheat in the oven for a quick meal.
Customise: Add sautéed peppers, onions, or jalapeños to the filling for extra flavour.
If you made these and loved them, here are a few more recipes from my kitchen that you'll probably want next:
- Cheesy Beef Burritos with Fries — another weeknight Tex-Mex dinner that comes together fast
- Beef Sliders — great for the same crowd-feeding situations where these tacos shine
- Chicken Sliders — if you want a lighter option alongside your taco spread
- Creamy Coleslaw with Homemade Dressing — the best side dish to serve with anything crispy and cheesy
-
{"@context":"https://schema.org","@type":"Article","headline":"SHEET PAN TACOS","description":"Sheet Pan Tacos are easy, cheesy, and perfect for feeding a crowd. Just one pan, minimal mess, and maximum flavour in every bite.","datePublished":"2025-06-27T07:18:36+00:00","dateModified":"2026-05-03T21:10:00+00:00","author":{"@type":"Person","name":"Sana Umer","url":"https://forfoodiefriends.com/about/","description":"Self-taught home cook with 10+ years of kitchen experience. Mom of two who develops every recipe in her own kitchen.","jobTitle":"Recipe Developer & Food Blogger","image":"https://forfoodiefriends.com/wp-content/uploads/sana-umer-author-photo.jpg"},"publisher":{"@type":"Organization","name":"For Foodie Friends","url":"https://forfoodiefriends.com/","logo":{"@type":"ImageObject","url":"https://forfoodiefriends.com/wp-content/uploads/forfoodiefriends-logo.png"}},"mainEntityOfPage":{"@type":"WebPage","@id":"https://forfoodiefriends.com/sheet-pan-tacos/"},"image":"https://forfoodiefriends.com/wp-content/uploads/2025/06/SHEET-PAN-TACOS.jpg"}





Comments
No Comments