
I made these oven baked beef taquitos for the first time on a Friday night when I had a pound of ground beef in the fridge and no energy for anything complicated. I expected them to be fine — a basic weeknight thing. What I didn't expect was Saad to eat four of them and immediately ask when I was making them again.
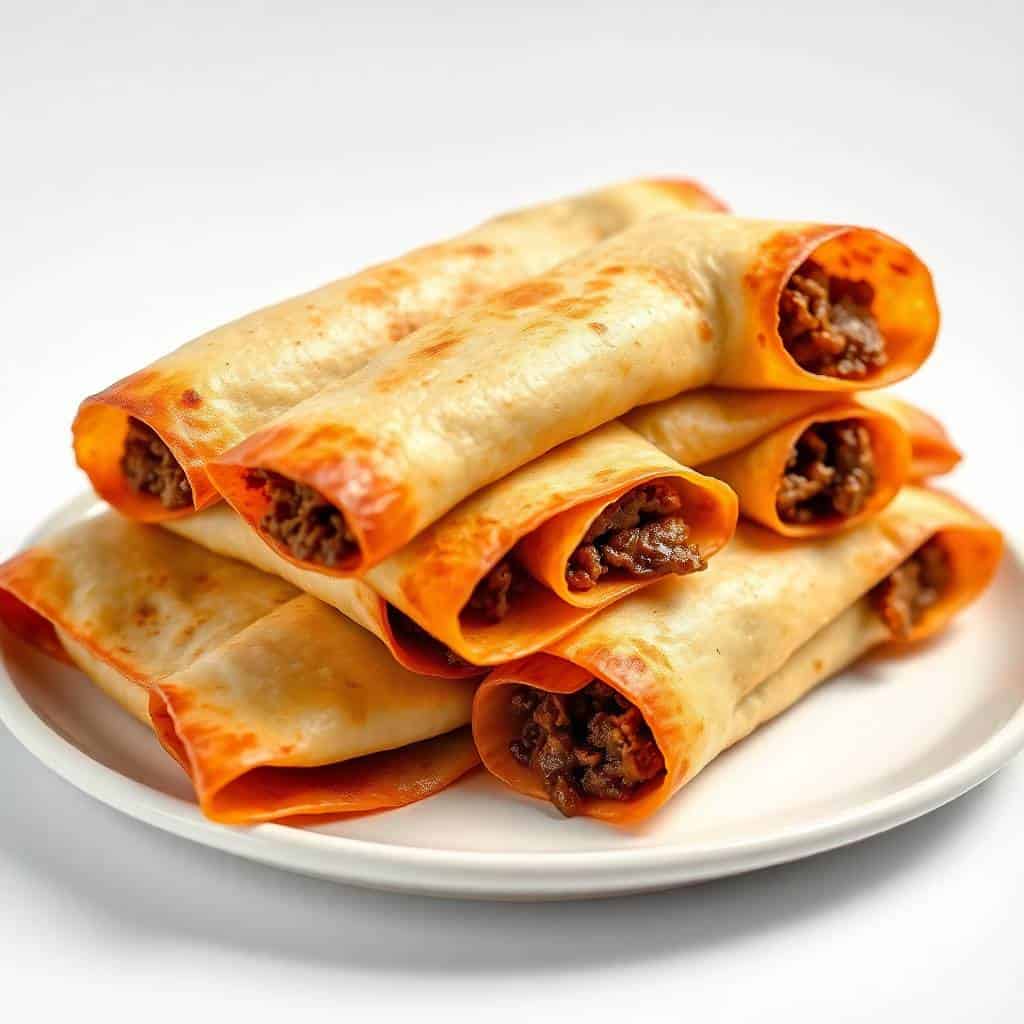
The filling is seasoned ground beef cooked down with onion, garlic, and a handful of spices, then mixed with shredded cheese and rolled into tortillas. Baked at high heat, they come out crispy on the outside and melty inside — no frying required. I flip them halfway through baking, which makes a real difference. Skip that step and the bottom stays soft while the top browns. I learned that on batch number two.
These have become a regular in my house. My husband likes them with salsa verde on the side. The kids dip them in sour cream. I usually make a double batch because twelve taquitos disappear faster than I'd like, and having extras in the freezer means I actually get to eat some later in the week. If you're also looking for a good freezer-friendly dinner idea, my Chicken Pot Pie Crescent Braid freezes just as well and follows the same make-ahead logic.
One practical thing to know before you start: warm your tortillas before rolling. Cold tortillas crack, and you'll end up with a split taquito that falls apart on the baking sheet. I microwave mine for about 20 seconds wrapped in a damp paper towel. That's all it takes.
Why You'll Love This Recipe
- No frying, genuinely crispy: I was skeptical about oven-baked taquitos before I tried them. My experience with "baked = soggy" had burned me before. But the combination of high heat, a light oil spray, and flipping halfway through actually gets them properly crispy — not just browned on top. My husband couldn't tell they weren't fried until I told him.
- The filling takes 15 minutes flat: Sauté the onion, brown the beef, add spices and tomato sauce, simmer five minutes, stir in cheese. That's the whole thing. It's fast enough that I can start dinner after getting home from school pickup and have it on the table before anyone starts complaining.
- Kids will actually eat them: Finger food that tastes like a taco — I didn't have to negotiate with anyone at the table. Zainab ate hers without asking what was inside, which is basically a miracle in my house. They're the right size for little hands and easy to dip.
- Freezer-friendly and actually good reheated: I assemble a full batch, bake half, and freeze the other half before baking. On nights when I have nothing planned, I pull them straight from the freezer and bake them — just add about 5 extra minutes. They come out just as good as fresh. This is the make-ahead strategy I wish I'd started sooner.
- Works for a casual dinner or a party spread: I've made these on a random Tuesday and I've also made them for a get-together. Either way they go fast. Serve them with a few dipping options — salsa, guacamole, sour cream — and they look like you put in more effort than you did.
Ingredients
- For the Filling:
- 1 lb ground beef
- 1 tablespoon olive oil
- 1 small onion, finely chopped
- 2 cloves garlic, minced
- 1 teaspoon chili powder
- ½ teaspoon cumin
- ½ teaspoon paprika
- ½ teaspoon salt
- ¼ teaspoon black pepper
- ½ cup tomato sauce
- 1 cup shredded cheddar or Mexican blend cheese
- For Assembly:
- 12 small flour or corn tortillas
- Cooking spray or a light brush of olive oil
- Optional dips: sour cream, salsa, guacamole
Directions
- Preheat the oven: Set your oven to 400°F (200°C). Line a baking sheet with parchment paper and give it a light spray of cooking oil. I use parchment because foil alone tends to stick and you'll tear the bottoms trying to flip them.
- Cook the filling: Heat the olive oil in a skillet over medium heat. Add the onion and cook until soft, about 3–4 minutes. Add the garlic, cook for 30 seconds, then add the ground beef. Break it up and cook until fully browned. Drain any excess fat — if you skip this step, the filling will be greasy and the taquitos will go soggy.
- Season and simmer: Stir in the chili powder, cumin, paprika, salt, and pepper. Pour in the tomato sauce and stir everything together. Let it simmer on low for about 5 minutes until the mixture thickens up and the liquid is mostly absorbed. Remove from heat and stir in the shredded cheese until melted and combined.
- Warm the tortillas: Wrap your tortillas in a damp paper towel and microwave for 20–30 seconds. They need to be pliable or they'll crack when you roll them. I've skipped this step in a rush and paid for it with split taquitos.
- Assemble: Spoon about 2 tablespoons of the beef mixture onto each tortilla, toward one edge. Roll tightly and place seam-side down on the baking sheet. Don't overfill — too much filling and they'll burst open in the oven.
- Oil and bake: Lightly spray or brush the tops of the taquitos with oil. Bake for 20–25 minutes, flipping them halfway through. That flip is what gets both sides crispy instead of just the top.
- Rest and serve: Let them cool for 2–3 minutes before serving. They crisp up a bit more as they cool and they won't burn anyone's mouth.
Tips for Success
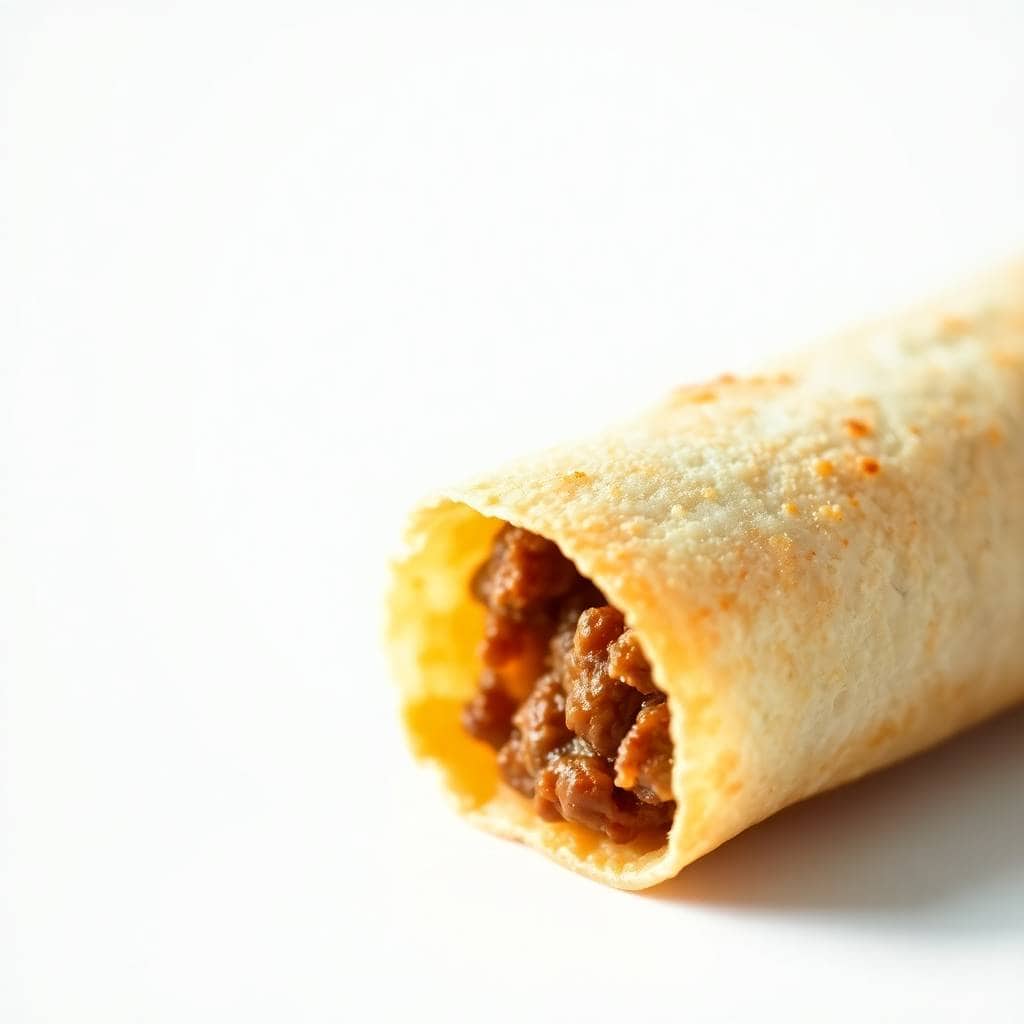
- Drain the beef properly: After browning, tilt the skillet and spoon out the excess fat before adding your spices. I didn't do this the first time and the whole filling was greasy — it soaked into the tortilla and the taquitos came out soft instead of crispy. A quick drain makes a noticeable difference.
- Don't skip the flip: Flipping halfway through is the step that makes these actually crispy on all sides, not just on top. Set a timer for 10–12 minutes so you remember. The bottoms will be golden and firm when it's time to turn them.
- Keep the seam side down until the flip: When you place the taquitos on the baking sheet, the seam should be facing down. The heat seals it closed as it bakes. If you place them seam-side up, they unroll. I use toothpicks for any that look like they want to open — just remember to pull them out before serving.
- Give them space on the pan: I learned after a crowded first batch that taquitos touching each other steam instead of crisp. Leave a little gap between each one. If you're making a double batch, use two pans rather than squeezing them all onto one.
- For corn tortillas, warm them longer: Corn tortillas crack more easily than flour. I warm mine in a dry skillet for 20–30 seconds per side instead of the microwave — it makes them much more flexible. If one cracks anyway, just wrap it in another tortilla. No one will know.
Variations
- Chicken taquitos: Use 2 cups of shredded cooked chicken instead of ground beef — rotisserie chicken from Costco or Walmart works perfectly and cuts the cook time down to almost nothing. Season it the same way: same spices, same tomato sauce. My husband actually prefers the chicken version with a drizzle of hot sauce on top.
- Spicy beef taquitos: Add one diced jalapeño to the onion at the start of cooking, or stir a tablespoon of hot sauce directly into the filling before rolling. If you love a good beef taco situation, my Garlic Butter Honey BBQ Beef Tacos use a similar base with a completely different flavor angle — worth trying alongside these.
- Black bean and cheese (vegetarian): Drain and rinse a can of black beans, mash them lightly, and season with the same spices. Mix in some corn kernels and the shredded cheese. Roll and bake exactly the same way. This isn't a substitution that loses anything — the beans hold together well and the filling is genuinely satisfying.
- Pakistani-spiced version: Swap the chili powder and cumin for a teaspoon of garam masala and add a pinch of red chili flakes. Skip the tomato sauce and use a tablespoon of plain yogurt to bind the filling. Serve with raita instead of sour cream. It sounds like it shouldn't work, but it does — these flavors were made for a crispy rolled shell.
- Extra cheesy: Add a tablespoon of cream cheese to the filling along with the shredded cheese. It makes the inside creamier and holds everything together a little better. Especially good if you're using corn tortillas, which have a slightly drier texture than flour.
Serving and Storage
Serving
Serve them hot straight from the oven with dipping options on the side. In my house that means salsa, sour cream, and whatever guacamole I have — sometimes store-bought, sometimes fresh. If you're making these for a group, arrange them on a platter with small bowls of each dip and people will help themselves. They're also good alongside a simple salad or some rice and beans if you want to make them more of a full dinner. For a casual pairing, my Cheddar Bay Green Bean Casserole works surprisingly well on the side — something about the richness of that dish against the crispy taquitos just works.
Storage
Store leftovers in an airtight container in the fridge for up to 3 days. To reheat, put them in a 375°F oven for 8–10 minutes or in an air fryer at 370°F for 4–5 minutes. The microwave will make them soft — skip it if you care about the crunch. For freezing: arrange unbaked assembled taquitos in a single layer on a baking sheet, freeze until solid (about 2 hours), then transfer to a freezer bag. Bake from frozen at 400°F for 25–30 minutes, flipping halfway.

Frequently Asked Questions
Can I use corn tortillas instead of flour?
Yes, and they actually get a little crispier than flour tortillas. The key is warming them properly first — corn tortillas crack easily if they're cold. I heat mine in a dry skillet for 20–30 seconds per side until they're soft and pliable. If one cracks while you're rolling, just double-wrap it. No harm done.
Can I freeze these before baking?
This is honestly my favorite thing about this recipe. Assemble the taquitos, freeze them in a single layer on a baking sheet until solid, then transfer to a freezer bag. They keep well for up to 2 months. When you want them, bake straight from frozen at 400°F for about 25–30 minutes, flipping halfway. No thawing needed.
How do I keep them from getting soggy?
Three things: drain the beef fat before seasoning, don't overfill (2 tablespoons per taquito is enough), and flip them halfway through baking. If you're reheating leftovers, use the oven or air fryer — the microwave is the enemy of a crispy taquito.
What cheese melts best in these?
I use a Mexican blend most often — it's widely available at Walmart, Aldi, and most major grocery stores, and it melts smoothly into the beef. Cheddar alone works too, though it can be slightly greasier. Monterey Jack is another good option if you want something milder. Whatever you use, shred it fresh if you can — pre-shredded has a coating that slows melting.
Can I make the filling ahead of time?
Absolutely. Cook the beef filling, let it cool, and store it in the fridge for up to 2 days. When you're ready to make taquitos, warm the filling slightly so the cheese gets soft again, then roll and bake. On busy weeks I make the filling on Sunday and roll taquitos throughout the week as needed.

OVEN BAKED BEEF TAQUITOS
Ingredients
For the Filling:
- 1 lb ground beef
- 1 tablespoon olive oil
- 1 small onion finely chopped
- 2 cloves garlic minced
- 1 teaspoon chili powder
- ½ teaspoon cumin
- ½ teaspoon paprika
- ½ teaspoon salt
- ¼ teaspoon black pepper
- ½ cup tomato sauce
- 1 cup shredded cheddar or Mexican blend cheese
For Assembly:
- 12 small flour or corn tortillas
- Cooking spray or olive oil
- Optional toppings: sour cream salsa, guacamole
Instructions
Preheat Oven:
- Preheat to 400°F (200°C). Line a baking sheet with parchment paper or foil and lightly grease.
Cook the Filling:
- In a skillet, heat oil and sauté onion until soft. Add garlic and beef. Cook until browned. Stir in spices and tomato sauce. Simmer for 5 minutes, then remove from heat and mix in cheese.
Assemble Taquitos:
- Warm tortillas until pliable. Spoon 2 tablespoons of beef mixture onto each tortilla and roll tightly. Place seam side down on the baking sheet.
Bake:
- Lightly brush or spray taquitos with oil. Bake for 20–25 minutes, flipping halfway through, until golden and crisp.
Notes
Spice it Up: Add chopped jalapeños or hot sauce for extra heat.
Tortilla Tip: Use slightly warm tortillas to prevent cracking during rolling.
Dipping Sauce Ideas: Serve with salsa, queso, ranch, or avocado crema.
Storage: Refrigerate leftovers up to 3 days; reheat in the oven for crispiness.
These taquitos have genuinely earned a permanent spot in my weeknight rotation. The filling comes together fast, the oven does most of the work, and I end up with something that feels like actual effort even on a night when I had nothing planned. That combination is rare and I appreciate it every time.
What I like most is the freezer-ahead setup. On a slow Sunday I'll make a full double batch — the first twelve go on the table that night, the second twelve go in the freezer. It takes maybe 20 extra minutes of work and buys me a completely free dinner on some future Wednesday when I have nothing left in me. That's the kind of cooking I'm trying to do more of.
If you're in the mood for more oven-baked finger food that follows the same idea, my Parmesan Crusted Pork Chops use the same high-heat baking method and come out just as crispy without frying. Different protein, same satisfying result.
Make these once and you'll understand why Saad requested them three Fridays in a row. 🌮🔥
If you liked this recipe, these are worth trying next:
- Garlic Butter Honey BBQ Beef Tacos — another great beef-in-a-shell situation with a completely different flavor profile
- Chicken Pot Pie Crescent Braid — another make-ahead, freezer-friendly dinner that looks more impressive than it is
- Parmesan Crusted Pork Chops — crispy oven-baked without frying, ready in under 30 minutes
- Cheddar Bay Green Bean Casserole — a good side dish if you want to build these into a fuller meal
- Pecan Pie Balls (No-Bake) — if you need a quick dessert to follow these up, this one takes 15 minutes and always gets eaten first




Comments
No Comments