
Saad asked for these three weeks in a row before I finally sat down and wrote the recipe out properly. He'd seen me throw them together one afternoon when I had nothing planned for dessert, and now he acts like they're some kind of household staple. Honestly, I get it — peanut butter cookies from the air fryer take about 20 minutes start to finish, and the edges come out with that slightly crispy bite while the centers stay soft.
What I love about this recipe is that it has no flour in it at all — just peanut butter, sugar, egg, vanilla, and a little baking soda. I know that sounds like it shouldn't work, but it does. The peanut butter holds everything together, and the result is a dense, chewy cookie that tastes like it took more effort than it actually did. My version uses creamy peanut butter because I've tried it both ways and the crunchy kind makes the dough harder to roll smoothly.
I make these on weekday afternoons when Zainab gets home from school and wants something sweet. They're also genuinely useful in summer when I don't want to heat up the kitchen by running the oven. If you're already browsing no-bake and low-effort desserts, check out my list of 15 no-bake summer desserts — these air fryer cookies fit right into that same spirit.
One thing to know going in: these cookies are soft and fragile when they first come out of the air fryer. Don't try to move them too early or they'll fall apart. Give them a full 5 minutes in the basket before you transfer them anywhere. I learned that the slightly embarrassing way the first time — ended up with a pile of warm peanut butter crumble instead of cookies.
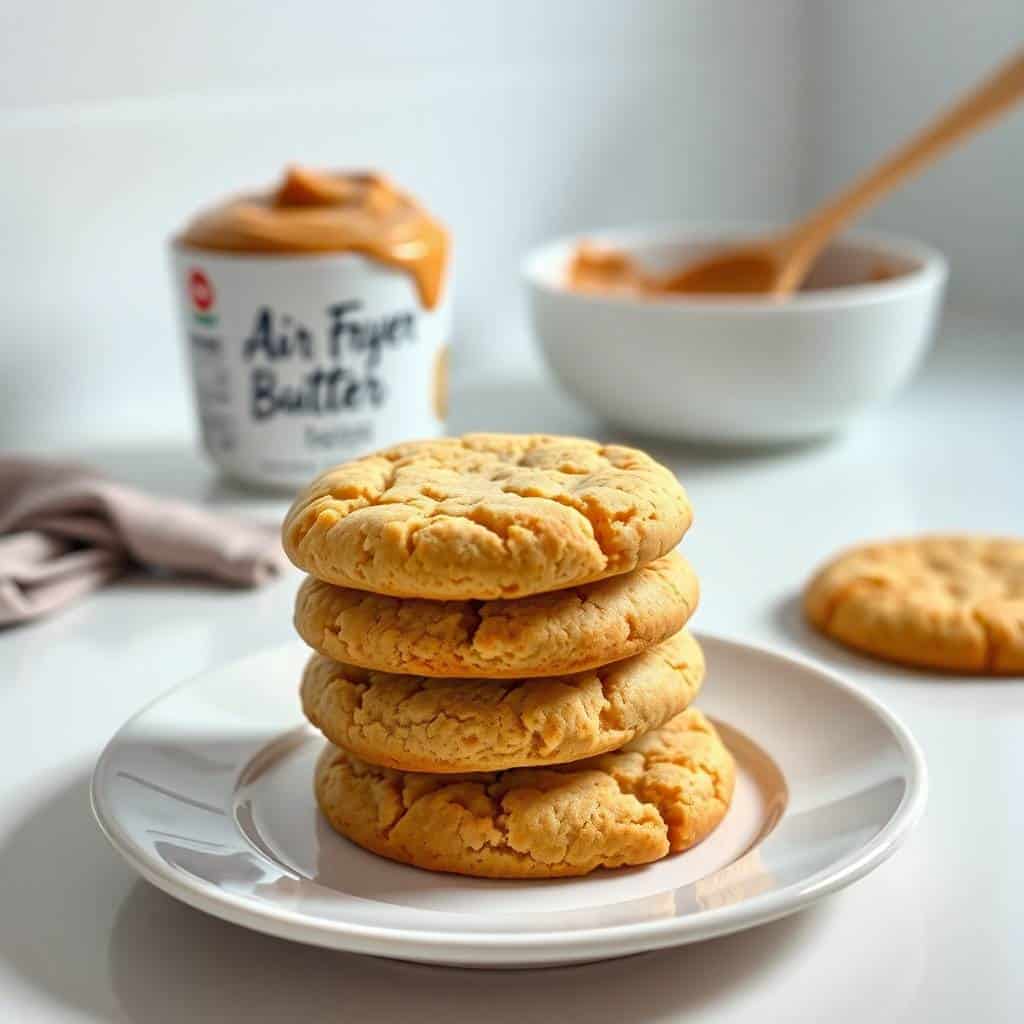
Why You'll Love This Recipe
- Ready in under 20 minutes: From mixing bowl to cooling rack, this is genuinely a 20-minute cookie. I've made them between school pickup and dinner without any stress. The air fryer heats up fast and there's no waiting for an oven to preheat to 350°F. When Saad wants something sweet after school, this is the first thing I reach for.
- Crispy edges, chewy center: This is the texture I always want from a peanut butter cookie and it's surprisingly hard to get in a regular oven without overcooking them. The air fryer's circulating heat gets the edges set and slightly golden while keeping the middle soft. It's the kind of texture difference you notice on the first bite.
- No flour, no fuss: There's no sifting, no measuring out multiple dry ingredients, and no worrying about gluten development. The dough comes together in one bowl in about 3 minutes. I've made this with a fork on tired evenings when I couldn't be bothered to get my hand mixer out of the cabinet.
- Keeps your kitchen cool: In the summer months here in Pakistan, running the oven makes the whole kitchen unbearable. The air fryer stays compact and doesn't radiate that same wave of heat. This is genuinely one of the reasons I started making cookies in the air fryer in the first place.
- Small batch, no waste: This recipe makes about 12 cookies, which is exactly right for my family. I don't need 4 dozen cookies sitting on my counter. The air fryer naturally limits batch size, which means I make just enough and they get eaten the same day. If you want more, just double the dough — it scales perfectly.
Ingredients
- 1 cup creamy peanut butter (Jif or Skippy work great — avoid natural peanut butter if you can)
- ½ cup granulated sugar
- ½ cup brown sugar, packed
- 1 large egg
- 1 teaspoon vanilla extract
- ½ teaspoon baking soda
- Pinch of salt
Directions
- Step 1: Preheat the air fryer — Set your air fryer to 320°F (160°C) and let it run for 3 minutes. Preheating matters here because dropping cold dough into a cold basket gives you uneven results — the bottoms won't set properly.
- Step 2: Mix the dough — In a medium bowl, combine the peanut butter, granulated sugar, and brown sugar. Stir until smooth, then beat in the egg and vanilla extract. The dough will look glossy and come together quickly. Add the baking soda and salt and stir until fully mixed in.
- Step 3: Shape the cookies — Scoop out tablespoon-sized portions and roll them into balls between your palms. This recipe makes about 12 cookies, so try to keep them roughly the same size so they bake evenly. If the dough sticks to your hands, a tiny bit of oil on your palms helps.
- Step 4: Flatten with a fork — Place the dough balls onto a parchment-lined air fryer basket, leaving about an inch of space between each. Use a fork to press each one down with a crisscross pattern. Press firmly — if they're too thick in the middle they won't cook through in time.
- Step 5: Air fry — Cook at 320°F (160°C) for 8–10 minutes. Start checking at 8 minutes. The edges should look set and lightly golden; the centers will still look a little soft and that's fine — they'll firm up as they cool. Don't push past 10 minutes or the centers dry out.
- Step 6: Cool before moving — This step is non-negotiable. Leave the cookies in the basket for 5 minutes before you touch them. They're fragile when hot and will crumble if you rush this part. After 5 minutes, transfer to a wire rack and let them cool completely.
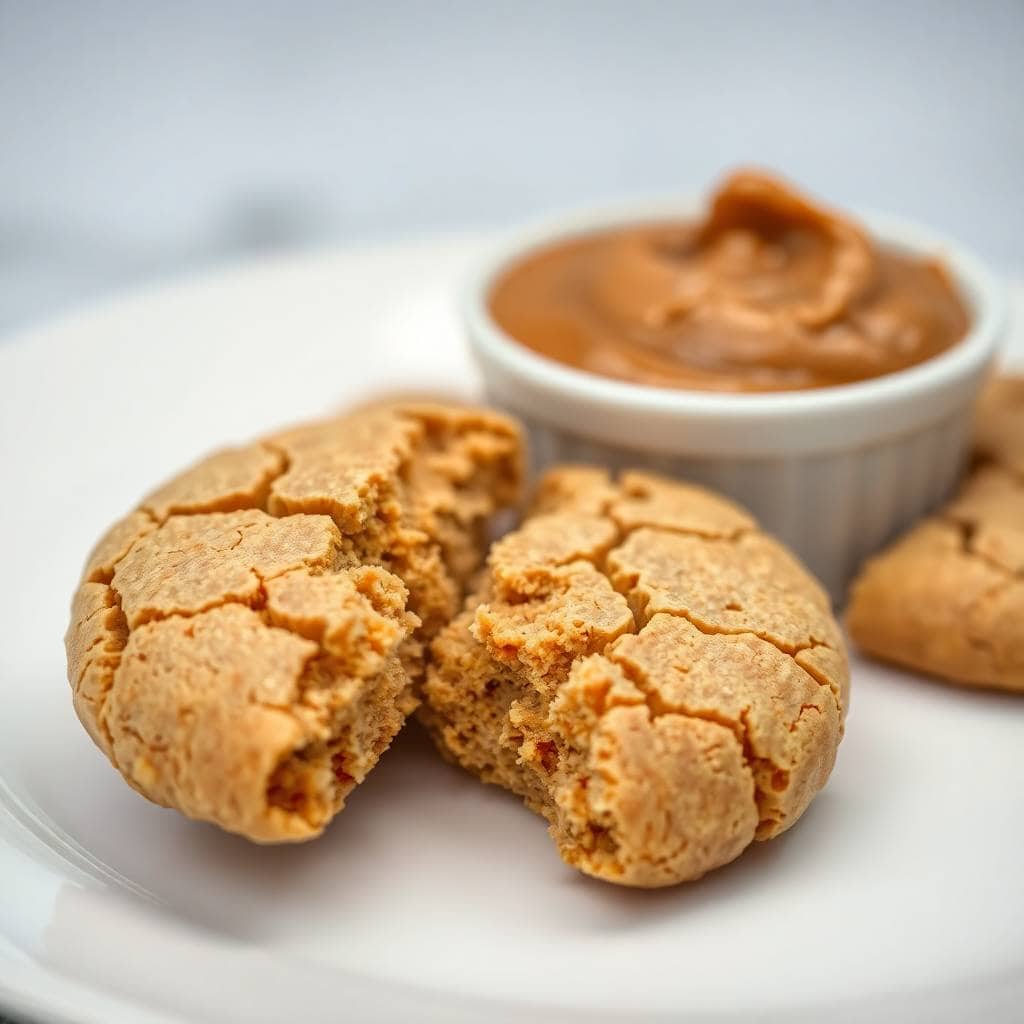
Tips for Success
- Stick with creamy peanut butter: I've tried this with natural peanut butter — the kind where the oil separates at the top — and the dough ends up oily and hard to roll. Brands like Jif or Skippy (available at Walmart, Costco, and most UK supermarkets) give you a consistent texture that holds together properly. Save the natural stuff for toast.
- Don't skip the parchment paper: Air fryer baskets have perforated bottoms, and cookie dough will sink through the holes or stick badly without something underneath. I cut regular parchment paper into squares that fit my basket. You can find pre-cut air fryer parchment liners at most stores now — they're worth having around.
- Bake in batches, don't crowd: I once tried to squeeze all 12 cookies into one round and they baked into each other at the edges and cooked unevenly in the middle. Two batches of 6 takes maybe 5 extra minutes total and gives you much better results. Air fryers need airflow around each cookie to do their job.
- Check at 8 minutes, not 10: Every air fryer runs a little differently. Mine tends to run slightly hot, so I always check at 8 minutes. If the edges look golden and set, they're done even if the centers look underdone. They firm up during that 5-minute rest — what looks soft in the basket will be perfectly chewy on the rack.
- Press the fork down firmly: A light press leaves them too thick and the center won't cook through properly. Press with some actual force — you want them about ½ inch thick after flattening. The crisscross fork pattern isn't just decorative; it's the classic peanut butter cookie look and it helps the top set evenly.
Variations
- Add chocolate chips: Stir ⅓ cup of mini chocolate chips into the dough before shaping. Mini chips work better than regular ones here because the cookies are small and regular chips can make them hard to flatten. This is Zainab's preferred version — she picks them out one by one and eats them last. If you love that peanut butter-chocolate combo, my Rolo Pretzels with M&M Candies hit the same notes with zero baking required.
- Swap in crunchy peanut butter: If you want more texture and a nuttier bite, crunchy peanut butter works well here. The dough is slightly harder to roll into smooth balls, but the extra peanut pieces give each cookie a nice uneven crunch. Just make sure it's a commercial brand, not natural.
- Flaky sea salt on top: Before air frying, pinch a little flaky sea salt over each cookie. The salt cuts through the sweetness and makes the peanut butter flavor more pronounced. I started doing this after I tried it with my thumbprint cookies with icing and got completely hooked on the sweet-salty thing.
- Use almond butter instead: Almond butter makes a slightly lighter, less rich cookie with a milder nutty flavor. The texture is similar and the recipe works exactly the same way. My husband actually preferred this version — he finds peanut butter cookies a little heavy sometimes, and the almond butter version felt less dense to him.
- Drizzle with melted chocolate: Once the cookies have cooled completely, melt 2–3 tablespoons of dark chocolate chips in the microwave in 30-second bursts and drizzle it over the tops with a spoon. It sets within 10 minutes at room temperature and makes them look like something from a bakery display case. Worth the extra 5 minutes if you're serving them to guests.
Serving and Storage
Serving
These cookies are best eaten the day they're made, when the edges are still slightly crisp and the centers are chewy. I serve them warm with a cold glass of milk — that's how Saad wants them every single time. They also go well alongside a cup of tea or coffee in the afternoon. If you're putting together a casual dessert spread, they pair nicely next to something like a blueberry dump cake — different textures, both easy to make.
Storage
Once completely cooled, store in an airtight container at room temperature for up to 5 days. Don't stack them until they're fully cool or they'll stick together. If you want to make them ahead, roll the dough into balls and refrigerate them (covered) for up to 2 days, then air fry straight from the fridge — just add 1–2 minutes to the cook time. You can also freeze the raw dough balls for up to a month. Freeze them flat on a sheet pan first, then transfer to a zip-top bag once solid.

Frequently Asked Questions
Can I use natural peanut butter?
Technically yes, but I'd avoid it if you can. Natural peanut butter has a higher oil content and a looser texture that makes the dough sticky and difficult to roll. The cookies also tend to spread more and come out greasier. If it's all you have, stir it really well first and refrigerate the dough for 20 minutes before shaping — it helps a little.
How many cookies does this recipe make?
About 12 cookies using tablespoon-sized scoops. If you make them slightly smaller you can get up to 15. I usually aim for 12 because they're a good size — not tiny, not enormous. The whole batch disappears in one sitting in my house, so I sometimes make a double batch when I know we have guests coming.
Can I bake these in a regular oven if I don't have an air fryer?
Yes, absolutely. Bake at 350°F (175°C) on a parchment-lined baking sheet for 10–12 minutes. The texture will be slightly different — a little softer overall — but the flavor is identical. Let them cool on the baking sheet for 5 minutes before moving them, same as with the air fryer.
Can I freeze the cookie dough?
Yes, and I actually recommend it. Roll the dough into balls, freeze them flat on a sheet pan for an hour, then transfer to a zip-top freezer bag. They keep well for up to a month. Air fry straight from frozen at 320°F — add 2 to 3 extra minutes and check the edges before pulling them out.
Why did my cookies fall apart when I tried to move them?
This happened to me the first time too — I moved them too soon. These cookies have no flour, which means they need time to firm up after cooking. Leave them in the basket for a full 5 minutes before touching them. Once they cool slightly, they hold together really well. If they're still fragile after 5 minutes, give them another 2–3 minutes.
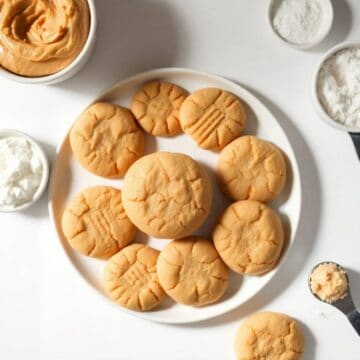
AIR FRYER PEANUT BUTTER COOKIES
Ingredients
- 1 cup creamy peanut butter
- ½ cup granulated sugar
- ½ cup brown sugar packed
- 1 large egg
- 1 teaspoon vanilla extract
- ½ teaspoon baking soda
- Pinch of salt
Instructions
Preheat Air Fryer:
- Preheat your air fryer to 350°F (175°C) for 3 minutes.
Mix Ingredients:
- In a bowl, combine peanut butter, granulated sugar, brown sugar, egg, and vanilla. Mix until smooth. Stir in baking soda and salt.
Shape Cookies:
- Roll dough into 12 equal balls. Flatten each ball with a fork, creating a crisscross pattern.
Air Fry:
- Place cookies in the air fryer basket, leaving space between each. Cook for 8–10 minutes until edges are lightly golden.
Cool:
- Let cookies cool for 5 minutes on a wire rack before serving.
Notes
Store dough balls in the fridge for up to 2 days before air frying. Custom Flavors:
Add chocolate chips or chopped peanuts for extra texture. Serving Suggestions:
Enjoy with a glass of milk or your favorite hot beverage. Allergy-Friendly Options:
Use sunflower seed butter for a peanut-free alternative. Storage Tips:
Store cookies in an airtight container at room temperature for up to 5 days.
These are one of those recipes I keep coming back to because there's almost nothing to it. No flour, one bowl, a fork — done. I've made them on school nights when I promised the kids something sweet after dinner and completely forgot to plan anything. Twenty minutes later, cookies. That's the kind of recipe I want in my rotation.
If you want to dress them up a little, the chocolate drizzle variation is worth doing at least once. It takes 5 extra minutes and turns a simple snack cookie into something that looks genuinely impressive on a plate. I've served them that way to guests alongside a strawberry crunch and people always reach for both.
The thing I'd most want you to take away from this recipe is the cooling step. I know it feels like nothing, but those 5 minutes in the basket are what make the difference between a cookie and a pile of warm crumbs. Be patient there, and the rest of this is completely foolproof.
I hope your family enjoys these as much as mine does — Saad's ongoing approval is honestly the best endorsement I have for them. 🥜🍪✨
If you liked these cookies, here are a few more things to try:
- Thumbprint Cookies with Icing (Buttery, Colourful Holiday Treats)
- Rolo Pretzels with M&M Candies
- Blueberry Dump Cake
- Strawberry Crunch Recipe
- 15 No-Bake Summer Desserts





Comments
No Comments