
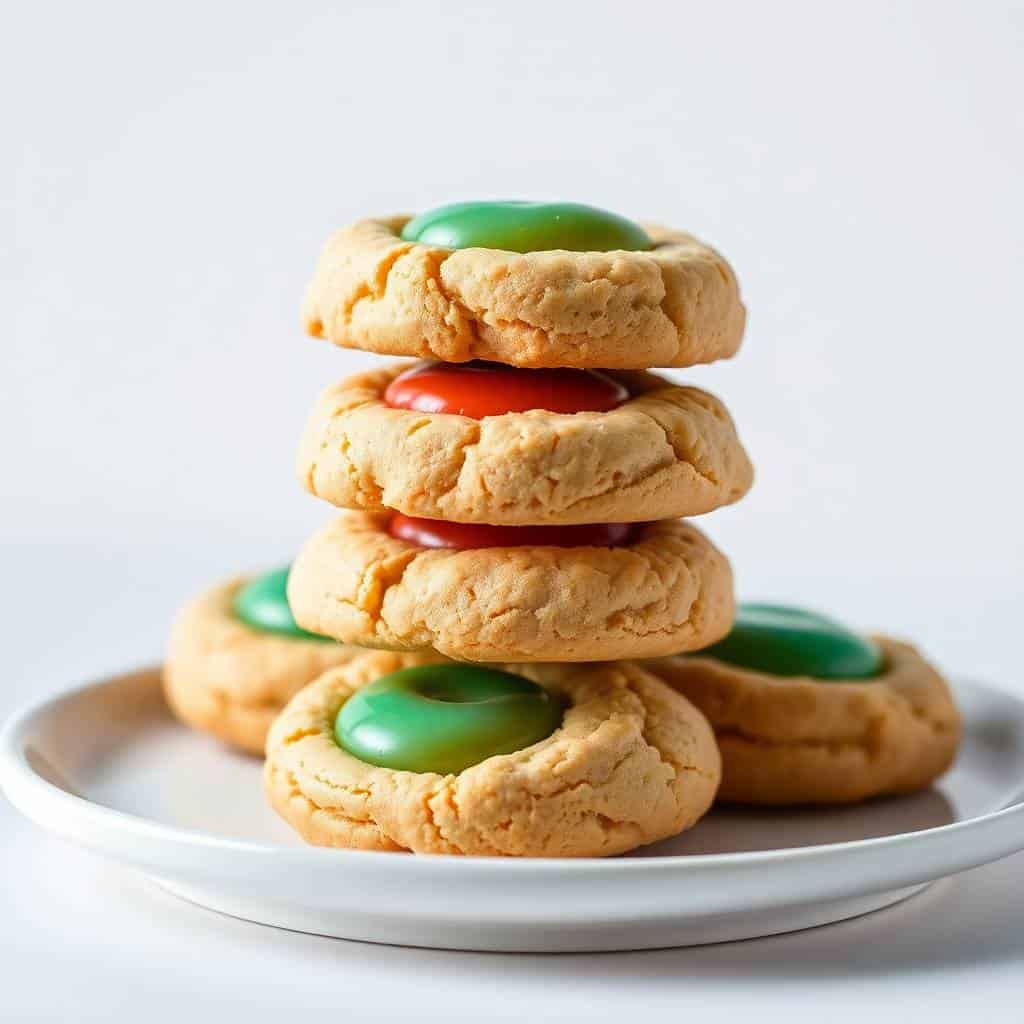
I made these thumbprint cookies for the first time two Decembers ago, when Zainab's school asked parents to bring something for the class holiday party. I wanted something that looked festive without requiring three hours in the kitchen. These took about 45 minutes start to finish, came out looking like actual bakery cookies, and her teacher asked me for the recipe before the party ended.
What makes this dough work is the egg yolk situation — no whole egg, just the yolks. I know it sounds fussy but it genuinely makes a difference. The cookies come out tender in a way that whole-egg cookies just don't match. The dough is also forgiving: if it gets too warm and sticky while you're shaping, ten minutes in the fridge and you're back on track. I've made this batch probably eight times now and it's one of the most reliable cookie recipes I have.
My family eats these fast. Zainab loves filling the icing herself — she goes heavy on the food colouring and ends up with very aggressively pink cookies, which honestly look great. If you're looking for more cookies to bake alongside these, my Cookies & Cream Cookies are another favourite in this house and they disappear just as quickly.
One thing to know before you start: let your butter sit out long enough to actually soften. Not melted, not fridge-cold — soft enough that your finger leaves a dent when you press it. Cold butter won't cream properly and your dough will be lumpy. I used to rush this step and regretted it every time.
Why You'll Love This Recipe
- The dough is genuinely simple: You need one bowl, a hand mixer (or just a wooden spoon and some patience), and basic pantry ingredients. There's no chilling required unless your kitchen is warm. I've made this on a school night with one kid tugging on my sleeve and it still came together fine.
- Kids can actually help: The pressing-the-thumbprint step is genuinely satisfying and kids love it. Zainab takes this job very seriously. Having them fill the icing with a small spoon keeps them busy for a solid 15 minutes, which is its own kind of win.
- You can flavour them however you want: The base dough is neutral enough to go vanilla, almond, or lemon depending on your mood or the season. I usually do vanilla extract in winter and a little lemon zest in spring. Both versions work with the icing.
- They travel and gift well: These stack without crumbling once the icing sets, which makes them one of my go-to options when I need to bring cookies somewhere or pack them in a tin. I always make a double batch when I'm gifting because one batch disappears before it ever makes it into the tin.
- They look impressive for how easy they are: The coloured icing centres make these look like something from a cookie shop. Nobody at Zainab's school party believed I made them at home the same afternoon. That's the kind of recipe I keep coming back to.
Ingredients
- 1 cup unsalted butter, softened (this means truly room temperature — leave it out for at least an hour)
- ½ cup granulated sugar
- 2 large egg yolks (save the whites for an omelette)
- 1 teaspoon vanilla extract
- 2 cups all-purpose flour
- ¼ teaspoon salt
For the Icing:
- 1 cup powdered sugar
- 1–2 tablespoons milk (start with 1 tablespoon and add more if needed)
- ½ teaspoon vanilla or almond extract
- Food colouring, optional (gel colouring gives more vibrant results than liquid)
- Sprinkles, optional
Directions
- Preheat the oven: Set your oven to 350°F (175°C) and line a baking sheet with parchment paper. Parchment matters here — it prevents the bottoms from browning too fast and makes cleanup a lot easier.
- Cream the butter and sugar: In a large bowl, beat the softened butter and sugar together until light and fluffy, about 2–3 minutes with a hand mixer or a good 4–5 minutes by hand. This step builds the structure of the cookie, so don't rush it.
- Add egg yolks and vanilla: Beat in the egg yolks and vanilla extract until fully combined and the mixture looks smooth and creamy. Scrape down the sides of the bowl so everything gets incorporated.
- Mix in the dry ingredients: Gradually add the flour and salt, mixing just until the dough comes together and pulls away from the sides. Don't overmix — once the flour disappears, stop. Overmixing makes tough cookies.
- Shape and indent: Roll the dough into 1-inch balls and place them about 2 inches apart on the baking sheet. Press your thumb firmly into the centre of each one to make a well. If the dough cracks around the edges, just pinch it back together — it doesn't need to be perfect.
- Bake: Bake for 10–12 minutes, until the edges are just set and very lightly golden. They'll look a little underdone in the centre — that's fine. Let them cool on the tray for 5 minutes before moving to a wire rack to cool completely.
- Make the icing and fill: Whisk powdered sugar, milk, and extract until smooth. Divide into small bowls and add food colouring if you like. Spoon the icing into each cooled thumbprint well. Let the icing set for about 20 minutes before stacking or storing.
Tips for Success
- Butter temperature is the most important thing: I cannot stress this enough. Cold butter won't cream into the sugar — it'll stay in chunks and your dough will be dense. I used to just microwave it for 15 seconds and wonder why my cookies spread into flat discs. Now I just leave the butter on the counter for an hour before I start. Problem solved.
- Chill the dough if your kitchen is warm: In summer, or if you've been handling the dough a lot, it can get soft and sticky. Just wrap it in plastic wrap and refrigerate for 15 minutes. This makes shaping much easier and prevents the cookies from spreading too much in the oven.
- Don't overbake: The first time I made these, I left them in until they looked golden all over — they came out hard by the next day. Pull them when the edges are just barely set and the centres look slightly underdone. They firm up as they cool and the texture is much better.
- Wait until the cookies are fully cool before icing: I've tried to rush this and the icing just slides right off or turns thin and transparent. Even slightly warm cookies will melt the icing. Give them at least 20 minutes on the rack — or longer if your kitchen is hot.
- A zip-top bag works as a piping bag: You don't need any special equipment. Spoon the icing into a small zip-top bag, snip a tiny corner off, and pipe it right into the well. It gives you more control than a spoon and looks neater. I use this trick for my Nutella Cookies too when I want a cleaner finish.
Variations
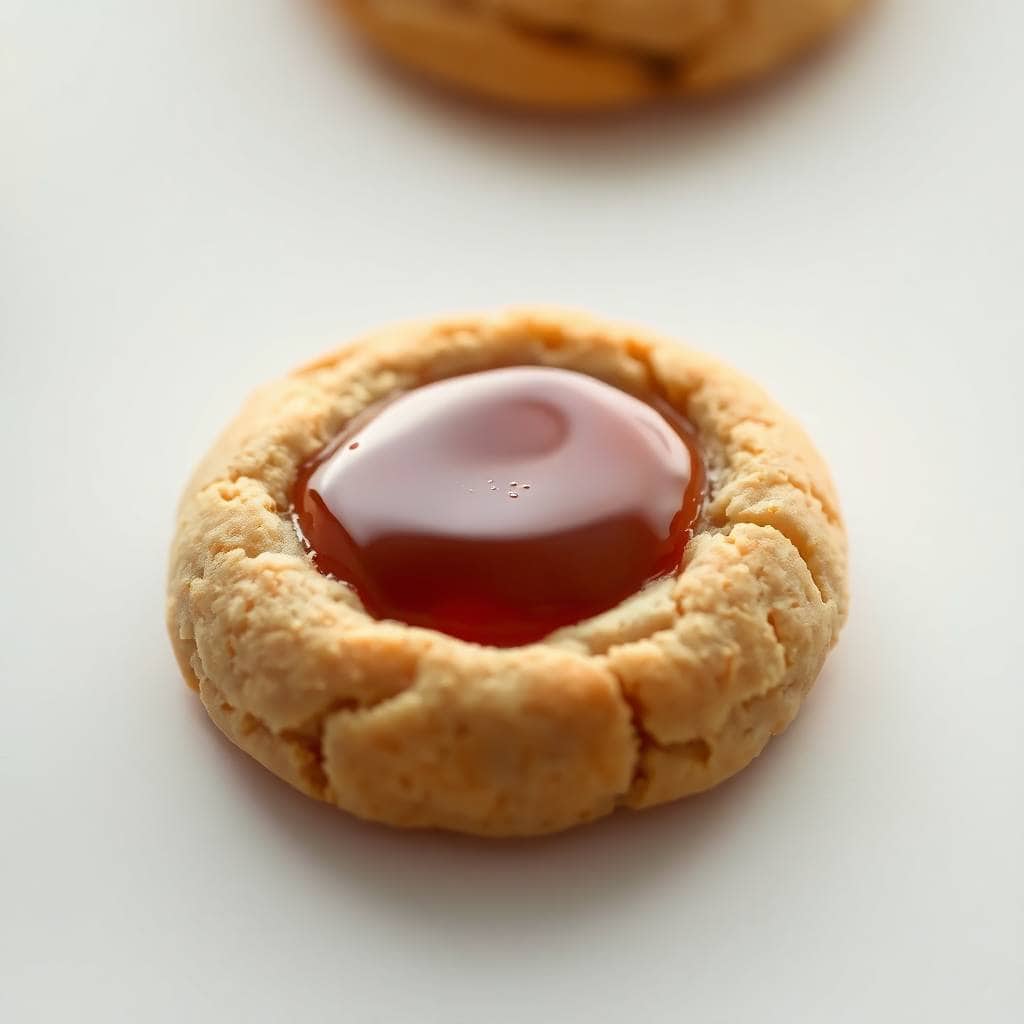
- Jam-filled instead of icing: This is actually closer to the original thumbprint cookie — you spoon a little fruit jam into the well before baking. Raspberry and apricot both work really well. The jam bubbles slightly in the oven and sets into a glossy centre. My husband actually prefers these over the iced version.
- Lemon zest dough: Add 1 teaspoon of fresh lemon zest to the dough when you add the vanilla. It gives the whole cookie a bright, citrusy note that pairs really nicely with a plain white icing or even a light yellow-tinted one. This is my favourite version for spring.
- Chocolate drizzle: Skip the icing entirely and drizzle melted chocolate over the cooled cookies instead. Just melt half a cup of chocolate chips in the microwave in 30-second intervals, stir smooth, and drizzle with a fork. It looks elegant and takes about 3 minutes. Pairs well with my Rocky Road Fudge on a holiday dessert tray.
- Coloured sugar crust: Before baking, roll the dough balls in coloured sanding sugar instead of plain. The sugar sticks to the outside and gives you a sparkly, slightly crunchy exterior. No icing needed — they look festive on their own and are great when you want less mess.
- Almond extract dough with coconut icing: Swap the vanilla in the dough for almond extract and make the icing with coconut milk instead of regular milk. The combination is a little unexpected but really good — the almond and coconut together taste almost like a macaroon. This version gets the most comments when I bring it to parties.
Serving and Storage
Serving
Serve these at room temperature — they're softest and best within the first two days of baking. They go well with tea or coffee for adults, and with milk for kids (Zainab's preference). For a holiday dessert spread, I arrange them on a tray alongside something chocolate, like my Rocky Road Fudge, so there's variety in colour and texture.
Storage
Let the icing set completely before storing — this usually takes 20–30 minutes at room temperature. Once set, store in an airtight container at room temperature for up to 5 days. If you're stacking layers, put a sheet of wax paper or parchment between them to protect the icing. These also freeze well: freeze the baked, un-iced cookies for up to 2 months, then thaw and ice when you're ready to serve. The dough itself can be refrigerated for up to 2 days before baking.

Frequently Asked Questions
Can I make the dough ahead of time?
Yes, the dough keeps in the fridge for up to 2 days, tightly wrapped. You can also shape the balls and refrigerate them on the tray — just press the thumbprints right before baking. I do this the night before holiday parties so I'm not scrambling in the morning.
Why did my cookies spread too much?
Almost always it's because the butter was too warm or the dough was too soft when it went into the oven. If your dough feels sticky or your kitchen is warm, chill it for 15 minutes before baking. Also make sure you're measuring flour properly — spoon it into the measuring cup and level it off rather than scooping directly, which packs in too much.
Can I fill them with something other than icing?
Absolutely. Jam is the classic choice — add it before baking and it sets nicely in the oven. Nutella, caramel sauce, or lemon curd all work well added after baking, just like the icing. My husband's favourite is the raspberry jam version, which needs no icing at all.
Can I freeze these cookies?
Yes — freeze the baked, un-iced cookies in a single layer first, then transfer to a freezer bag. They keep for up to 2 months. Thaw at room temperature for about 30 minutes, then ice them. I don't recommend freezing already-iced cookies because the icing tends to get sticky when it thaws.
How do I get the icing to the right consistency?
Start with 1 tablespoon of milk and add more a tiny bit at a time. You want it thick enough that it sits in the well without running over the edges, but thin enough to spoon easily. If it gets too thin, add a little more powdered sugar. If it's too thick to spoon, add just a few drops more milk.
These thumbprint cookies have become one of my most-made holiday bakes — and honestly, I make them outside of the holidays too, because the dough is that easy and the results are consistently good. The first time I made them I overbaked them and they were dry the next day. Now I pull them at the 10-minute mark and they stay soft for days. That was the main thing I had to learn, and now I'd never go back.
What I love most is how customisable they are. The base dough is almost like a blank canvas — you change the extract, change the icing colour, roll them in coloured sugar — and suddenly you have something that fits any occasion without learning a new recipe. I've made Christmas-red and green versions, soft pink ones for a baby shower, and plain white-iced ones for a school bake sale. Same recipe every time.
If you're building out a holiday cookie tray, these pair well with my Nutella Cookies for a chocolate option alongside. And if you need something salty-sweet on the side, the Marinated Cheese Appetizer with Salami and Pickles is a good balance before dessert hits the table.
Make these once and you'll understand why they keep showing up in my kitchen. They're reliable, they look great, and they're one of the few recipes where kids genuinely help rather than just making a mess. That alone puts them near the top of my list. 🍪✨

THUMBPRINT COOKIES WITH ICING
Ingredients
For the Cookies:
- 1 cup unsalted butter softened
- ½ cup granulated sugar
- 1 large egg yolk
- 1 teaspoon vanilla extract
- 2 cups all-purpose flour
- ¼ teaspoon salt
For the Icing:
- 1 cup powdered sugar
- 1 –2 tablespoons milk
- ½ teaspoon vanilla or almond extract
- Food coloring optional
- Sprinkles optional
Instructions
Preheat Oven:
- Preheat oven to 350°F (175°C). Line a baking sheet with parchment paper.
Make the Dough:
- In a large bowl, cream butter and sugar until light and fluffy. Mix in egg yolk and vanilla. Gradually add flour and salt, mixing until a soft dough forms.
Shape the Cookies:
- Roll dough into 1-inch balls and place on prepared sheet. Press your thumb gently in the center of each ball to create an indent.
Bake:
- Bake for 10–12 minutes until edges are set but not browned. Let cookies cool completely on a wire rack.
Make the Icing:
- In a bowl, whisk powdered sugar, milk, and extract until smooth. Add food coloring if desired.
Fill and Decorate:
- Spoon icing into cookie centers and top with sprinkles if using. Let icing set before serving or storing.
Notes
Customisations: Use flavoured icing or swap in jam or lemon curd instead of icing.
Serving Suggestions: Perfect for cookie exchanges or festive dessert platters.
Storage Tips: Store in an airtight container at room temperature for up to 1 week.
If you liked these, here are a few more recipes from my kitchen you might want to try next:
- Cookies & Cream Cookies — another easy cookie that always gets requests
- Nutella Cookies — soft, fudgy, and done in under 30 minutes
- Rocky Road Fudge — great alongside these on a holiday dessert tray
- Easy Marinated Cheese Appetizer with Salami & Pickles — for when you need something savoury to balance all the sweets





Comments
No Comments