
I made these root beer baked beans for the first time on a whim — I had a can of A&W sitting in the fridge from a movie night and a pot of beans that needed to be used up. I did not expect much. What came out of the oven an hour later had my husband standing over the baking dish with a spoon before I'd even called everyone to the table.
The root beer does something really specific here — it's not just sweetness, it's that slightly caramel, slightly vanilla depth that you can't quite get from brown sugar alone. Combined with molasses, smoked paprika, and yellow mustard, the sauce ends up tasting like something that's been cooking all day, even though the actual hands-on time is maybe 10 minutes. I've made these at least a dozen times now and the formula is locked in.
My husband loves these alongside grilled chicken or burgers. I've also brought them to a couple of summer cookouts where they disappeared before anything else on the table — including the caprese pinwheels I'd spent way more time on. Saad actually asked me once if beans could be dessert, which tells you everything about how the root beer sweetens them up.
One thing to set expectations on: this is not a quick recipe in the oven-time sense. You're looking at an hour of baking. But you literally stir everything in a bowl, pour it into a dish, and put it in the oven. The oven does all the work. I usually get these going, then make the rest of dinner, and they're done by the time we sit down.
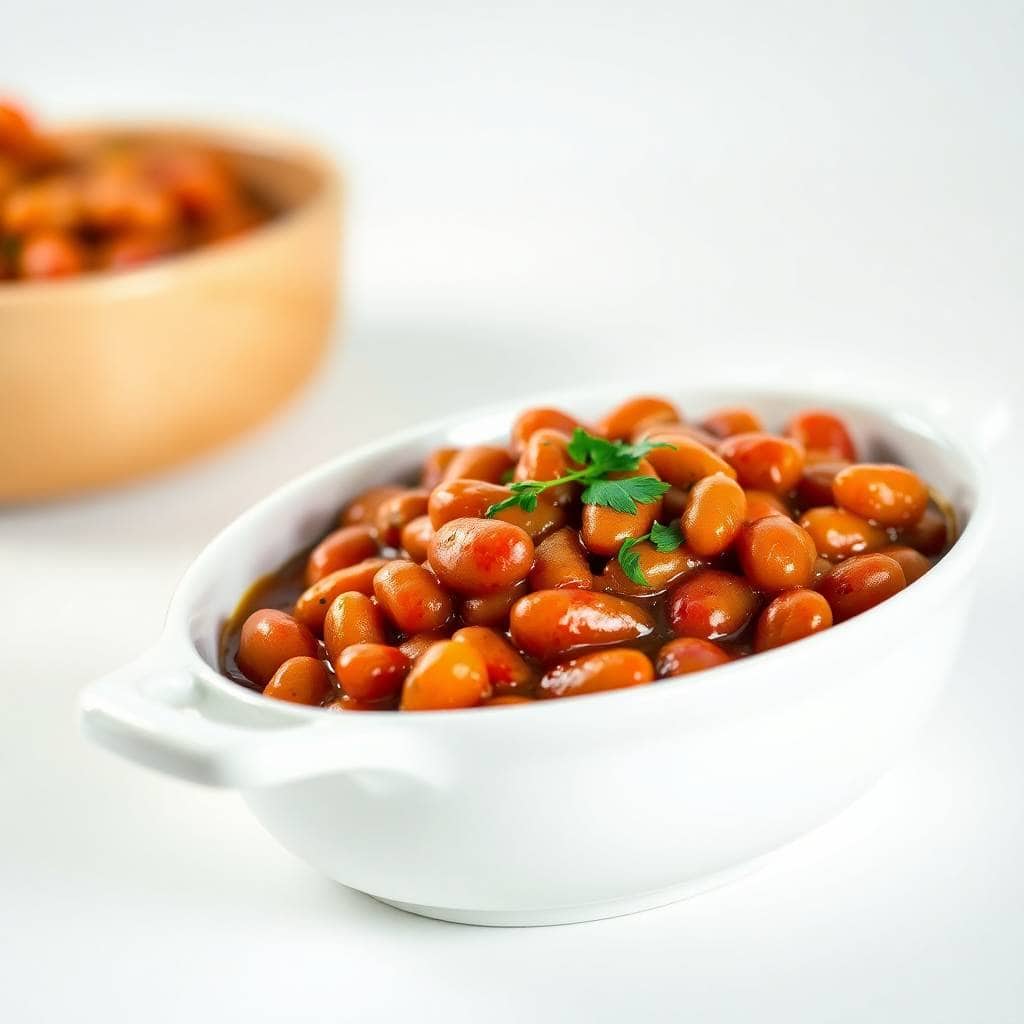
Why You'll Love This Recipe
- Root beer does real work here: I was skeptical the first time, honestly. But the root beer adds this mellow caramel-vanilla note that regular sugar just doesn't replicate. It's not overpowering at all — after an hour in the oven it mostly bakes down into the background of the sauce, just leaving this sweetness with a little complexity behind it. Use regular root beer, not diet. Diet versions don't caramelize the same way.
- Almost no prep: I'm talking open cans, chop an onion, stir everything in a bowl, pour it in a dish. That's genuinely it. If you have 10 minutes of active time I'd be surprised. This is the kind of recipe I can make on a night when I'm tired and still have something solid to put on the table.
- The bacon option is worth it: The recipe works without bacon — I make it vegetarian sometimes. But if you've got 4 slices of bacon and 10 extra minutes, cook them up and crumble them in. The smoky-salty contrast against all that sweetness is really good. I cook the bacon in the same skillet I use to soften the onion, which saves a pan.
- Makes a big, generous batch: This recipe feeds a crowd easily as a side dish, which is why I keep making it for cookouts. I've doubled it before for larger gatherings — just use a bigger baking dish and add about 10 minutes to the bake time. It holds well in a pot on warm too if you're serving buffet-style.
- Leftovers are actually better: The sauce thickens up overnight in the fridge and the flavors deepen. I've eaten the cold leftovers straight from the container standing at the fridge at 11pm and I'm not even sorry. They reheat beautifully on the stove over low heat with a splash of water if they've gotten too thick.
Ingredients
- 2 cans (15 oz each) pork and beans (or baked beans), undrained
- ½ cup root beer (not diet — I use A&W or Barq's)
- ¼ cup ketchup
- 2 tablespoons brown sugar
- 1 tablespoon yellow mustard
- 1 tablespoon molasses
- ½ teaspoon smoked paprika
- ¼ teaspoon garlic powder
- ¼ teaspoon black pepper
- ½ cup chopped onion (about half a medium onion)
- 4 slices bacon, chopped and cooked until crisp (optional but recommended)
Directions
- Preheat the oven: Set your oven to 350°F (175°C). Get this going first so it's ready when you are — the beans go in relatively quickly.
- Cook the bacon and onion (if using bacon): In a skillet over medium heat, cook the chopped bacon until crisp, then remove and set aside. In the same pan with a little of the drippings, soften the chopped onion for about 5 minutes until translucent. If you're skipping the bacon, just soften the onion in a little oil. This step matters — raw onion in baked beans stays a little harsh, and cooked onion melts into the sauce much better.
- Mix the sauce: In a large bowl, stir together the undrained beans, root beer, ketchup, brown sugar, mustard, molasses, smoked paprika, garlic powder, and black pepper. Give it a taste — at this point it'll seem quite liquid and sweet, but that's correct. It thickens dramatically in the oven.
- Add the onion and bacon: Stir in the softened onion and crispy bacon crumbles. Mix until everything is evenly distributed.
- Bake: Pour the mixture into a greased 2-quart baking dish (I use a 9x13 glass dish). Bake uncovered at 350°F for 1 hour, stirring once halfway through. The beans are done when the sauce is thick, bubbly, and a little caramelized around the edges.
- Rest before serving: Let the dish sit for about 10 minutes before serving. The sauce tightens up as it cools slightly, and you'll get a much better texture than if you serve it straight from the oven when it's still quite loose.
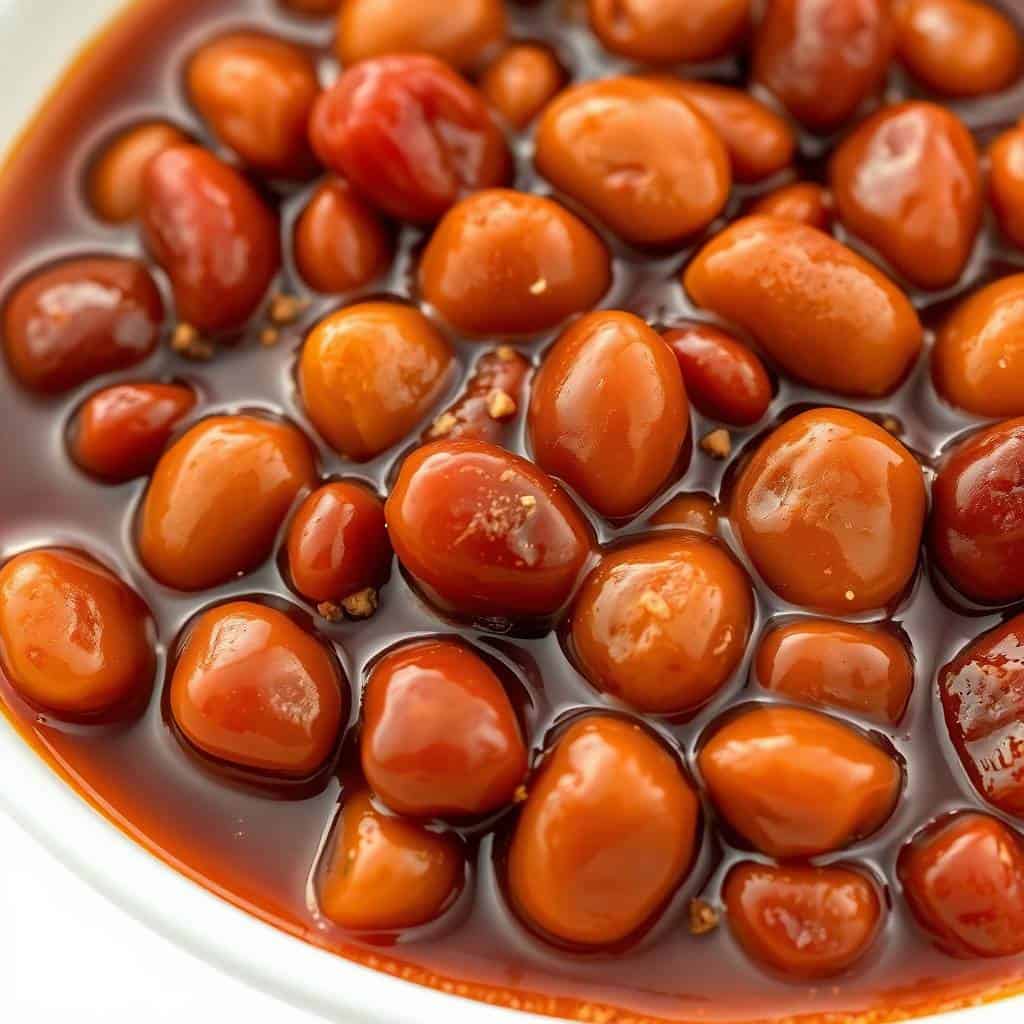
Tips for Success
- Do not use diet root beer: I tried it once when that was all I had. The sauce didn't caramelize properly and the whole thing tasted weirdly flat. Regular root beer has the sugar content that helps the sauce develop that sticky, glossy finish as it bakes down. A&W, Barq's, or whatever's at your local Walmart or Aldi will work fine.
- Use undrained canned beans: This recipe calls for pork and beans or baked beans — you want those left undrained because the liquid is part of the sauce base. If you accidentally drain them (I've done it), add a splash of water and a little extra ketchup to compensate. It still works, but you lose some of that starchy body in the sauce.
- Stir once at the halfway point: Set a timer for 30 minutes and give everything a good stir when it goes off. The edges of the dish get hotter than the center, so stirring once keeps the sauce from over-thickening or scorching on the sides. I've skipped this when I forgot and the edges got a bit crusty — not terrible, but not ideal.
- Use a deep baking dish: Baked beans bubble as they cook and the sauce can creep up the sides. A 2-quart or deeper dish gives you enough room that you won't end up with a syrupy mess on your oven floor. I've made that mistake — it's not fun to clean.
- Let the molasses pull its weight: Don't skip the molasses — I know it seems like a small amount but it does something the brown sugar alone can't. It adds a slightly bitter, deep undertone that keeps the whole thing from tasting one-dimensionally sweet. If you've ever made Amish Shoofly Pie, you already know how much molasses punches above its weight in a recipe.
Variations
- Spicy version: Add ¼ teaspoon of cayenne pepper or stir in a tablespoon of your favorite hot sauce along with the other sauce ingredients. My husband does this every single time I make these — he keeps a bottle of Louisiana hot sauce on the table for exactly this purpose. The heat cuts through the sweetness and gives the whole dish more dimension.
- BBQ sauce swap: Replace the ketchup with your favorite barbecue sauce for a smokier, tangier profile. This works especially well if your BBQ sauce is on the vinegary side — it balances the sweetness of the root beer and molasses really nicely. I've used Sweet Baby Ray's for this and it's excellent.
- Fully vegetarian: Skip the bacon entirely and add ½ teaspoon of liquid smoke to the sauce instead. You get that smoky depth without any meat. I make this version regularly and honestly, without the bacon sitting right there as a reference point, most people can't tell the difference in the overall flavor of the sauce.
- Cheesy baked beans: In the last 10 minutes of baking, scatter a generous handful of shredded sharp cheddar over the top and let it melt into a bubbly, golden layer. This turns the dish into more of a full casserole and makes it even more of a crowd centerpiece. Kids especially go crazy for this version.
- Slow cooker method: Combine everything in your slow cooker (onion can go in raw here — it'll have time to cook down), set it to low, and cook for 4–5 hours. You'll want to leave the lid slightly ajar for the last hour so some moisture can escape and the sauce can thicken. This is a great option if you're making these for a party and need oven space for other things.
Serving and Storage
Serving
These beans are best served warm, straight from the baking dish. They're a natural alongside burgers, grilled chicken, hot dogs, or pulled pork. I've also served them as a side with a simple creamy garlic sauce baby potatoes when I wanted a full vegetarian spread — the two dishes together are genuinely satisfying. If you're bringing these to a cookout, they travel well in the baking dish covered with foil and stay warm for a good 45 minutes.
Storage
Store leftovers in an airtight container in the refrigerator for up to 4 days. To reheat, warm them on the stovetop over low heat with a splash of water to loosen the sauce, or microwave in 1-minute intervals stirring in between. These also freeze well — cool completely, then pack into a freezer-safe container and freeze for up to 2 months. Thaw overnight in the fridge before reheating.
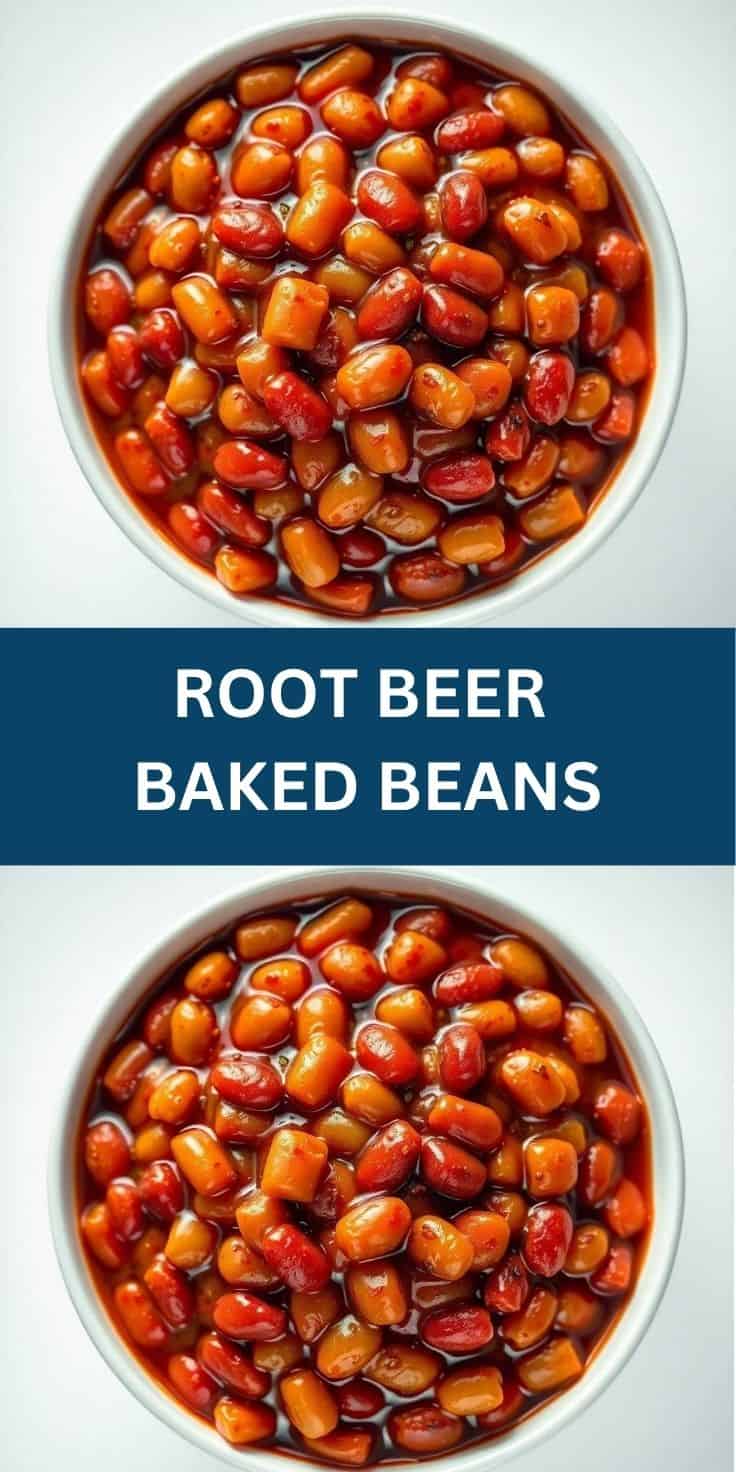
Frequently Asked Questions
Can I use dried beans instead of canned?
Yes, but you'll need to soak and cook them fully first before adding them to the recipe. Dried beans won't finish cooking properly in the oven in just one hour — they need to be tender going in. Canned beans are genuinely the easier path here and what I always use. If you do go the dried route, navy or pinto beans work best.
What kind of root beer should I use?
Use any regular, full-sugar root beer — A&W, Barq's, IBC, or whatever's in your grocery store. Do not use diet or sugar-free versions. The sugar in regular root beer is what helps the sauce caramelize as it bakes, and diet versions just don't deliver the same result. I've tried it. It's noticeably different.
Can I make these ahead of time?
Absolutely — this is actually one of my favorite make-ahead sides. You can bake them the day before, refrigerate overnight, and reheat in a 325°F oven covered with foil for about 20 minutes, or on the stovetop. The flavor genuinely improves overnight as everything melds together. I've made these two days in advance for cookouts with zero problems.
Can I freeze root beer baked beans?
Yes. Let them cool completely, then transfer to a freezer-safe container or zip-lock bag and freeze for up to 2 months. Thaw in the refrigerator overnight before reheating. The texture holds up well — I've frozen and reheated these several times and they come back just fine.
What other beans can I use besides pork and beans?
Navy beans, pinto beans, great northern beans, or kidney beans all work here. If you use plain canned beans instead of pork and beans, drain and rinse them first, then add an extra tablespoon of ketchup and a pinch more brown sugar to compensate for the sauce you're losing. The pork and beans variety is my default because it already has some seasoning built in.

ROOT BEER BAKED BEANS
Ingredients
- 2 15 oz cans pork and beans (or baked beans), undrained
- ½ cup root beer not diet
- ¼ cup ketchup
- 2 tablespoons brown sugar
- 1 tablespoon yellow mustard
- 1 tablespoon molasses
- ½ teaspoon smoked paprika
- ¼ teaspoon garlic powder
- ¼ teaspoon black pepper
- ½ cup chopped onion
- 4 slices bacon chopped and cooked (optional but recommended)
Instructions
Step 1 – Preheat Oven:
- Preheat your oven to 350°F (175°C).
Step 2 – Mix Ingredients:
- In a large bowl, combine pork and beans, root beer, ketchup, brown sugar, mustard, molasses, paprika, garlic powder, and black pepper. Stir in chopped onion and cooked bacon if using.
Step 3 – Bake:
- Pour the mixture into a greased 2-quart baking dish. Bake uncovered for 1 hour, stirring once halfway through.
Step 4 – Serve:
- Let cool slightly before serving. Perfect with grilled meats or burgers.
Notes
This pie can be made up to 2 days in advance. Keep it covered and refrigerated until ready to serve. Customize the Flavor:
Use mint Oreos or peanut butter pudding for fun twists. Add chocolate chips or a fudge drizzle between layers. Serving Suggestions:
Serve chilled with extra whipped topping and a drizzle of chocolate syrup for a fancy finish. Allergy-Friendly Options:
Use gluten-free sandwich cookies and dairy-free whipped topping and cream cheese for an allergy-friendly version. Storage Tips:
Store leftovers in the refrigerator for up to 4 days. Do not freeze, as the texture may change.
What I keep coming back to with this recipe is how little effort it asks for and how much it delivers. I grew up in Pakistan where we didn't make baked beans — this is squarely an American comfort food thing — but the idea of slow-cooking something in a sweet, savory sauce until it gets sticky and thick is completely familiar to me. That logic translates everywhere. These beans have become a regular in my rotation, especially from spring through fall when we're grilling more often.
If you're looking for something to round out a cookout spread, I'd serve these alongside a pimento cheese dip with crackers as a starter, then these beans as the side. That combination has gone over really well every time I've done it. And if you want to keep things sweet to finish, my no-bake chocolate eclair dessert is another make-ahead option that requires zero oven time — so you can have the beans in the oven and dessert already done in the fridge.
I hope you make a big dish of these and find yourself doing exactly what my husband does — hovering near the baking dish before I've even said dinner's ready. 🥄🍺✨
If you liked this recipe, here are a few more you might want to try:
- Creamy Garlic Sauce Baby Potatoes — a simple, satisfying side that pairs beautifully with the same mains you'd serve with baked beans
- Pimento Cheese Dip — a Southern classic that's perfect as a cookout starter
- Caprese Pinwheels — easy make-ahead appetizer that travels well to any gathering
- No Bake Chocolate Eclair Dessert — the easiest make-ahead dessert I know, and it feeds a crowd
- Easy Marinated Cheese Appetizer with Salami & Pickles — another crowd-friendly party dish that comes together without any cooking





Comments
No Comments