
I made these for the first time on a Friday afternoon when the oven was already full of something else and Zainab wanted "something sweet" immediately. I had cream cheese sitting in the fridge, a bag of shredded coconut in the pantry, and about 20 minutes of patience left. Forty-five minutes later, we had a tray of white chocolate-coated coconut balls chilling in the fridge — and Zainab was already asking when she could eat one.
What makes these work is the cream cheese. A lot of no-bake ball recipes rely on condensed milk alone and end up too sticky to roll cleanly. The cream cheese adds body and a slight tang that keeps the whole thing from being one-note sweet. Combined with the powdered sugar and vanilla, the filling tastes like the inside of a really good coconut truffle. The white chocolate coating sets firm in the fridge and gives you that satisfying crack when you bite in.
I make a double batch now because a single batch disappears the same day. My husband takes a few with his evening tea, Zainab eats them like candy, and Saad pretends he's not interested and then quietly finishes the last four. If you're looking for something else to bring to a dessert spread, these sit beautifully next to my Red Velvet Strawberry Shortcake Cupcakes — together they make a tray that looks like you actually tried.
One thing to know going in: the mixture needs that 30-minute chill before you try to roll it. I skipped that step the first time, thinking it would be fine, and ended up with coconut paste stuck to both hands and zero balls to show for it. Chill the mixture, and rolling becomes genuinely easy. Don't skip it.
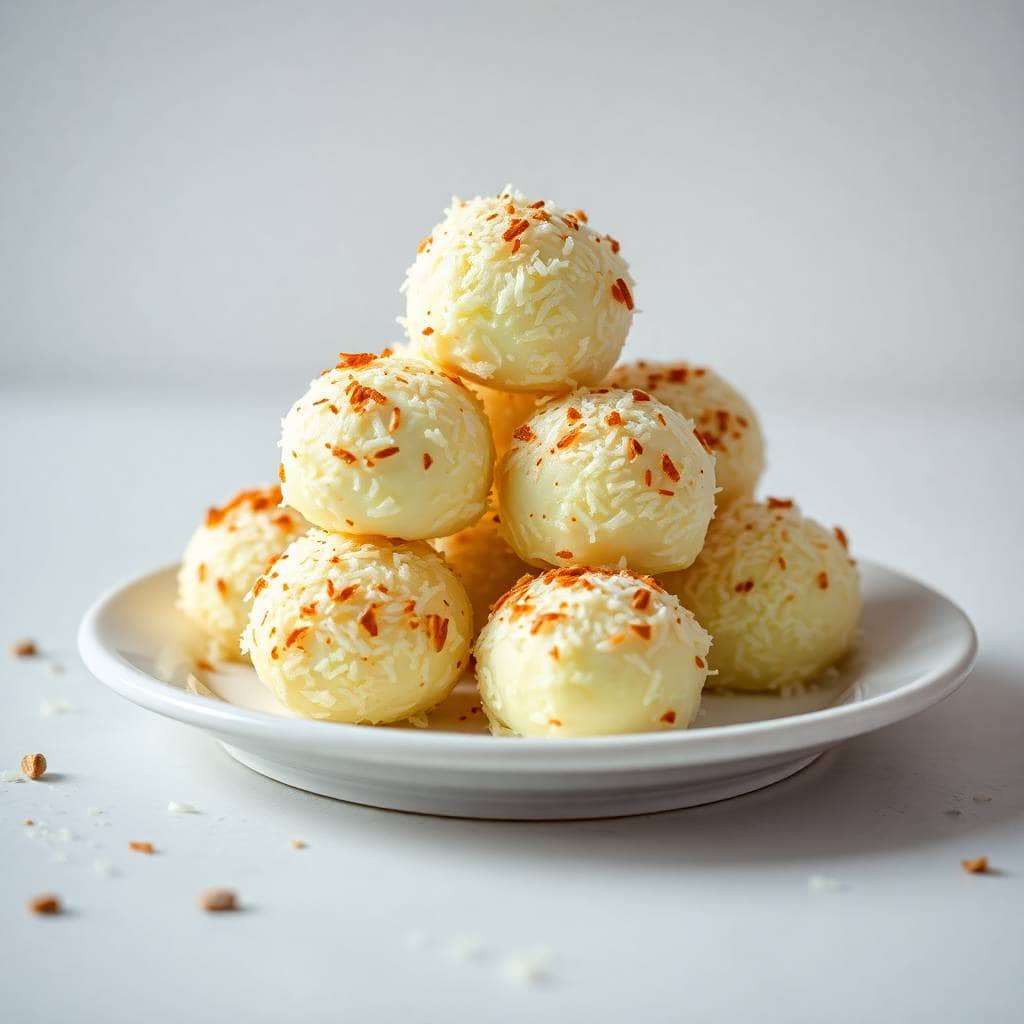
Why You'll Love This Recipe
- No oven, no stress: I reach for this recipe specifically when I don't want to turn on the oven — whether it's summer, or the oven's already busy with dinner, or I just don't have the energy. The whole process is mixing, chilling, rolling, and dipping. Nothing to watch, nothing to time carefully, no risk of burning anything.
- The texture is genuinely good: Soft, creamy center with a white chocolate shell that sets firm — it's the kind of thing where you eat one and immediately want another. The shredded coconut gives it a little chew without making the whole thing feel dense or heavy.
- They hold up well in the fridge: I make these on a Thursday and they're still good on Monday. That matters when I'm prepping for a weekend gathering and don't want to be in the kitchen the morning of. They're actually better after a day or two once everything firms up and the flavors settle.
- Simple ingredients, nothing obscure: Cream cheese, powdered sugar, shredded coconut, vanilla, white chocolate chips. You can find all of this at any Walmart, Aldi, or regular grocery store. I use the Baker's Angel Flake sweetened coconut in the green bag — it works perfectly and costs almost nothing.
- Easy to customize: I've made these with semi-sweet chocolate coating instead of white chocolate, rolled some in toasted coconut, and once stuffed one with a whole toasted almond just to see what would happen. All versions worked. It's a forgiving recipe that takes well to whatever you want to do with it.
Ingredients
- 2 cups shredded sweetened coconut
- 1 cup powdered sugar
- 4 oz (115g) cream cheese, softened to room temperature
- 1 teaspoon vanilla extract
- 1 cup white chocolate chips (for coating)
- Extra shredded coconut for rolling, optional
Directions
- Step 1: Mix the base — In a large bowl, combine the softened cream cheese, powdered sugar, vanilla extract, and shredded coconut. Mix until everything is evenly combined and you have a thick, slightly sticky dough. The cream cheese needs to be genuinely soft here — cold cream cheese will leave lumps no matter how hard you mix.
- Step 2: Chill the mixture — Cover the bowl and refrigerate for at least 30 minutes. This step is not optional. The chilled mixture holds its shape when you roll it; room-temperature mixture sticks to your hands and falls apart. I've tried to rush this and regretted it every time.
- Step 3: Roll the balls — Scoop out small portions using a tablespoon or a small cookie scoop and roll between your palms into 1-inch balls. Place them on a parchment-lined tray or plate as you go. If the mixture starts getting sticky as you work, put the bowl back in the fridge for 10 minutes.
- Step 4: Melt the white chocolate — Put the white chocolate chips in a microwave-safe bowl and melt in 30-second bursts, stirring well between each one. White chocolate burns faster than you'd expect, so don't rush it. Stop when it's just smooth — you don't need it piping hot.
- Step 5: Coat the balls — Using a fork or a skewer, dip each ball into the melted white chocolate and let the excess drip off before placing it back on the parchment tray. Work quickly, and keep the uncoated balls in the fridge while you dip so they stay firm.
- Step 6: Decorate and set — If you want to roll them in extra coconut or add a drizzle, do it immediately after dipping while the chocolate is still wet. Then refrigerate the whole tray for 15–20 minutes until the coating is completely firm.
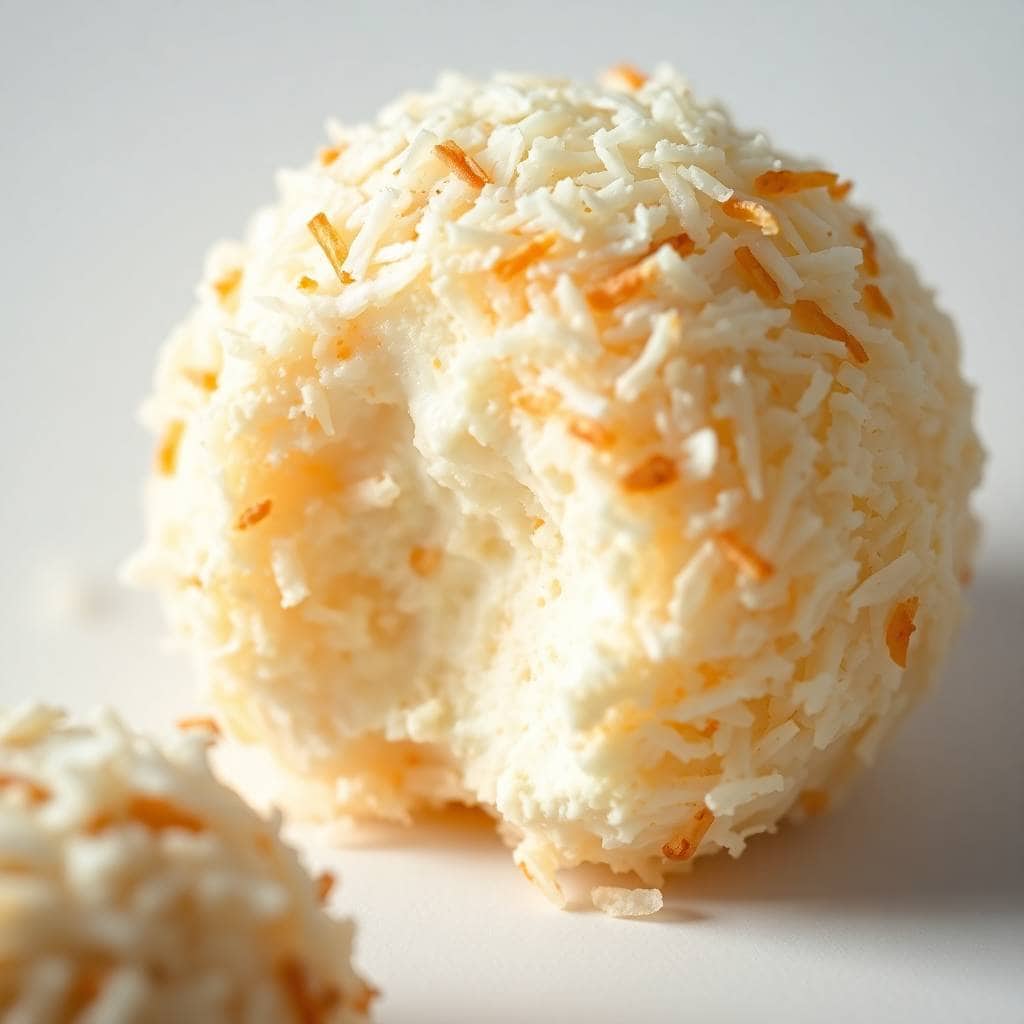
Tips for Success
- Soften the cream cheese properly: I leave mine on the counter for about 45 minutes before I start. If you try to mix cold cream cheese with the dry ingredients, you'll end up with white lumps in the mixture that never fully incorporate. The texture of the finished balls is only as smooth as how well you mixed the base.
- Don't skip the chill time between steps: The mixture needs 30 minutes before rolling, and the rolled balls need another chill before and after dipping. I know it feels like a lot of waiting for a no-bake recipe, but the actual hands-on time is maybe 15 minutes total. The fridge does the hard work.
- Keep half the balls cold while you dip the other half: I pull out 5 or 6 balls at a time and leave the rest in the fridge. Warm balls lose their shape in the melted chocolate and you end up with lopsided blobs. Batching it takes an extra few minutes but makes a real difference in how they look.
- Add a little coconut oil to the chocolate if it's too thick: Sometimes white chocolate seizes up or gets too thick to dip cleanly. Add half a teaspoon of coconut oil and stir it in — it thins the chocolate out just enough to coat smoothly and gives the finished coating a slight shine. I always keep a jar of coconut oil near the stove when I'm doing any chocolate dipping.
- Decorate the moment you dip, not after: If you want shredded coconut, sprinkles, or a chocolate drizzle on top, you have about 30 seconds after dipping before the white chocolate starts to set. I learned this after trying to add coconut to already-set balls — it just fell off. Garnish immediately while it's still tacky.
Variations
- Semi-sweet or dark chocolate coating: Swap the white chocolate chips for semi-sweet or dark chocolate if you want something less sweet. The bittersweet coating against the sweet coconut filling is actually my husband's preferred version. It balances out nicely and makes them feel a bit more grown-up.
- Toasted coconut coating: Before rolling, spread some shredded coconut on a dry skillet over medium heat and stir it for 3–4 minutes until it's golden. Use this to roll the balls instead of plain coconut. The toasty, nutty flavor adds a whole extra layer and makes the outside slightly crispier.
- Almond extract swap: Replace the vanilla extract with half a teaspoon of almond extract. The flavor shifts to something closer to marzipan, which works really well with the coconut. I'd pair this version with the dark chocolate coating — that combination is something else.
- Hidden almond center: Press a whole toasted almond into the center of each ball before rolling it closed. It gives you a little crunch surprise in the middle that makes these feel fancier than they are. I bring this version when I'm taking them somewhere — people always ask what's inside.
- No-bake pineapple twist: Add 2 tablespoons of finely crushed pineapple (well-drained) to the base mixture for a tropical flavor. If you like no-bake fruity desserts in general, my No-Bake Pineapple Heaven Cheesecake Dessert uses a similar vibe and is worth making alongside these for a full no-bake dessert spread.
Serving and Storage
Serving
Serve these cold, straight from the fridge. They soften quickly at room temperature, especially in summer, so I keep them on the tray in the fridge until right before serving and just pull them out when guests arrive. On a dessert table, they look nice arranged on a small plate with a dusting of extra shredded coconut around them. They also package well in small paper candy cups if you're gifting them — a dozen in a box tied with ribbon is one of my go-to edible gifts around the holidays.
Storage
Store in an airtight container in the fridge for up to one week. I put a sheet of parchment between the layers so they don't stick to each other. For longer storage, freeze them in a single layer first until solid, then transfer to a freezer bag — they keep for up to two months. Thaw in the fridge overnight; don't thaw at room temperature or the chocolate coating can get sweaty and soft.
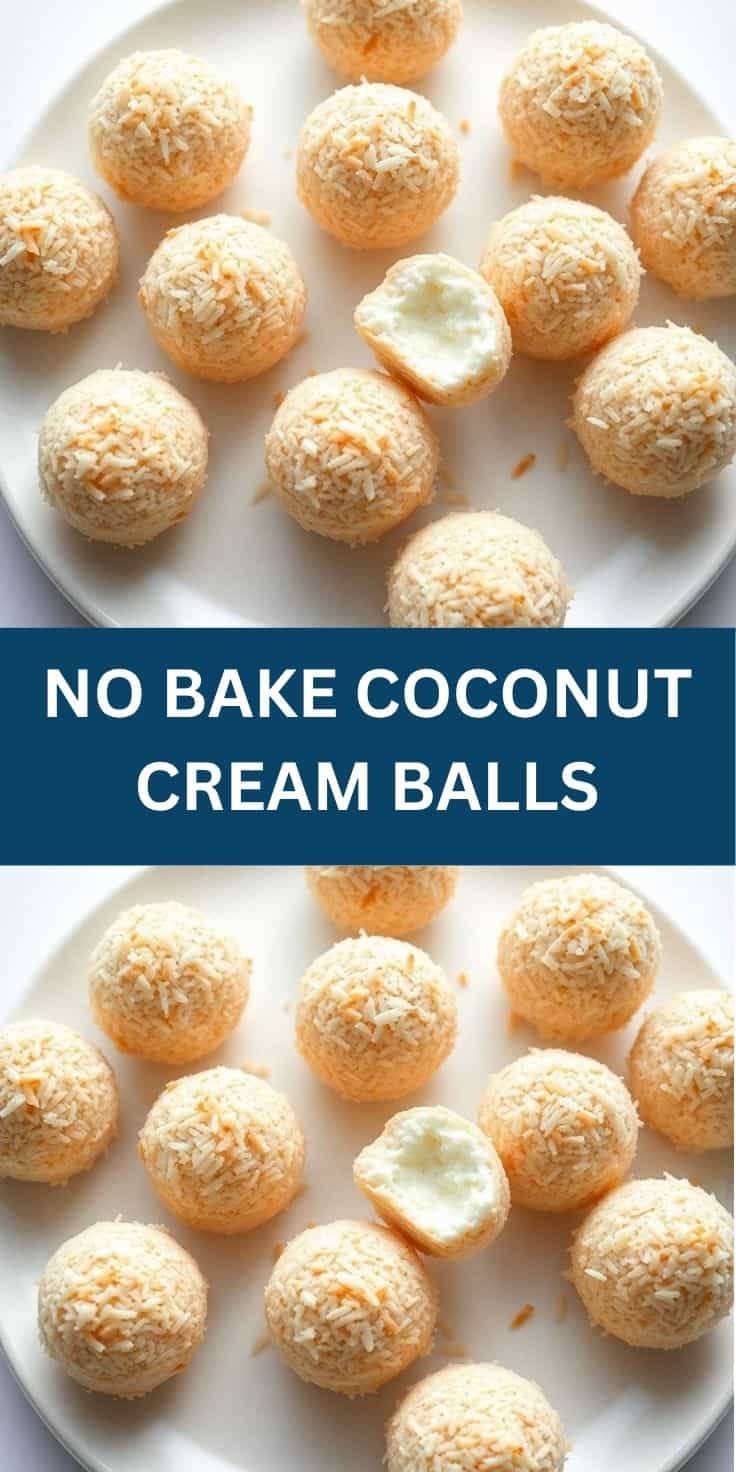
Frequently Asked Questions
Can I use unsweetened shredded coconut instead of sweetened?
Yes, and I've done it both ways. With unsweetened coconut, the filling is less sweet overall, which I actually like. Just keep the full cup of powdered sugar in the recipe to compensate, and taste the mixture before chilling — you can always add a tablespoon more sugar if you want it sweeter. The texture comes out the same either way.
My mixture is too sticky to roll — what do I do?
Put it back in the fridge. That's almost always the fix. If you chilled it for 30 minutes and it's still sticky, give it another 15–20 minutes. The mixture firms up significantly when cold. If it's still unworkable after a full hour in the fridge, you can mix in an extra 2–3 tablespoons of shredded coconut to absorb some of the moisture.
Can I make these ahead of time for a party?
These are genuinely one of the better make-ahead desserts I know. I make them 2–3 days before I need them and they're actually better after sitting in the fridge for a day — the filling gets firmer and the flavors settle. Just store them in an airtight container with parchment between layers and pull them out right before serving.
Can I freeze these coconut balls?
Yes. Freeze them in a single layer on a tray until solid, then transfer to a freezer-safe bag or container. They keep well for up to two months. Thaw overnight in the fridge rather than on the counter — the white chocolate coating stays intact that way and doesn't get that condensation bloom.
What can I use instead of white chocolate chips for coating?
Semi-sweet chocolate chips work great and give you a less-sweet, more classic chocolate truffle feel. You can also skip the chocolate coating entirely and just roll the balls in extra shredded coconut — that's the simplest version and honestly looks lovely on a plate. Almond bark (the white or chocolate variety) from the baking aisle is another easy option that melts very smoothly.
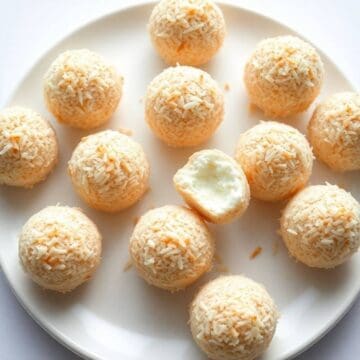
NO BAKE COCONUT CREAM BALLS
Ingredients
- 2 cups shredded sweetened coconut
- 1 cup powdered sugar
- 4 oz cream cheese softened
- 1 teaspoon vanilla extract
- 1 cup white chocolate chips for coating
- Extra shredded coconut for rolling optional
Instructions
Mix the Base:
- In a large bowl, mix together shredded coconut, powdered sugar, softened cream cheese, and vanilla extract until well combined.
Form the Balls:
- Scoop out small portions and roll into 1-inch balls. Place on a parchment-lined tray.
Chill:
- Refrigerate the balls for at least 30 minutes to firm up.
Melt Chocolate:
- In a microwave-safe bowl, melt the white chocolate chips in 30-second bursts, stirring between each until smooth.
Coat the Balls:
- Dip each ball into melted white chocolate using a fork or skewer. Let excess drip off, then place back on the tray.
Optional Decoration:
- Sprinkle with extra shredded coconut or drizzle with more chocolate.
Set:
- Chill for another 15–20 minutes or until the coating is firm.
Notes
Store in an airtight container in the refrigerator for up to 1 week. Variations:
Add a drop of almond extract or stuff each ball with a toasted almond for a coconut-almond surprise. Serving Suggestion:
Serve chilled or at room temperature for parties or cookie trays.
These have become a regular in my kitchen — not just for special occasions, but for those afternoons when someone wants something sweet and I don't want to spend an hour on it. The whole process is low-effort, the result genuinely tastes like something you'd buy from a bakery, and they keep for the whole week without getting sad in the fridge. That combination is rare in a dessert recipe and I don't take it for granted.
I bring these to gatherings alongside my S'mores Cookie Cups when I want to offer a no-bake and a baked option without doing twice the work. The contrast between the two — one warm and gooey, one cold and creamy — works really well on the same dessert table. People always gravitate to both.
If you try these, the one thing I'd tell you is: be patient with the chilling steps. I know it's tempting to rush them, and I absolutely tried to rush them the first time. But the recipe rewards you for waiting. Cold mixture rolls cleanly. Chilled balls hold their shape in the chocolate. The final product looks and tastes like you actually knew what you were doing. 🥥✨
If you liked this recipe, here are a few more from my kitchen you might want to try next:
- Red Velvet Strawberry Shortcake Cupcakes (Bakery-Style at Home)
- No-Bake Pineapple Heaven Cheesecake Dessert
- S'mores Cookie Cups
- Crazy Good Casserole
- One Pan Sausage and Veggie Bake (Easy 30-Minute Sheet Pan Dinner)





Comments
No Comments