
I made these for the first time on a whim — I had a punnet of strawberries sitting on the counter that needed to be used, and I'd been meaning to try a red velvet cupcake recipe for months. The combination of red velvet cake with a fresh strawberry filling and whipped cream topping honestly surprised me. I expected them to taste good. I didn't expect to stand over the counter eating two before they were even fully assembled.
What makes this version work is the filling. A lot of red velvet cupcake recipes are just cake with cream cheese frosting, which is fine, but hollowing out the centers and piping in a quick cooked strawberry compote turns the whole thing into something that actually earns the "shortcake" name. The whipped cream topping keeps it light and not overly sweet, which I prefer over heavy buttercream. If you're looking for something on the other end of the dessert spectrum, my Lemon Meringue Pie Bites use a similar small-dessert format and they're just as crowd-friendly.
Zainab saw the red color and immediately claimed four of them. My husband ate two and said they tasted "like something from a café," which in our house is a genuine compliment. I make a double batch now because twelve disappears before the day is out.
One thing to know going in: you need to cool the cupcakes completely before you fill and frost them. I know that sounds obvious, but the first time I tried to rush this step, the whipped cream started sliding off within ten minutes. Patience here actually matters. Also let your butter and cream cheese sit out for at least 20 minutes before you start — cold dairy doesn't whip up the way you need it to.
Why You'll Love This Recipe
- The filling makes it feel special: Cutting out the center and spooning in a warm, jammy strawberry compote takes these from a regular cupcake to something that actually has layers of texture when you bite in. It's not complicated to make — just strawberries, sugar, cornstarch, and water in a small pan — but it changes the whole experience. I've made plain red velvet cupcakes before and these are genuinely more interesting.
- Whipped cream instead of buttercream: The topping here is real whipped heavy cream with just a little powdered sugar and vanilla. It's lighter than a frosting and doesn't compete with the strawberry filling. If you've ever felt like a cupcake was too sweet to finish, this version fixes that problem. I've served these to people who said they "don't usually like cupcakes" and they went back for seconds.
- One batch, twelve cupcakes, done in under an hour: The active work is maybe 25 minutes — mixing the batter, getting the filling going, whipping the cream. The rest is just waiting for things to bake and cool. I've made these on a Tuesday evening after the kids were in bed and had them ready for a school event the next morning.
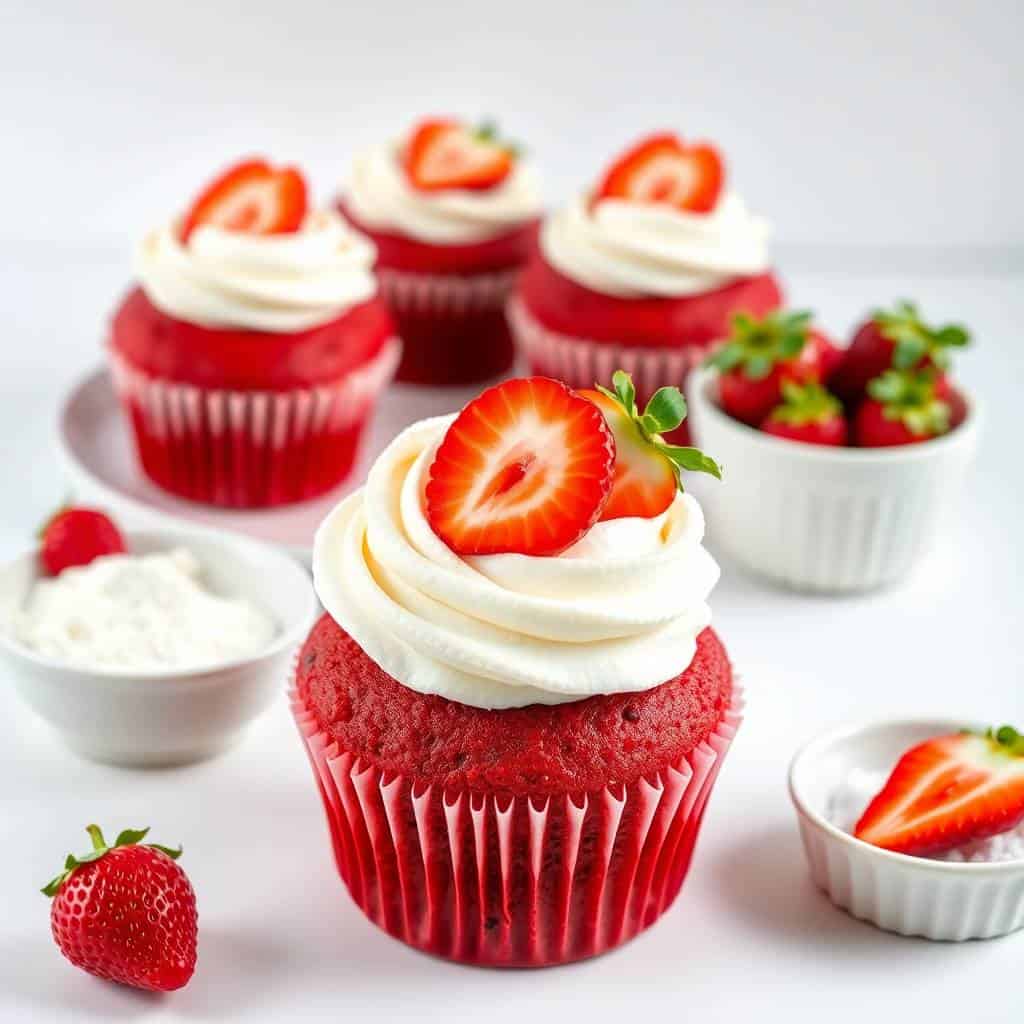
- They look impressive without requiring any decorating skills: Red cake, white cream, a fresh strawberry on top — the colors do all the work. I don't own a fancy piping set. I use a zip-lock bag with the corner snipped off and they still come out looking like something you'd see in a bakery window. The visual is mostly just the contrast between that deep red and the white cream.
- Make-ahead friendly in the right way: You can bake the cupcakes and cook the strawberry filling a full day ahead, then refrigerate both separately. Whip the cream and assemble right before serving. This is how I handle them for parties — the day-of assembly takes about 15 minutes and everything is fresh.
Ingredients
- For the Cupcakes:
- 1 ¼ cups all-purpose flour
- 1 tablespoon unsweetened cocoa powder
- ½ teaspoon baking soda
- ¼ teaspoon salt
- ½ cup buttermilk, room temperature (or make your own: ½ cup milk + ½ teaspoon white vinegar, let sit 5 minutes)
- ½ teaspoon white vinegar
- 1 teaspoon vanilla extract
- 1 tablespoon red food coloring (gel food coloring works best — liquid is fine too)
- ½ cup unsalted butter, softened
- ¾ cup granulated sugar
- 2 large eggs
- For the Strawberry Filling:
- 1 ½ cups fresh strawberries, diced small
- 2 tablespoons granulated sugar
- 1 teaspoon cornstarch
- 2 tablespoons water
- For the Whipped Cream Topping:
- 1 ½ cups heavy whipping cream, cold
- 3 tablespoons powdered sugar
- 1 teaspoon vanilla extract
- Fresh strawberries for garnish
Directions
- Preheat and line your pan: Heat your oven to 350°F (175°C) and line a standard 12-cup muffin tin with paper liners. Set it aside while you mix the batter — this is a quick-moving recipe once you start.
- Whisk the dry ingredients: In a medium bowl, whisk together the flour, cocoa powder, baking soda, and salt. The cocoa here is just 1 tablespoon — enough to give that subtle chocolate depth red velvet is known for without making it taste like a chocolate cupcake.
- Mix the wet ingredients: In a small bowl or measuring cup, stir together the buttermilk, vinegar, and vanilla. The vinegar reacts with the baking soda later to give the cupcakes their lift, so don't skip it.
- Cream the butter and sugar: In a large bowl, beat the softened butter and granulated sugar together until the mixture looks pale and fluffy — about 2 to 3 minutes of steady beating with a hand mixer (or a wooden spoon and some effort). Add the eggs one at a time, mixing well after each one, then stir in the red food coloring.
- Combine wet and dry: Add the dry ingredients and buttermilk mixture to the butter mixture in alternating additions, starting and ending with the dry. Mix gently — just until everything is combined and no flour streaks remain. Overmixing here is what makes cupcakes dense, so stop as soon as the batter looks smooth.
- Fill and bake: Divide the batter evenly between the 12 liners, filling each about two-thirds full. Bake for 18 to 20 minutes, or until a toothpick inserted in the center comes out clean. Transfer to a wire rack and let them cool completely — this step is non-negotiable if you want the whipped cream to stay put.
- Make the strawberry filling: While the cupcakes cool, combine the diced strawberries, sugar, cornstarch, and water in a small saucepan over medium heat. Stir and cook for about 5 to 7 minutes until the mixture thickens into a glossy, jam-like compote. Scrape into a bowl and let it cool to room temperature before using.
- Whip the cream: Make sure your heavy cream is cold straight from the fridge — warm cream won't whip properly. Beat the cream, powdered sugar, and vanilla together until stiff peaks form. Don't walk away from this; it can go from perfect to over-whipped in about 30 seconds once it gets close.
- Fill the cupcakes: Using a small knife or the back of a teaspoon, cut a small cone-shaped hole in the center of each cooled cupcake, about an inch deep. Spoon or pipe a generous amount of the cooled strawberry compote into each hole. Don't worry about being tidy — the cream topping covers everything.
- Top and garnish: Pipe or spoon the whipped cream on top of each cupcake. Finish with a fresh strawberry half or slice on top. Serve the same day for best results, or refrigerate uncovered for up to 30 minutes if you need a head start.
Tips for Success
- Cold cream, warm butter — not the other way around: Your butter needs to be genuinely soft before you cream it, and your heavy cream needs to be genuinely cold before you whip it. I learned this the hard way when I tried to rush the butter stage and ended up with lumpy batter. If you forget to take the butter out early, cut it into small cubes and microwave for 5 seconds at a time — you want soft, not melted.
- Drain juicy strawberries before adding to the compote: If your strawberries are very ripe and wet, pat them dry briefly before cooking. Too much liquid in the filling means it stays runny even after the cornstarch goes in, and then it just leaks out of the cupcake when you bite in. You want the filling to hold its shape, not puddle.
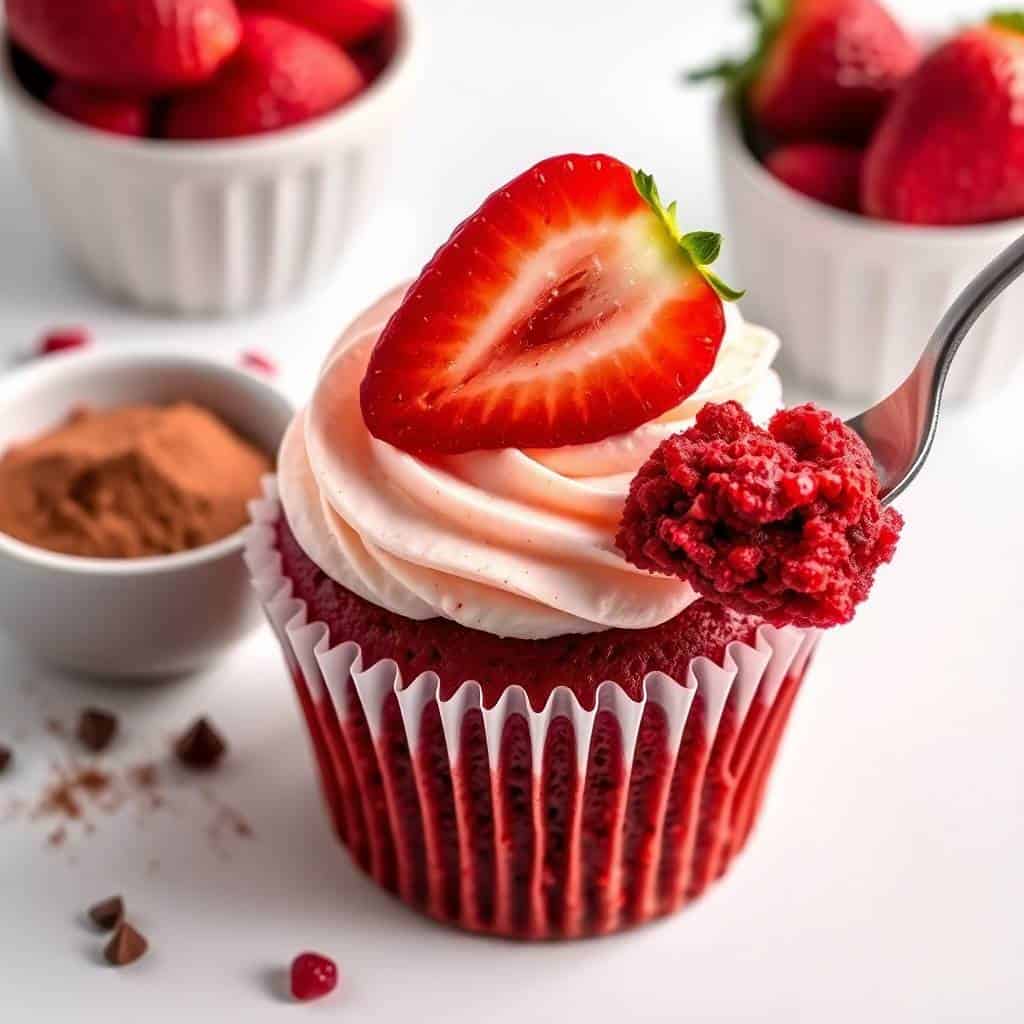
- Don't skip the alternating addition step: Adding all the dry and wet ingredients at once tends to produce a tougher crumb. Alternating them — dry, wet, dry, wet, dry — keeps the gluten from overdeveloping. It's an extra 60 seconds of work and it's genuinely worth it.
- Use gel food coloring if you have it: Standard liquid food coloring from any grocery store works fine, but you need more of it to get that deep red. Gel coloring (usually in a small pot — McCormick makes one you can find at Walmart or Target) gives you a richer color with less liquid, which means the batter stays the right consistency. Either works; just know you might need an extra half teaspoon of the liquid kind.
- Assemble close to serving time: Whipped cream is not as stable as buttercream, especially in a warm kitchen. I aim to assemble these no more than an hour before serving. If you need more flexibility, you can stabilize the whipped cream by adding 1 teaspoon of cornstarch while whipping — it holds up in the fridge for a few hours without weeping.
Variations
- Strawberry jam shortcut: If fresh strawberries aren't in season or you're short on time, a good quality strawberry jam works in place of the cooked compote. Use about 1 tablespoon per cupcake. It won't have quite the same fresh flavor, but it's still very good and cuts the prep down significantly. Bonne Maman or Smucker's strawberry jam from any grocery store both work well here.
- Lemon whipped cream: Add the zest of one lemon to the whipped cream before beating. The citrus cuts through the sweetness and brightens the whole cupcake. This is my personal favorite twist — if you enjoy that lemon-berry combination, it's worth trying. I sometimes make half the batch with plain cream and half with lemon for variety.
- Mini cupcake version: This batter makes roughly 36 mini cupcakes using a mini muffin tin. Reduce the baking time to 10 to 12 minutes and check with a toothpick. The filling step is harder to do neatly in minis — I usually just pipe a small dollop on top instead of hollowing them out. They're great for parties where you want a lot of variety on the table alongside something like my Pistachio Pudding Cookies.
- Red velvet cake mix shortcut: I'm not going to pretend that a box of red velvet cake mix doesn't work here, because it does. If you're pressed for time or baking is new to you, use a standard box mix for the cupcake base and focus your energy on the fresh strawberry filling and whipped cream. The homemade filling is what makes these feel elevated regardless of how the cake base came together.
- Chocolate-dipped strawberry topper: Melt a handful of dark chocolate chips and dip whole strawberries, let them set on parchment, and use those as the garnish. It adds a small amount of extra work but the result looks genuinely impressive. My husband specifically requests this version when I'm making these for guests.
Serving and Storage
Serving
Serve these at room temperature or slightly cool — straight from the refrigerator, the whipped cream can taste a little flat. I take them out about 15 minutes before serving if they've been chilled. They look nicest when the strawberry garnish on top is fresh, so I usually add that right before putting them out. These work well for birthday parties, Valentine's Day, Easter, or honestly just a weekend when you feel like baking something that looks like it took more effort than it did.
Storage
Once assembled, store in an airtight container in the refrigerator for up to 3 days. The whipped cream will soften slightly by day two but the flavor is still good. If you want to get ahead, bake the cupcakes and cook the filling up to a day in advance, then refrigerate them separately. Whip the cream and assemble the day you plan to serve. Unassembled cupcakes can also be wrapped tightly and frozen for up to 4 weeks — thaw in the fridge overnight, then fill and top fresh.

Frequently Asked Questions
Can I use frozen strawberries for the filling?
Yes, frozen strawberries work for the cooked filling — just thaw them completely and drain off as much liquid as you can before putting them in the saucepan. Frozen strawberries release a lot of water when they cook, so you may need an extra half teaspoon of cornstarch to get the filling thick enough. I wouldn't use frozen strawberries as the fresh garnish on top, though — they go soft and watery once thawed.
Do I have to use red food coloring?
No, it's completely optional. The food coloring is purely visual — it gives you that classic deep red color but doesn't affect the taste at all. Without it, you'll get a brownish cocoa-tinted cupcake that tastes identical. I've made it both ways and the color is the only difference. If you're avoiding artificial dyes, you can skip it or try a small amount of beet powder instead, which gives a natural reddish tint.
Can I make these gluten-free?
A 1:1 gluten-free baking flour blend should work here — I've tested this with Bob's Red Mill 1-to-1 and the texture was close to the original, maybe very slightly denser. Make sure whatever blend you use contains xanthan gum, which helps hold the structure. I haven't tried almond flour or other single-grain alternatives for this recipe, so I can't speak to those.
How do I know when the cupcakes are done baking?
Insert a toothpick into the center of one cupcake at the 18-minute mark. If it comes out clean or with just a crumb or two, they're done. If there's wet batter on the toothpick, give them another 2 minutes and check again. Every oven runs slightly differently, so it's worth checking early rather than assuming 20 minutes is exact. The tops should look set and spring back lightly when you press them.
Can I make the whipped cream topping ahead of time?
You can whip the cream up to a few hours ahead and store it in the fridge, but plain whipped cream tends to soften and lose its peaks over time. To make it more stable, add 1 teaspoon of cornstarch or a tablespoon of instant pudding mix (vanilla flavor) while beating. That version holds its shape in the fridge for 4 to 6 hours without weeping. I usually just whip it fresh right before I assemble — it only takes about 3 minutes.
RED VELVET STRAWBERRY SHORTCAKE CUPCAKES
Ingredients
For the Cupcakes:
- 1 ¼ cups all-purpose flour
- 1 tablespoon cocoa powder
- ½ teaspoon baking soda
- ¼ teaspoon salt
- ½ cup buttermilk room temperature
- ½ teaspoon vinegar
- 1 teaspoon vanilla extract
- ½ cup unsalted butter softened
- ¾ cup granulated sugar
- 2 large eggs
- 1 tablespoon red food colouring
For the Strawberry Filling:
- 1 ½ cups diced fresh strawberries
- 2 tablespoons granulated sugar
- 1 teaspoon cornstarch
- 2 tablespoons water
For the Whipped Topping:
- 1 ½ cups heavy whipping cream
- 3 tablespoons powdered sugar
- 1 teaspoon vanilla extract
Instructions
- Preheat Oven: Preheat oven to 350°F (175°C) and line a muffin pan with cupcake liners.
- Mix Dry Ingredients: In a bowl, whisk flour, cocoa powder, baking soda, and salt.
- Prepare Wet Mixture: Mix buttermilk, vinegar, and vanilla in a small bowl.
- Make Batter: Cream butter and sugar until fluffy. Beat in eggs one at a time, then mix in red food colouring. Gradually alternate adding dry ingredients and buttermilk mixture until combined.
- Bake: Divide batter among liners and bake 18–20 minutes. Cool completely.
- Make Filling: Cook strawberries, sugar, cornstarch, and water in a saucepan until thickened. Cool.
- Prepare Topping: Beat heavy cream, powdered sugar, and vanilla until stiff peaks form.
- Assemble: Cut out centres of cupcakes, fill with strawberry mixture, and top with whipped cream. Garnish with fresh strawberries.
Notes
- Make Ahead: Bake cupcakes and prepare filling a day ahead, then assemble before serving.
- Shortcut: Use a red velvet cake mix for quicker prep.
- Decoration: Top with chocolate shavings, sprinkles, or mini strawberries for an elegant finish.
- Storage: Keep refrigerated for up to 3 days.





Comments
No Comments