
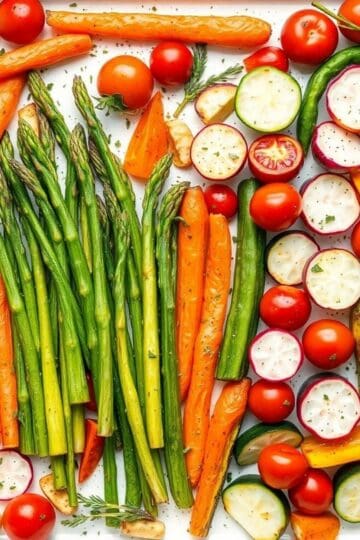
Every Christmas, my oven is running nonstop — the turkey, the bread, the desserts — and somewhere in that chaos, I needed a side dish that could just take care of itself. These sheet pan roasted vegetables became that dish. I toss everything together in the morning, slide the pan in while the main is resting, and by the time the table is set, the kitchen smells incredible.
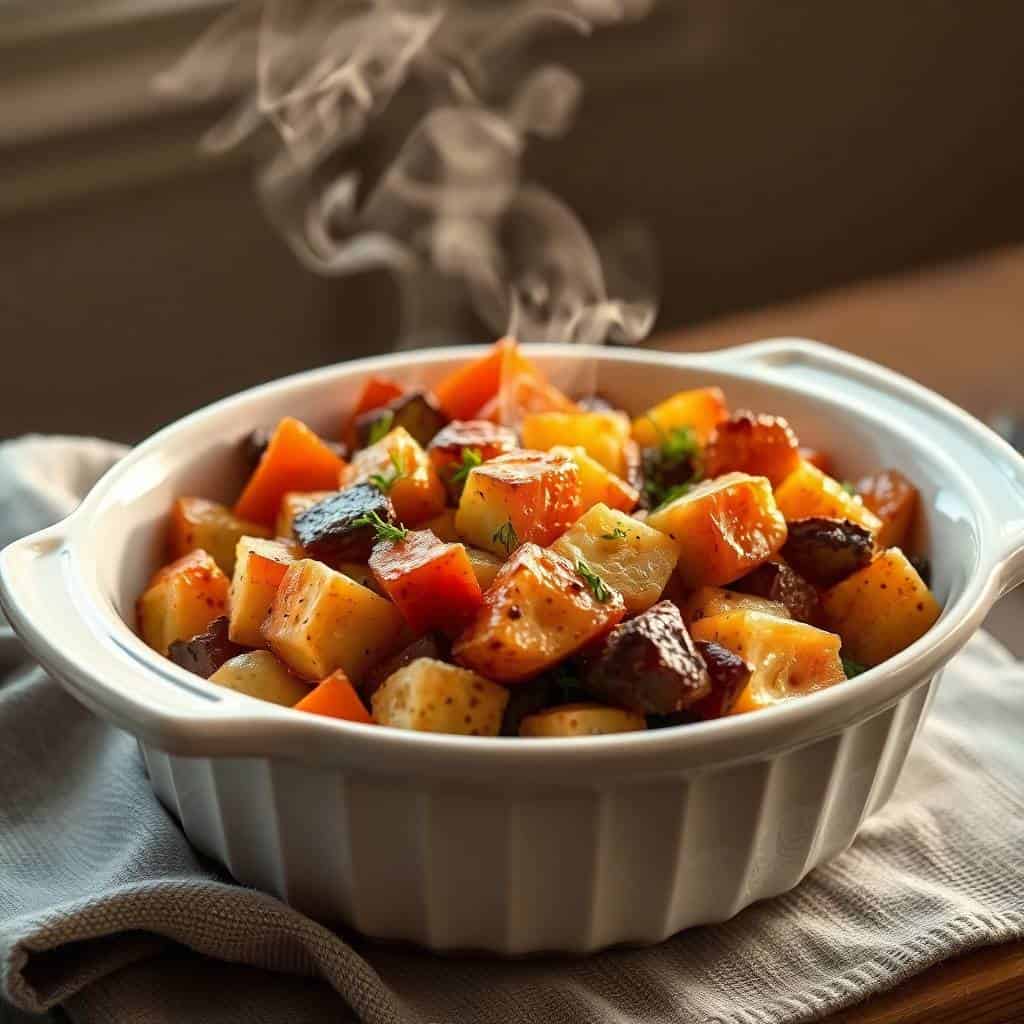
What makes this work is the high heat. I roast at 425°F, no compromises. The first time I made a version of this, I used 375°F because I was nervous about burning the Brussels sprouts — and everything came out pale and soft, which is exactly what you don't want. Crank the heat, give the vegetables space on the pan, and they caramelise properly on the edges. That colour is where the flavour lives.
My husband will eat this alongside almost anything — turkey, roast chicken, even just with rice when we have leftovers the next day. I usually pair it with something hearty like my Slow Cooker Chicken Breasts with Gravy when it's not a full holiday spread. The vegetables hold up well and reheat without turning to mush, which matters a lot when you're cooking for a crowd.
One thing I want to set as an expectation: this isn't a fancy restaurant vegetable dish with three sauces and micro herbs. It's simple — olive oil, dried rosemary and thyme, a bit of garlic powder, salt and pepper. The vegetables do the work. If you want to dress it up after roasting with a balsamic drizzle or some fresh parsley, go ahead. But it doesn't need it.
Why You'll Love This Recipe
- One pan, minimal cleanup: Everything goes on a single sheet pan, which is a big deal when your oven is already packed with other holiday dishes. I line my pan with foil and cleanup takes about thirty seconds. On Christmas Day, that matters more than I can explain.
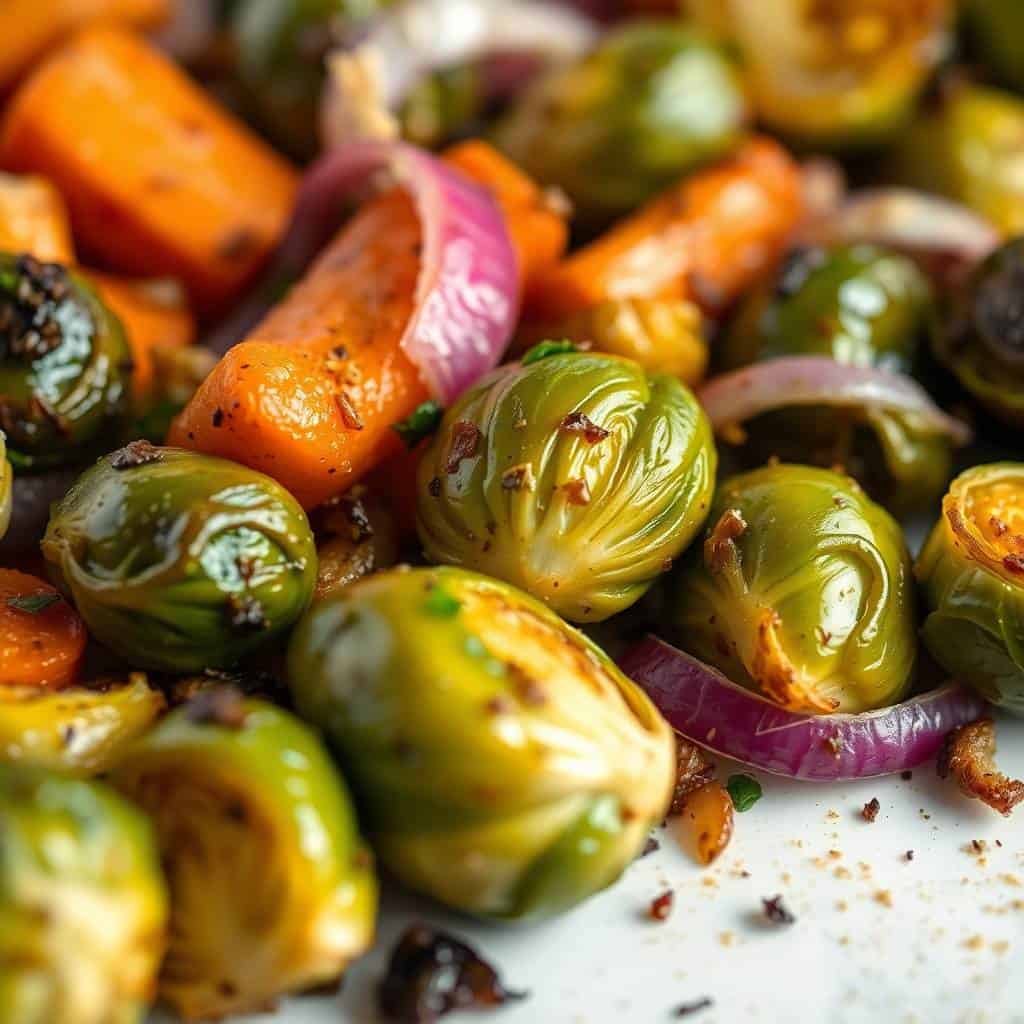
- Genuinely good caramelisation: At 425°F, the cut edges of the Brussels sprouts and squash get dark and slightly crispy. This is not the soggy vegetable medley you might be used to. The Brussels sprouts especially — when they get that charred outer leaf — they taste almost nutty. It took me a couple of tries to get the timing right, but the method below is solid.
- Flexible for what you have: I've made this with whatever vegetables needed using up in the fridge. The combination of Brussels sprouts, carrots, butternut squash, red potatoes, and red onion is my go-to because of the colour, but you can swap in parsnips, sweet potatoes, or even beets without changing anything else about the method.
- Works for non-holiday dinners too: I make a double batch of this because my family finishes it in one sitting and I always want leftovers. During the week, I'll roast a pan on Sunday and use what's left in grain bowls or alongside eggs at breakfast. It's not just a Christmas dish in my kitchen.
- Naturally vegan and crowd-friendly: When I'm cooking for a group that includes vegetarians, this is the side dish that works for everyone without me having to think about it. No dairy, no meat, nothing complicated. Just vegetables and olive oil and herbs.
Ingredients
- 3 cups Brussels sprouts, halved
- 3 cups baby carrots
- 2 cups butternut squash, cubed
- 2 cups red potatoes, cubed
- 1 large red onion, cut into wedges
- 4 tablespoons olive oil
- 2 teaspoons dried rosemary
- 2 teaspoons dried thyme
- 1 teaspoon garlic powder
- Salt and pepper, to taste
- Fresh parsley, chopped (optional, for garnish)
- Balsamic glaze, for drizzling (optional)
Directions
- Preheat the oven: Set your oven to 425°F (220°C) and line a large baking sheet — or two if your pan is on the smaller side — with foil or parchment paper. Getting the oven fully preheated before the vegetables go in makes a real difference to how they caramelise.
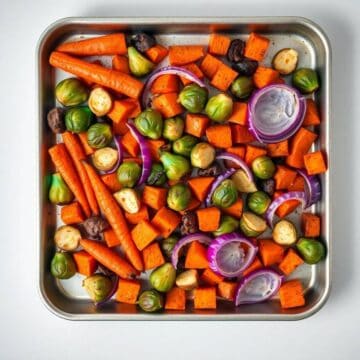
- Prep the vegetables: Wash and dry everything well. Halve the Brussels sprouts, cube the squash and potatoes into roughly 1-inch pieces, slice the carrots if they're large, and cut the red onion into wedges. Try to keep the pieces close in size so they roast at the same rate.
- Season and toss: In a large bowl, combine all the vegetables with the olive oil, rosemary, thyme, garlic powder, salt, and pepper. Toss until every piece is coated. I use my hands for this — it's the fastest way to make sure nothing is sitting dry at the bottom of the bowl.
- Spread on the baking sheet: Arrange everything in a single layer with the cut sides of the Brussels sprouts facing down. Don't pile them on top of each other. If they're crowded, use two pans. Crowding is the main reason roasted vegetables steam instead of caramelise — I learned this the hard way more than once.
- Roast: Slide the pan into the oven and roast for 25 to 30 minutes, stirring once halfway through at the 15-minute mark. The vegetables are done when the edges are golden brown and the Brussels sprouts have some dark, caramelised spots. The potatoes should be fork-tender.
- Finish and serve: Transfer to a serving platter or just bring the pan to the table. Drizzle with balsamic glaze if you're using it, and scatter some fresh parsley over the top. Serve immediately while everything is still hot and the edges are crispy.
Tips for Success
- Don't skip drying the vegetables: After washing, pat everything dry with a paper towel before tossing in oil. Any extra moisture on the surface will create steam in the oven, and you'll end up with soft vegetables instead of caramelised ones. This step takes two minutes and makes a noticeable difference.
- Brussels sprouts cut-side down: Place the halved Brussels sprouts with the flat side against the pan. That cut surface is what gets the most contact with the hot pan and produces those dark, crispy edges. If they're sitting rounded-side down, they'll just roll around and cook unevenly.
- Uniform cuts matter more than perfect cuts: I'm not saying you need a ruler, but if your squash is cut in 1-inch pieces and your potatoes are cut in 3-inch chunks, one will be done long before the other. Aim for roughly the same size across everything. It doesn't have to be exact — just in the same general range.
- Use two pans if you need to: A single large sheet pan can only hold so much before the vegetables start steaming each other. If you're making a full batch for a holiday table, use two pans and rotate them halfway through roasting. The extra pan is worth it — the difference between crowded vegetables and properly spaced ones is significant.
- Add the balsamic glaze after roasting, not before: I tried brushing balsamic on before once because I thought it would caramelise nicely. It burnt. The sugars in balsamic can't handle 425°F for 30 minutes. Drizzle it over after the pan comes out of the oven — you'll get the flavour without the bitterness of burnt vinegar.
Variations
- Winter root vegetable mix: Swap in sweet potatoes, parsnips, or cubed beets alongside or instead of the red potatoes. Parsnips especially get beautifully sweet when roasted at high heat. The colours you get with beets in the mix make the platter look like a proper holiday centrepiece.
- Honey Dijon glaze: Mix 2 tablespoons olive oil with 1 teaspoon honey and 1 teaspoon Dijon mustard, then use that instead of plain olive oil when you toss the vegetables. It adds a slightly sweet, tangy coating that works really well with the Brussels sprouts and carrots. Add it before roasting — the honey in this form, diluted with the oil, handles the heat fine.
- Cheesy finish: Right when the pan comes out of the oven, scatter some freshly grated Parmesan over the hot vegetables and let it sit for a minute. It'll soften and stick to the edges. Crumbled goat cheese works too if you want something creamier. Saad always asks for the Parmesan version.
- Spiced version: Add half a teaspoon of smoked paprika and a pinch of cayenne to the seasoning mix. This gives the vegetables a warmer, slightly smoky flavour that pairs really nicely with roast chicken or a beef main. If you're serving this alongside my Beef Parmesan Tortellini, the spiced version is the one to go with.
- Roasted nuts for crunch: Toss in a handful of pecans or walnuts in the last 8 to 10 minutes of roasting. Don't add them at the beginning — they'll burn before the vegetables are done. Scatter them over the pan after the halfway stir, and they come out toasted and fragrant.
Serving and Storage
Serving
Serve straight from the oven while the edges are still crispy. This pairs well with roast turkey, ham, or roast chicken for a holiday meal, but it's also filling enough to serve over rice or quinoa as a vegetarian main. If I'm doing a big spread, I set this out alongside something warm and saucy — the vegetables balance out rich gravies really well. For an easy weeknight dinner pairing, my Crock Pot Crack Potato Soup alongside this makes a surprisingly complete meal.
Storage
Store cooled leftovers in an airtight container in the fridge for up to 4 days. To reheat and get some crispness back, spread them on a sheet pan and put them in a 400°F oven for 8 to 10 minutes. The microwave works if you're in a hurry, but you'll lose the caramelised texture — the oven is worth it. I don't recommend freezing these; the potatoes and squash turn grainy after freezing and thawing.
Frequently Asked Questions
Can I prep these vegetables the night before?
Yes, and I do this every Christmas Eve. Chop and season everything, toss in the olive oil and herbs, and store in an airtight container or a zip bag in the fridge overnight. The next day, spread on your sheet pan and roast straight from the fridge — just add about 5 extra minutes to the roasting time since the vegetables will be cold.
Can I use frozen vegetables instead of fresh?
You can, but fresh really does work better here. Frozen vegetables hold more water, which makes them steam rather than caramelise in the oven — you'll get a softer, less colourful result. If fresh isn't an option, thaw the frozen vegetables completely and pat them very dry before tossing in oil, and roast at the same high heat. Expect them to take a few extra minutes and have less crispy edges.
My vegetables are cooking unevenly — what am I doing wrong?
Two likely culprits: the pieces aren't cut to a similar size, or the pan is overcrowded. Denser vegetables like potatoes and carrots take longer than Brussels sprouts and red onion, so cut those slightly smaller than the others. And if everything is piled on top of itself, nothing will caramelise properly — spread them out even if it means using a second pan.
What can I substitute for butternut squash?
Sweet potato is the easiest swap and it's usually cheaper and easier to find. Acorn squash works too. Parsnips are another good option if you want to stay in the root vegetable family — they get very sweet and slightly caramelised at high heat, which I actually love. Just keep the cubed pieces around 1 inch so they cook in the same time as everything else.
How do I make the vegetables more flavourful?
A few things that actually make a difference: don't skimp on the salt, make sure the oil is coating every piece (toss thoroughly), and consider adding a few whole garlic cloves to the pan — they roast alongside the vegetables and get soft and sweet by the time everything else is done. A drizzle of balsamic glaze right before serving also lifts the whole dish noticeably.
HOLIDAY ROASTED VEGETABLES
Ingredients
- 3 cups Brussels sprouts halved
- 3 cups baby carrots
- 2 cups butternut squash cubed
- 2 cups red potatoes cubed
- 1 large red onion cut into wedges
- 4 tablespoons olive oil
- 2 teaspoons dried rosemary
- 2 teaspoons dried thyme
- 1 teaspoon garlic powder
- Salt and pepper to taste
- Fresh parsley chopped (optional, for garnish)
Instructions
Mix Ingredients:
- In a large mixing bowl, combine oats, peanut butter, honey, flaxseed, vanilla, salt, and chocolate chips. Stir until everything is well combined.
Chill the Mixture:
- Place the bowl in the refrigerator for about 20–30 minutes to firm up the mixture.
Form Balls:
- Once chilled, use a small scoop or your hands to roll the mixture into 1-inch balls.
Store:
- Place the balls in an airtight container and store in the refrigerator for up to 1 week.
Notes
These are great for meal prep—make a batch on Sunday and enjoy all week. Customizing the Flavor:
Swap peanut butter for almond butter, or add shredded coconut, chia seeds, or dried fruit. Serving Suggestions:
Perfect for lunchboxes, pre-workout snacks, or a quick breakfast on busy mornings. Allergy-Friendly Options:
Use sunflower seed butter for a nut-free version. Choose dairy-free chocolate chips if needed. Storage Tips:
Refrigerate in an airtight container for up to 1 week, or freeze for up to 2 months.
This is one of those recipes I come back to every year not because it's complicated or impressive, but because it's genuinely reliable. The vegetables caramelise, the kitchen smells like rosemary and thyme, and there's almost never any left by the time the meal is cleared. If there is, it goes into a bowl with some grains the next day and nobody complains.
What I like most is that it doesn't demand much from me when I already have a full oven and a full house. I prep it the night before, roast it while everything else is coming together, and it takes care of itself. For the holidays especially, that kind of low-maintenance dish is worth its weight in anything. If you want something sweet on the table after, my Strawberry Cheesecake Bites are always a crowd-friendly finish that takes almost no effort.
If you try this, I hope your vegetables come out with properly dark edges and your family asks what smells so good. That's the goal. 🥄🍂✨
If you liked this recipe, here are a few more you might want to make:
- Slow Cooker Chicken Breasts with Gravy (Easy Comfort Dinner) — a great main to serve alongside these roasted vegetables
- Crock Pot Crack Potato Soup — warm, filling, and easy for cold nights
- Beef Parmesan Tortellini in Creamy Sauce (30-Min One-Pan Dinner) — a hearty weeknight dinner that pairs well with roasted veg on the side
- Strawberry Cheesecake Bites (Mini Party Desserts in a Muffin Tin) — an easy dessert for the same holiday spread
- Air Fryer Salmon Bites (Crispy Outside, Tender Inside in 7 Minutes) — quick protein that works beautifully with these vegetables on the side




Comments
No Comments