
The smell of cinnamon and apples baking together is what gets everyone out of the living room and into the kitchen at my house. No announcement needed — they just show up.
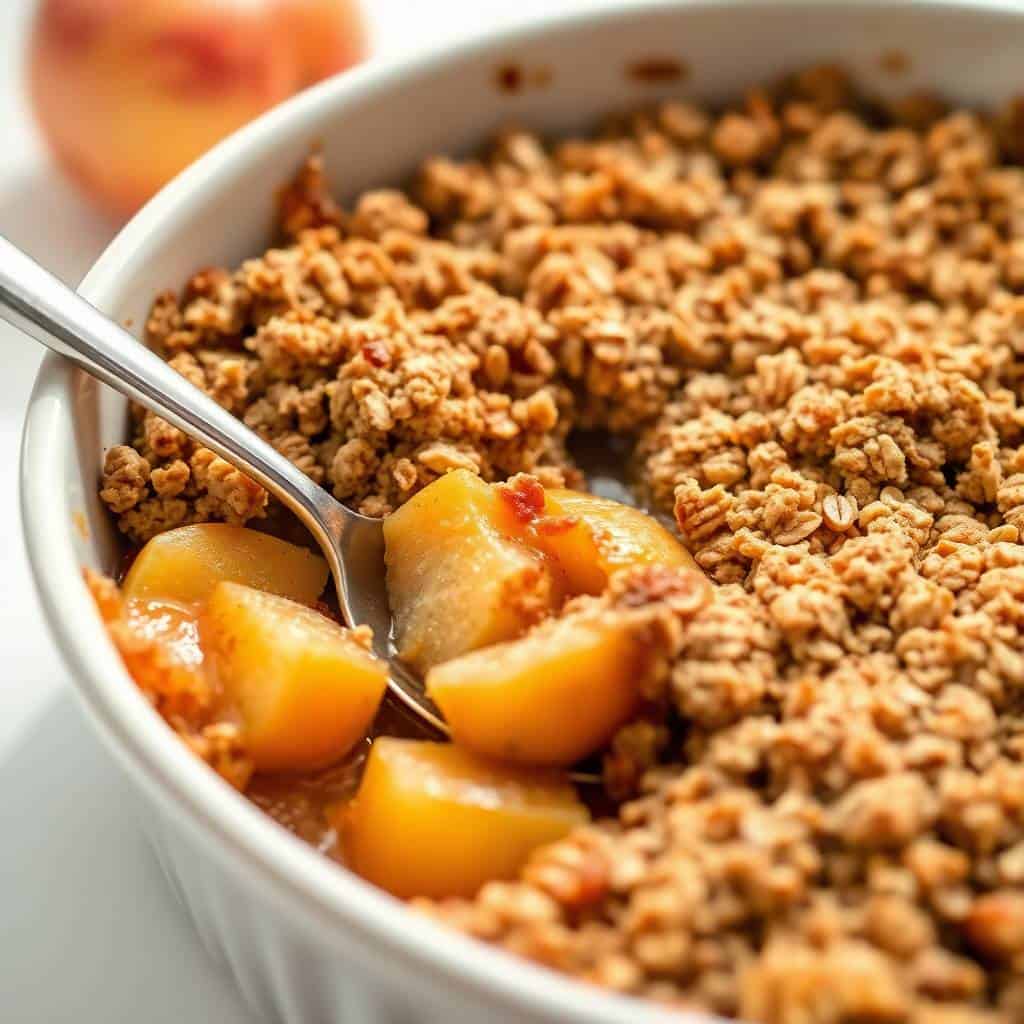
This apple crisp is one of those recipes I've made so many times I barely look at the measurements anymore. The filling is tart apples tossed with cinnamon, sugar, and a little lemon juice to brighten everything up. The topping is oats, flour, butter, and both sugars rubbed together until crumbly. Nothing complicated. What makes it work is the ratio — enough topping to get a real crunch on every spoonful, and enough filling that it stays saucy and soft underneath. I got that balance wrong for a while before I settled on what's here. My first attempts had too much topping and not enough apple — it tasted more like an oat bar than a crisp.
I make this mostly in fall when apples are everywhere, but honestly I've made it in January with whatever was at the back of the fruit bowl and it was still good. My husband eats it warm with ice cream, every single time. If you're looking for something sweet to round out a weekend dinner, this pairs really well alongside something like my Caramel Pecan Delight Pie if you're feeding a crowd and want two dessert options on the table.
One thing to know before you start: this crisp bakes for a full 40 to 45 minutes, and you want the filling actually bubbling at the edges before you pull it out. If you take it out early because the top looks brown, the apples underneath might still be underdone. Let it bubble. Then let it rest for 10 minutes before you serve it — the juices thicken up as it cools slightly and it serves much cleaner.
Why You'll Love This Recipe
- No special equipment needed: I don't own a pastry cutter — I just rub the butter into the dry ingredients with my fingers. Takes about two minutes and works perfectly. If your hands run warm, rinse them under cold water first so the butter doesn't melt before it should.
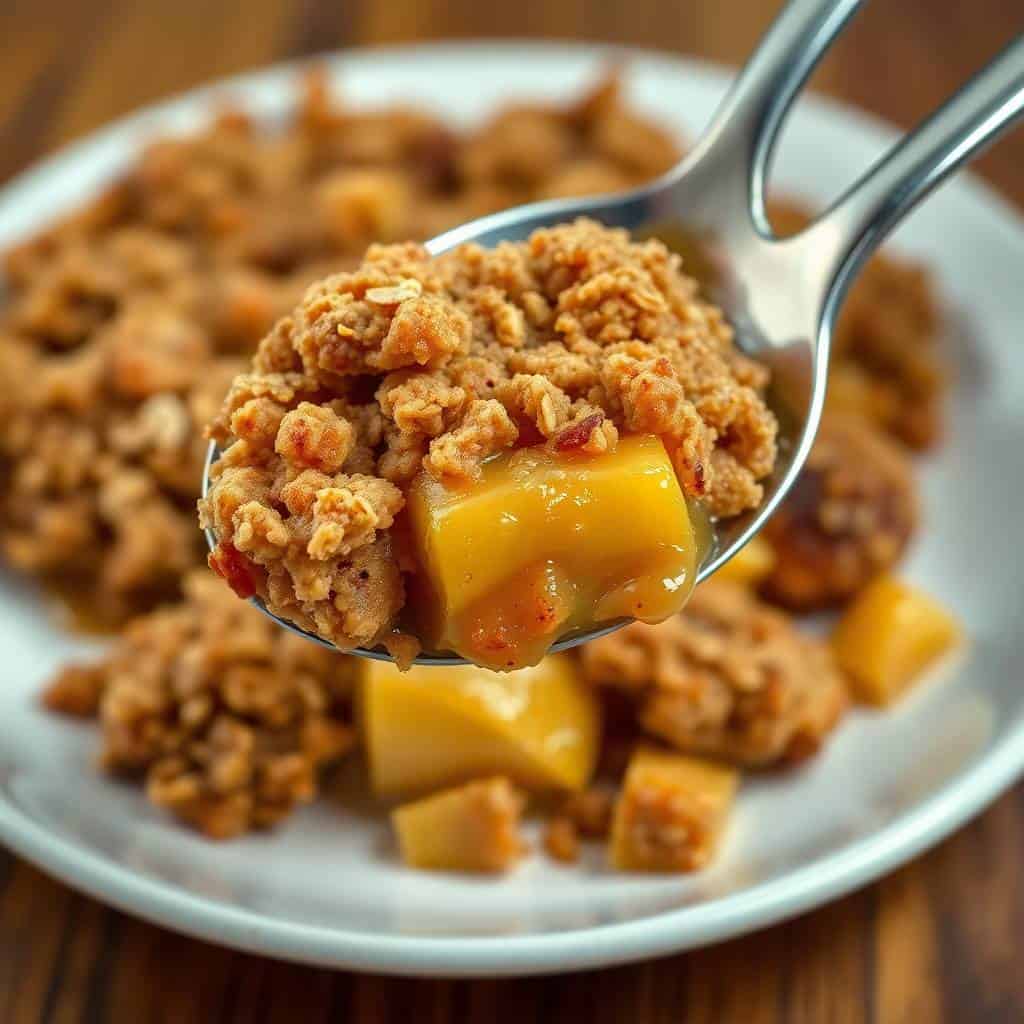
- The topping is genuinely crunchy: A lot of apple crisp recipes end up with a soft, almost soggy topping. This one doesn't, as long as you keep the butter cold and don't pack the topping down too hard. You want it layered loosely over the apples so the heat can circulate and crisp it up properly.
- Uses ingredients you already have: Oats, flour, butter, sugar, cinnamon — it's all pantry stuff. The only thing you need to buy is the apples, and Granny Smiths are usually cheap at any grocery store, Walmart or Aldi included.
- The filling stays saucy, not watery: Adding a tablespoon of flour to the apple filling before baking helps it thicken into a proper sauce rather than running all over the plate. I skipped this once and ended up with a soupy mess. The flour step takes about 10 seconds — don't skip it.
- It reheats really well: Zainab actually loves this cold from the fridge the next morning. I prefer it reheated in the oven for 10 minutes at 325°F so the topping crisps back up. Either way, leftovers don't go to waste in this house.
Ingredients
- For the Filling:
- 6 cups peeled and sliced apples (Granny Smith or Honeycrisp)
- 2 tablespoons lemon juice
- ⅓ cup granulated sugar
- 1 tablespoon all-purpose flour
- 1½ teaspoons ground cinnamon
- ¼ teaspoon ground nutmeg
- For the Topping:
- ¾ cup old-fashioned oats (not quick oats)
- ½ cup all-purpose flour
- ⅓ cup brown sugar
- ¼ cup granulated sugar
- 1 teaspoon ground cinnamon
- ½ cup unsalted butter, cold and cubed
- Pinch of salt
- Vanilla ice cream or whipped cream, for serving (optional but strongly recommended)
Directions
- Preheat the oven: Set your oven to 350°F (175°C) and lightly grease a 9x9-inch baking dish. I use a little butter or cooking spray — just enough so the filling doesn't stick to the corners.
- Prepare the apple filling: In a large bowl, toss the sliced apples with lemon juice, granulated sugar, flour, cinnamon, and nutmeg until everything is coated. The lemon juice keeps the apples from oxidizing and also adds a brightness that balances the sweetness. Spread the mixture evenly into your baking dish.
- Make the crumble topping: In a separate bowl, combine oats, flour, both sugars, cinnamon, and salt. Add the cold cubed butter and work it in with your fingers (or a pastry cutter if you have one) until the mixture looks like rough, uneven crumbs. Stop when it holds together loosely when pressed — don't overwork it or the topping gets dense.
- Assemble and bake: Scatter the crumble topping evenly over the apples. Don't press it down hard — just let it sit loosely on top so the heat can crisp it up. Bake uncovered for 40 to 45 minutes, until the topping is golden brown and you can see the apple filling bubbling at the edges.
- Rest and serve: Pull it out of the oven and let it sit for at least 10 minutes before serving. The juices will thicken as it cools slightly. Serve warm with a scoop of vanilla ice cream or a dollop of whipped cream.
Tips for Success
- Keep the butter cold: This is the one thing I've learned that makes the biggest difference. Cold butter stays in little solid pieces as you rub it into the flour and oats — those pieces melt in the oven and create flaky, crispy clusters. If your butter warms up and starts to disappear into the mix, pop the bowl in the fridge for 10 minutes before continuing.
- Use tart apples: Granny Smith are my default because they hold their shape and don't turn to mush in the oven. Honeycrisp work well too and are a bit sweeter if you prefer that. I've tried Fuji and they came out a little too soft and sweet for my taste, though if that's what you have, it'll still be fine.
- Slice the apples evenly: If some slices are thick and some are thin, you'll end up with a mix of mushy bits and underdone chunks in the same dish. I aim for about ¼-inch slices — not paper thin, not thick wedges. A sharp knife and a few extra minutes is all it takes.
- Don't skip the resting time: I've served this too early before — the filling runs all over the plate and the topping slides off. Ten minutes of resting makes a real difference. The filling is still warm, it just holds together much better when you scoop it out.
- Use old-fashioned oats, not quick oats: Quick oats absorb moisture and turn soft during baking. Old-fashioned oats keep some structure and give you that distinct chewy-crunchy texture in the topping. This is a small thing but it matters for the final texture.
Variations
- Add pecans or walnuts to the topping: Mix in ⅓ cup of roughly chopped pecans or walnuts with the crumble before spreading it over the apples. The nuts toast in the oven and add a deeper, nuttier crunch that my husband really likes. I use pecans most often — they go well with the cinnamon and brown sugar.
- Stir in dried cranberries: Add about ⅓ cup of dried cranberries to the apple filling before baking. They plump up in the oven and add a tart, slightly chewy contrast to the soft apples. This version is especially good around the holidays — I make it around the same time I put together my Best Ever Cranberry Sauce, and the cranberry theme carries through the whole meal.
- Make it gluten-free: Swap the all-purpose flour in both the filling and topping with a 1:1 gluten-free flour blend, and use certified gluten-free oats. I've done this for guests and it bakes up almost identically. The topping might be very slightly less crisp but it's still really good.
- Try a pear and apple mix: Replace 2 of the 6 cups of apples with sliced ripe pears. Pears soften faster so they create a slightly saucier, more fragrant filling. The flavor is subtler and a bit more floral — really good if you want something a little different from the classic version.
- Add cardamom to the spice mix: A quarter teaspoon of ground cardamom in the filling alongside the cinnamon and nutmeg adds a warm, almost floral depth. This is my personal favorite variation — it's very subtle but it makes the whole thing taste more interesting. It's not traditional, but it works.
Serving and Storage
Serving
Serve warm, straight from the baking dish. A scoop of vanilla ice cream on top is the classic move — the cold ice cream melting into the warm crisp is half the point. Whipped cream works well too if that's what you have. If you're serving this as part of a bigger spread, it holds its heat well for about 20 minutes after coming out of the oven, so it's easy to time around other dishes.
Storage
Cover the baking dish with plastic wrap or transfer leftovers to an airtight container and refrigerate for up to 4 days. To reheat and get the topping crispy again, put it back in the oven at 325°F for 10 to 12 minutes. The microwave works in a pinch but the topping softens — still tastes good, just not as crisp. For make-ahead: prep the filling and topping separately, refrigerate each in their own container for up to 24 hours, then assemble and bake fresh. You can also freeze the baked crisp for up to 2 months — thaw overnight in the fridge and reheat in the oven.
Frequently Asked Questions
Can I make this apple crisp ahead of time?
Yes. I often prep the filling and topping separately the night before, keep them covered in the fridge, and then assemble and bake the next day. This way the topping stays dry and crispy rather than absorbing moisture from the apples overnight. If you've already baked it, you can reheat it in the oven at 325°F for about 10 to 12 minutes and it comes back nicely.
What are the best apples to use for apple crisp?
Granny Smith is my go-to because they stay firm in the oven and their tartness balances the sweet topping. Honeycrisp and Pink Lady are good options too. I'd avoid Red Delicious — they turn mealy when baked. In general, pick something that's firm and has some tartness to it.
Can I freeze apple crisp?
You can freeze it either baked or unbaked for up to 2 months. If freezing unbaked, assemble fully in the dish, wrap tightly, and freeze. Bake straight from frozen at 350°F for about 55 to 60 minutes. If already baked, thaw overnight in the fridge and reheat in the oven until warmed through and crispy on top again.
Can I use quick oats instead of old-fashioned oats?
You can, but the topping will be softer and less distinct in texture. Old-fashioned oats keep their shape during baking and give you actual chew and crunch in the topping. Quick oats absorb moisture and blend in more, which results in a denser, mushier crumble. If that's all you have, it'll still taste good — just different.
Can I reduce the sugar in this recipe?
Yes, easily. You can cut the brown sugar in the topping by up to ¼ cup without affecting the texture much. For the filling, if your apples are naturally sweet (like Honeycrisp), you can reduce the granulated sugar to 2 tablespoons. I've done both when I wanted something less sweet, and it still works well.
OLD FASHIONED CINNAMON APPLE CRISP
Ingredients
For the Filling:
- 6 cups peeled and sliced apples Granny Smith or Honeycrisp
- 2 tablespoons lemon juice
- ⅓ cup granulated sugar
- 1 tablespoon all-purpose flour
- 1 ½ teaspoons ground cinnamon
- ¼ teaspoon ground nutmeg
For the Topping:
- ¾ cup old-fashioned oats
- ½ cup all-purpose flour
- ⅓ cup brown sugar
- ¼ cup granulated sugar
- 1 teaspoon ground cinnamon
- ½ cup unsalted butter cold and cubed
- Pinch of salt
Instructions
Preheat Oven:
- Preheat oven to 350°F (175°C). Lightly grease a 9x9-inch baking dish.
Prepare the Filling:
- In a large bowl, toss sliced apples with lemon juice, sugar, flour, cinnamon, and nutmeg. Spread evenly into the baking dish.
Make the Topping:
- In another bowl, combine oats, flour, both sugars, cinnamon, and salt. Cut in the butter until mixture becomes crumbly.
Assemble & Bake:
- Sprinkle the topping over the apples. Bake for 40–45 minutes or until golden brown and bubbly.
Cool & Serve:
- Allow to cool slightly before serving warm with ice cream or whipped cream.
Notes
- Make Ahead: The filling and topping can be prepped separately and stored in the fridge for up to 24 hours. Assemble and bake fresh for best results.
- Customizing the Flavor: Try mixing in chopped pecans or dried cranberries for extra texture and holiday flair.
- Serving Suggestions: Best enjoyed warm with vanilla ice cream or whipped cream. Also pairs nicely with caramel drizzle.
- Allergy-Friendly Options: Use a gluten-free flour blend and certified gluten-free oats for a gluten-free version. For dairy-free, replace butter with a plant-based alternative.
- Storage Tips: Keep leftovers in an airtight container in the fridge for up to 3 days. Reheat in the oven or microwave before serving.
This is the kind of dessert I come back to every time I want something that requires almost no thought but still tastes like I put in real effort. The ingredients cost maybe $8 at most, the whole thing is in the oven in 20 minutes, and the result is genuinely good — not just "good for a simple dessert" but actually good. I've served it to guests who asked for the recipe, and I've eaten it alone at the kitchen counter the next morning with a cup of tea and no regrets.
If you're building out a bigger fall or holiday spread, this crisp works really well alongside something like my Best Ever Cranberry Sauce — the tart cranberry cuts through the sweetness nicely when you're serving a full meal. And if you want another dessert that leans into that warm, caramel-and-nut direction, my Caramel Pecan Delight Pie is worth knowing about.
Make it once and you'll understand why it keeps showing up in my kitchen. The smell alone is worth it. 🍎✨
If you liked this recipe, here are a few more from the site you might want to try next:
- Caramel Pecan Delight Pie — rich, nutty, and one of the easiest pies I make
- Best Ever Cranberry Sauce — tart, fresh, and nothing like the canned stuff
- White Trash — a sweet, salty, crunchy snack mix that disappears fast
- Sweet Potato Fries — crispy oven fries that are great alongside any comfort meal
- Caprese Chicken Casserole — a solid weeknight dinner to balance out all these desserts





Comments
No Comments