
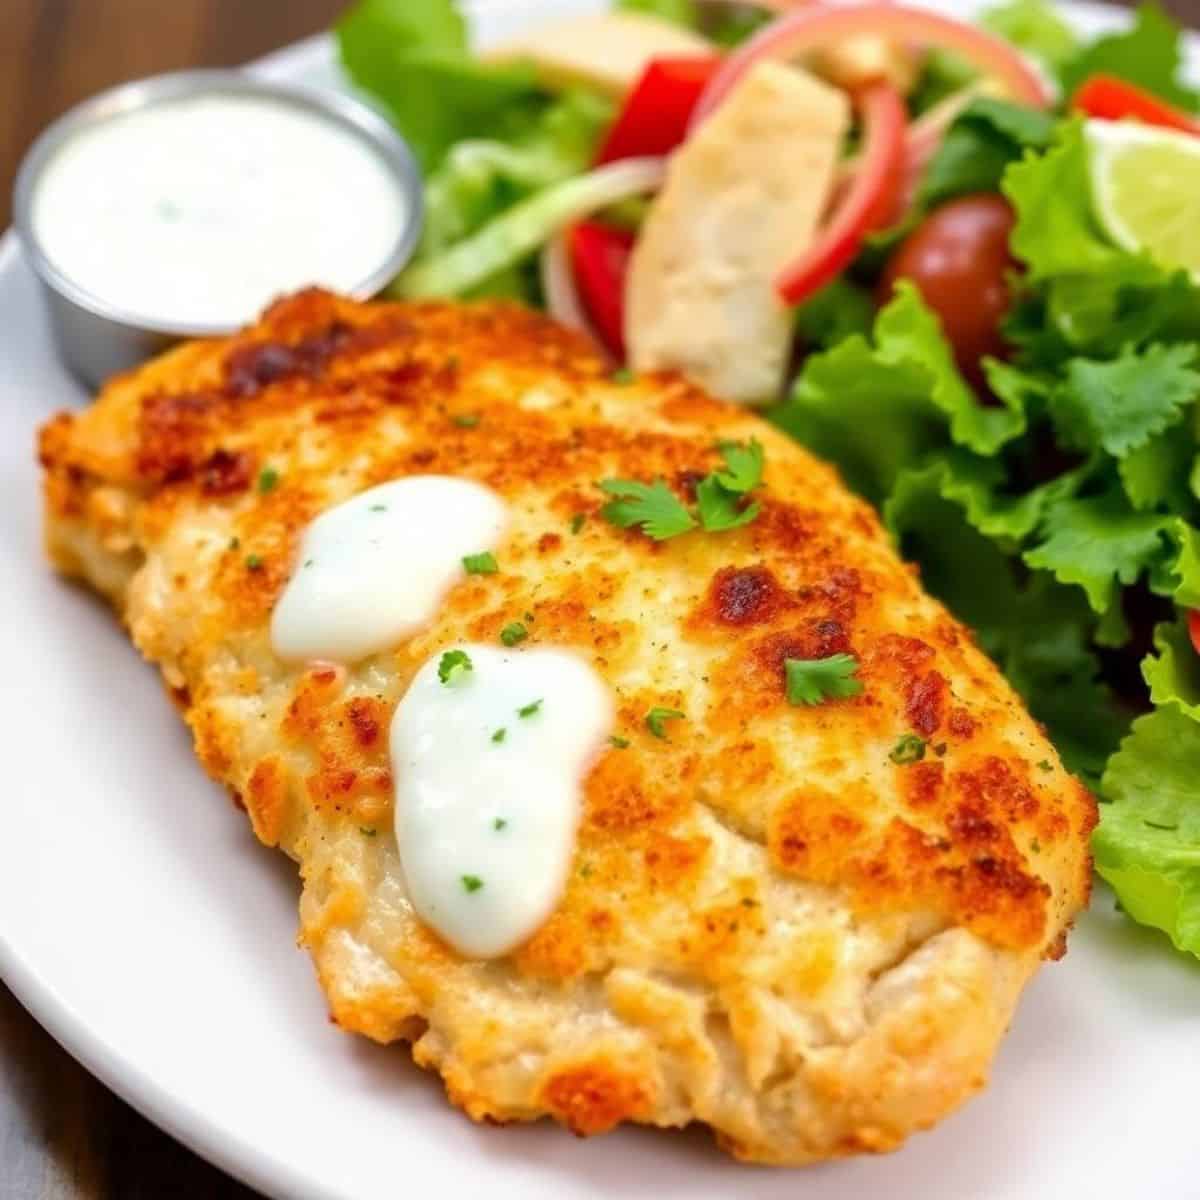
The weeknight chicken dinner that has earned a permanent spot in my regular rotation — the one I come back to again and again because it is reliably delicious, completely foolproof, and takes under 10 minutes of actual hands-on work — is baked ranch chicken: boneless chicken breasts dipped in melted butter, pressed into a seasoned panko-Parmesan-ranch coating, and baked at high heat until the breadcrumbs are deeply golden and shattering-crisp and the chicken inside is perfectly juicy and tender. It delivers the experience of fried chicken entirely from the oven, and it tastes like something that requires considerably more effort than it does.
What makes baked ranch chicken genuinely better than plain baked chicken is the three-layer coating — the butter that adheres the breadcrumbs, the panko that provides the crunch structure, and the ranch seasoning and Parmesan that deliver a savory, tangy, herb-forward flavor in every single bite. The ranch seasoning does more than add flavor: it contains the garlic, onion, dill, and buttermilk notes that make ranch the most beloved American condiment, and when those flavors are baked into a golden breadcrumb crust on juicy chicken, the result is profoundly satisfying in that specifically comfort-food way that makes people go back for seconds.
This post covers the classic baked ranch chicken in full detail, plus four crowd-loved variations including a bacon-topped version, a cheesy melt version, a lemon-zest version, and a ranch chicken tender version. Every version comes together in under 45 minutes and pairs with virtually any side dish in your repertoire. Find more easy chicken dinner inspiration in our easy chicken breast recipes, our easy baked chicken recipes, and our slow cooker chicken breasts with gravy.
Let's make the crispiest, most flavorful baked chicken of your week!
WHY YOU WILL LOVE THIS RECIPE
- Under 10 Minutes of Hands-On Work — The Oven Does Everything: The active preparation for baked ranch chicken is genuinely minimal — mix the breadcrumb coating, dip the chicken in butter, press it into the coating, arrange on a pan, and slide it into the oven. Every one of those steps takes seconds rather than minutes and the entire prep is done before the oven has even finished preheating. The chicken then bakes unattended for 30–35 minutes while you do anything else you need to do. This is the definition of a low-effort high-reward dinner, and it is the recipe I reach for every time I need something impressive with no time to spare.
- The Panko-Parmesan Crust Is Genuinely Crispy — Not Soggy: The difference between a baked chicken that is crispy and one that is soggy comes down to three things: using panko instead of fine breadcrumbs (panko has larger, more open flakes that crisp rather than steam), using melted butter as the adhesive instead of egg wash (butter crisps as it bakes rather than making the coating dense), and baking at high enough heat (400°F rather than 350°F) to drive off moisture quickly and develop genuine crunch. All three of these elements are built into this recipe, which is why the finished chicken has a satisfyingly crunchy, golden coating that holds its texture even after resting.
- The Ranch Seasoning Makes Every Bite More Interesting: Plain panko-Parmesan baked chicken is good. Panko-Parmesan baked chicken seasoned with ranch is significantly better — the ranch packet adds garlic, onion, buttermilk, dill, and parsley notes to the coating that make every bite feel more complex and more craveable. Ranch seasoning is one of those flavor combinations that is almost universally appealing, particularly to children, which makes this chicken the ideal family dinner when you need to please everyone at the table simultaneously. The ranch flavor is present but not overwhelming — it tastes like great-seasoned chicken, not like liquid ranch dressing was poured on.
- Make-Ahead and Meal-Prep Friendly: The chicken can be coated and refrigerated for up to 4 hours before baking — the coating actually adheres more firmly after a brief refrigeration, which means the prep can be done in the morning and the chicken baked at dinner time with zero additional work. Leftovers reheat beautifully in a 350°F oven for 10 minutes, which restores the crust crispness in a way the microwave cannot. I regularly make a double batch on Sunday for meal prep — the baked chicken refrigerates for up to 3 days and reheats perfectly for lunch or dinner throughout the week. See our easy meal prep ideas for more planning inspiration.
- Endlessly Versatile — Works with Any Side Dish: Baked ranch chicken is one of the most side-dish-agnostic dinner proteins available — it pairs equally well with mashed potatoes, roasted vegetables, rice, pasta, a simple green salad, or any combination of the above. The ranch flavor is assertive enough to stand on its own but neutral enough not to clash with any particular accompaniment. I have served this with everything from our roasted vegetables to our garlic cream cheese mashed potatoes to our easy broccoli salad and it works perfectly with all of them.
INGREDIENTS
- 4 boneless, skinless chicken breasts
- 1 packet (1 oz) dry ranch seasoning mix
- 1 cup panko breadcrumbs
- ½ cup grated Parmesan cheese
- ¼ cup melted butter (or olive oil)
- 1 teaspoon garlic powder
- Salt and black pepper, to taste
- Fresh parsley, chopped (optional, for garnish)
DIRECTIONS
- Step No.1: Preheat the oven and prepare the pan
Preheat the oven to 400°F (200°C) — the higher temperature is intentional and important for getting a genuinely crispy coating. At 375°F the breadcrumbs steam and soften before they can develop real crunch; at 400°F the high heat immediately begins driving off moisture and crisping the coating from the moment the pan goes in. Line a baking sheet with parchment paper or lightly grease a baking dish. If you have a wire rack that fits inside the baking sheet, place the chicken on the rack — elevating the chicken allows hot air to circulate underneath and produces a crispier bottom as well as top. Set the prepared pan aside.
- Step No.2: Make the breadcrumb coating
In a shallow bowl wide enough to fit a chicken breast, combine the panko breadcrumbs, grated Parmesan cheese, ranch seasoning mix, garlic powder, and a generous pinch of salt and several grinds of black pepper. Stir or whisk with a fork until everything is evenly mixed — the Parmesan and ranch seasoning should be distributed throughout the panko with no dry pockets of either ingredient. Taste a small pinch of the mixture — it should taste assertively seasoned, slightly salty, with clear ranch and Parmesan notes. If it tastes bland, add extra ranch seasoning or salt before coating the chicken.
- Step No.3: Coat the chicken
Pat the chicken breasts dry with paper towels before coating — dry chicken surfaces allow the butter to adhere more evenly and prevent the coating from slipping. If any chicken breasts are significantly thicker than others, use a meat mallet or rolling pin covered with plastic wrap to pound the thicker end to an even thickness — uniform thickness means every breast finishes cooking at the same time and none are over or undercooked. Brush each chicken breast generously with melted butter on all sides, ensuring complete coverage. Then press each buttered breast firmly into the breadcrumb mixture, turning and pressing repeatedly until every surface is thickly coated. The pressing motion is important — a firm press embeds the coating rather than just dusting it on, which means it stays in place during baking rather than falling off.
- Step No.4: Bake the chicken
Place the coated chicken breasts on the prepared baking sheet or wire rack, leaving at least 1 inch of space between each piece — crowding traps steam and prevents the coating from crisping. Do not flip the chicken during baking — flipping disturbs the coating and risks it falling off. Bake for 30–35 minutes until the coating is deeply golden brown and the internal temperature of the thickest part of each breast reads 165°F (74°C) on an instant-read thermometer. The thermometer test is non-negotiable for chicken safety — visual cues alone are not reliable for thick chicken breasts. If the coating looks golden before the internal temperature reaches 165°F, tent loosely with foil and continue baking until the temperature is reached.
- Step No.5: Rest, garnish, and serve
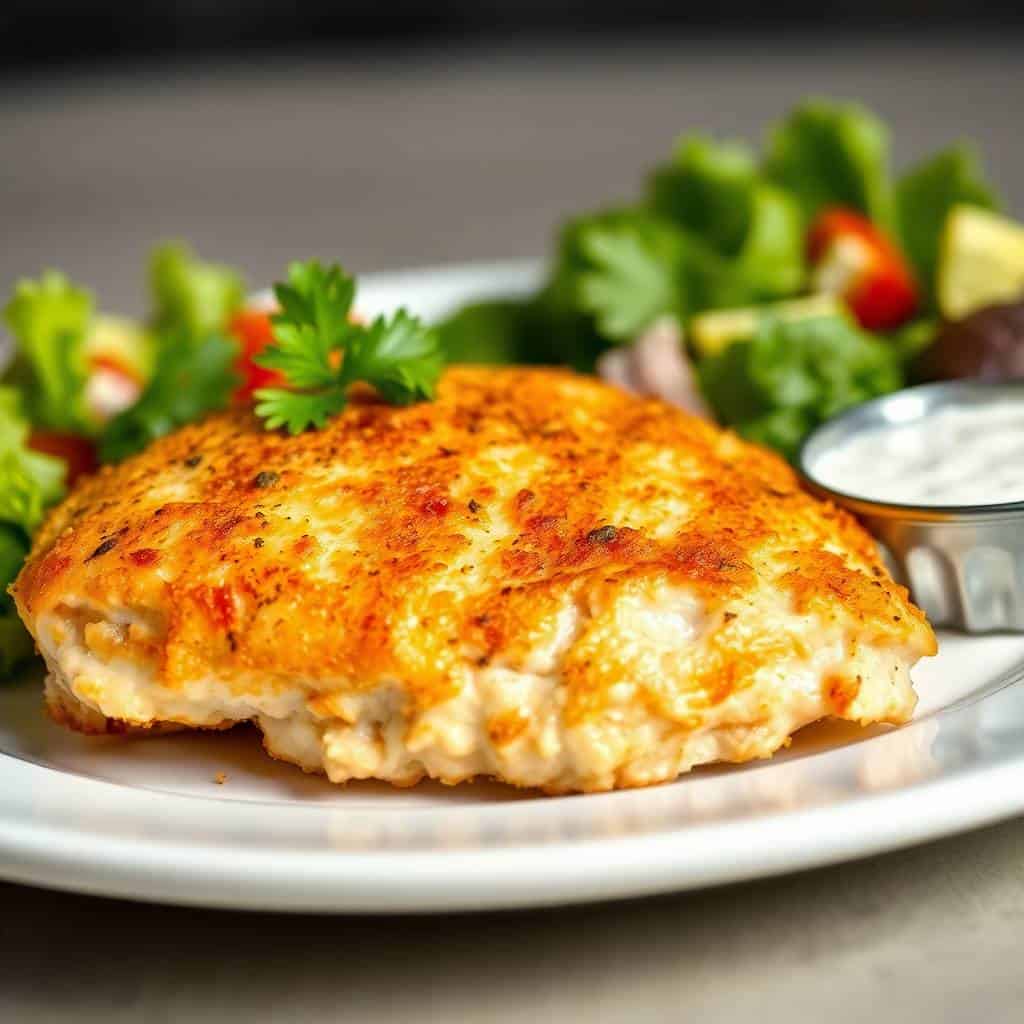
Remove the chicken from the oven and allow it to rest on the pan for 5 minutes before serving — resting allows the juices that have migrated to the center of the breast during baking to redistribute throughout the meat, producing a juicier result than cutting into the chicken immediately. Garnish with freshly chopped parsley for a pop of color if desired — the green parsley against the golden coating is visually striking and the fresh herb adds a brightness that complements the rich ranch coating well. Serve hot with your choice of sides.
TIPS FOR SUCCESS
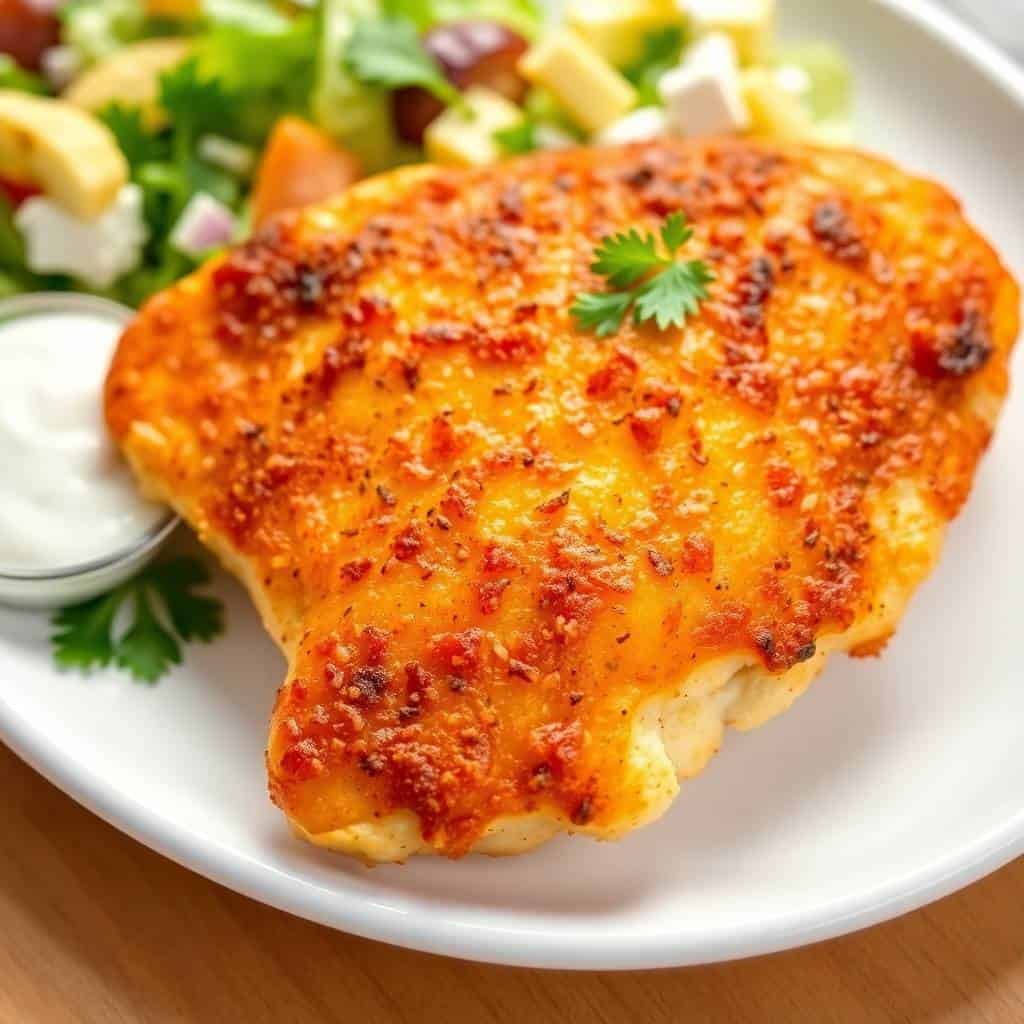
- Always Use Panko — Not Regular Breadcrumbs: This is the tip that makes the single largest difference in the finished texture of baked ranch chicken. Panko breadcrumbs have a coarser, more open crumb structure than regular fine breadcrumbs — they crisp rather than steam during baking, producing a shattering crunch that fine breadcrumbs simply cannot replicate in a home oven. If panko is unavailable, pulse regular breadcrumbs in the food processor briefly to create a coarser texture, or crush crackers for a similar effect. The investment in a box of panko is genuinely worth making for any breaded baked dish.
- Add Cayenne or Chili Flakes for a Spicy Version: The classic ranch coating is mild and universally appealing, but adding ¼–½ teaspoon of cayenne pepper to the breadcrumb mixture produces a spicy ranch chicken that is genuinely addictive. The heat plays beautifully against the cool herby notes of the ranch seasoning and the rich Parmesan. Start with ¼ teaspoon if cooking for mixed heat tolerances and increase from there. Red pepper flakes also work and provide a slightly different, more textural heat presence in the coating.
- Add Extra Cheese in the Last 5 Minutes for a Melty Topping: In the final 5 minutes of baking, pull the pan from the oven and scatter a generous handful of shredded cheddar or mozzarella across the tops of the chicken breasts. Return to the oven for 5 minutes until the cheese is fully melted and bubbling — the result is a baked ranch chicken with a double cheese element: the Parmesan baked into the crispy coating and the melted shredded cheese on top. This addition takes 30 seconds of active effort and produces a significantly more indulgent and visually impressive result.
- Always Check Internal Temperature — Never Cut to Check: Cutting into a chicken breast to check doneness releases the juices that make it moist and results in dry chicken. An instant-read thermometer inserted into the thickest part of the breast takes 3 seconds and tells you definitively whether the chicken is safe and properly cooked (165°F / 74°C) without disturbing the resting juices. This is the single best investment in your chicken-cooking results — an instant-read thermometer costs very little and eliminates guesswork entirely from every chicken dinner.
VARIATIONS
- Bacon Ranch Chicken: Mix ¼ cup of finely crumbled cooked bacon into the panko-Parmesan-ranch breadcrumb coating before pressing it onto the chicken. The bacon adds a smoky, salty dimension to the coating that intensifies every other flavor in it and produces the most irresistible version of baked ranch chicken I have ever made. Cook the bacon first, crumble it very finely so it distributes throughout the coating rather than clumping, and ensure it is genuinely crispy before adding — soft bacon loses its distinct character when baked into the coating. See our bacon ranch dip for a perfect side serving alongside.
- Cheesy Ranch Chicken: After the chicken has baked for 25 minutes, remove the pan from the oven and top each breast with 2–3 tablespoons of shredded sharp cheddar or mozzarella. Return to the oven for the final 5–10 minutes until the cheese is fully melted and just beginning to bubble at the edges. The combination of the crispy panko-ranch crust and the molten cheese topping makes this the most indulgent version — it tastes like the best crispy ranch chicken your favorite American casual dining restaurant has ever produced, made entirely at home. Serve with our homemade ranch dressing on the side.
- Lemon Ranch Chicken: Add 1 tablespoon of fresh lemon zest and ½ teaspoon of dried dill to the breadcrumb mixture. The lemon zest brightens the rich ranch coating with a fresh citrus note that makes the chicken taste lighter and more vibrant — excellent for spring and summer serving. Squeeze a small amount of fresh lemon juice over the finished chicken immediately after pulling from the oven for an extra layer of citrus freshness that wakes up every other flavor in the coating. Pair with our summer mix salad for a complete seasonal dinner.
- Ranch Chicken Tenders: Use chicken tenders instead of whole breasts — slice breasts into strips approximately 1 inch wide, or use pre-cut tenders. The coating technique is identical and the cook time drops to 15–18 minutes at 400°F. Chicken tenders are the most kid-friendly format of this recipe and the one most appropriate for party or game day serving — arrange them in a pile on a platter with small ramekins of ranch dipping sauce and they disappear instantly. See our parmesan crusted air fryer chicken tenders for an air fryer version of a similar concept.
SERVING AND STORAGE
Serving
Serve baked ranch chicken hot from the oven with your choice of sides — it pairs beautifully with our garlic cream cheese mashed potatoes, our roasted vegetables, our easy broccoli salad, or simple steamed rice. For a complete crowd-pleasing dinner plate, serve alongside a small ramekin of extra ranch dressing for dipping — the ranch-on-ranch combination is genuinely addictive and every guest at the table will want one.
Storage
Store cooled leftover chicken in an airtight container in the refrigerator for up to 3 days. Reheat in a 350°F oven for 10 minutes until heated through and the coating is crispy again — the oven method is far superior to the microwave for maintaining the crust's texture. To freeze, cool completely, wrap each breast individually in plastic wrap and then foil, and freeze for up to 3 months. Thaw overnight in the refrigerator and reheat in a 375°F oven for 15–18 minutes. The coated uncooked chicken can also be refrigerated for up to 4 hours before baking — this make-ahead approach is ideal for busy weeknights.
FAQ
Yes — boneless, skinless chicken thighs are an excellent substitute and produce an even juicier result than breasts since thighs have more fat content. The coating technique is identical. The cook time is similar (30–35 minutes at 400°F) but check the internal temperature at the 25-minute mark since thigh thickness varies. Bone-in thighs also work but require 40–45 minutes and should be checked at 165°F. Thighs are more forgiving of slight overcooking than breasts and are an excellent choice for anyone who finds baked chicken breast too lean or dry.
Yes — coat the chicken in butter and the breadcrumb mixture, arrange on the baking sheet, cover loosely with plastic wrap, and refrigerate for up to 4 hours before baking. The coating actually adheres more firmly after refrigeration since the butter firms around the breadcrumbs. Remove from the refrigerator 15 minutes before baking to take the chill off slightly, then bake as directed. This make-ahead approach is ideal for weeknight dinners when prep time in the evening is limited.
Yes — cool the cooked chicken completely, then wrap each breast individually in plastic wrap followed by a layer of aluminum foil. Freeze for up to 3 months. Thaw overnight in the refrigerator and reheat in a 375°F oven for 15–18 minutes until heated through and the coating is crisped back up. Avoid microwaving from frozen as it makes the coating soggy. Uncooked coated chicken does not freeze as well since the moisture from the raw chicken softens the coating during freezing.
Absolutely — homemade ranch seasoning is excellent in this recipe and allows you to control the salt level and customize the herb balance. A basic homemade ranch blend for one batch: combine 1 teaspoon garlic powder, 1 teaspoon onion powder, 1 teaspoon dried dill, 1 teaspoon dried parsley, ½ teaspoon dried chives, ½ teaspoon salt, and ¼ teaspoon black pepper. Use this mixture in the same quantity as the packet (approximately 1 oz). Homemade ranch seasoning contains no MSG or anti-caking agents and produces a cleaner, more herb-forward flavor than most packet versions.
For a lower-carb baked ranch chicken, replace the panko breadcrumbs with an equal quantity of almond flour, crushed pork rinds, or a combination of both. Almond flour produces a slightly denser coating than panko but crisps beautifully at 400°F and carries the ranch and Parmesan flavors just as well. Crushed pork rinds produce the crispiest, most panko-like texture of the low-carb alternatives and are genuinely excellent in this application. Keep the Parmesan, ranch seasoning, butter, and technique entirely the same — only the breadcrumb is substituted.
Baked ranch chicken is the recipe that proves you do not need complicated technique or a long ingredient list to produce a dinner that everyone at the table loves — a handful of pantry staples, 10 minutes of prep, and 35 minutes in the oven produces crispy, juicy, deeply flavored chicken that rivals any restaurant version. Make the bacon version at least once — it is extraordinary.
Try the cheesy version for the most indulgent result, the lemon version for spring and summer, and the tender format for any gathering. Pair with our garlic cream cheese mashed potatoes, our easy baked chicken recipes, our homemade ranch dressing, and our easy broccoli salad for the complete dinner spread. 🍗🧄✨


BAKED RANCH CHICKEN
Ingredients
- 4 boneless skinless chicken breasts
- 1 packet 1 oz ranch dressing mix (dry)
- 1 cup breadcrumbs preferably panko for extra crunch
- ½ cup grated Parmesan cheese
- ¼ cup melted butter
- Salt and pepper to taste
- 1 tablespoon fresh parsley chopped (optional for garnish)
Instructions
- Preheat the oven to 400°F (200°C). Lightly grease a baking dish or line it with parchment paper.
- In a shallow bowl, combine the ranch seasoning mix, breadcrumbs, and Parmesan cheese.
- Dip each chicken breast into the melted butter, coating it thoroughly, then dredge it into the breadcrumb mixture, pressing down to ensure the breadcrumbs stick.
- Place the coated chicken breasts in the prepared baking dish.
- Season with a little salt and pepper to taste.
- Bake for 30-35 minutes, or until the chicken reaches an internal temperature of 165°F (74°C) and the coating is golden and crispy.
- Garnish with fresh parsley before serving, if desired.
- Serve the baked ranch chicken with a side of vegetables, mashed potatoes, or a simple salad.
Notes
- You can use chicken thighs instead of breasts for a juicier option.
- For a lower-carb version, you can swap breadcrumbs for almond flour or crushed pork rinds.
- If you like extra flavor, add a pinch of garlic powder or onion powder to the breadcrumb mixture.
- Leftovers can be stored in the refrigerator for up to 3 days and reheated in the oven for best results.
- This recipe also works well with a side of ranch dipping sauce for extra flavor.
- You can make this dish ahead of time by preparing the chicken and coating it, then storing it in the fridge until you're ready to bake.





Comments
No Comments