
Saad asked for banana pudding four weekends in a row before I finally sat down and figured out a version I was actually happy with. The first two attempts used instant pudding straight from the box — they were fine, but "fine" isn't why anyone makes dessert from scratch. The third try I added sweetened condensed milk to the mix, and that was the moment everything clicked.
This version uses instant vanilla pudding as the base but upgrades it with sweetened condensed milk and a splash of vanilla — no stove required, no tempering eggs, no anxiously watching a custard for signs it's about to scramble. The result is a pudding that's thick, creamy, and rich in a way that tastes genuinely homemade. Layered with ripe bananas and vanilla wafers, then topped with real whipped cream, it comes together faster than you'd expect and disappears even faster. If you're looking for another no-bake dessert your family will actually request again, my Banana Split Fluff Salad is worth a look too.
I make this for weekend desserts mostly, but it also travels well to potlucks and family dinners. My husband loves it cold the next day — he'll eat it straight out of the dish at midnight if I don't cover it properly. Saad wants extra crushed wafers on top every single time. Zainab picks out the banana slices and leaves the wafers, which, fine, more wafers for the rest of us.
One thing I want to set expectations on: this pudding needs real fridge time. A minimum of 2-4 hours, but overnight is genuinely better. The wafers soften into something almost cake-like, the pudding firms up, and the whole thing becomes one cohesive, layered dessert instead of a pile of separate components. Don't rush it. Make it the night before if you can.
Why You'll Love This Recipe
- No stovetop, no stress: The pudding base comes together in one bowl with a whisk — no saucepan, no standing over heat stirring constantly hoping nothing burns. I've made stovetop custard and it's great, but on a Friday evening when I just want dessert ready by morning, this approach wins. Everything goes in the bowl, you whisk for a few minutes, and it's done.
- The condensed milk trick actually works: Adding sweetened condensed milk to the instant pudding base is what sets this apart from the standard box-mix version. It adds a depth and creaminess that's hard to explain until you taste it side by side. I was skeptical when I first saw this idea but now I can't imagine making it any other way.
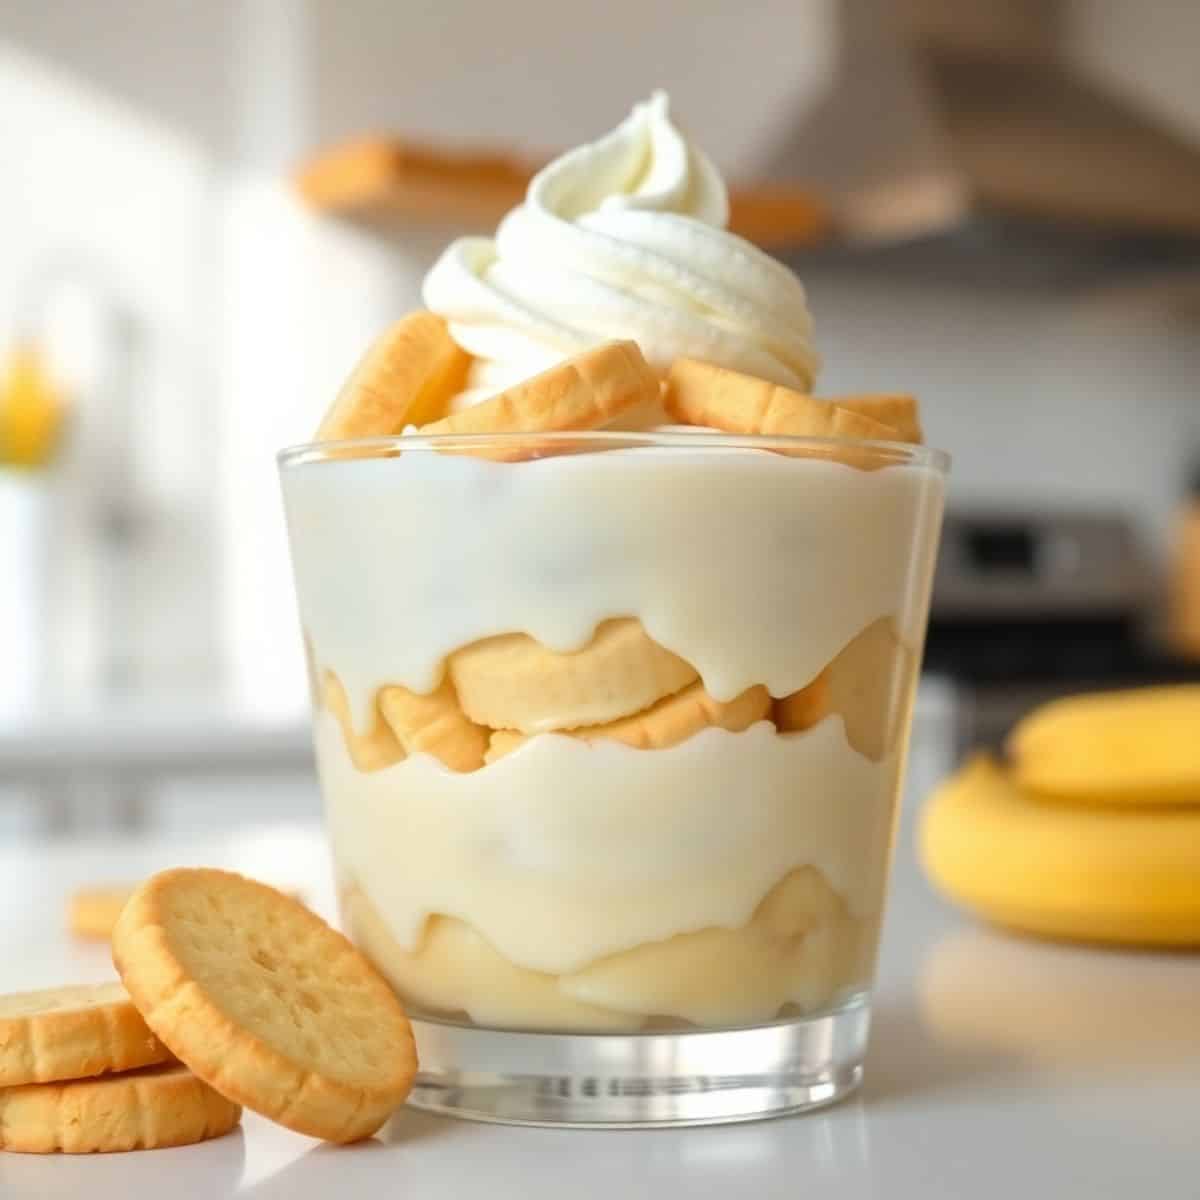
- The wafers get soft in the best way: If you've only ever had banana pudding with still-crunchy wafers, you're missing the point. After sitting overnight in the pudding, the vanilla wafers turn soft and almost custardy — they absorb all that cream and become something between a cookie and a sponge cake layer. This is what people mean when they say the flavors "meld."
- Real whipped cream on top: I know whipped topping from a tub is easier, but there's a difference in taste and texture. Heavy cream whipped with a little powdered sugar takes about 3 minutes with a hand mixer — or longer with a whisk and a strong arm. It holds up well in the fridge too, especially with the powdered sugar helping stabilize it.
- Make-ahead friendly by design: This is not a dessert you make an hour before serving. It's a dessert you make the night before and forget about until dinner. That's actually one of the reasons I reach for it when I'm hosting — all the work is done in advance and I'm not scrambling at dessert time.
Ingredients
- 3 ripe bananas, sliced
- 1 box (12 oz) vanilla wafers (Nilla Wafers work great, or any store brand)
- 1 package (5.1 oz) instant vanilla pudding mix
- 2 ½ cups cold milk
- ½ cup sweetened condensed milk
- 1 teaspoon vanilla extract
- 1 cup heavy cream
- 2 tablespoons powdered sugar
- ½ teaspoon vanilla extract (for the whipped cream)
Directions
- Make the pudding: In a large bowl, whisk together the instant pudding mix, cold milk, sweetened condensed milk, and vanilla extract. Whisk for about 2-3 minutes until it starts to thicken — it should coat the back of a spoon. Set it aside and let it sit for a few minutes; it will continue to firm up as it rests.
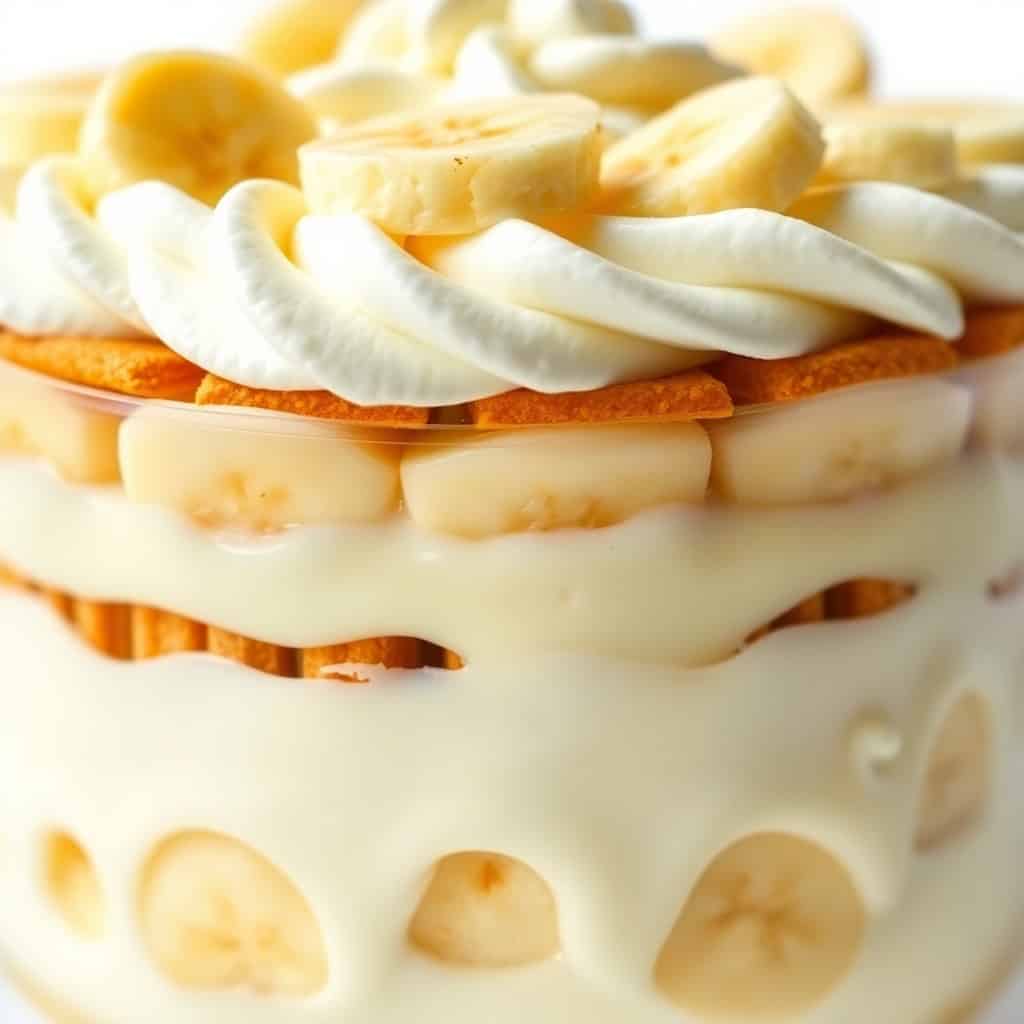
- Build the first layer: In a 9x13-inch baking dish (or a large trifle bowl if you want to show off the layers), arrange a single layer of vanilla wafers across the bottom. Add a layer of sliced bananas on top of the wafers, then spoon roughly half the pudding over evenly.
- Repeat the layers: Add another layer of vanilla wafers over the pudding, then more banana slices, then the remaining pudding on top. Make sure the top layer is pudding — this is what the whipped cream will sit on.
- Whip the cream: In a separate bowl, beat the heavy cream, powdered sugar, and vanilla extract until stiff peaks form. A hand mixer makes this quick — maybe 3 minutes. If you're doing it by hand, give yourself 8-10 minutes and a tired arm. Spread the whipped cream over the top of the pudding layer.
- Crush and garnish: Crush a handful of the remaining vanilla wafers and sprinkle them over the whipped cream. This gives you a little crunch on top since everything underneath will soften.
- Chill: Cover the dish with plastic wrap and refrigerate for at least 2-4 hours. Overnight is better — this is the most important step. Don't skip the chill time or the wafers won't soften properly and the pudding won't set.
- Serve cold: Scoop and serve straight from the fridge. Add extra banana slices on top right before serving if you like, but don't add them earlier or they'll brown.
Tips for Success
- Your bananas should be genuinely ripe: Yellow with a few brown spots is what you want — not green, not all-black. The riper the banana, the sweeter and more fragrant it is, and that flavor carries through every layer. I've used under-ripe bananas in a pinch and the pudding just tasted... bland in the banana department. Not worth it.
- Cold milk matters for the pudding: Instant pudding needs cold liquid to set properly. If your milk is room temperature, the pudding will be thin and won't firm up the way it should. I keep a carton of milk in the back of the fridge specifically for baking days so it's as cold as possible.
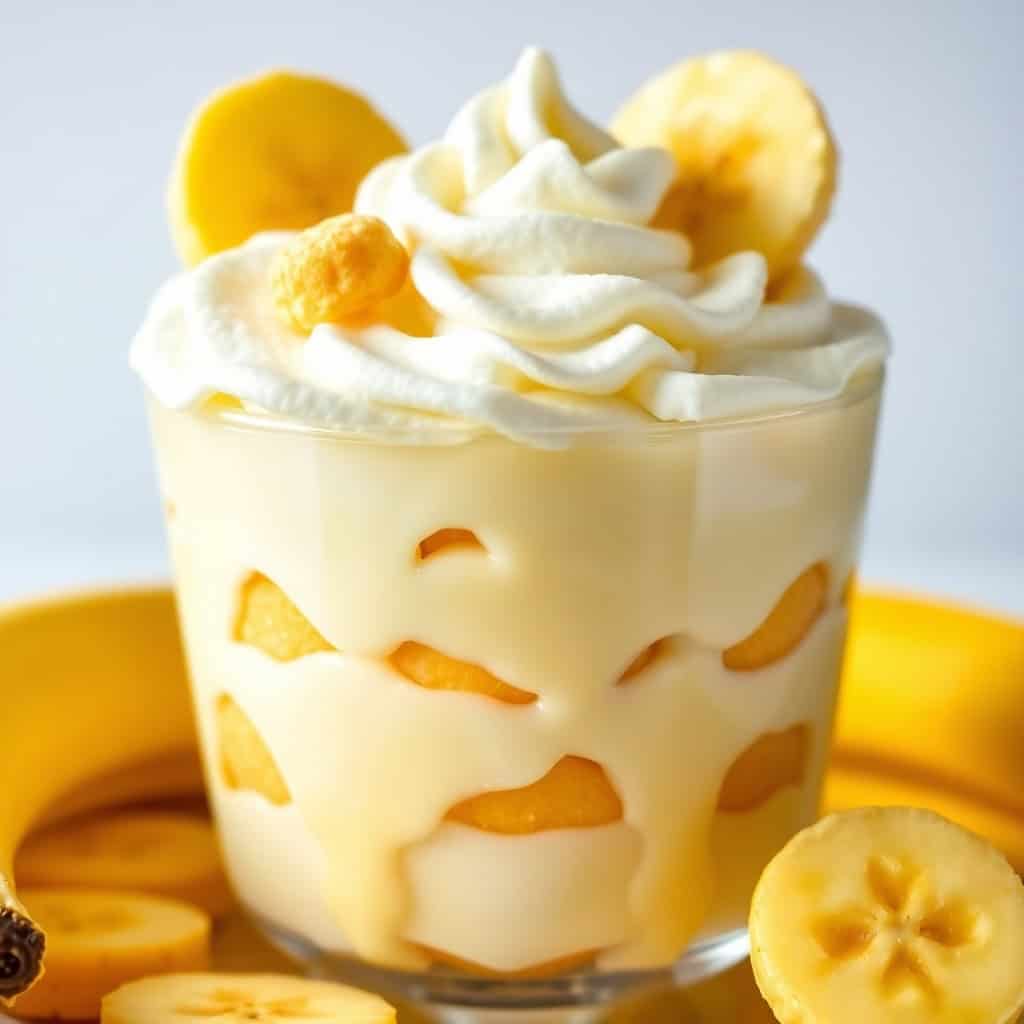
- Don't add banana slices to the top until just before serving: Bananas brown fast once they're cut, especially when exposed to air. Everything inside the layers stays fine because it's sealed by pudding on both sides. But if you want fresh banana slices on the very top as a garnish, add them right before you bring it to the table.
- Whip the cream until stiff — not just soft peaks: Soft peaks will look beautiful for about 20 minutes and then start to weep and slide. Stiff peaks hold their shape in the fridge overnight. If you're unsure, keep going — once the cream is holding shape without drooping when you lift the beaters, you're there.
- Overnight really is better than 4 hours: I know the recipe says 2-4 hours minimum, and technically you can serve it after that. But the first time I made it and waited only 3 hours, the wafers still had a little snap to them and the layers hadn't fully merged. The second time I chilled it overnight and it was a completely different (better) dessert. If you can plan ahead, do it.
Variations
- Chocolate banana pudding: Add a layer of chocolate pudding between two banana layers for a chocolate-banana combination. Make a separate bowl of instant chocolate pudding and alternate it with the vanilla layers. Saad thinks this is the superior version and he is not wrong — it's essentially a banana split in pudding form.
- Coconut topping: Fold toasted shredded coconut into the whipped cream or sprinkle it over the top before serving. It adds a texture contrast that's really nice, and the coconut flavor pairs naturally with banana. This is a version I'd serve at a summer gathering — it has a slightly tropical feel to it.
- Graham cracker or shortbread swap: Vanilla wafers are traditional but graham crackers work too, and they give a slightly more honeyed, less sweet base. Shortbread cookies add a buttery richness. I've used all three at different points — all good, each a little different. Graham crackers stay slightly more textured even after overnight chilling.
- Trifle-style presentation: If you have a deep trifle bowl, use it — the layers look stunning through the glass. Same recipe, same method, just different vessel. This is what I do when I'm bringing it to someone else's house. It looks fancy and people always comment on it, even though the recipe is identical.
- Add a pinch of warm spice: A pinch of cinnamon or nutmeg stirred into the pudding mix adds a warmth that's particularly nice in fall and winter. It doesn't make it taste like a spice cake — it just deepens the flavor slightly in a way that's hard to place but pleasant. I started doing this after my husband suggested it and kept it ever since.
Serving and Storage
Serving
Serve straight from the fridge, cold. This isn't a room-temperature dessert — the pudding loosens as it warms up and the whipped cream doesn't hold well in heat. Scoop generous portions with a large spoon so every serving gets a bit of each layer. If you're serving at a party, a trifle bowl lets guests see all the layers before you scoop, which always gets a reaction. Add fresh banana slices on top of individual servings right before you plate them, not before.
Storage
Cover the dish tightly with plastic wrap and refrigerate for up to 3 days. After day 3, the bananas start to brown noticeably and the pudding gets a bit watery at the bottom — still edible, but not at its best. For the best experience, eat it within 48 hours. This doesn't freeze well — the pudding separates and the texture gets grainy after thawing, so I'd skip the freezer on this one.
Frequently Asked Questions
Can I make banana pudding the night before?
Yes, and honestly I'd encourage it. Making it the night before is actually how I prefer it — the wafers get completely soft, the pudding firms up properly, and all the layers settle into each other. Just wait to add any fresh banana garnish on top until right before you serve.
Can I use store-bought whipped topping instead of heavy cream?
You can — it's a common shortcut and the dessert will still taste good. Real whipped cream made from heavy cream has a richer flavor and holds up better overnight, but if you're in a rush, Cool Whip or a similar whipped topping works fine. Just spread it on just before serving if you use a tub topping, as it can get weepy faster than homemade.
Why add sweetened condensed milk to instant pudding?
It makes the pudding richer and creamier than the box alone. Sweetened condensed milk has a thicker consistency and a slightly caramelized sweetness that you don't get from just milk. It also makes the pudding set a little firmer, which means cleaner layers. Once I tried it this way, I couldn't go back to plain instant pudding.
How do I keep the bananas from turning brown?
Bananas layered inside the pudding will stay fairly yellow because they're coated and sealed away from air. The ones on top will brown — which is why I only add fresh banana slices as a garnish right before serving. If you want to prep everything and still have the garnish ready, keep a few extra banana slices in a small bowl with a squeeze of lemon juice in the fridge — it slows the browning significantly.
Can I use homemade custard instead of instant pudding?
Absolutely — the recipe intro above includes a full from-scratch stovetop custard version if you want to go that route. It takes more time and attention (constant stirring, watching the heat), but the result is noticeably richer. For everyday weekends I use the instant pudding version. For a dinner party or a special occasion, I'll make the custard from scratch. Both are good — it just depends on how much time you have.

This banana pudding has become a reliable fixture in my dessert rotation — not because it's complicated, but because it consistently delivers. Every time I bring it somewhere, someone asks for the recipe. Every time I make it at home, the dish is empty by the next morning. It's the kind of dessert that feels generous and a little indulgent without requiring much from the cook, which is exactly what I want on a weekend.
If you're the type who likes having a no-bake dessert ready to pull out of the fridge when guests arrive, this is a good one to have in your back pocket alongside my Banana Split Fluff Salad — both are cold, both involve minimal cooking, and both disappear fast. For nights when you want something a little more substantial after dinner, my Soft and Chewy Sugar Cookies are also a crowd favorite in our house.
The one thing I'd ask you not to skip is the overnight chill. I know it requires planning. But the version you pull out of the fridge the next morning — where the wafers have fully softened, the layers have melded, and the whole thing holds together when you scoop it — is genuinely better than the version you'd serve four hours in. Some desserts reward patience, and this is one of them. 🍌🍮✨

BEST BANANA PUDDING EVER
Ingredients
- 3 ripe bananas sliced
- 1 box 12 oz vanilla wafers
- 1 5.1 oz package instant vanilla pudding mix
- 2 ½ cups cold milk
- ½ cup sweetened condensed milk
- 1 teaspoon vanilla extract
- 1 cup heavy cream
- 2 tablespoon powdered sugar
- ½ teaspoon vanilla extract for whipped cream
Instructions
- In a medium bowl, whisk together the instant vanilla pudding mix, cold milk, sweetened condensed milk, and vanilla extract. Mix until thickened, about 2-3 minutes. Set aside.
- In a large trifle dish or 9x13-inch baking dish, layer the vanilla wafers on the bottom of the dish.
- Add a layer of sliced bananas over the wafers.
- Spoon a layer of the prepared pudding over the bananas and wafers. Repeat the layering process until all ingredients are used, finishing with a layer of pudding on top.
- In a separate bowl, beat the heavy cream with powdered sugar and vanilla extract until stiff peaks form.
- Spread the whipped cream on top of the pudding layer.
- Crush a few extra vanilla wafers and sprinkle them over the top for decoration.
- Refrigerate the banana pudding for at least 2-4 hours (or overnight) to allow it to set and chill.
- Serve chilled.
Notes
- For extra flavor, you can add a pinch of cinnamon or nutmeg to the pudding mixture.
- If you prefer a homemade pudding base, you can substitute the instant pudding mix with a homemade vanilla pudding recipe.
- To make this dessert ahead of time, it's best to assemble it the night before serving to allow the flavors to meld together.
- You can use banana-flavored wafers for a stronger banana taste.
- For a healthier version, you can substitute the sweetened condensed milk with a lighter alternative or reduce the amount of sugar.
- Leftovers can be stored in the refrigerator for up to 2-3 days.
If you liked this, here are a few more recipes from my kitchen you might want to try next:
- Banana Split Fluff Salad (Creamy No-Bake Dessert for Parties)
- Soft and Chewy Sugar Cookies
- Cheesy Alfredo Tortellini Bake with Crispy Bacon Crumble
- One Pot Lasagna Pasta
- Veggie Pizza with Crispy Crust





Comments
No Comments