
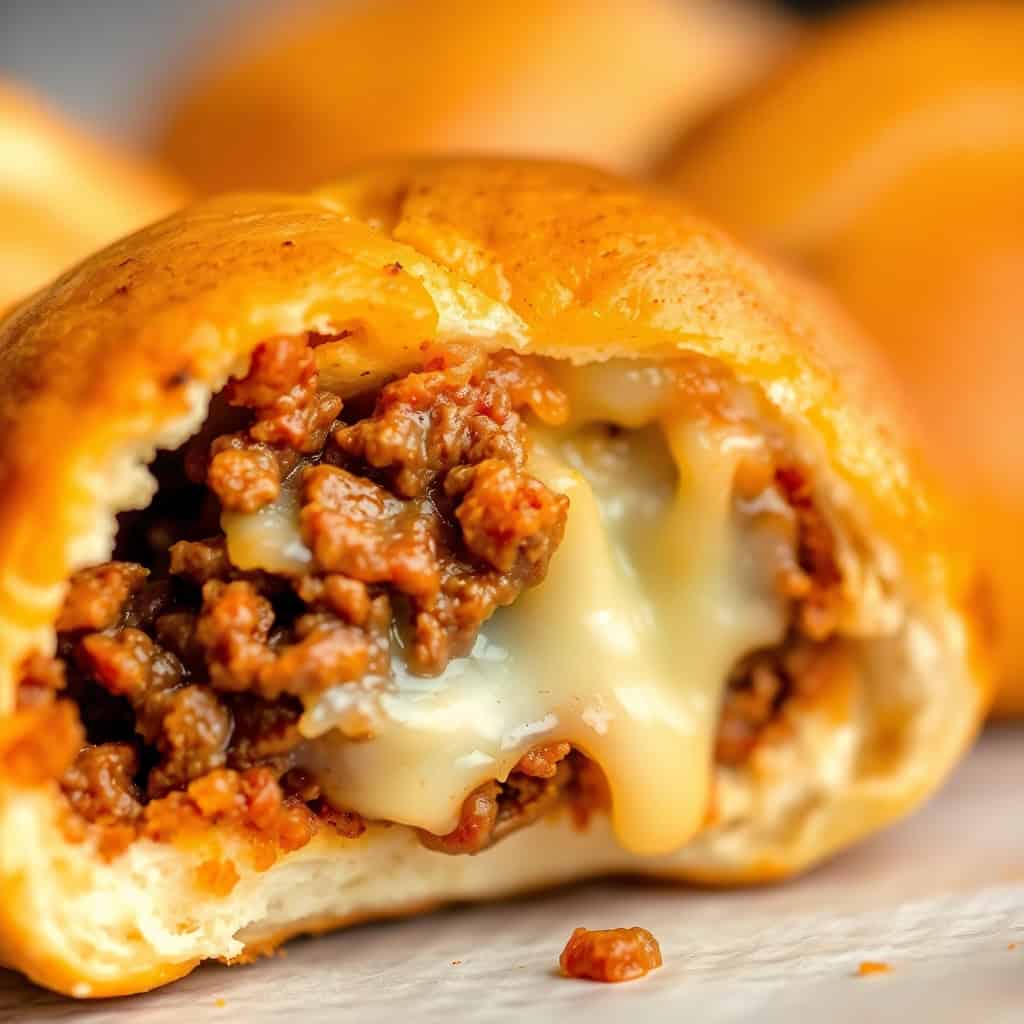
Garlic parmesan cheeseburger bombs are an irresistible twist on classic cheeseburgers. Each bite-sized bomb is packed with juicy beef, melted cheese, and savory seasonings, all wrapped in golden, buttery dough.
These handheld delights are perfect for parties, family dinners, or quick snacks. Whether baked or air-fried, they turn out golden brown and full of flavor. Whether served as an appetizer, game-day snack, or fun dinner option, they’re guaranteed to be a hit.
The combination of garlic and parmesan takes these cheeseburger bombs to the next level. The crispy, buttery coating is infused with garlic flavor and topped with parmesan, making every bite rich and delicious.
One of the best things about this recipe is how easy it is to make. Using pre-made biscuit dough or pizza dough saves time, and the filling comes together quickly. They’re great for meal prepping or making ahead for busy days.

These cheeseburger bombs pair well with ketchup, ranch, or garlic aioli for dipping. Make a batch today and watch them disappear fast!
Why You Will Love This Recipe:
- Cheesy and Juicy: The melted cheese and seasoned beef filling create a deliciously juicy bite in every cheeseburger bomb.
- garlic parmesan Crust: The buttery dough is coated in garlic and parmesan, adding extra flavor and crispiness.
- Easy to Make: With pre-made dough and a simple filling, these bombs come together quickly with minimal effort.
- Perfect for Parties: These bite-sized cheeseburger bombs are a crowd-pleasing appetizer for game nights and gatherings.
- Kid-Friendly: Fun to eat and packed with flavor, kids and adults alike will love these cheeseburger bombs.
- Customizable: Add bacon, jalapeños, or different cheeses to make them your own.
- Great for Dipping: Serve with ketchup, ranch, or garlic aioli for an extra burst of flavor.
Ingredients:
- 1 lb ground beef
- ½ teaspoon salt
- ½ teaspoon black pepper
- ½ teaspoon garlic powder
- ½ teaspoon onion powder
- 1 teaspoon Worcestershire sauce
- 1 cup shredded cheddar cheese
- 1 can refrigerated biscuit dough (or pizza dough)
- 3 tablespoons butter, melted
- 2 cloves garlic, minced
- ¼ cup grated parmesan cheese
- 1 teaspoon dried parsley (optional)
- dipping sauces (ketchup, ranch, garlic aioli)
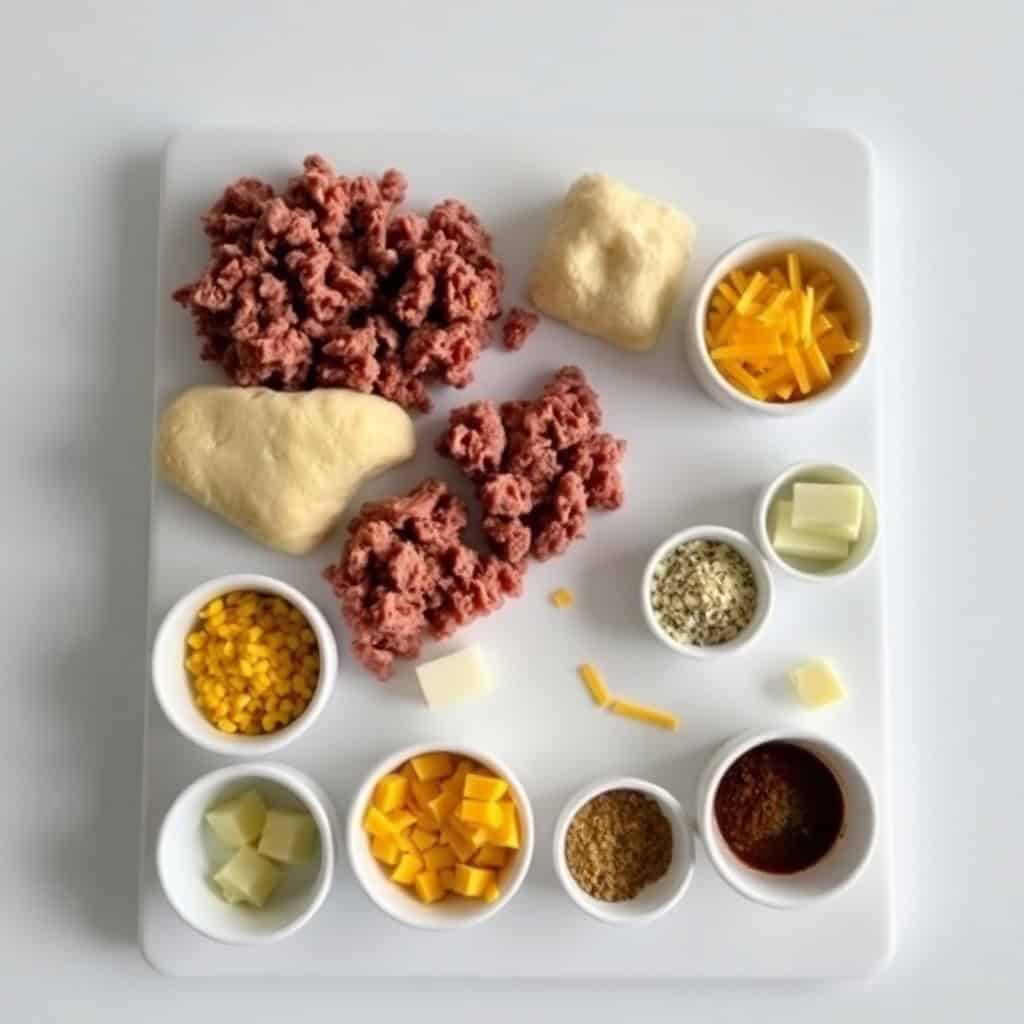
Directions:
- Step No.1: Preheat the oven
Preheat your oven to 375°F (190°C). Line a baking sheet with parchment paper.
- Step No.2: Cook the beef
In a skillet over medium heat, cook ground beef until browned. Drain excess fat and season with salt, pepper, garlic powder, onion powder, and Worcestershire sauce. Let cool slightly.
- Step No.3: Prepare the dough
Flatten each biscuit or dough piece into a small circle. Place a spoonful of beef and shredded cheese in the center of each piece.
- Step No.4: Seal the bombs
Fold the dough over the filling, pinching the edges to seal. Place seam-side down on the baking sheet.
- Step No.5: Make the garlic butter
Mix melted butter with minced garlic. Brush the bombs with garlic butter, then sprinkle parmesan cheese and parsley on top.
- Step No.6: Bake until golden
Bake for 15-18 minutes or until golden brown. Serve warm with dipping sauces.

Tips for Success:
- Seal Tightly: Pinch the dough well to prevent cheese from leaking while baking.
- Use Fresh Garlic: Fresh minced garlic gives the best flavor in the buttery topping.
- Don’t Overfill: Too much filling can cause the dough to burst open while baking.
- Let Them Cool Slightly: Allow the bombs to cool for a few minutes before serving to avoid burning your mouth.
- Try Different Cheeses: Mix in mozzarella, pepper jack, or Swiss for a unique twist.
- Air Fryer Option: Cook at 350°F (175°C) for 10-12 minutes for a crispy finish.
- Make Ahead: Prepare and refrigerate unbaked bombs, then bake fresh when ready to serve.
Variations:
- Spicy Kick: Add diced jalapeños or a pinch of red pepper flakes for extra heat.
- Bacon Lovers’ Version: Mix crispy bacon bits into the beef filling for extra flavor.
- BBQ Twist: Swap Worcestershire sauce for BBQ sauce for a smoky, sweet flavor.
- Pizza Style: Use mozzarella cheese and add pepperoni for a pizza-inspired bomb.
- Low-Carb Version: Use fathead dough instead of biscuit dough for a keto-friendly option.
- Cheeseburger Deluxe: Add pickles and mustard inside the filling for a classic burger taste.
- Breakfast Bombs: Replace beef with scrambled eggs and sausage for a morning-friendly version.
SERVING AND STORAGE
Serving
Serve warm with ketchup, ranch, or garlic aioli for dipping to enhance the cheesy, garlicky flavor.
Storage
Store leftovers in an airtight container in the fridge for up to 3 days. Reheat in the oven for best results.
FAQ:
Yes! Pizza dough works just as well and gives a slightly different texture.
Make sure to seal the dough tightly and place the seam-side down on the baking sheet.
Yes! Freeze unbaked bombs and bake them straight from the freezer, adding a few extra minutes.
Reheat in a 350°F (175°C) oven for 10 minutes or air fry at 350°F for 5 minutes.
Garlic parmesan cheeseburger bombs are a fun, flavorful twist on traditional cheeseburgers.
With juicy beef, gooey cheese, and a golden, garlic-butter-coated crust, they’re a must-try for any burger lover.
Whether you’re serving them as a snack, appetizer, or easy dinner, they’re sure to be a hit.These cheeseburger bombs are incredibly easy to make and customizable to your taste.
Add bacon, spice them up, or swap in different cheeses to create your perfect version. Plus, they’re great for meal prepping, freezing food safely, or making ahead for busy nights.
If you’re looking for a crowd-pleasing, cheesy, and garlicky treat, these garlic parmesan cheeseburger bombs are the answer. Try them today and enjoy a delicious, handheld twist on a classic favorite!
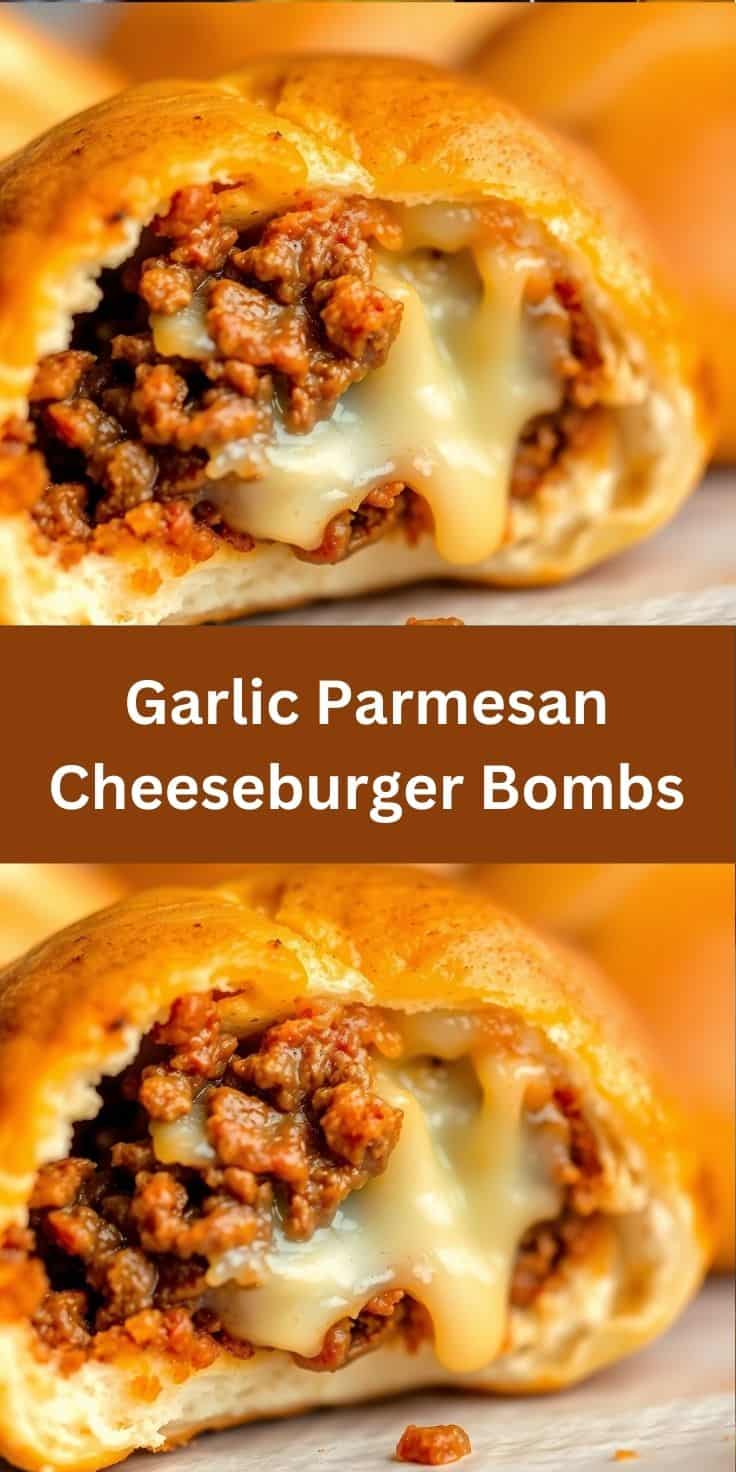

Garlic Parmesan Cheeseburger Bombs
Ingredients
- 1 pound ground beef
- 1 teaspoon salt
- ½ teaspoon black pepper
- ½ teaspoon garlic powder
- ½ teaspoon onion powder
- 1 cup shredded cheddar cheese
- 1 tube refrigerated biscuit dough 8 biscuits
- 2 tablespoons butter melted
- 2 cloves garlic minced
- ¼ cup grated Parmesan cheese
- 1 tablespoon chopped parsley
Instructions
- Step 1: Preheat Oven – Preheat oven to 375°F (190°C) and line a baking sheet with parchment paper.
- Step 2: Cook Beef – In a skillet, cook ground beef over medium heat until browned. Season with salt, pepper, garlic powder, and onion powder. Remove from heat and mix in shredded cheddar cheese.
- Step 3: Assemble Bombs – Flatten each biscuit, add a spoonful of beef mixture in the center, then fold and pinch edges to seal.
- Step 4: Bake – Place on the baking sheet, seam-side down, and bake for 15–18 minutes until golden brown.
- Step 5: Add Garlic Parmesan Topping – Mix melted butter with minced garlic. Brush over warm bombs, then sprinkle with Parmesan and parsley. Serve warm!
Notes
- Make Ahead: Assemble bombs and refrigerate for up to 24 hours before baking.
- Customizing the Flavor: Add bacon, pickles, or jalapeños for extra flavor.
- Serving Suggestions: Serve with ketchup, ranch, or burger sauce for dipping.
- Allergy-Friendly Options: Use gluten-free biscuit dough for a gluten-free version.
- Storage Tips: Store leftovers in an airtight container and reheat in the oven for crispiness.





Comments
No Comments