
Sloppy joes on regular buns always disappointed me — the bread goes soft within minutes and you end up eating a soggy mess with a fork. Texas toast changed that completely. The thick, buttery slices hold up under the meat, stay crispy at the edges, and make the whole thing feel like an actual dinner instead of something that fell apart.
What I do differently from most versions I've seen is toast the bread first — both sides — before any meat touches it. That step alone is the reason these stay crispy instead of collapsing. The sloppy joe filling itself is straightforward: ground beef, onion, bell pepper, a quick sauce made with tomato, ketchup, Worcestershire, and a little brown sugar. Nothing unusual, but it works. The sauce gets ten minutes to simmer down so it's thick enough to actually stay on the bread.
My husband is the one who asked me to figure this out. He grew up eating sloppy joes and wanted something crunchier than the standard version. I made it the first time on a random Thursday, and now it's in regular rotation. On nights when I also want something low-effort for dessert, I'll put together a batch of 3-Ingredient Peanut Butter Oreo Cookie Balls ahead of time — the whole meal is done in under an hour.
One thing to know going in: this recipe moves fast. The sauce simmers while the toast is in the oven, so both are ready around the same time. Have your cheese shredded and your baking sheet ready before you start cooking. You'll serve these the second they come out of the broiler — don't let them sit, or the toast softens from the steam.

Why You'll Love This Recipe
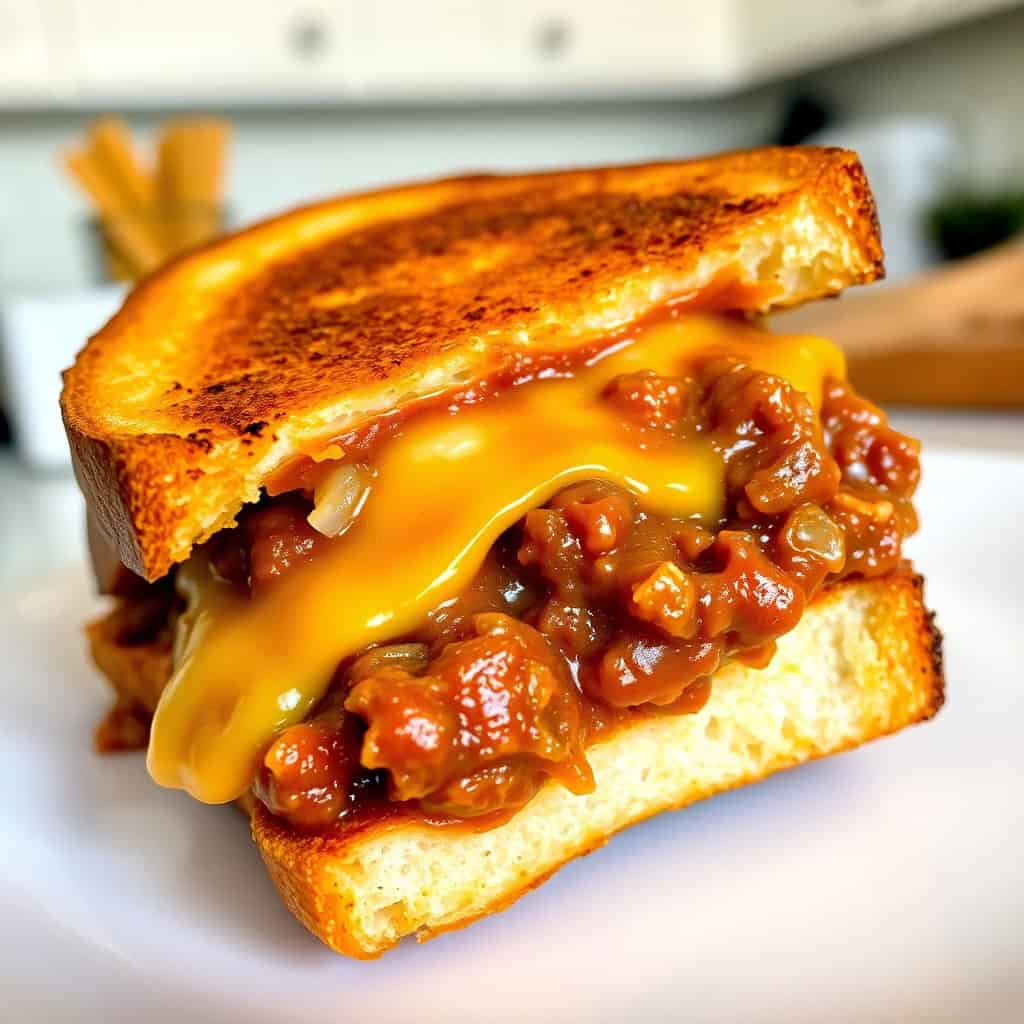
- The toast holds everything together: Regular sloppy joe buns are soft to begin with, and once you pile wet meat on them, they're done. Texas toast is thick enough that it stays structured through the whole meal. Toasting both sides before you add the filling creates a kind of crust that resists the sauce. My husband finishes his without needing a fork, which tells me the texture is right.
- Dinner is on the table in 30 minutes: The meat takes about 15 minutes from raw to sauced, and the toast bakes while the sauce simmers. By the time one is done, so is the other. I've timed this on actual weeknights when I was watching the clock, and it's consistently under 30 minutes if I have everything prepped before I turn on the stove.
- One skillet, one baking sheet: I am not washing five pans on a Tuesday night. The filling cooks entirely in one skillet. The toast goes on a sheet pan. That's it. I line the sheet pan with foil so cleanup is even faster — slide the foil off, done.
- The cheese layer is worth it: Two minutes under the broiler turns shredded cheddar into something bubbly and slightly browned at the edges. It's not a lot of cheese — just enough to hold the filling in place and add richness. I use sharp cheddar most of the time because it has more flavor than mild, but mozzarella gives you those long cheese pulls if that's what you're after.
- The sauce is genuinely good: I know "sloppy joe sauce" sounds like something out of a school cafeteria, but this one has enough Worcestershire and brown sugar to taste like it was actually thought about. It's tangy, a little sweet, and thickens up nicely with ten minutes of simmering. I've made it from scratch a dozen times and I still prefer it over any jarred version I've tried.
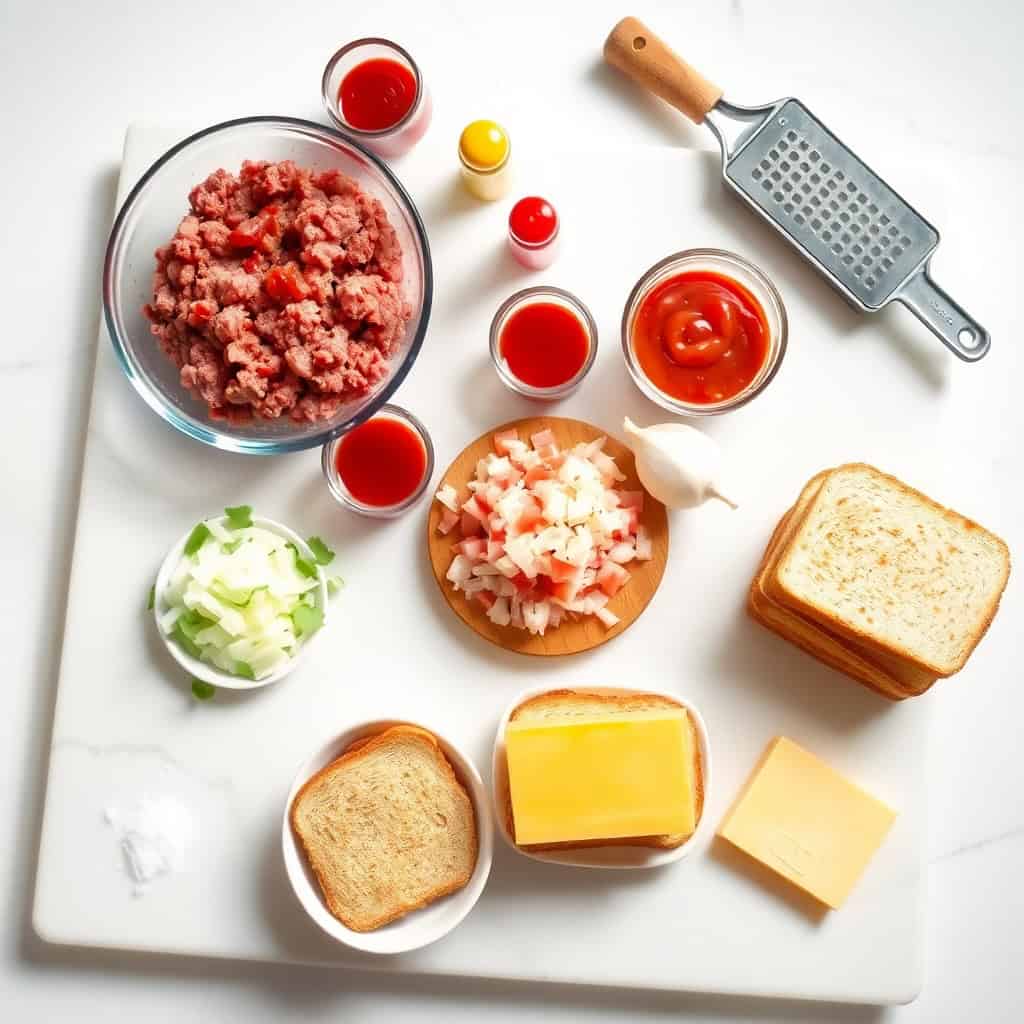
Ingredients
- 1 pound ground beef
- ½ cup onion, finely chopped
- ½ cup green bell pepper, finely chopped
- 1 teaspoon garlic powder
- ½ teaspoon salt
- ½ teaspoon black pepper
- 1 cup tomato sauce
- ¼ cup ketchup
- 1 tablespoon Worcestershire sauce
- 1 tablespoon brown sugar
- 8 slices Texas toast (garlic or plain — both work, garlic adds a little more flavor)
- 1 cup shredded cheddar or mozzarella cheese
- 1 tablespoon butter (for extra crispiness on the toast)
Directions
- Step 1: Brown the beef. Heat a large skillet over medium heat and add the ground beef. Break it up as it cooks and let it go until fully browned — about 7 to 8 minutes. Drain the excess fat. Leaving too much fat in the pan makes the sauce greasy and it won't thicken properly.
- Step 2: Cook the vegetables. Add the chopped onion and green bell pepper to the skillet. Cook for 3 to 4 minutes, stirring occasionally, until they soften and the onion starts to look translucent. Stir in the garlic powder, salt, and black pepper.
- Step 3: Build the sauce. Add the tomato sauce, ketchup, Worcestershire sauce, and brown sugar. Stir everything together until combined. Reduce the heat to low and let it simmer for 8 to 10 minutes, stirring occasionally. The sauce should thicken noticeably — if it's still thin at 10 minutes, give it another 2 or 3.
- Step 4: Toast the bread. While the sauce simmers, preheat your oven to 375°F (190°C). Spread butter on both sides of each Texas toast slice and lay them on a baking sheet. Bake for 5 to 7 minutes, flipping once halfway, until both sides are golden. This double-toasting step is what keeps them from going soggy under the meat.
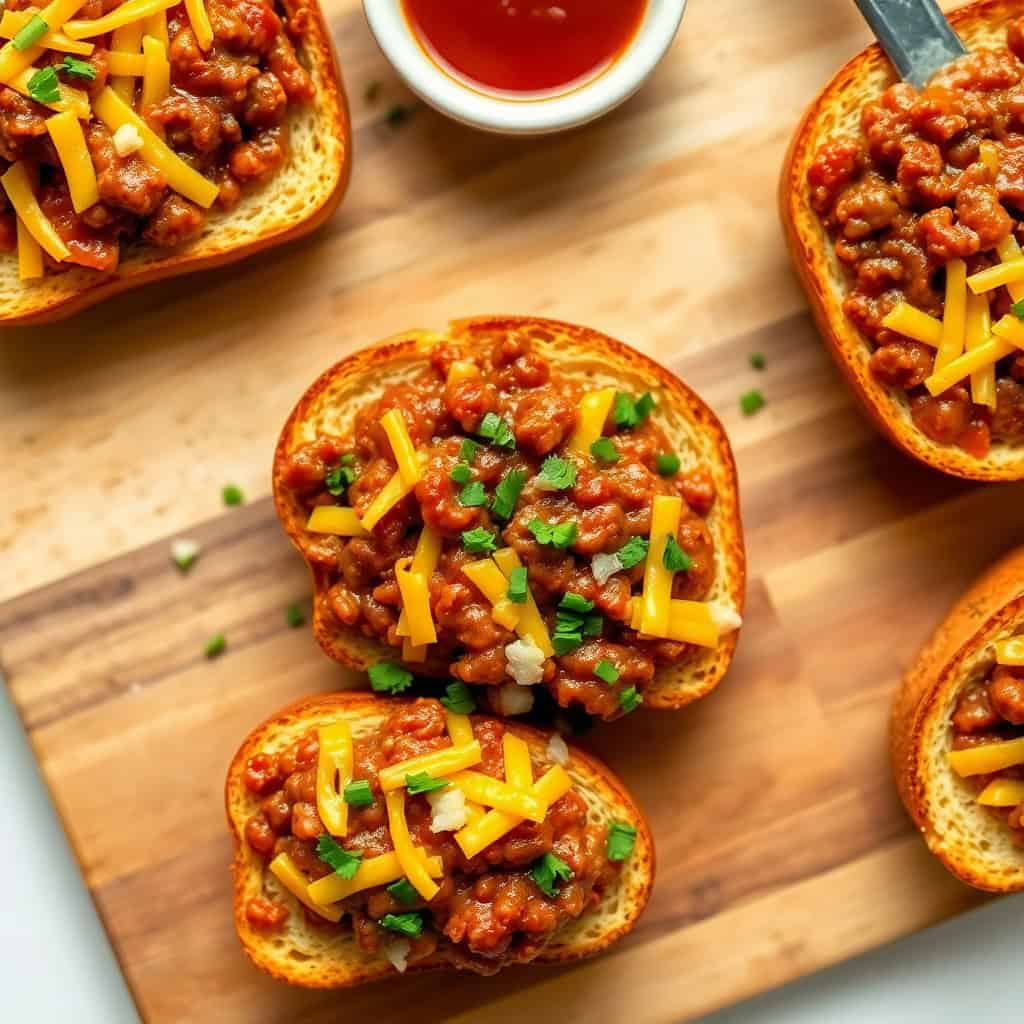
- Step 5: Assemble. Spoon the sloppy joe mixture generously over each slice of toast. Don't pile it too high or the toast won't support it — a heaping spoonful per slice is the right amount. Sprinkle shredded cheese evenly over each one.
- Step 6: Melt the cheese. Switch your oven to broil and place the baking sheet on the middle rack. Broil for 2 to 3 minutes, watching closely. The cheese should be melted, slightly bubbly, and just starting to brown at the edges. Don't walk away — it goes from perfect to burnt fast under a broiler.
- Step 7: Serve immediately. Pull them out and serve right away. Add jalapeños, pickles, or fresh parsley on top if you like. These do not improve with sitting — the toast softens once it steams, so eat them hot.
Tips for Success
- Toast both sides of the bread before adding the filling: I skipped this step the first time I made these because I thought it didn't matter. It absolutely matters. One-sided toasting leaves the bottom soft, and the moment you spoon hot meat on it, that side starts to collapse. Flipping it once in the oven takes 30 seconds and saves the whole thing.
- Let the sauce actually simmer: Ten minutes feels like a long time when you're hungry, but a thin sauce slides right off the toast and onto the plate. I've rushed this step and paid for it. The sauce should be thick enough that when you drag a spoon through it, the line holds for a second before closing. That's when it's ready.
- Watch the broiler: Every broiler is different. Mine runs hot, so 2 minutes is usually enough. The first time I used a different oven, I left it for 3 minutes and the cheese went darker than I wanted. Set a timer and check at 2 minutes — you can always give it another 30 seconds if the cheese needs more time.
- Drain the beef well: If you're using regular 80/20 ground beef (which is what I usually buy — it's cheaper and has more flavor), there will be a fair amount of fat after browning. Drain it before adding the vegetables. If you leave it in, the fat separates from the sauce and you end up with a greasy puddle on the plate instead of a thick, cohesive filling.
- Make the filling ahead if you need to: The sloppy joe mixture reheats really well in a skillet over low heat with a splash of water to loosen it. I've made it the night before and stored it in the fridge. Just toast the bread fresh when you're ready to eat — pre-made toast goes stale and doesn't crisp up the same way after sitting.
Variations
- BBQ version: Swap the ketchup for your favorite barbecue sauce and skip the brown sugar — the BBQ sauce is already sweet enough. This gives the filling a smokier flavor that works really well if you're using garlic Texas toast. My husband prefers this version on weekends when we're eating more casually.
- Spicy version: Add ½ teaspoon of red pepper flakes to the sauce while it simmers, or stir in a tablespoon of hot sauce at the end. Fresh sliced jalapeños on top right before serving also work. I keep these unspiked for Saad and Zainab and add the heat separately to my husband's portion.
- Turkey or chicken swap: Ground turkey works fine here — the sauce carries a lot of the flavor so the meat swap isn't as noticeable as you'd think. Ground chicken works too but browns faster, so keep an eye on it. The texture is slightly lighter with either substitute, which some people prefer.
- Tex-Mex version: Stir a teaspoon of taco seasoning into the sauce and skip the Worcestershire. Top the assembled sloppy joes with a spoonful of salsa or a few slices of avocado instead of parsley. It's a different direction but it works — especially if you have taco seasoning already open from another recipe. Pairs well with my Spicy Tuna Sushi Bowl with Crispy Rice if you're doing a mix-and-match dinner spread.
- Bacon on top: Cook 4 strips of bacon until crispy, crumble them, and scatter over the cheese before broiling. The bacon crisps a bit more under the heat and adds a smoky, salty contrast to the sweet sauce. This is the version I make when I want to make the meal feel slightly more special without actually doing more work.
Serving and Storage
Serving
Serve these straight from the oven while the cheese is still melted and the toast still has its crunch. A simple green salad on the side keeps things light. Fries work too — oven fries or frozen ones, whatever you have. I've also served these alongside a quick coleslaw (just bagged mix with a little mayo, vinegar, and salt) and the crunch of the slaw against the soft filling is a good contrast. For something more filling on a cold night, a bowl of tomato soup on the side turns it into a full meal. If you're cooking for people with big appetites, count on 2 slices per person.
Storage
Store the sloppy joe filling separately from the toast. The filling keeps well in an airtight container in the refrigerator for up to 4 days. Reheat it in a skillet over low heat, adding a small splash of water if it's dried out. The Texas toast does not store well once topped — it goes soft. If you have leftover filling and leftover plain toast, just toast the bread fresh and assemble to order. The filling also freezes well: portion it into freezer bags and freeze for up to 3 months. Thaw overnight in the fridge and reheat in a skillet.
Frequently Asked Questions
Can I make the sloppy joe filling ahead of time?
Yes, and it actually reheats really well. Make the filling up to 2 days ahead and store it in an airtight container in the fridge. When you're ready to eat, reheat it in a skillet over low heat with a small splash of water to loosen it up. Toast the Texas toast fresh right before serving — don't try to pre-toast it ahead of time.
Can I freeze the sloppy joe filling?
Yes. Let the filling cool completely, then transfer it to a freezer-safe bag or container. It keeps for up to 3 months. Thaw it overnight in the refrigerator and reheat in a skillet. I freeze it in meal-sized portions so I can pull out exactly what I need without defrosting a huge batch.
What's the best cheese for this recipe?
Sharp cheddar is my go-to because it has enough flavor to stand up to the tangy sauce. Mozzarella melts beautifully if you want long cheese pulls. Provolone is a good middle ground — it melts well and has a mild sharpness. I'd avoid anything pre-sliced and waxy; shredded cheese melts faster and more evenly under the broiler.
How do I keep the toast from getting soggy?
Toast both sides of the bread before you add the filling — that's the key step most recipes skip. Also make sure your sauce is thick before spooning it on. A thin, watery sauce will soak through the bread almost immediately. And serve these right away; letting them sit for even 5 minutes after assembly lets steam soften the toast.
Can I use a different bread if I can't find Texas toast?
Thick-cut white bread works if you butter it and toast it well. Garlic bread from the bakery section also works and adds extra flavor. What you want to avoid is anything too thin — regular sandwich bread won't hold up under the weight of the filling and will fall apart. The thickness of Texas toast is what makes this recipe work, so prioritize that over the specific brand.

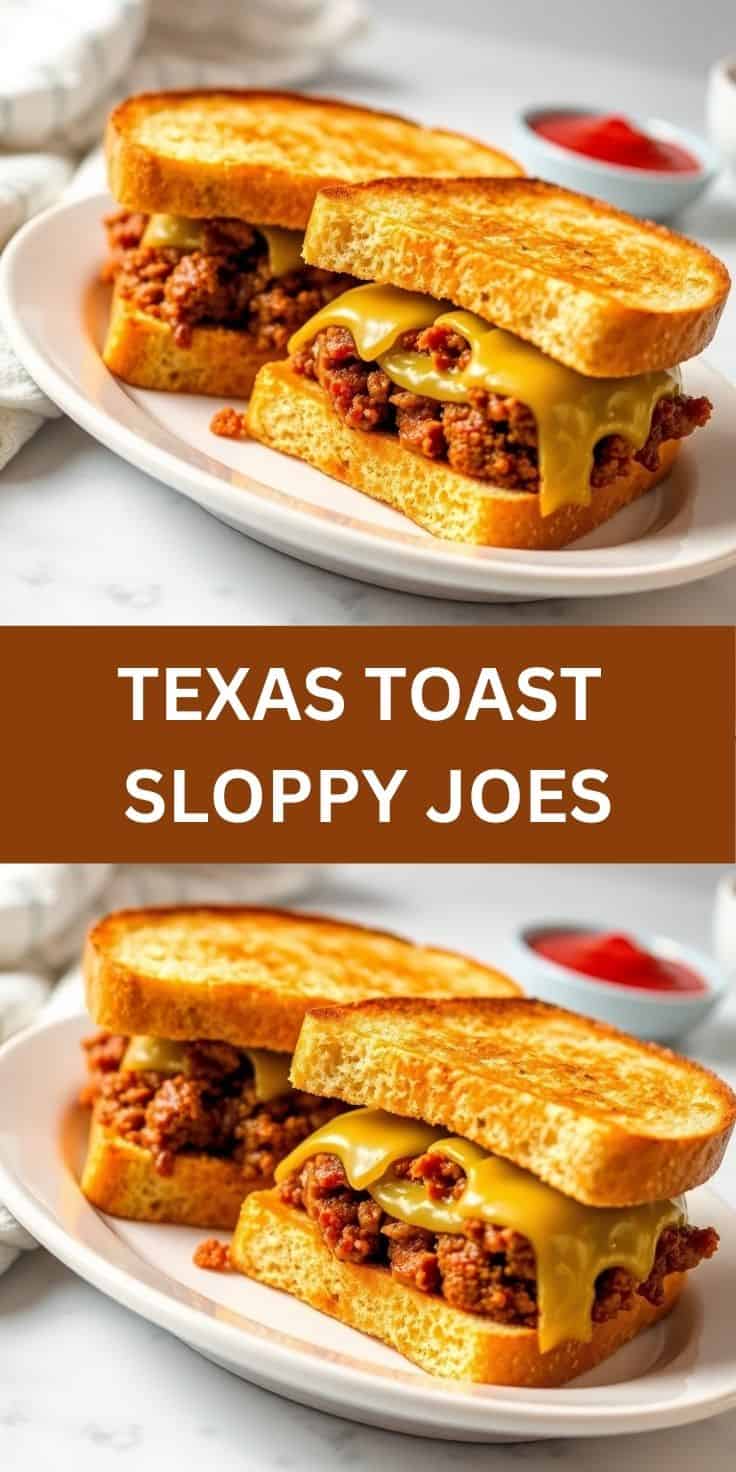
TEXAS TOAST SLOPPY JOES
Ingredients
- 1 pound ground beef
- ½ cup onion finely chopped
- ½ cup green bell pepper finely chopped
- 1 teaspoon garlic powder
- ½ teaspoon salt
- ½ teaspoon black pepper
- 1 cup tomato sauce
- ¼ cup ketchup
- 1 tablespoon Worcestershire sauce
- 1 tablespoon brown sugar
- 8 slices Texas toast garlic or plain
- 1 cup shredded cheddar or mozzarella cheese
- 1 tablespoon butter for extra crispiness
Instructions
Step No.1: Cook the Beef Mixture
- In a large skillet over medium heat, cook the ground beef until browned, breaking it up as it cooks. Drain excess fat if needed.
Step No.2: Add Vegetables & Seasonings
- Add chopped onions and bell peppers to the beef. Cook for 3-4 minutes until softened. Stir in garlic powder, salt, and black pepper.
Step No.3: Make the Sloppy Joe Sauce
- Add tomato sauce, ketchup, Worcestershire sauce, and brown sugar to the skillet. Stir well and let it simmer for 5 minutes, until thickened.
Step No.4: Toast the Texas Toast
- While the sauce simmers, toast the Texas toast in a buttered skillet or bake in a 375°F (190°C) oven for 5-7 minutes until golden brown.
Step No.5: Assemble & Bake
- Place the toasted Texas toast on a baking sheet. Spoon the Sloppy Joe mixture over each slice and sprinkle with shredded cheese.
Step No.6: Melt the Cheese
- Place under the broiler for 2-3 minutes until the cheese melts and is slightly bubbly.
Step No.7: Serve & Enjoy
- Serve immediately while warm and cheesy!
Notes
- Best Bread: Garlic Texas toast adds extra flavor, but plain or buttery Texas toast works too.
- Extra Crunch: Toast the Texas toast before adding the Sloppy Joe mixture to prevent sogginess.
- Make It Spicy: Add red pepper flakes or diced jalapeños for heat.
- Thicker Sauce: Simmer longer for a richer, thicker sauce.
- BBQ Texas Toast Sloppy Joes: Swap ketchup for BBQ sauce.
- Cheesy Sloppy Joes: Mix shredded cheese into the meat before topping the toast.
- Turkey Sloppy Joes: Use ground turkey instead of beef for a leaner version.
- Bacon Sloppy Joes: Add crispy bacon crumbles on top before serving.
- Buffalo Sloppy Joes: Stir in 2 tablespoons of buffalo sauce for a tangy kick.
This is one of those recipes I come back to because it's genuinely reliable. The filling takes





Comments
No Comments