
Candy-making used to terrify me — all that hovering over a pot with a thermometer, waiting for the sugar to hit exactly 248°F while praying it doesn't seize or burn. I avoided caramel recipes for years because of it. Then I stumbled onto this microwave method and made my first batch on a Thursday afternoon while Zainab was doing homework at the kitchen table. Six minutes. Done. She ate three pieces before I'd even cut the whole pan.
What makes this work is the condensed milk. It brings sweetness, body, and a little insurance — it's much harder to overcook than a straight sugar syrup. Combined with brown sugar for depth and butter for that glossy, rich finish, you end up with caramels that taste like you spent an hour over a stove. You didn't. You spent six minutes watching a bowl rotate in your microwave. The key is stopping to stir every two minutes — that one step keeps everything even and prevents any hot spots from burning.
I make a double batch around the holidays because a single batch disappears in about a day in this house. My husband wraps a few in wax paper and takes them to work. Zainab likes hers plain. I'm partial to a pinch of flaky sea salt on top. They're also genuinely good drizzled over no-bake bars or tucked onto a dessert platter with cookies.
One thing I want to be upfront about: the bowl matters. The first time I tried this, I used a medium-sized bowl and the caramel bubbled up and over the sides in the microwave. It was a mess I spent twenty minutes cleaning. Use the biggest microwave-safe bowl you own — something that holds at least 4 cups, ideally more. That one adjustment will save you a lot of grief.
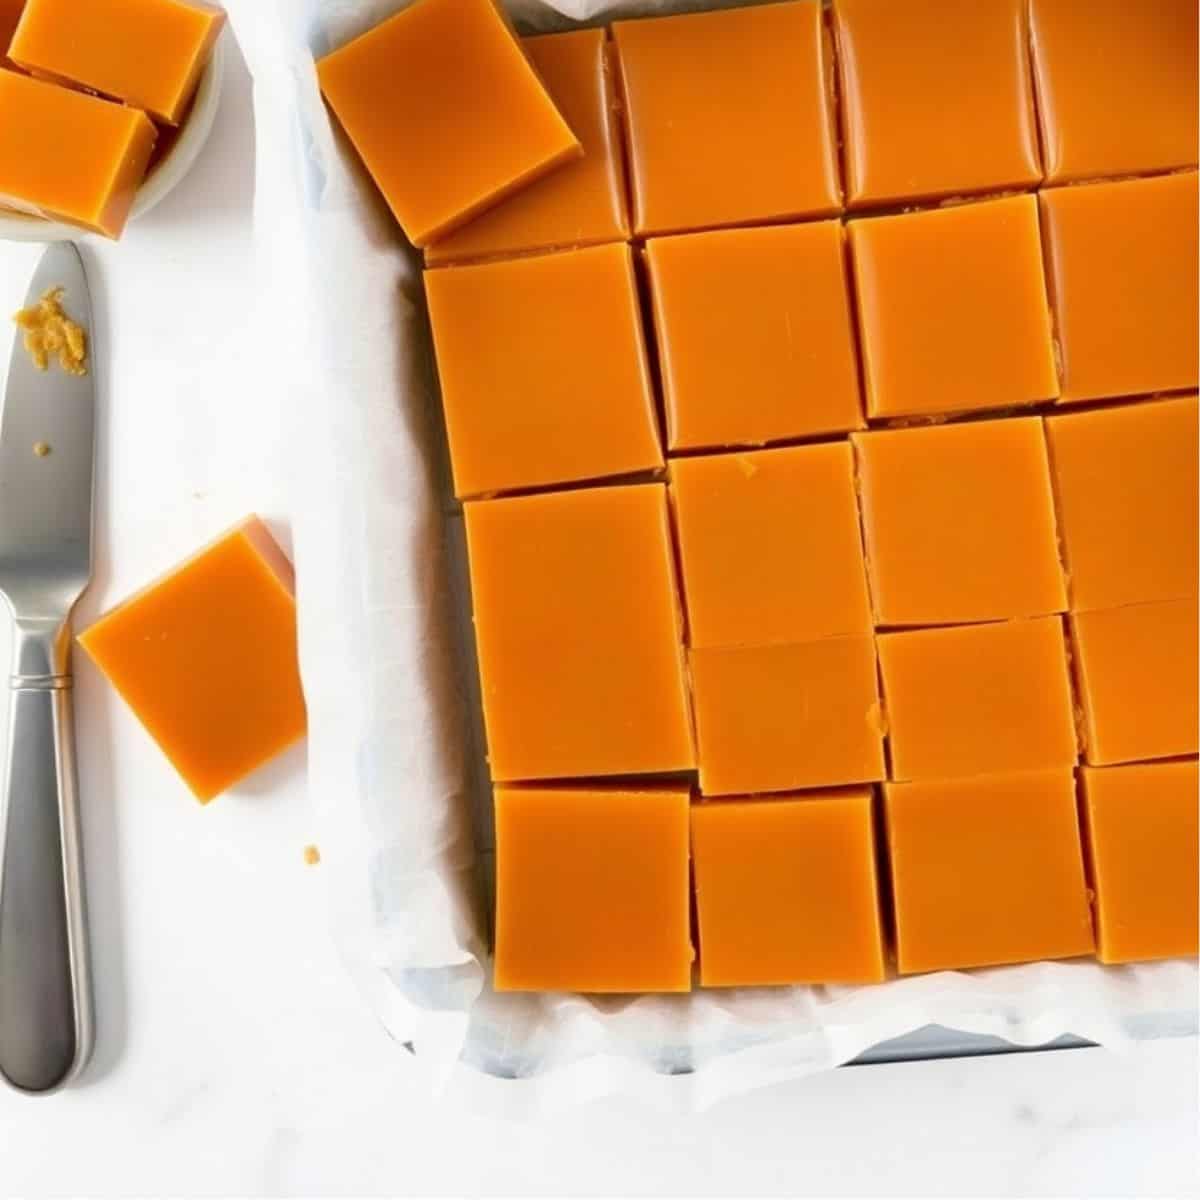
Why You'll Love This Recipe
- No thermometer required: I know traditional caramel recipes make a big deal about hitting soft ball stage or firm ball stage on a candy thermometer. This recipe skips all of that. The microwave timing and the condensed milk do the work for you. If you're nervous, you can drop a tiny bit into a glass of cold water to check — if it holds a soft ball shape, you're good — but honestly I've made this six times and never bothered.
- Five ingredients you probably already have: Butter, corn syrup, brown sugar, granulated sugar, condensed milk — that's basically it. No specialty ingredients, no trip to a baking supply store. I've bought everything on this list from a regular Walmart grocery run. The condensed milk is usually on the baking aisle near the evaporated milk, if you're not sure where to look.
- Chewy texture that holds for days: These don't go hard and crumbly on you. Wrapped in wax paper and kept in an airtight container, they stay soft and chewy for up to two weeks at room temperature. That makes them genuinely great for making ahead — I'll prep a batch on a Sunday and we're snacking on them all week.
- Endlessly customizable: The base recipe is straightforward, but it's also a blank canvas. I've done salted caramel (flaky salt on top right after pouring), chocolate-dipped, and a version with chopped pecans stirred in. Each one tastes like a different candy entirely. Pick your version based on what you're in the mood for or who you're making them for.
- Great for gifting: Wrap them individually in small squares of wax paper, twist the ends, and you have something that looks genuinely thoughtful. I've used these as neighbor gifts, school gifts, and holiday treat bags. Nobody needs to know they took six minutes — that's between us.
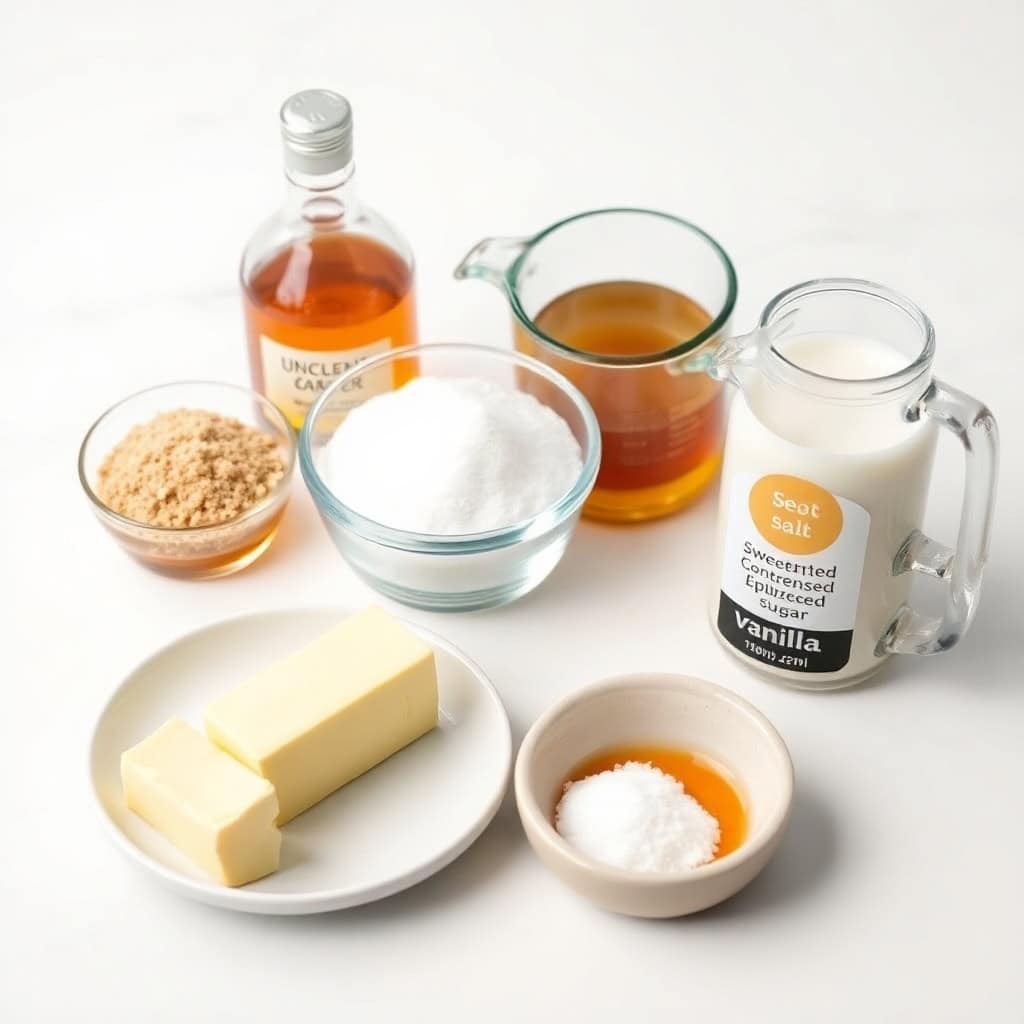
Ingredients
- ½ cup unsalted butter, melted
- ½ cup light corn syrup
- ½ cup packed brown sugar
- ½ cup granulated sugar
- ½ cup sweetened condensed milk
- 1 teaspoon vanilla extract
- Pinch of salt
- Coarse sea salt, for sprinkling on top (optional but recommended)
Directions
- Step 1: Prepare your pan. Line an 8x8-inch baking dish with parchment paper and lightly grease it with butter or a little nonstick spray. Don't skip this step — I once poured caramel into an unlined pan and spent a very frustrated evening trying to chip it out. Parchment makes the whole thing lift out cleanly.
- Step 2: Combine the ingredients. In your largest microwave-safe bowl — and I mean your biggest one — combine the melted butter, corn syrup, brown sugar, granulated sugar, and sweetened condensed milk. Stir well until everything is mixed together before it goes in the microwave. The sugars won't be fully dissolved yet, that's fine.
- Step 3: Microwave in intervals. Microwave on high for 6 minutes total, but stop every 2 minutes to stir. So: 2 minutes, stir. 2 minutes, stir. 2 minutes, stir. Each time you open the door, give it a good stir all the way around the bowl and scrape the sides down. This keeps the heat even and prevents any one spot from scorching.
- Step 4: Add vanilla and salt. Once the full 6 minutes are done, carefully stir in the vanilla extract and a small pinch of salt. The mixture will be extremely hot — use a silicone spatula and be cautious. The vanilla goes in at the end so it doesn't cook off during the microwave time.
- Step 5: Pour into your prepared pan. Pour the hot caramel mixture into your lined baking dish and spread it into an even layer. If you're adding flaky sea salt on top, sprinkle it now while the caramel is still hot so it sticks. Let it sit at room temperature for at least 30 to 60 minutes until fully firm.
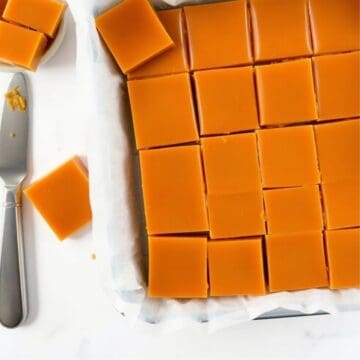
- Step 6: Cut and wrap. Once set, lift the parchment out of the pan and use a sharp knife to cut the caramel into small squares. For clean cuts, run the blade under hot water and wipe it dry between cuts, or rub a little butter on the blade. Wrap each piece in a square of wax paper and twist the ends to seal.
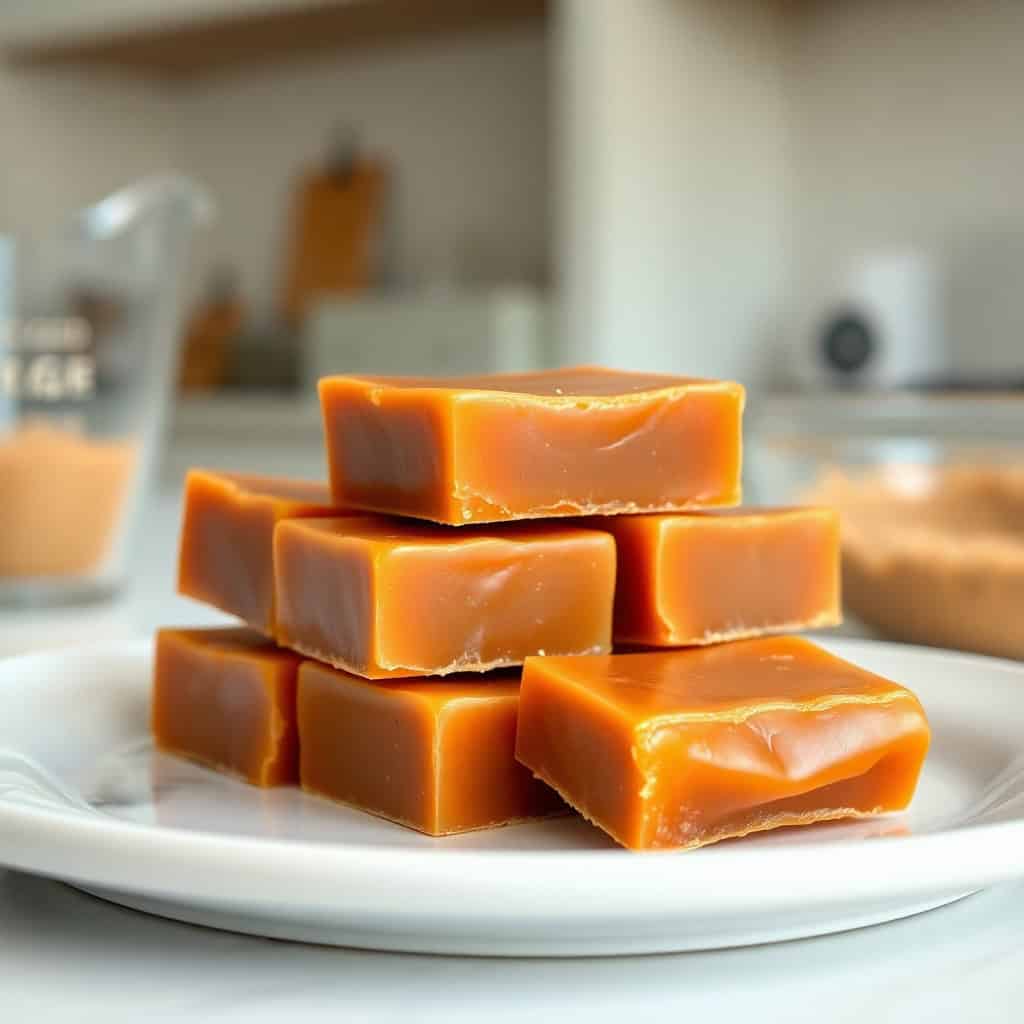
Tips for Success
- Use a very large bowl: I cannot stress this enough. The first time I made this recipe, I used what I thought was a big enough bowl. It wasn't. The caramel bubbled up and overflowed during the second interval, and I had hot sugar splattered all over the inside of my microwave. Messy, annoying, and slightly alarming. Use a bowl that holds at least 4 cups — something you'd use to mix a large batch of cake batter.
- Don't skip the stir intervals: Stirring every 2 minutes isn't just a suggestion — it's what prevents burnt edges and underdone centers. Microwaves heat unevenly, and sugar is unforgiving. The stir redistributes the heat and keeps the whole mixture cooking at the same rate. Set a timer so you don't forget to check it.
- Adjust for your microwave's power: Microwaves vary a lot. Mine runs at 1000 watts and 6 minutes works perfectly. If yours is lower-wattage (some older models run at 700-800 watts), you might need an extra 30 seconds to 1 minute. If your caramel is still very liquid after 6 minutes, add 30 more seconds and check again. If it's already smelling quite dark and toasty at minute 5, cut it short. You'll get a feel for it after the first batch.
- Let it cool fully before cutting: I know it smells incredible and you want to dig in immediately. I've rushed this step. The result is a sticky, shapeless mess that pulls apart instead of cutting cleanly. Give it the full 30-60 minutes at room temperature. If you're impatient, you can pop it in the fridge for 20 minutes to speed things up.
- Butter your knife for clean cuts: A sharp knife is helpful, but a buttered knife is even better. Run a thin layer of softened butter across the blade before you start cutting — it keeps the caramel from sticking and pulling. Re-butter the blade every few cuts for the cleanest squares. If you don't have a lot of wax paper for wrapping, a light dusting of powdered sugar on the cut pieces also prevents them from sticking together.
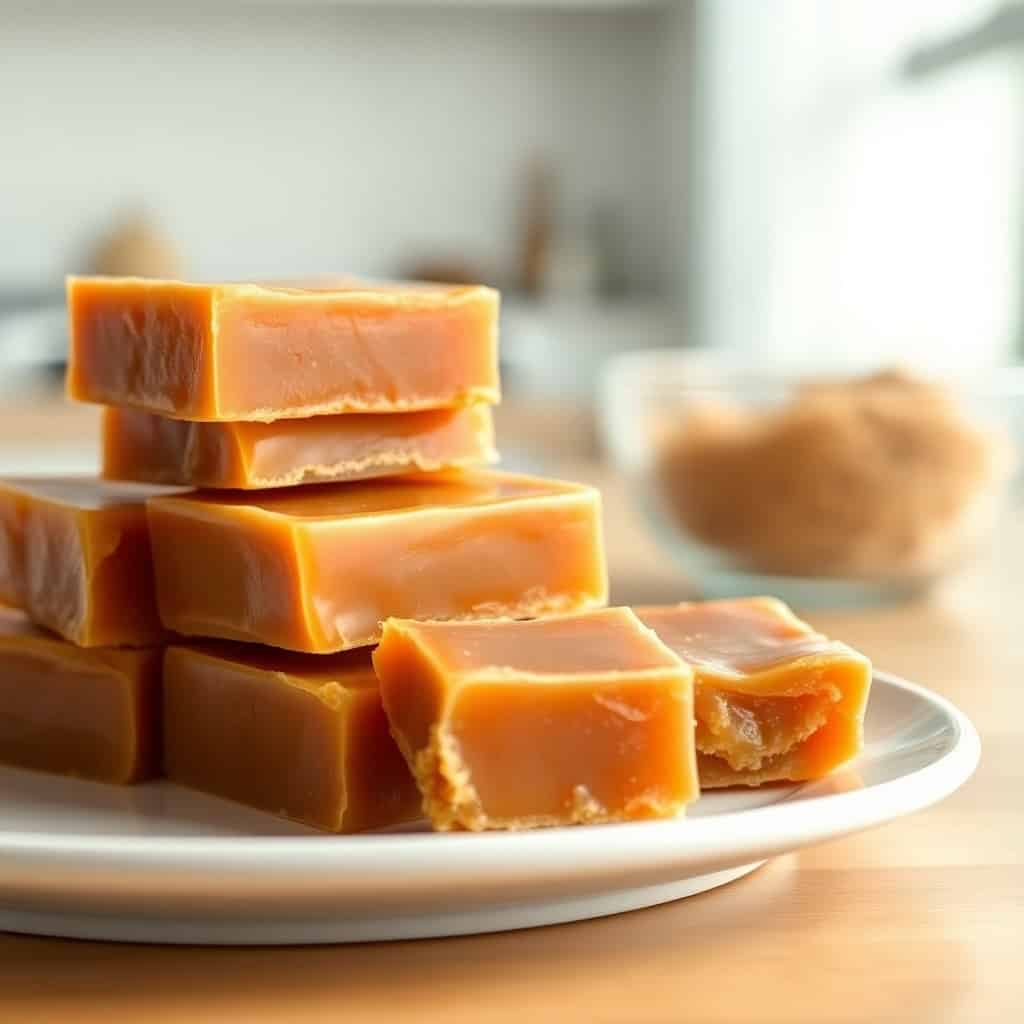
Variations
- Salted caramel: This is the version I make most often for gifting. Right after you pour the hot caramel into the pan, sprinkle a generous pinch of flaky sea salt (Maldon or any coarse flaky salt works — I find it at most grocery stores in the spice section) over the top. Press it in very lightly so it adheres. The salt hits differently against the sweet butterscotch base — it makes the whole thing taste more complex and less one-note.
- Chocolate-dipped: Let the caramels set and cut them into squares first. Then melt about ½ cup of chocolate chips (dark or milk, your call) in a small bowl in the microwave in 30-second intervals, stirring between each. Dip the bottom half of each caramel in the chocolate and set it on a parchment-lined tray to harden. These look genuinely impressive on a dessert spread, right alongside something like red velvet marble cupcakes.
- Nutty caramel: Stir in ½ cup of chopped pecans or almonds right after you add the vanilla extract, before pouring into the pan. The nuts give each piece a little crunch that plays well against the soft chew of the caramel. My husband prefers this version — he says it reminds him of the pecan turtles his mother used to make.
- Coffee caramel: Dissolve ½ teaspoon of instant espresso powder into the caramel when you add the vanilla. You won't taste "coffee" exactly — it just deepens the caramel flavor and adds a slightly bitter edge that cuts through the sweetness. Good for people who find plain caramel a bit much. I use whatever instant coffee I have in the pantry and it works fine.
- Maple caramel: Swap out ¼ cup of the corn syrup for real maple syrup. The flavor shift is subtle but noticeable — there's a warmth to it that works especially well in autumn. This isn't traditional at all, but it's my version and I like it. If you want to go further, add a tiny pinch of cinnamon with the vanilla.
Serving and Storage
Serving
These caramels are good on their own, full stop. But they're also genuinely useful as a topping — chop a few up and scatter them over vanilla ice cream, or set a couple squares alongside a slice of cake. I've melted two or three pieces in a small saucepan with a splash of cream to make a quick caramel sauce for drizzling. They're also the kind of thing you can wrap up nicely and bring to a dinner party instead of wine — people are always more surprised by homemade candy than by another bottle of Merlot.
Storage
Wrap each piece individually in wax paper — this is important, not optional. Unwrapped caramels stuck together in a container become one big caramel brick very quickly. Once wrapped, store them in an airtight container at room temperature for up to 2 weeks. In the fridge they'll last up to a month, though they do firm up a bit when cold — let them sit at room temperature for 10 minutes before eating if they've been chilled. For longer storage, freeze them wrapped in wax paper and then placed in a zip-lock bag for up to 3 months. Thaw at room temperature.
Frequently Asked Questions
Can I use heavy cream instead of sweetened condensed milk?
You can, but the result will be different. Sweetened condensed milk is already thick and sweetened, so it does double duty in this recipe — it adds both body and sugar. Heavy cream is thinner and unsweetened, which means your caramel may turn out softer and less sweet. If you go that route, you'll likely need to adjust the sugar and possibly add an extra 30 seconds of cook time. I'd stick with condensed milk the first time and experiment later.
Why did my caramel turn out too hard?
It cooked a little too long. Microwave wattage varies, and even 30 extra seconds can push the sugar past the soft-ball stage into harder territory. Next time, reduce the cooking time by 30 seconds and check the texture. The good news is that hard caramels are still edible — they're just more of a hard candy than a chewy caramel. Pop one in your mouth and let it dissolve slowly. Not a disaster, just a different candy.
Can I make these without corn syrup?
Yes — honey or maple syrup are the most straightforward substitutes, used in a 1:1 swap. Both will change the flavor slightly (honey adds a floral note, maple adds warmth), but the texture stays close to the original. I've tried the maple version and it works well. What I wouldn't do is skip the liquid sugar entirely — it's what keeps the caramel from crystallizing and going grainy.
My caramel is too soft and won't set up — what happened?
It probably needed another 30 seconds of microwave time. If it's already in the pan and still very soft after an hour of cooling, put the whole pan in the fridge for 30 minutes — it usually firms up enough to cut. If it's truly liquid even after refrigerating, you can pour it back into the microwave-safe bowl and cook it for another 60 seconds, then re-pour. It won't be quite the same texture but it'll be workable.
Can I freeze these caramels?
Yes, and they freeze really well. Wrap each piece in wax paper first, then pack them into a zip-lock freezer bag. They'll keep for up to 3 months. To thaw, just leave them at room temperature for about 20-30 minutes. I usually pull a small stash from the freezer whenever we have guests coming — by the time everyone's settled in, the caramels are ready.
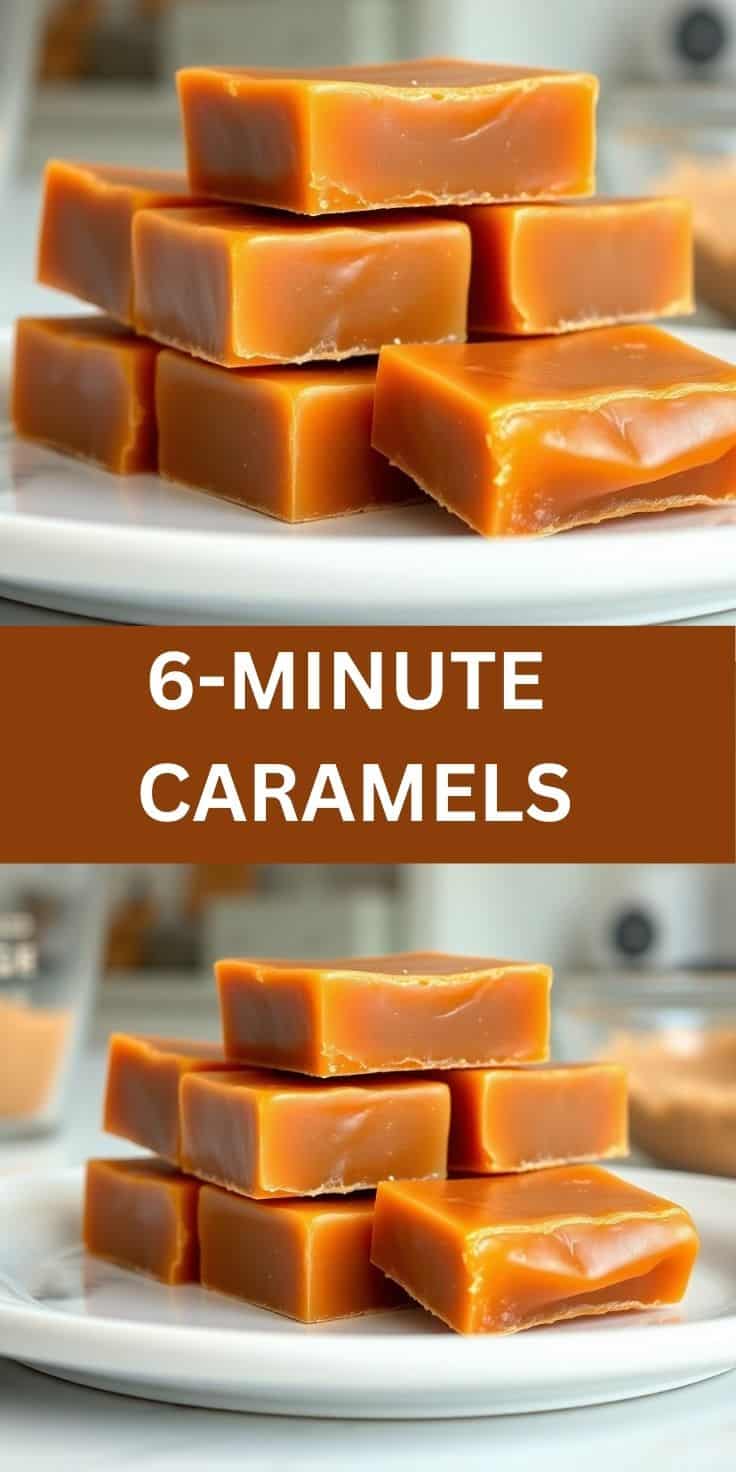
6-MINUTE CARAMELS
Ingredients
- ½ cup unsalted butter melted
- ½ cup light corn syrup
- ½ cup packed brown sugar
- ½ cup granulated sugar
- ½ cup sweetened condensed milk
- 1 teaspoon vanilla extract
- Coarse sea salt optional, for garnish
Instructions
Step No.1: Prepare Dish
- Line an 8x8-inch baking dish with parchment paper and lightly grease with butter or nonstick spray.
Step No.2: Mix Ingredients
- In a microwave-safe bowl, combine melted butter, corn syrup, brown sugar, granulated sugar, and sweetened condensed milk. Stir well.
Step No.3: Microwave in Intervals
- Microwave on high for 6 minutes, stirring every 2 minutes to prevent burning.
Step No.4: Add Vanilla and Pour
- Carefully stir in vanilla extract and pour the hot caramel into the prepared baking dish.
Step No.5: Cool and Cut
- Let the caramel set for 30-60 minutes at room temperature. Once firm, cut into small squares and sprinkle with sea salt, if desired.
Notes
- Use a Large Bowl: The caramel mixture will bubble up, so use a bowl that holds at least 4 cups.
- Soft vs. Firm Caramel: If you prefer firmer caramels, microwave for an extra 30 seconds.
- Storage: Wrap individual pieces in wax paper and store in an airtight container for up to 2 weeks.
- Chocolate-Dipped Caramels: Dip in melted chocolate and let them set on parchment paper.
- Nutty Caramels: Stir in chopped pecans or almonds before pouring.
- Spiced Caramels: Add a pinch of cinnamon or nutmeg for a warm, cozy flavor.
What I keep coming back to with this recipe is how it completely removed the intimidation factor from homemade candy. Caramels always felt like something that required experience and equipment I didn't have. Turns out they mostly just require a big bowl and six minutes of patience. I've made these for





Comments
No Comments