
Saad asked for mac and cheese four weeks in a row before I finally stopped making the boxed kind and figured out how to do it properly from scratch. Once I did, there was no going back — the difference is significant enough that I genuinely felt a little guilty about all those years of orange powder.
What makes this version work is the roux-based cheese sauce. You melt butter, whisk in flour, add milk slowly, and then melt real shredded cheese into it. That's it. The result is a sauce that actually clings to the pasta instead of pooling at the bottom of the dish. The panko breadcrumb topping goes on right before baking and comes out crispy and golden — a texture contrast that makes a real difference with every bite. I also add a teaspoon of mustard powder to the sauce, which sounds odd but just makes the cheese flavor deeper without tasting like mustard at all.
This has become my go-to for weekend family dinners and any time I need something hearty that I know everyone will actually eat. My husband has it as a main. I usually serve it as a side next to something like my Chicken Fajita Casserole when I want a full spread. Saad eats it out of the baking dish if I let him, and Zainab loves the leftovers cold the next day, which — honestly, I'm not judging, it works.
One thing to know before you start: shred your own cheese. I know it's extra work, but pre-shredded cheese has a coating on it that prevents it from melting smoothly. The first time I made this sauce with bagged pre-shredded cheddar, it came out grainy and slightly clumpy. Freshly shredded from the block melts into the sauce like it was born to be there.
Why You'll Love This Recipe
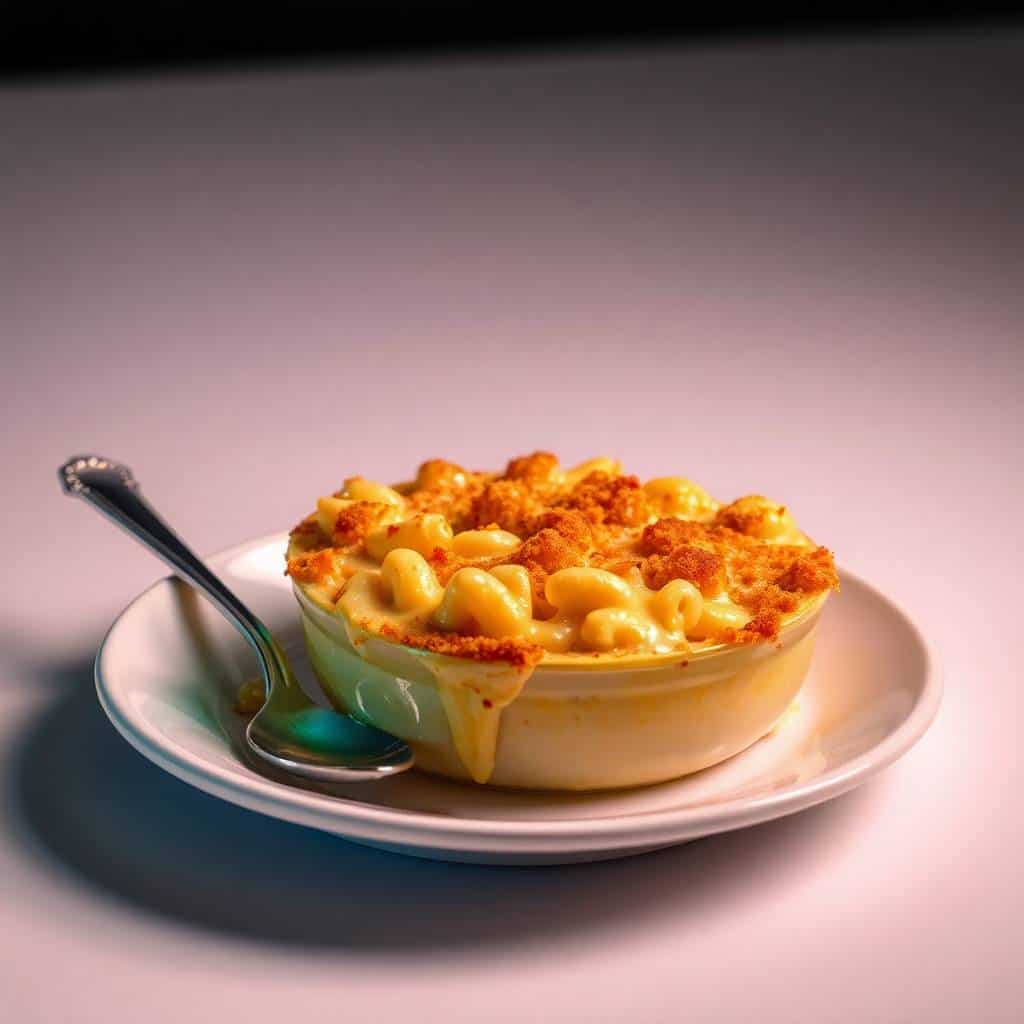
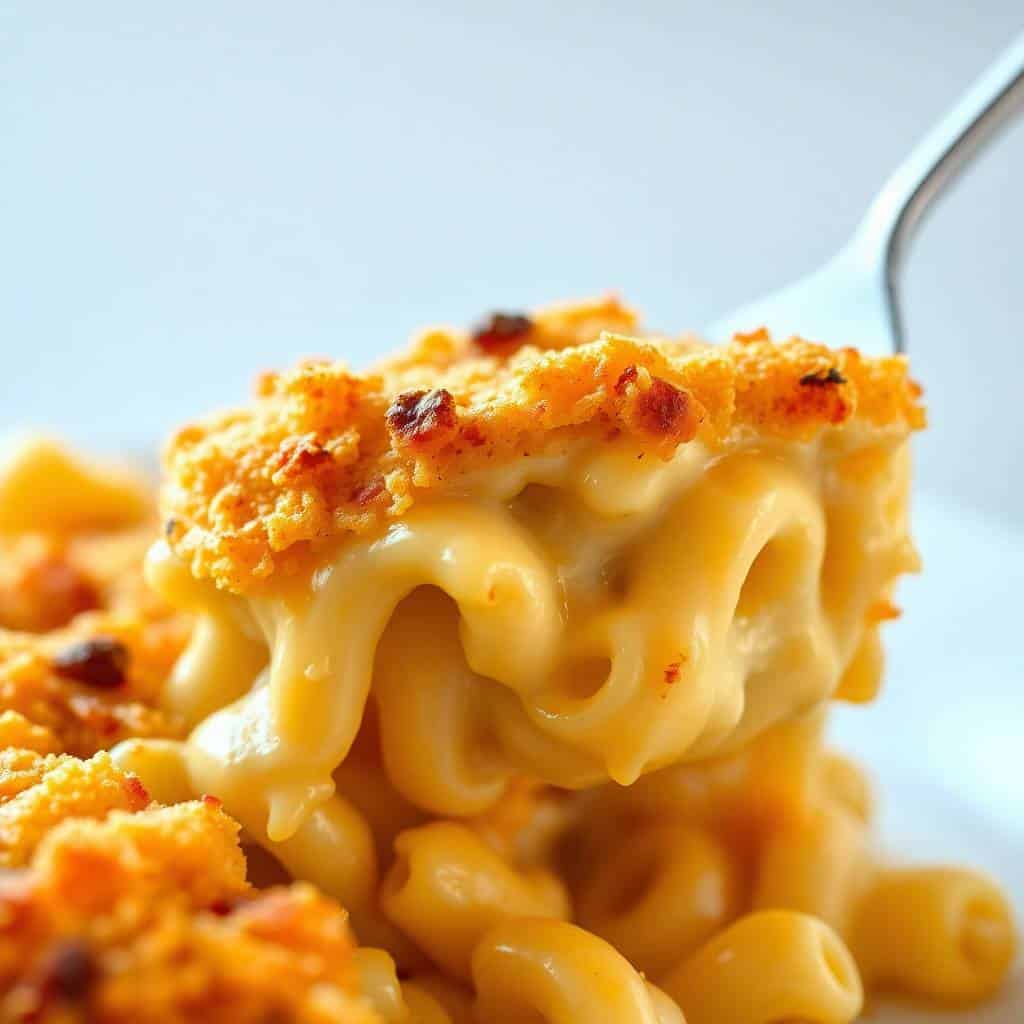
- The sauce is actually creamy: Not thin, not gluey — genuinely creamy and smooth, the way baked mac and cheese is supposed to be. The roux gives the sauce body so it coats every noodle evenly. Even after baking, the inside stays saucy and doesn't dry out the way some baked versions do.
- That breadcrumb topping is worth the extra step: I almost skipped it the first time because I was tired. Don't skip it. The panko mixed with melted butter and a little parmesan goes golden and crunchy in the oven, and it completely changes the texture of the dish. Without it you just have baked pasta. With it you have something with actual contrast.
- No box required: Everything here comes from ingredients you likely already have — butter, flour, milk, cheese, pasta. No packet of powder, no mystery ingredients. I know exactly what's in it, which matters when my kids are eating it three times a week.
- It holds well and reheats beautifully: I make a full 9x13 dish and it lasts several days. To reheat, I add a small splash of milk before warming it in the microwave or oven, and it comes back to life almost as creamy as day one. Zainab actually prefers day-two mac and cheese, which says something.
- It's easy to customize without wrecking it: The base recipe is solid, but it's also very forgiving about additions. I've stirred in broccoli, swapped in smoked gouda, added hot sauce, used different pasta shapes — the bones of the recipe hold up to a lot of variation without falling apart.
Ingredients
- 1 lb elbow macaroni
- 4 tablespoons unsalted butter
- ¼ cup all-purpose flour
- 3 cups whole milk
- 2 cups sharp cheddar cheese, freshly shredded
- 1 cup mozzarella cheese, freshly shredded
- ½ teaspoon garlic powder
- ½ teaspoon onion powder
- 1 teaspoon mustard powder
- Salt and pepper, to taste
- 1 cup panko breadcrumbs (regular breadcrumbs work too)
- 2 tablespoons melted butter (for the topping)
- ¼ cup grated parmesan cheese (for the topping — optional but worth it)
Directions
- Cook the pasta: Bring a large pot of well-salted water to a boil and cook the macaroni until just al dente — about 8 minutes, or a minute less than the package says. The pasta will keep cooking in the oven, so pulling it out slightly underdone prevents it from going mushy later. Drain and set aside, saving about ½ cup of the pasta water just in case.
- Make the roux: In a large heavy-bottomed saucepan, melt the butter over medium heat. Once melted, whisk in the flour and keep whisking for about 1-2 minutes. You're cooking out the raw flour taste, and the mixture should look like a pale, thick paste. Don't rush this step — underdone roux tastes floury in the final sauce.
- Build the sauce: Slowly pour in the milk, adding it in a steady stream while whisking constantly. This is where lumps form if you go too fast, so take your time. Keep whisking over medium heat until the sauce thickens noticeably, about 5 minutes. It should coat the back of a spoon.
- Add the seasonings and cheese: Remove the pan from the heat entirely before adding the cheese — this prevents the proteins from seizing up and turning grainy. Stir in the garlic powder, onion powder, mustard powder, salt, and pepper. Then add the shredded cheddar and mozzarella in a few handfuls, stirring between each addition until completely smooth.
- Combine: Add the drained pasta to the cheese sauce and stir well to coat everything evenly. If the mixture looks too thick, add a splash of the reserved pasta water. It should be saucy and loose — it will firm up in the oven.
- Transfer to the baking dish: Pour everything into a greased 9x13-inch baking dish and spread it out evenly. I usually give the dish a quick spray of cooking spray first so cleanup isn't a nightmare.
- Make the topping: In a small bowl, toss the panko breadcrumbs with the melted butter and parmesan if using. Sprinkle the mixture evenly over the top of the mac and cheese. Try to get good coverage — bare patches won't have that crunch.
- Bake: Bake uncovered at 350°F (175°C) for 20-25 minutes, until the top is golden and the edges are bubbling. Let it sit for 5 minutes before serving — it'll be lava-hot straight from the oven and the sauce needs a minute to settle.
Tips for Success
- Shred your own cheese: I cannot say this enough. Pre-shredded cheese from a bag is coated with potato starch or cellulose to prevent clumping, and that coating interferes with how the cheese melts into the sauce. The first time I used bagged cheese, my sauce came out grainy and slightly separated. Buy the block, pull out your box grater, spend three extra minutes — it genuinely changes the texture of the finished dish.
- Add the cheese off the heat: This is the single most important technique tip. Once the milk sauce has thickened, take the pan off the burner before stirring in the cheese. High heat makes the proteins in cheese contract and seize, which gives you that stringy, broken sauce instead of a smooth one. Off the heat, the sauce is still warm enough to melt everything perfectly.
- Don't skip the mustard powder: I know it sounds like a strange addition if you've never seen it in mac and cheese before. I was skeptical myself. But mustard powder doesn't make the dish taste like mustard — it amplifies the sharpness of the cheddar and adds a back-of-the-throat warmth that makes the whole sauce taste more interesting. It's a small amount but it does real work.
- Keep the sauce loose before baking: When you transfer the pasta to the baking dish, the mixture should look slightly saucier than you want the finished product to be. The oven will tighten everything up as it bakes. If it looks perfectly thick in the pot, it'll be too dense after 25 minutes in the oven. A splash of the reserved pasta water before baking is insurance.
- Use panko, not regular breadcrumbs, if you can: Panko breadcrumbs are larger and airier than regular breadcrumbs, which means they get crispier in the oven and stay crunchy longer at the table. Regular breadcrumbs work, but they go from crispy to soft faster. I buy panko from Walmart or Trader Joe's — it's cheap and lasts forever in the pantry.
Variations
- Smoky bacon version: Cook 4-5 strips of bacon until crispy, crumble them, and stir half into the cheese sauce before adding the pasta. Scatter the rest on top with the breadcrumbs. The smoky saltiness cuts through the richness of the cheese in a really satisfying way. My husband prefers this version and requests it specifically for weekend meals.
- With broccoli: Steam or roast about 2 cups of small broccoli florets and fold them into the pasta before transferring to the baking dish. This is the version I make when I need the meal to count as a complete dinner on its own. The broccoli absorbs the cheese sauce beautifully and the kids don't complain about it the way they would if I served plain broccoli on the side.
- Spicy jalapeño version: Add 2-3 tablespoons of pickled jalapeños (chopped) to the cheese sauce, plus a pinch of cayenne. This is not a kids' version — it's for when I'm making it for adults and want something with a bit of edge. A drizzle of hot sauce on the finished dish works too if you don't have jalapeños.
- Different cheese combinations: The sharp cheddar and mozzarella base is reliable, but you can swap in or add: smoked gouda for a deeper flavor, gruyère for something more complex and nutty, or fontina for extra creaminess. I usually keep at least half the volume as cheddar because it gives the sauce its characteristic tang. This isn't meant to be authentic to any specific regional mac and cheese style — it's my version, and I've made it with whatever cheese I had on hand more than once.
- Make it a full baked pasta dinner: If you want something heartier and closer to what I'd serve as a main dish, try pairing the concept with my Baked Rigatoni with Sausage approach — add cooked Italian sausage crumbles to the mac and cheese before baking, and use rigatoni instead of elbows. It's different enough to feel like a new dish.
Serving and Storage
Serving
Let the mac and cheese sit for about 5 minutes after pulling it from the oven — it'll be molten hot straight out, and the sauce needs a moment to settle slightly before serving. I scoop it with a large spoon and make sure everyone gets some of the crispy top layer. We usually eat it alongside grilled or roasted chicken, or next to a big green salad if I want to feel slightly virtuous. It also works as a standalone dinner — a generous portion with nothing else is honestly a solid meal.
Storage
Cool leftovers to room temperature before covering the dish or transferring to an airtight container. Refrigerate for up to 4 days. To reheat, add a small splash of milk to the portion before microwaving — it revives the creaminess and prevents the pasta from drying out. You can also reheat the whole dish covered in foil at 325°F (165°C) for about 15-20 minutes. The breadcrumb topping will soften after storage but re-crisps in the oven nicely. To freeze: let it cool completely, cover tightly with foil, and freeze for up to 3 months. Thaw overnight in the fridge before reheating.
Frequently Asked Questions
Can I make this mac and cheese ahead of time?
Yes, and I do this regularly. Assemble the whole dish up through the breadcrumb topping, cover it tightly with foil, and refrigerate for up to 2 days before baking. When you're ready, bake it straight from the fridge — just add about 10 extra minutes to the bake time since it's starting cold. The topping may need an extra few minutes to get golden.
Can I use a different pasta shape?
Absolutely. Elbow macaroni is the classic because the curved shape holds sauce inside each piece, but cavatappi, shells, penne, and rigatoni all work well. I'd avoid long pasta like spaghetti or fettuccine — they don't mix into the sauce the same way and it becomes awkward to serve from the baking dish.
Why did my cheese sauce turn out grainy?
Almost always one of two things: pre-shredded cheese, or adding the cheese while the sauce was still on high heat. Pre-shredded cheese has coatings that prevent smooth melting. And overheating cheese causes the proteins to seize. Take the pan fully off the heat before adding cheese, and shred it fresh from the block. That fixes both problems.
Can I freeze baked mac and cheese?
Yes. Let it cool completely first, then wrap the baking dish tightly in plastic wrap and foil, or portion it into freezer-safe containers. It keeps well for up to 3 months. Thaw overnight in the fridge and reheat in the oven covered with foil at 325°F. The texture changes slightly after freezing — it won't be quite as silky — but it's still very good.
What can I use instead of panko breadcrumbs?
Regular breadcrumbs work — the topping just won't be quite as crunchy and it softens faster. Crushed Ritz crackers are a good substitute and add a slightly buttery flavor. I've also used crushed cornflakes in a pinch, which sounds strange but actually crisps up really well in the oven. If you don't have any topping at all, the mac and cheese bakes fine without it — it just won't have that textural contrast on top.
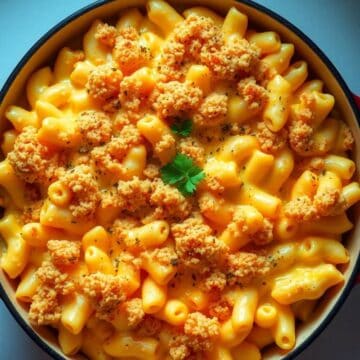
THE BEST HOMEMADE BAKED MAC AND CHEESE RECIPE
Ingredients
- 1 lb elbow macaroni
- 4 tablespoons unsalted butter
- ¼ cup all-purpose flour
- 3 cups whole milk
- 2 cups shredded sharp cheddar cheese
- 1 cup shredded mozzarella cheese
- ½ teaspoon garlic powder
- ½ teaspoon onion powder
- 1 teaspoon mustard powder
- Salt and pepper to taste
- 1 cup panko breadcrumbs optional for topping
- 2 tablespoons melted butter optional for topping
Instructions
Cook the Pasta:
- Bring a large pot of salted water to a boil. Cook macaroni according to package instructions until al dente, about 8 minutes. Drain and set aside.
Make the Cheese Sauce:
- In a large saucepan, melt butter over medium heat. Whisk in the flour and cook for 1–2 minutes to form a roux. Gradually add milk, whisking continuously until smooth and thickened, about 5 minutes. Stir in garlic powder, onion powder, mustard powder, salt, and pepper.
Add the Cheese:
- Remove from heat and stir in the shredded cheddar and mozzarella cheese until fully melted and smooth.
Combine Pasta and Cheese Sauce:
- Add the cooked macaroni to the cheese sauce and stir until well coated.
Prepare the Topping (Optional):
- If using, mix panko breadcrumbs with melted butter and sprinkle evenly over the mac and cheese.
Bake:
- Preheat oven to 350°F (175°C). Transfer the mac and cheese to a greased 9x13-inch baking dish. Bake uncovered for 20–25 minutes, or until the top is golden brown and bubbly.
Serve:
- Remove from the oven and let it cool slightly before serving. Enjoy!
Notes
Prepare the mac and cheese ahead of time and store in the fridge for up to 2 days. Bake as directed before serving. Customizing the Flavor:
Add a pinch of cayenne pepper or hot sauce to the cheese sauce for a little kick. Swap in different cheeses like Gruyère or Parmesan for more flavor depth. Serving Suggestions:
This mac and cheese pairs perfectly with roasted chicken, BBQ ribs, or a simple green salad. Serve it as a hearty side or main dish. Allergy-Friendly Options:
For a dairy-free version, use a plant-based milk and dairy-free cheese. For a gluten-free version, use gluten-free pasta. Storage Tips:
Store leftovers in an airtight container in the fridge for up to 4 days. Reheat in the oven or microwave, adding a splash of milk to maintain creaminess.
This is one of those recipes I kept putting off making from scratch because I assumed it would be complicated or require techniques I





Comments
No Comments