
Nachos were never something I grew up eating — in Pakistan, the concept of throwing chips and cheese in an oven and calling it dinner would've gotten some very confused looks at my mother's table. I discovered sheet pan nachos in my first year of serious cooking, at a friend's house, and I genuinely could not believe how easy it was. One pan, twenty minutes, everyone hovering around the kitchen before it even hits the table.
What makes this version work is the taco-seasoned ground beef and the combination of cheddar and Monterey Jack — the cheddar gives you that sharp, salty bite and the Monterey Jack melts into those long, stretchy pulls that kids go absolutely crazy for. I've tried single-cheese nachos and they're fine, but the two-cheese blend is a small thing that makes a noticeable difference. I also make sure to spread the chips in a single generous layer, not piled three inches deep, so every chip gets some cheese on it. That was the lesson from my first attempt, where half the chips at the bottom were completely bare.
This is one of those recipes I pull out on game nights, Friday evenings when I genuinely cannot think of what to cook, or whenever I have leftover taco meat sitting in the fridge. My husband will eat these at any hour of the day. Saad once asked me why we don't have nachos every week, and honestly, I didn't have a great answer. If you want something a little more substantial for dinner, I usually serve them alongside my Cheesy Beef Burritos with Fries for a full Tex-Mex spread that disappears fast.
One expectation to set: nachos do not hold well. They're a serve-immediately situation. The chips start softening within about 10 minutes of coming out of the oven, so don't bake them and then walk away to do something else. Have your toppings ready, your plates out, and your people at the table before you open that oven door.
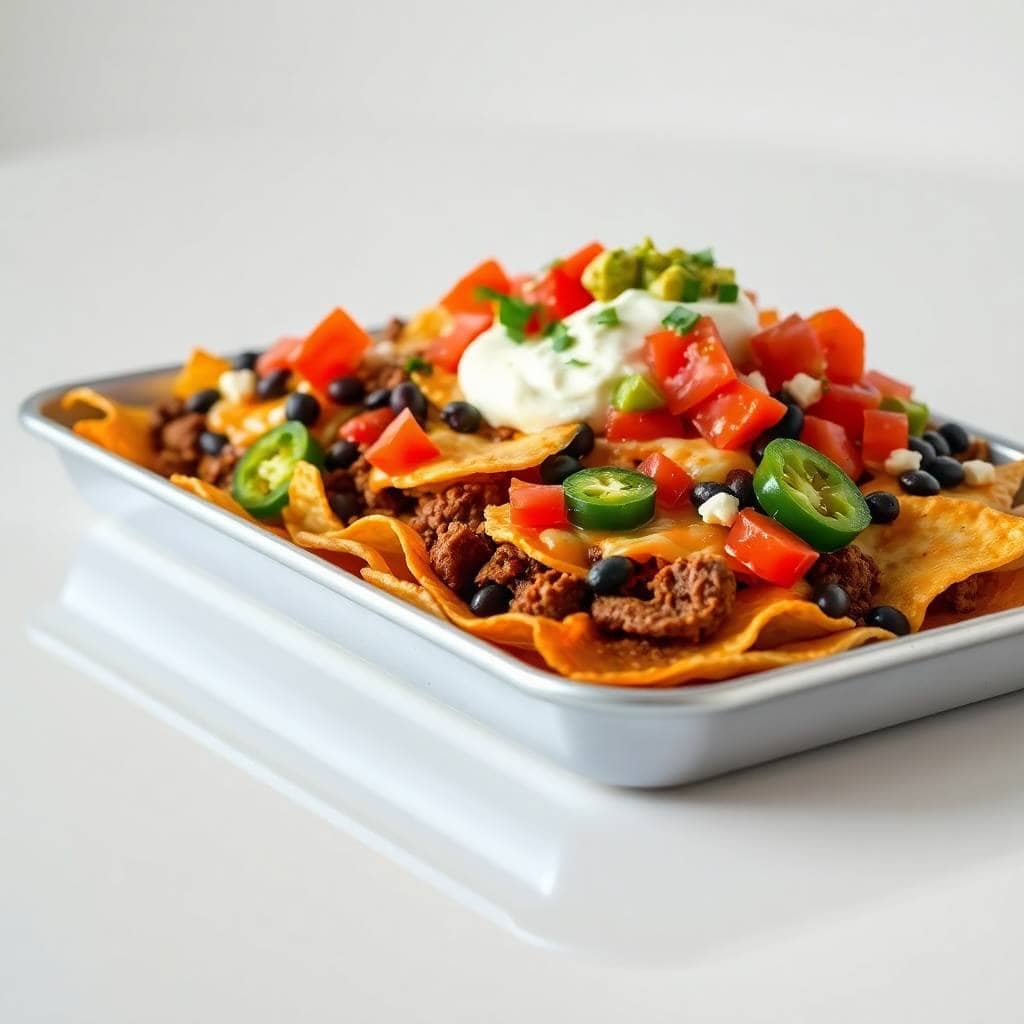
Why You'll Love This Recipe
- One pan, barely any cleanup: I line the sheet pan with parchment paper, which means when everyone's done eating I just roll it up and toss it. The pan itself barely gets dirty. On a Friday night when I've already done the school run and three loads of laundry, that matters more than I can explain.
- It actually uses up what's in your fridge: Half a can of black beans you weren't sure what to do with, some corn kernels, a bit of leftover taco meat — all of it goes on here. I've made nachos with pulled pork, with shredded rotisserie chicken from Costco, with just beans and extra cheese on meatless nights. It works every time.
- The cheese actually melts properly: Baking at 400°F for 10–12 minutes gets you that fully melted, slightly bubbling cheese without burning the chips. I've tried broiling nachos before and scorched an entire tray. The oven method is more forgiving and more consistent.
- It feeds a group without any real effort: I make a double batch — two sheet pans — when we have people over, and both trays are gone before I've even sat down. There's no plating, no portioning, no serving dishes. You put the pan on the table and hand everyone a napkin.
- Kids can help build it: Once the meat is cooked and the chips are on the pan, there's nothing dangerous happening. Zainab loves spreading the toppings around. It keeps her occupied for exactly the amount of time I need to wipe down the counter and pour myself a drink.
Ingredients
- 1 bag tortilla chips (about 10–12 oz) — use thick-cut if you can find them, they hold up better
- 1 lb ground beef or ground turkey
- 1 packet taco seasoning (about 1 oz — any brand works, I usually grab the Old El Paso from Walmart)
- ½ cup water
- 1½ cups shredded cheddar cheese
- 1 cup shredded Monterey Jack cheese
- ½ cup black beans, rinsed and drained (optional)
- ½ cup corn kernels — fresh, canned, or frozen all work
- ¼ cup sliced black olives
- ¼ cup chopped red onion
- 1–2 jalapeños, sliced (optional)
- Sour cream, salsa, guacamole, and chopped cilantro for serving
Directions
- Preheat the oven: Set your oven to 400°F (200°C) and line a large sheet pan with parchment paper. This is the step I used to skip — don't skip it. The parchment is the difference between easy cleanup and scrubbing melted cheese off your pan at midnight.
- Cook the meat: In a skillet over medium heat, brown the ground beef, breaking it up as it cooks. Drain the excess fat, then add the taco seasoning packet and ½ cup water. Let it simmer for 3–5 minutes until the liquid is mostly absorbed and the meat looks saucy and coated. Set aside.
- Layer the chips: Spread your tortilla chips across the sheet pan in an even layer. You want them slightly overlapping but not stacked — think single layer with a bit of coverage, not a chip pile. Every chip should have a chance at getting some cheese on it.
- Add the toppings: Scatter the taco meat evenly over the chips, then add the black beans, corn, red onion, olives, and jalapeños if using. Spread everything as evenly as you can so no section of the tray gets left out.
- Add the cheese: Sprinkle the cheddar and Monterey Jack over everything. I do the cheddar first, then the Monterey Jack on top — the Jack melts a bit glossier and looks better that way, but honestly it doesn't matter much.
- Bake: Slide the pan into the oven and bake for 10–12 minutes, until the cheese is fully melted and just starting to bubble. Don't go longer than 12 minutes — the chips at the edges will start to burn and the rest will get too hard.
- Top and serve: Pull the pan out and immediately add your cold toppings — cilantro, sour cream, salsa, guacamole. Serve straight from the pan. Don't wait.
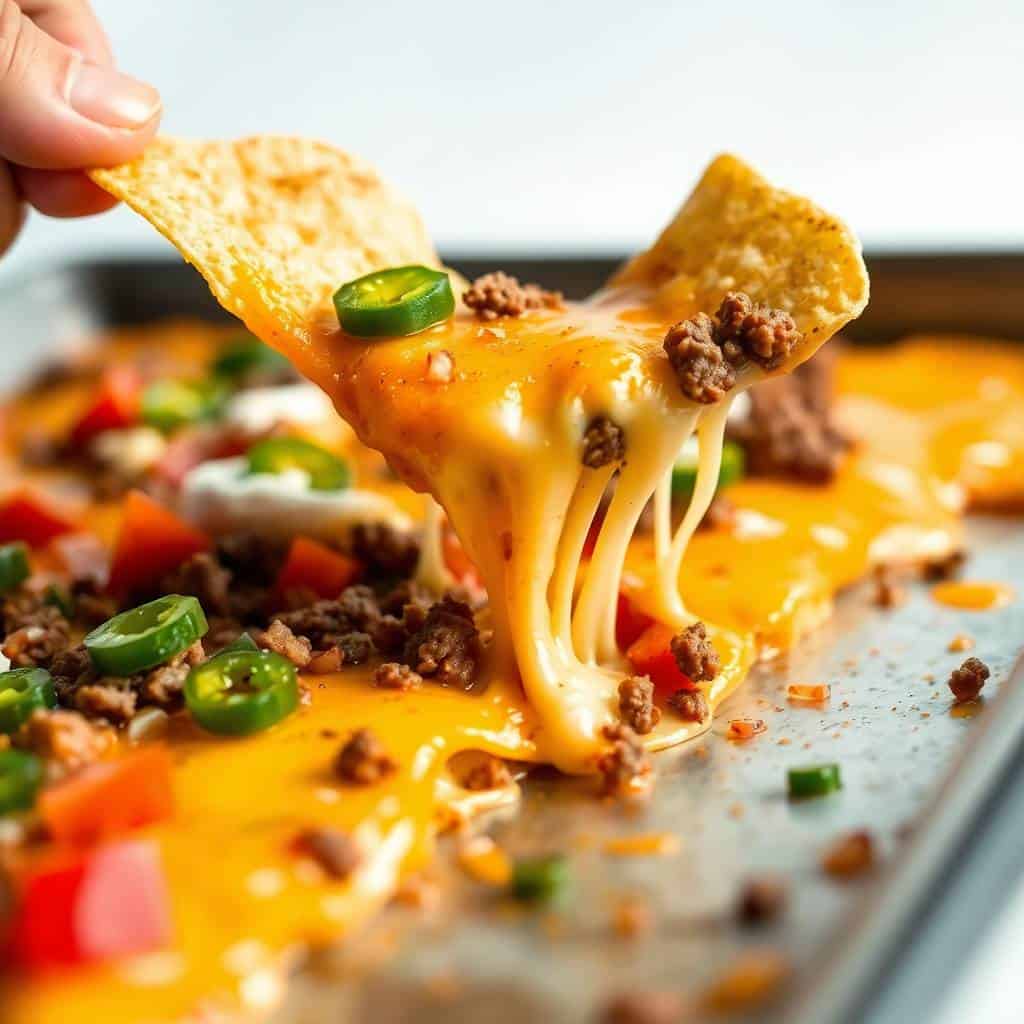
Tips for Success
- Don't pile the chips too deep: My first three attempts had this problem — I'd dump the whole bag on the pan and then wonder why half the chips were soggy and half were dry. A single even layer is the goal. If you have too many chips for your pan, snack on the extras while you cook. No shame in that.
- Use pre-cooked or leftover meat when possible: The taco meat cooks fast, but if you already have shredded rotisserie chicken or leftover ground beef in the fridge, this comes together even quicker. I grab a rotisserie chicken from Costco when I know we're having a busy week — it goes into nachos, tacos, and sometimes my Barbecue Chicken Street Corn Tacos all in the same week.
- Keep cold toppings separate until serving: Sour cream, guacamole, fresh tomato — these go on after the pan comes out of the oven, not before. I learned this when I added sour cream before baking once (yes, really) and ended up with a strange curdled mess in the middle of my nachos. Cold toppings cold, hot toppings hot.
- Watch the oven during the last 2 minutes: Every oven runs a little differently. Mine runs slightly hot, so at 11 minutes my chips are perfectly done. At 13 minutes they'd be burnt at the edges. Check at the 10-minute mark and pull the pan when the cheese is fully melted and bubbly but before anything looks dark brown.
- Use thick-cut tortilla chips if you can: The thinner restaurant-style chips get soft faster under the weight of the toppings. Thick-cut chips — I usually grab the On the Border restaurant-style from any grocery store — hold their crunch even with a solid layer of meat and cheese on top. It's a small upgrade that makes the whole tray better.
Variations
- Vegetarian nachos: Skip the meat entirely and double the beans. I'll also add sautéed bell peppers and mushrooms, which give the nachos some substance and a bit of smokiness. This is my go-to when I'm cooking for a mixed group — the vegetarian version is honestly just as satisfying as the meat version, and nobody ever complains.
- BBQ chicken nachos: Swap the taco meat for shredded chicken tossed in your favorite barbecue sauce, and drizzle a little extra sauce over the top before baking. Skip the salsa and serve with ranch instead. My husband requests this version specifically — he's not a huge salsa person but he'll eat the BBQ version until the pan is scraped clean.
- Buffalo chicken nachos: Toss your cooked shredded chicken in buffalo sauce before adding it to the pan. Add a drizzle of ranch or blue cheese dressing right before serving. This isn't a traditional nacho in any sense, but it's become one of the most requested versions in my house on game nights.
- Breakfast nachos: This sounds strange but it works. Scrambled eggs, cooked breakfast sausage crumbled over the chips, cheese, and a few jalapeños. Bake the same way. I made these for a late Saturday brunch once when I had no idea what to cook, and my husband said it was one of the best things I'd made all month. I'm not sure whether to be flattered or offended by that.
- Double-layer nachos: If you're feeding a big group and want extra-loaded nachos, do two layers — chips, then some toppings and cheese, then another layer of chips, then more toppings and cheese on top. It takes a few more minutes in the oven (aim for 13–14 minutes) but you get nachos with something in every bite, not just on the surface.
Serving and Storage
Serving
Serve straight from the sheet pan the moment it comes out of the oven. Add your cold toppings — sour cream, guacamole, salsa, chopped cilantro — right before you bring the pan to the table. I usually put out small bowls of extra salsa and sour cream on the side so people can add more as they go. Lime wedges on the side are a small touch that makes a real difference — a squeeze of lime over the top right before eating brightens everything up.
Storage
Honestly, nachos don't store well and I won't pretend otherwise. If you have leftovers, put them in an airtight container and refrigerate for up to 2 days. To reheat, spread them back on a sheet pan and put them in a 375°F oven for about 5–7 minutes. They won't be as crispy as fresh, but they're not terrible. Do not microwave them — you'll end up with a sad, steamed pile of soggy chips and I don't want that for you.
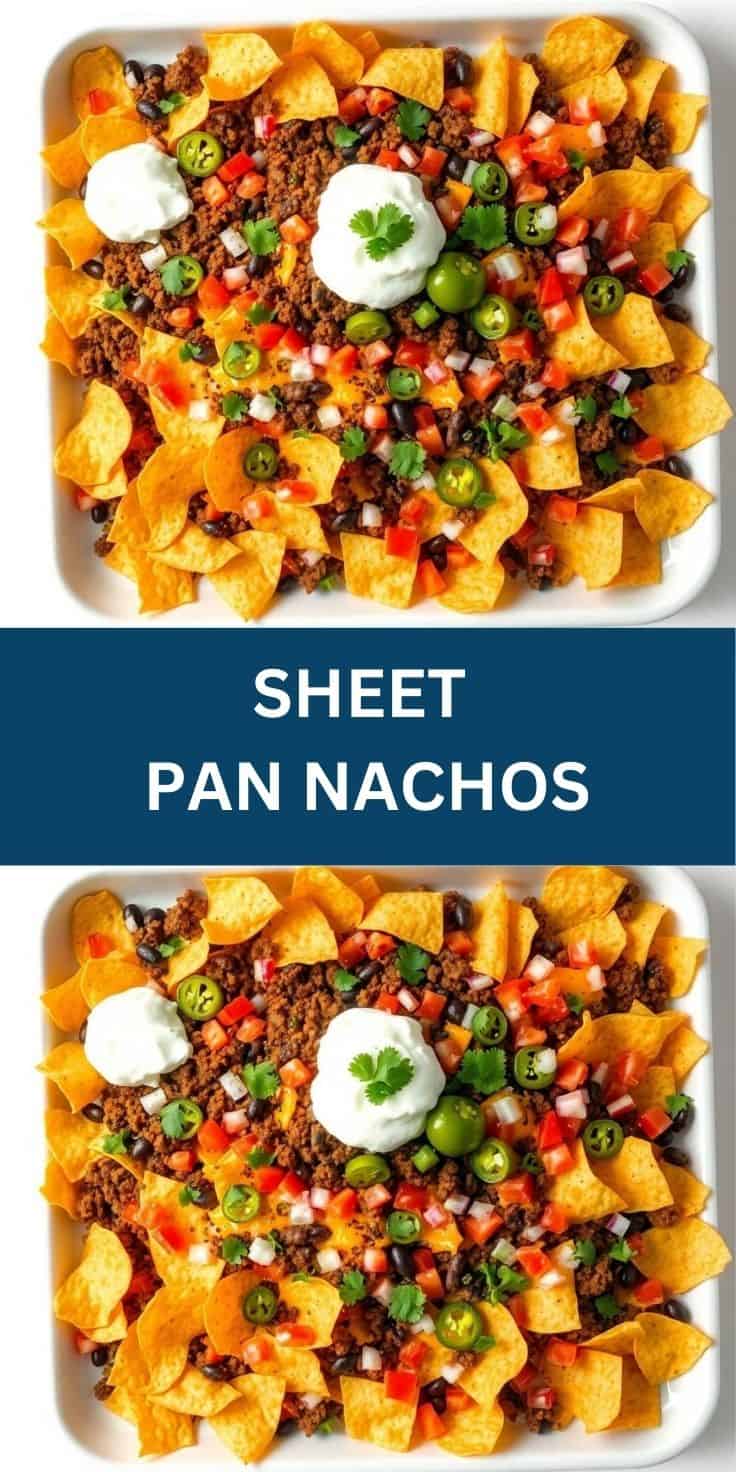
Frequently Asked Questions
Can I make sheet pan nachos ahead of time?
You can prep everything in advance — cook the meat, chop the toppings, shred the cheese — and keep it all in separate containers in the fridge. But don't assemble the pan until you're about 15 minutes away from eating. Once the chips are loaded, you need to bake them right away or they'll start absorbing moisture and go soft before they even hit the oven.
What cheese is best for nachos?
I use a combination of cheddar and Monterey Jack — cheddar for the sharp flavor, Monterey Jack for the melt. You can also use a pre-shredded Mexican blend, which is what I grab from Aldi when I'm short on time. Avoid pre-shredded cheese that looks very dry or clumpy — it sometimes doesn't melt as smoothly. If you have a block, shred it yourself; it melts noticeably better.
How do I keep nachos from getting soggy?
Three things: use a single layer of chips (not a pile), don't overload with wet toppings like fresh tomatoes before baking, and don't overbake. The chips start softening the moment moisture touches them, so keep wet toppings like pico de gallo and sour cream on the side and add them right before eating rather than before baking.
Can I use chicken instead of beef?
Yes, and it's actually my second favorite version. Shredded rotisserie chicken tossed with taco seasoning works perfectly and cuts out the step of cooking the meat entirely. You can also use ground turkey the same way as ground beef — same cooking time, same seasoning. Turkey nachos are a bit lighter and my husband actually prefers them.
Can I make these vegetarian?
Absolutely. Skip the meat and use a full cup of black beans instead of half. Add sautéed peppers or mushrooms if you want something a bit heartier. Season the beans with a little taco seasoning before adding them to the pan — it makes a noticeable difference in flavor. I make the vegetarian version regularly and nobody at my table misses the meat.
Sheet pan nachos are one of those recipes that look more impressive than the effort they actually require. Twenty minutes from start to finish, one pan to clean up, and somehow everyone thinks you've done something special. I've made these for game nights, last-minute dinners, and once at 10pm when my husband and I needed a snack and couldn't agree on anything else. They always work.
What I keep coming back to is how adaptable this recipe is without needing to be overthought. You don't need to measure the toppings precisely or stress about the proportions. Look at what's in your fridge, layer it on chips, cover it with cheese, put it in a hot oven. That's the whole recipe. I'm not claiming this is authentic Tex-Mex — I know real Texans would have opinions about my taco seasoning packet. But it's genuinely good, and it gets made in my house at least twice a month.
If you're doing a bigger spread, these nachos go really well next to my Barbecue Chicken Street Corn Tacos — the two together cover a table nicely and you'll have something for everyone. And if you want dessert that's just as low-effort, my Banana Split Fluff Salad comes together in 10 minutes and travels well to any gathering. 🧀🌶️✨
SHEET PAN NACHOS
Ingredients
- 1 bag tortilla chips about 10–12 oz
- 1 lb ground beef or ground turkey
- 1 packet taco seasoning
- ½ cup water
- 1 ½ cups shredded cheddar cheese
- 1 cup shredded Monterey Jack cheese
- ½ cup black beans optional
- ½ cup corn kernels optional
- ¼ cup sliced black olives
- ¼ cup chopped red onion
- 1 –2 jalapeños sliced (optional)
- Sour cream salsa, guacamole, chopped cilantro (for serving)
Instructions
Preheat Oven:
- Preheat oven to 400°F (200°C). Line a large sheet pan with parchment paper.
Cook the Meat:
- In a skillet over medium heat, cook the ground beef until browned. Drain excess fat. Add taco seasoning and water. Simmer for 3–5 minutes until thickened.
Assemble Nachos:
- Spread tortilla chips on the sheet pan. Evenly distribute the taco meat over the chips. Add black beans, corn, red onion, olives, and jalapeños.
Top with Cheese:
- Sprinkle shredded cheeses evenly over the toppings.
Bake:
- Bake in the oven for 10–12 minutes, or until the cheese is fully melted and bubbly.
Serve:
- Garnish with sour cream, salsa, guacamole, and chopped cilantro. Serve immediately.
Notes
Prep the meat and toppings in advance. Assemble and bake just before serving. Customizing the Flavor:
Add diced tomatoes, green onions, or hot sauce for extra zing. Use different cheeses for flavor variation. Serving Suggestions:
Pair with lime wedges, a side of pico de gallo, or a creamy queso dip. Allergy-Friendly Options:
Use dairy-free cheese and check chips for gluten-free labeling if needed. Storage Tips:
Best served fresh. If you have leftovers, store in the fridge and reheat in the oven to keep them crispy.
If you made these and loved them, here are a few more recipes from my kitchen that hit a similar note:




Comments
No Comments